April 19
8 min. to read
How to Get That Grunge Texture in a Photo Background in Photoshop
Grunge is an iconic style in music, photography, fashion, and other types of art. It emerged from a subculture movement in the 90s. Grunge is closely associated with gloom, eeriness, and suspense. Grunge music is full of distorted sounds and angsty lyrics that explore heavy themes including social alienation, self-doubt, and trauma. Grunge photography evokes similar associations.
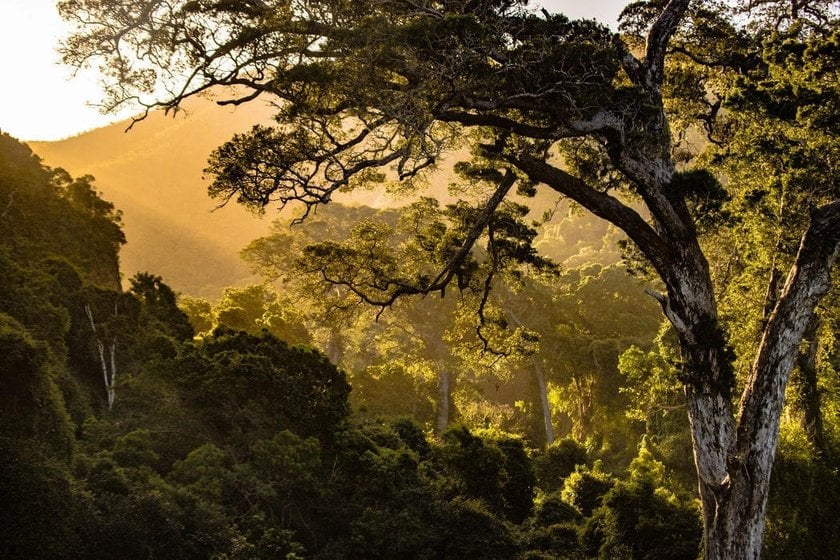
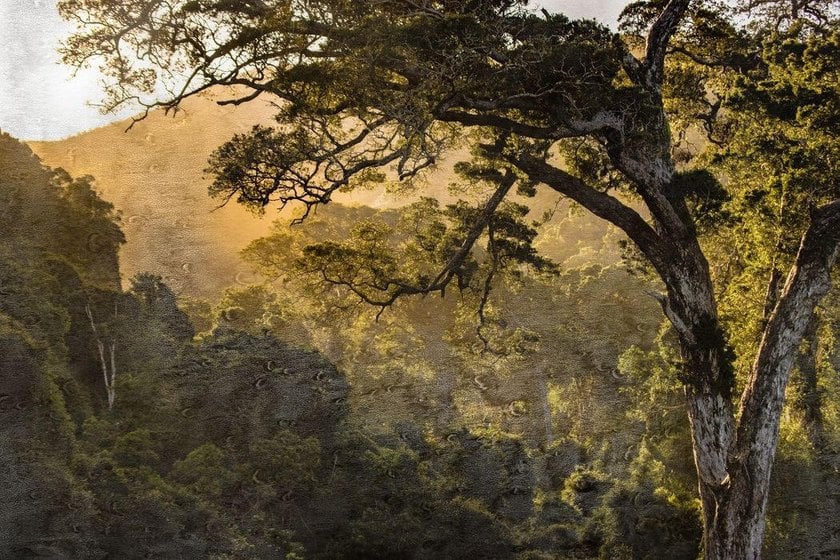
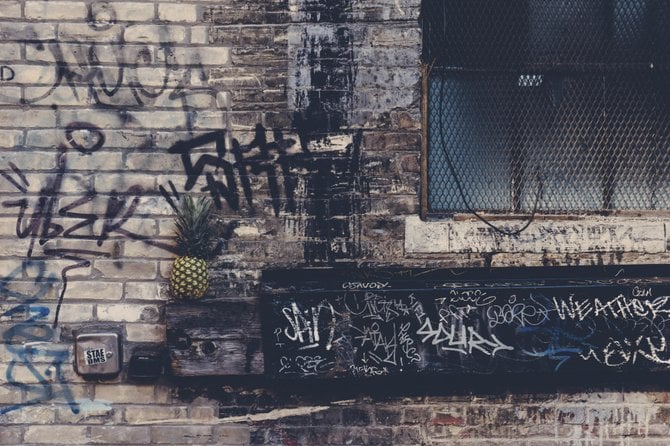 If you want to create an atmosphere of sadness and decay, you can grunge up the game in the background of your image, sticking the main subject — be it a person, a tree, an animal, or an object — in a pessimistic world. Whether you add a scratchy texture, a grunge paper texture, or a black grunge background, you can easily achieve artistic value.
Photoshop takes some time to learn and get used to, but for all your efforts you’ll achieve brilliant results. On the other hand, Luminar Neo provides satisfying results with an intuitive interface that provides an easy and effective workflow. Luminar has a whole pack of free textures that can help you get unique, impressive looks. Experiment with them to achieve that grunge effect that adds so much to your ordinary photos. Click below to get Luminar Neo now.
How it’s done in Photoshop
Photoshop has a powerful arsenal of tools that let you do practically anything, and achieving a grunge background is no exception. A grunge effect can be achieved in different ways: with an image, using a grunge texture vector, or using a PSD file. Follow the steps below to find out how it’s done.
Step 1. Separate the object
To apply changes to the background, you should first separate the main object and work only with the background to apply the grunge texture. You can use any of these tools to separate the main object from the background:
- Lasso
- Magic wand
- Pen tool
- Color range selector
- Quick select
Depending on your purpose, skill level, and preferred technique, you can choose a different type of tool. For beginners, the quick selection tool is the easiest to master. Once you’ve cut out your selection, create another layer from it by right-clicking and selecting Layer Via Copy. Take a close look at your layer panel. You’ll see your image separated from the background: this is the area that the texture won’t modify.

Step 2. Prepare a grunge texture
Find a texture you like. You can download a vector grunge texture, a PSD file, an image, or anything else that’s compatible with Photoshop. A grunge texture vector, for example, lets you scale your image without loss of quality. Search according to your needs and possibilities. Select a texture file that’s no smaller in size than your image so you’ll be able to adjust it accordingly without losing resolution.
Step 3. Add the texture
Open your texture and copy it as a new layer in your project. Remember to keep the texture layer above your background but below the selection with the main object that you don’t want to add texture to.
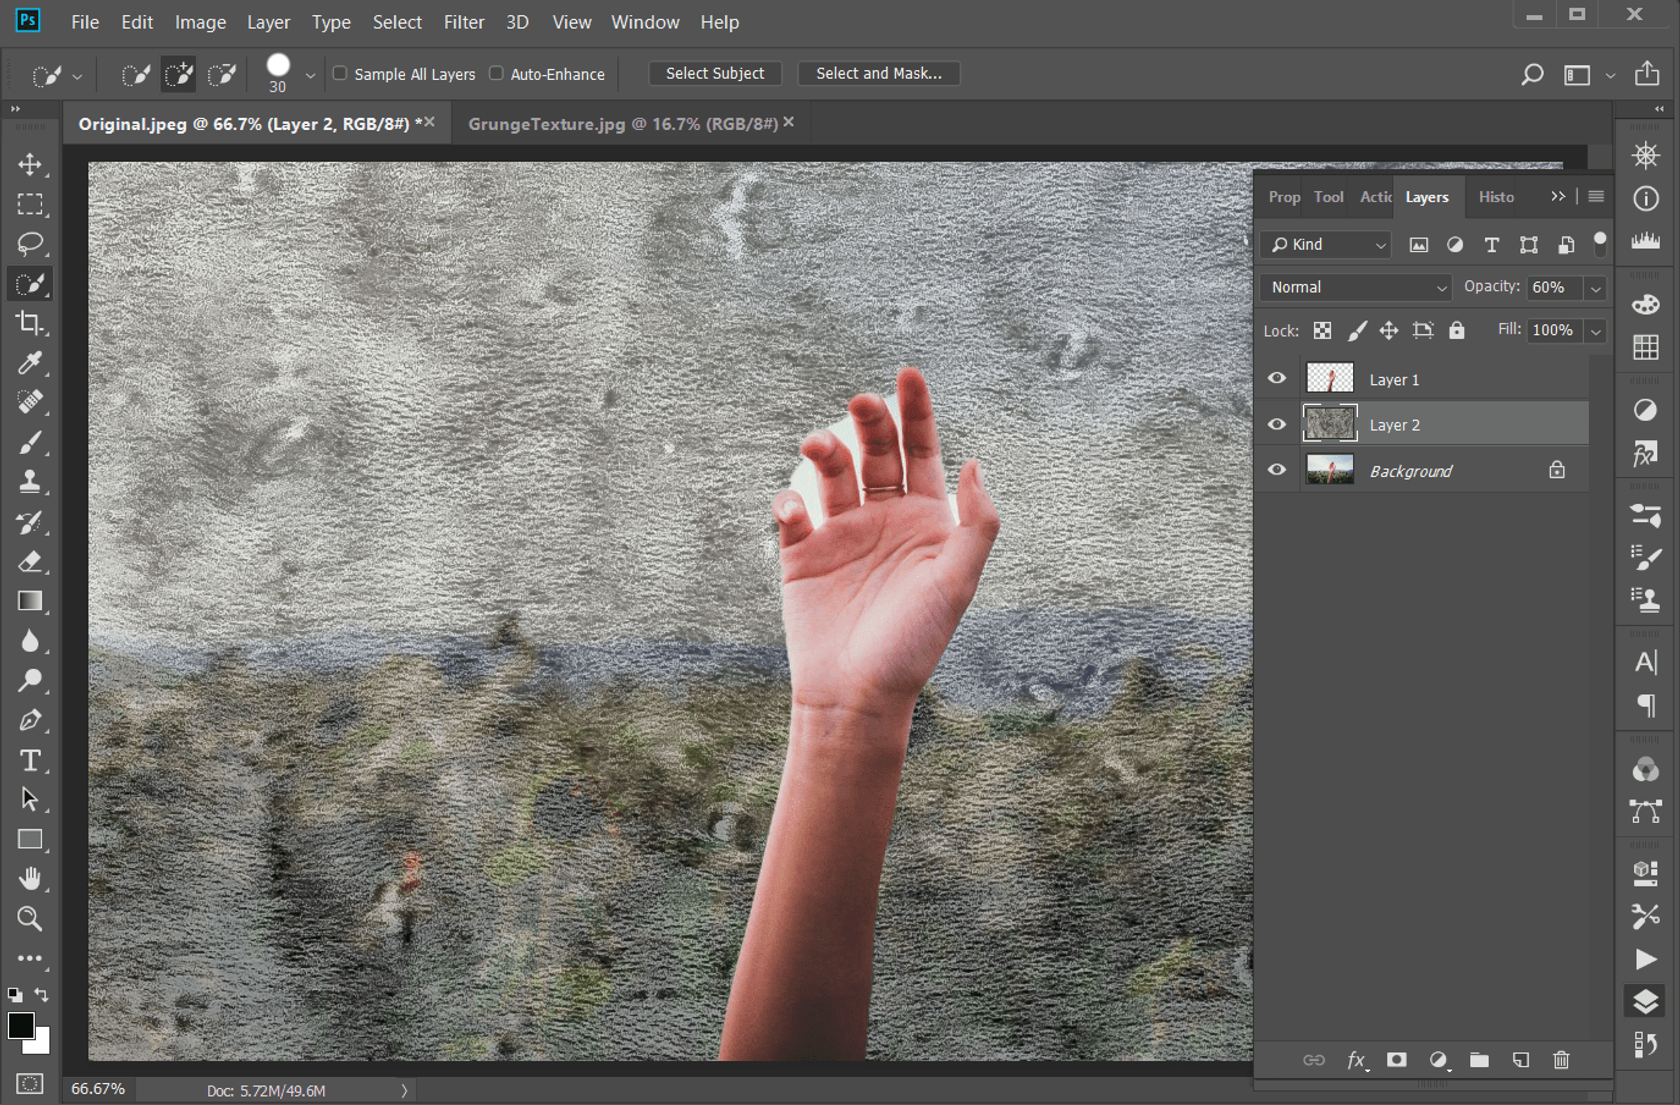
Step 4. Blend your image
To make the texture look more natural, try changing the opacity until you’re satisfied with the result.

Step 5. Refine the edges
You may notice that your subject doesn’t look ideal and that the edges give away your intrusive editing. Don’t worry. The refine edge tool is there to clean up the edges of this selection. Use it to smoothen the fine areas around the edges of your main subject until your photo looks just how you want.
Types of textures to apply
You can experiment with different textures to see which suits your purpose best. Consult this handy guide to see which type of texture will create which effect.
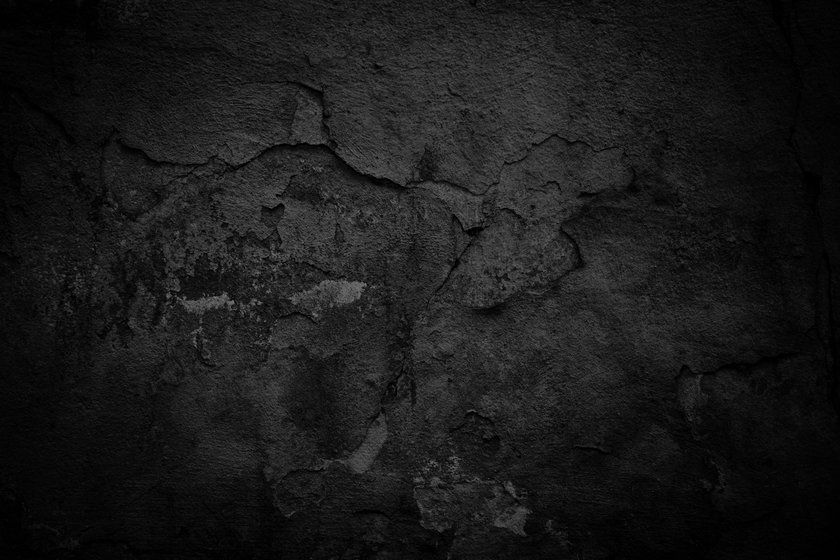
Dark
A traditional black grunge background is the real deal. It evokes toughness and force.
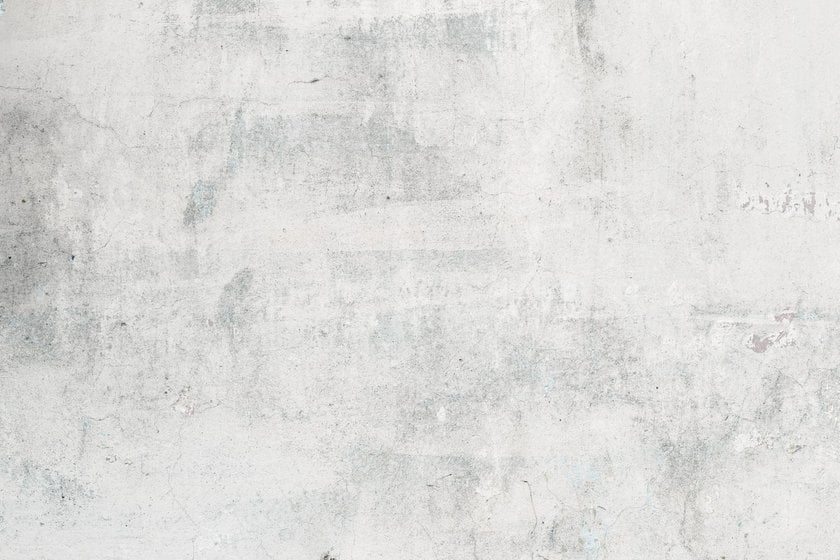
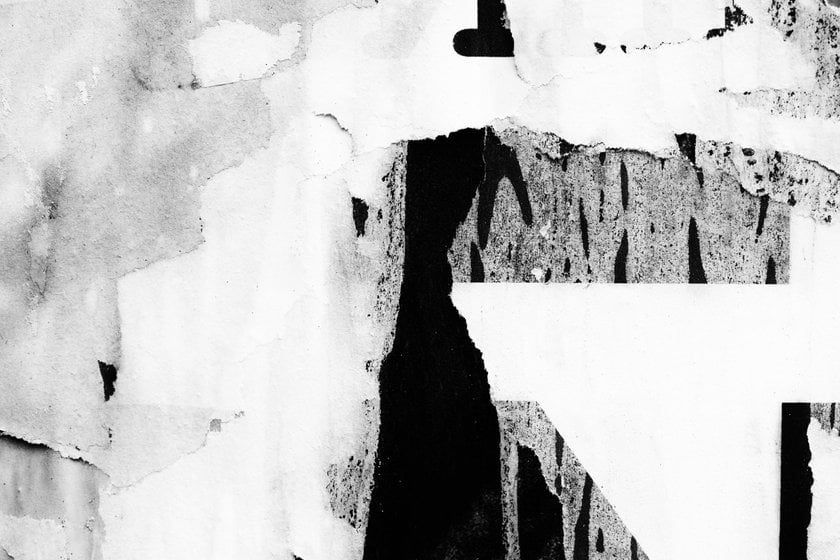
Light
The polar opposite, a white grunge texture looks like a battered wall. Nonetheless, the grunge feel is alive and kicking.
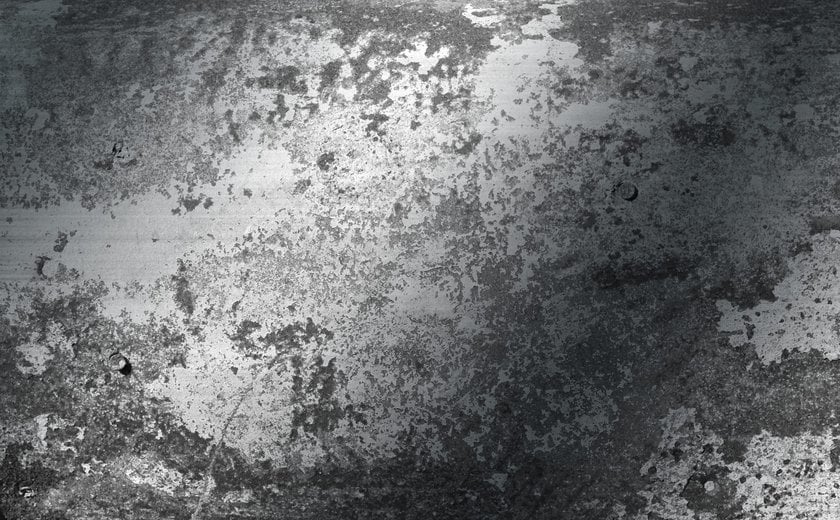
Metallic
Chasing that rusty look of damaged metal? You can change up your retro shots by adding a touch of faded machinery with a grunge metal texture.
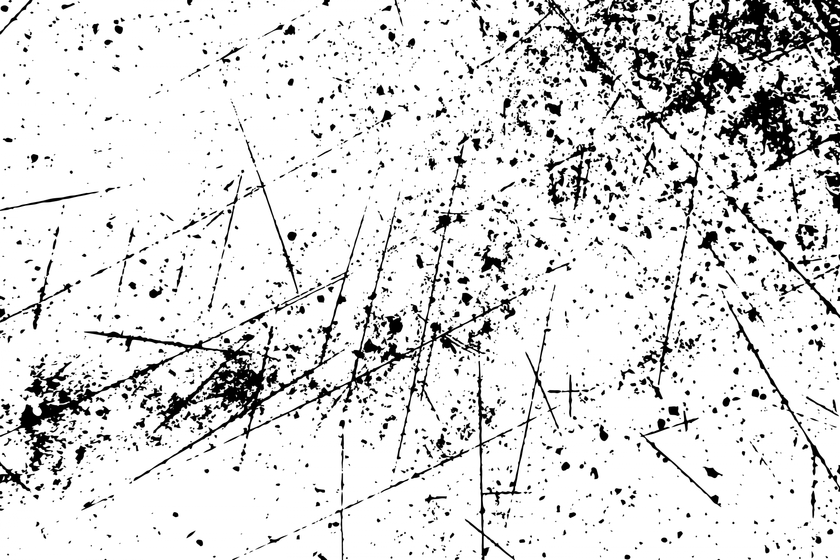
Scratched
A scratched surface instantly reminds of animal claws or sharp objects. If you want that animalistic, dangerous vibe, a scratchy texture will suit you perfectly.
Crumpled paper
Using a grunge paper texture is another creative way to add that characteristic grunge feel. It can also be linked to an uneven, damaged surface or a fragile state of mind.
Grunge background in Luminar Neo
Luminar is one of the best Photoshop plugins and a brilliant standalone photo editor. In Luminar Neo, adding texture to the background can be achieved in just four simple steps.
- Open the picture that you wish to grunge up in Luminar Neo.
- Download the Found Textures pack in the Luminar Marketplace.
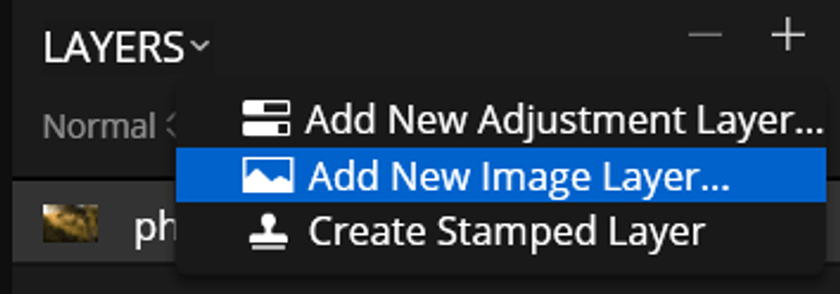
- Add a new image layer and select the grunge texture of your choice.
- Use the brush tool to make adjustments and refinements, erase the mask from your main subject, and apply the texture as intensely or lightly as you want.
Tip: Take a look around while you’re there. You might find some interesting presets or LUTs for your photos.

If you want to achieve a grunge effect but are tired of Photoshop’s interface and would like to switch to another program, you can give Luminar a try. Before you buy, see if Luminar Neo suits your workflow with a 30-day free trial. Try to make a grunge background for one of your photos and see how easy and life-changing Luminar Neo is.
Follow Skylum Software on YouTube // Get the latest videos, tips, and photography inspiration each week!
 >
>
