December 23, 2025
Captions For Selfies That Match Every Mood You’re In
We all love a good selfie, but what really makes it pop? The perfect captions for selfies that match your mood and make people stop scrolling.

December 23, 2025
How To Take A Timed Photo On iPhone: Your Phone Timer Tricks

December 22, 2025
Why Luminar Is The Best Alternative To Photoshop And Lightroom

December 19, 2025
Photography Lighting Tips From A Pro

December 18, 2025
Shadow Photography Ideas To Explore

December 17, 2025
Your Comprehensive Shutter Speed Chart Explained

December 16, 2025
Best Lighting For Indoor Photography Beyond Natural Light
![Best Camera For Family Photography [Reviewed By Photographer]](http://media.macphun.com/img/uploads/macphun/blog/3921/xipo.png?q=75&w=1348&h=715&resize=cover)
December 15, 2025
Best Camera For Family Photography [Reviewed By Photographer]

December 12, 2025
What Is Image Sharpening And Why Is It So Important?

December 11, 2025
Mini Session Photography: Everything Photographer Should Know
Most Popular

May 14, 2025
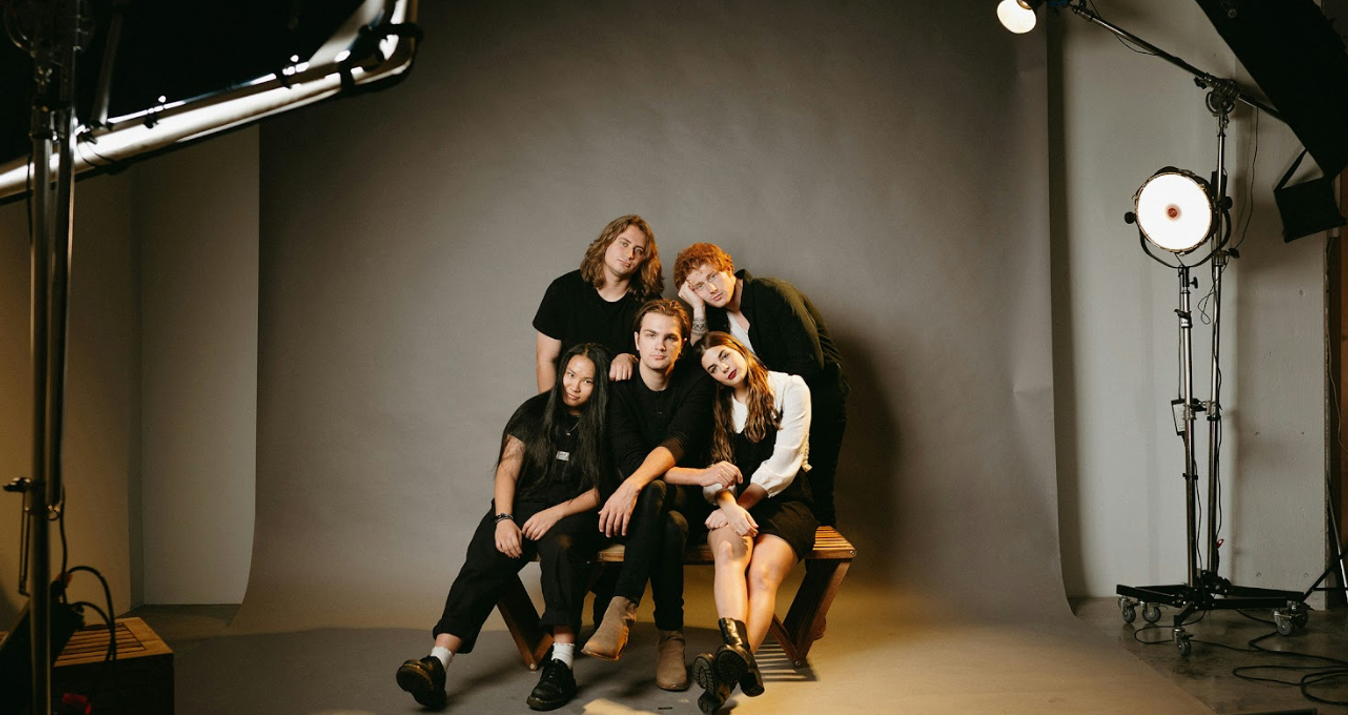
Group Photo Ideas: How To Make Every Group Photo Special
Discover best group photo ideas. Learn about posing, composition, and avoiding common pitfalls to make every group shot memorable.
Learn More

October 31, 2025
Why Luminar Neo Is The Best Photo Editor For Creators
If you’re asking why Luminar Neo is the best photo editor, this article cuts through the hype and shows what speeds up workflow. Expect hands-on details, not vague claims.
Learn More

December 09, 2025
Pantone Color Of The Year 2026 "Cloud Dancer" Is Here!
Discover what is the Pantone color for 2026: Cloud Dancer, a soft balanced white symbolizing calm, clarity, and a cultural reset for the year ahead.
Learn More
Subscribe to know first
Our delivery owl will bring you our best deals and news about Skylum news.
Thank you for subscribing!
Unlock Pro-Quality iPhone Photos with Our Free Guide! 📸
Gain instant access to simple yet powerful tips for enhancing composition, lighting, and editing—everything you need to transform your photos effortlessly!
👇 Fill out the form below to receive your guide directly via email.
Curiosity is the doorway to skill
Thank you for your interest! Discover the secrets to pro-quality photos in your guide, waiting in your inbox.
Try the request again later. If the error does not resolve, contact support.
Try Later