Best Tips for Creating Dramatic Lighting in Portraits
May 12, 2023
Each such portrait is a masterpiece in its own way since for each individual shot a huge number of factors have to be taken into account. It's real art because you have to take into account the light, the subject, the dramatic feel of the model, and much more. We'll tell you some general points that will help you create your own dramatic lighting photography.
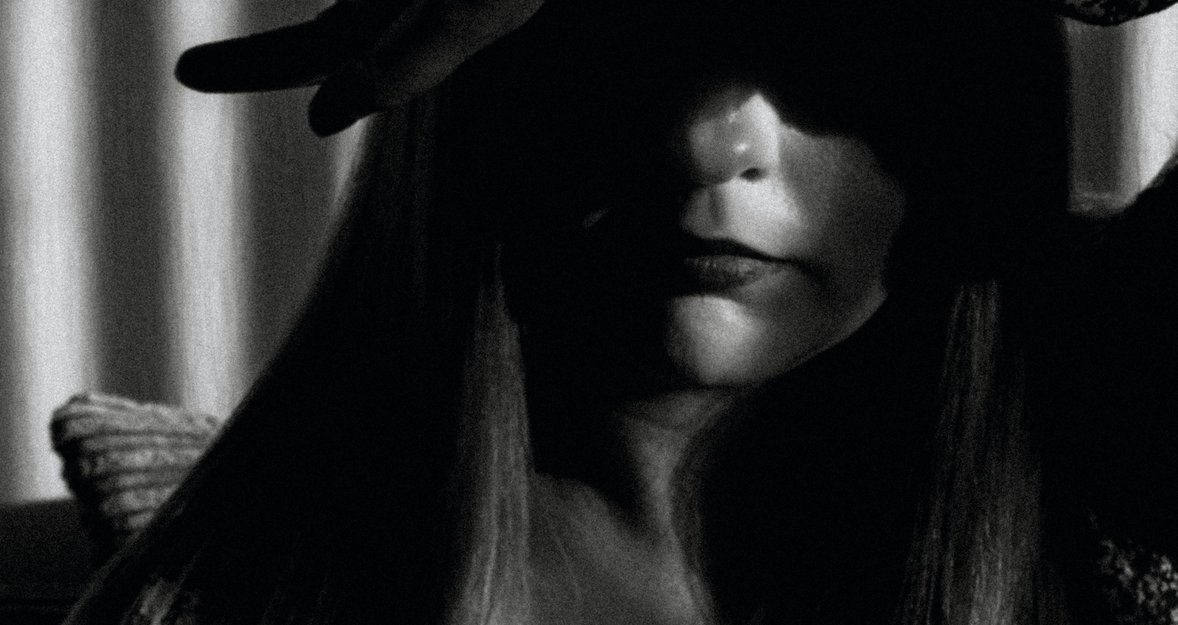
Dramatic lighting is all about high contrast and strong shadows, often created using a single intense light source. This technique adds mood and intensity to the image, emphasizing texture and contours. Each portrait using dramatic lighting is a unique masterpiece, requiring consideration of light, subject, and desired emotion.
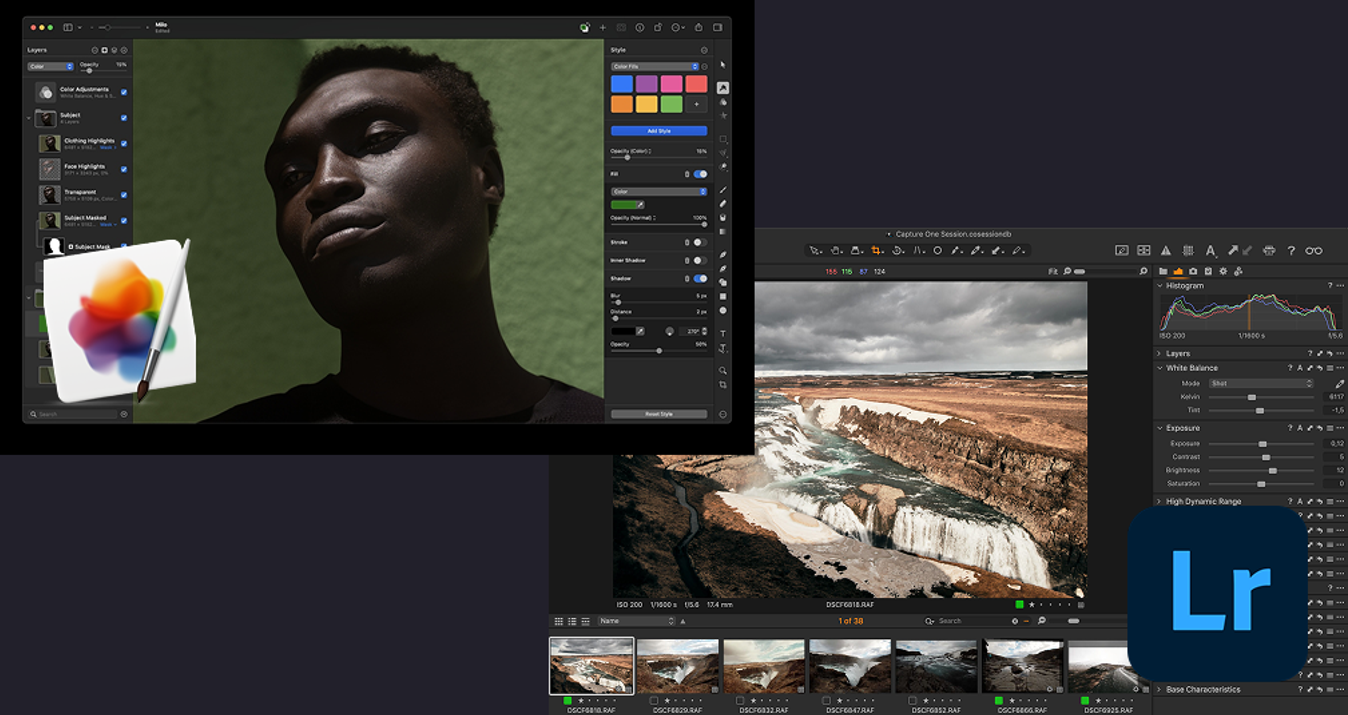
If you are a beginner and are just getting familiar with your camera, image editing software will help you. It will help you achieve the best results.
Understanding the Basics of Lighting in Photography
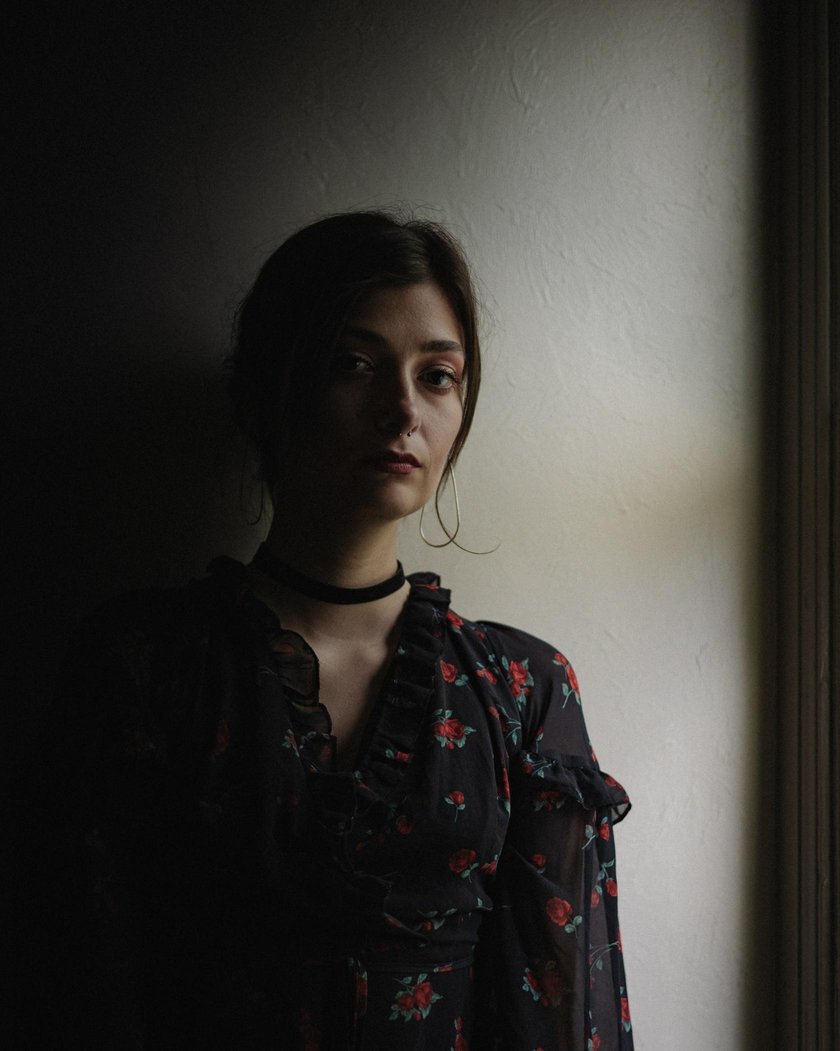
 Do you want very dramatic lighting in a portrait in a low key or the opposite side of the spectrum – high key, illumination, and airy? The mood of your image will dictate your choice of background and of course your camera and flash settings. It's best to choose a black background for these dramatic lighting photos to achieve high contrast between the bright parts of the image and the shadows. This will keep the overall mood dramatic and the lighting equipment will give you the effect you need.
Make a plan of what equipment you are going to work with, imagine the plot, and create a dramatic portrait of the model. It's a good idea to mount the flash on a stand. I used it and it is great. In addition to a stand, you can put the flash on a cabinet or other stable surface, making sure it doesn't tip over. Most units come with a plastic foot which is great for this purpose.
Types of Light Sources and Their Characteristics
 The two main sources you will need are an external flash and a modeling flash.
- An external flash can help create a dramatic light and the shadows you want. Radiating illumination to get a brighter image is just part of all the things it does. It helps the photographer control the brightness, and that includes creating shadows where you want them.
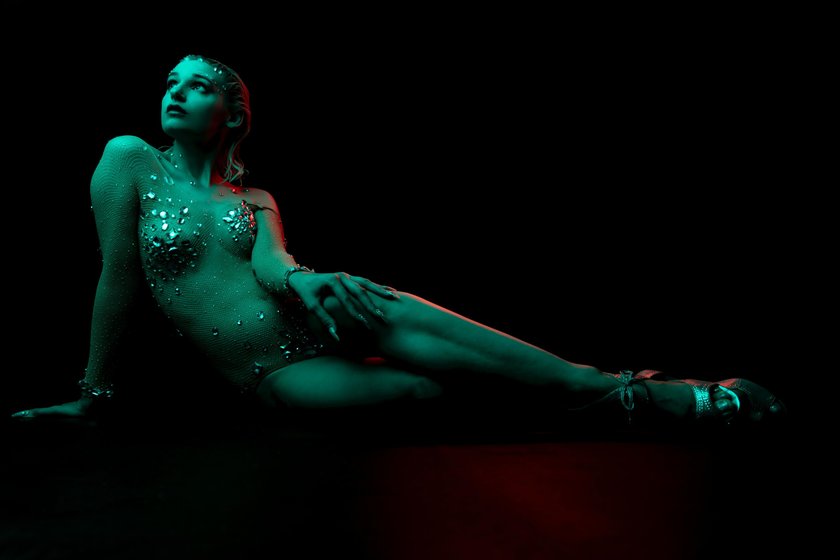
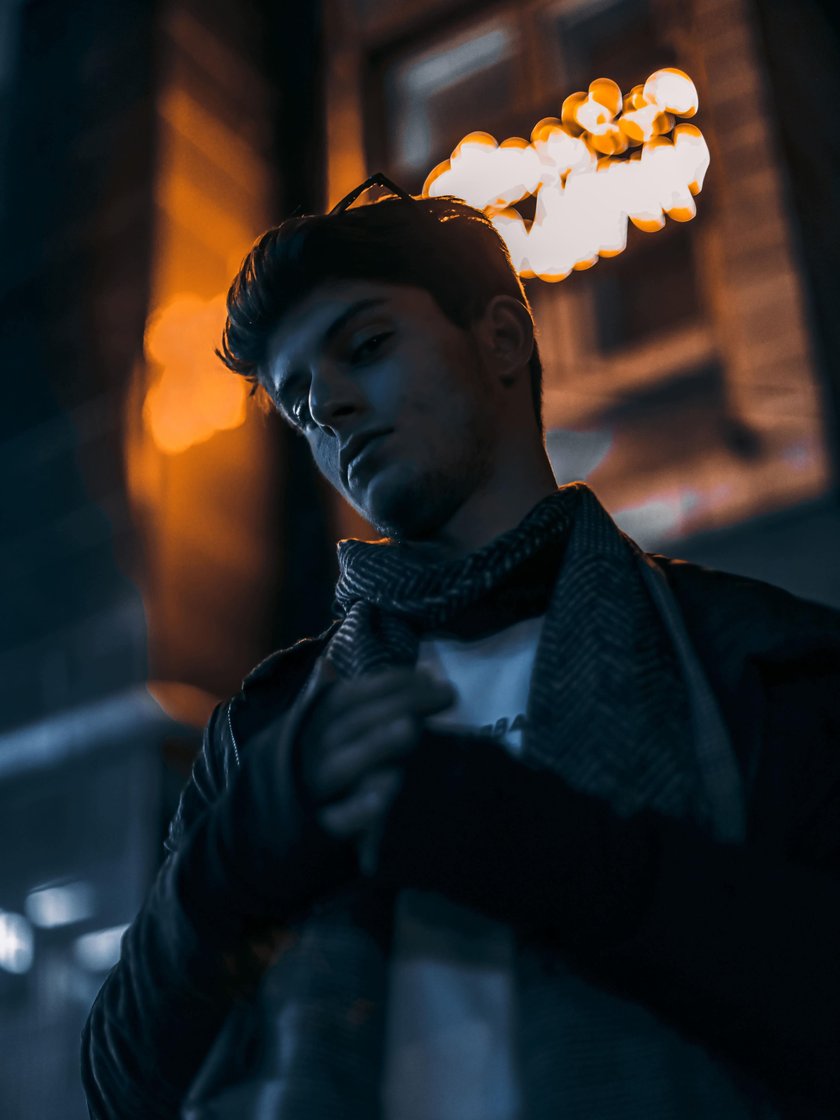
- Use the modeling flash. Press the depth-of-field preview button on the camera to turn on the modeling flash. This will help you see where the flash will cast shadows on your subject. Move the flash around to find the best position of light from the flash. Finding the best position will entail trial and error. The shot you see in the title of this article was taken when the photographer placed the flash close to the model.
If you have something unwanted in the frame, you can always use photo object remover.
Lighting Terminology
 In this section, I will describe the types of light that can be useful in dramatic lighting portraits:
- Frontal light. It's also direct, frontal illumination. Do you remember what photos look like with a built-in flash that produces frontal light? It falls on the model strictly from the front, depriving the face of relief, making it flat, and eating away all the texture. Sometimes people like portraits taken with this light because pimples and wrinkles disappear despite the loss of facial details, but it's rare to see a really professional-looking result.
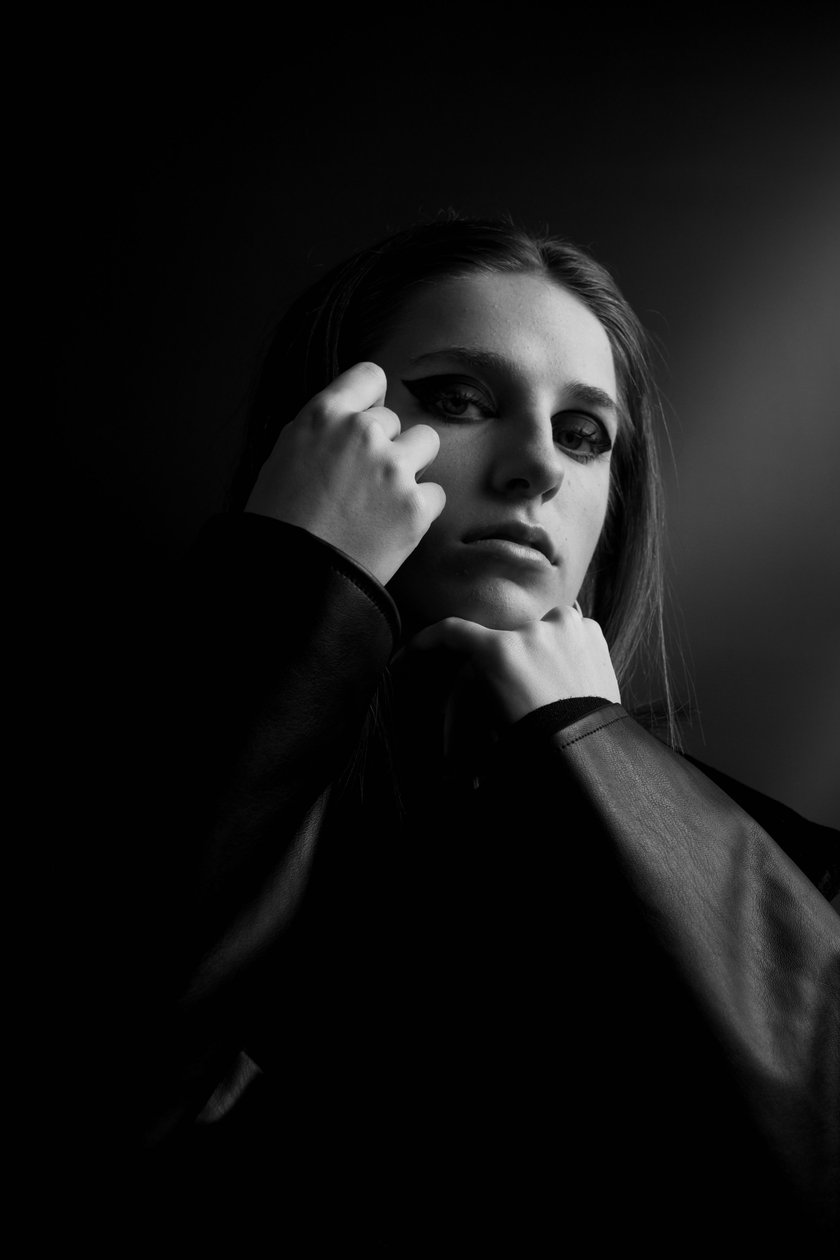
- Side light. As the name implies, the illumination source stands on the side. The texture is rendered very well so you'll get hard light. The harsh side illumination from one side is able to completely fail in the blackness of the unlit side, so it is best if this type of illumination is supported by the fill light. Although, of course, a lot depends on the author's idea. This method is most effective for making portraits with dramatic lighting.
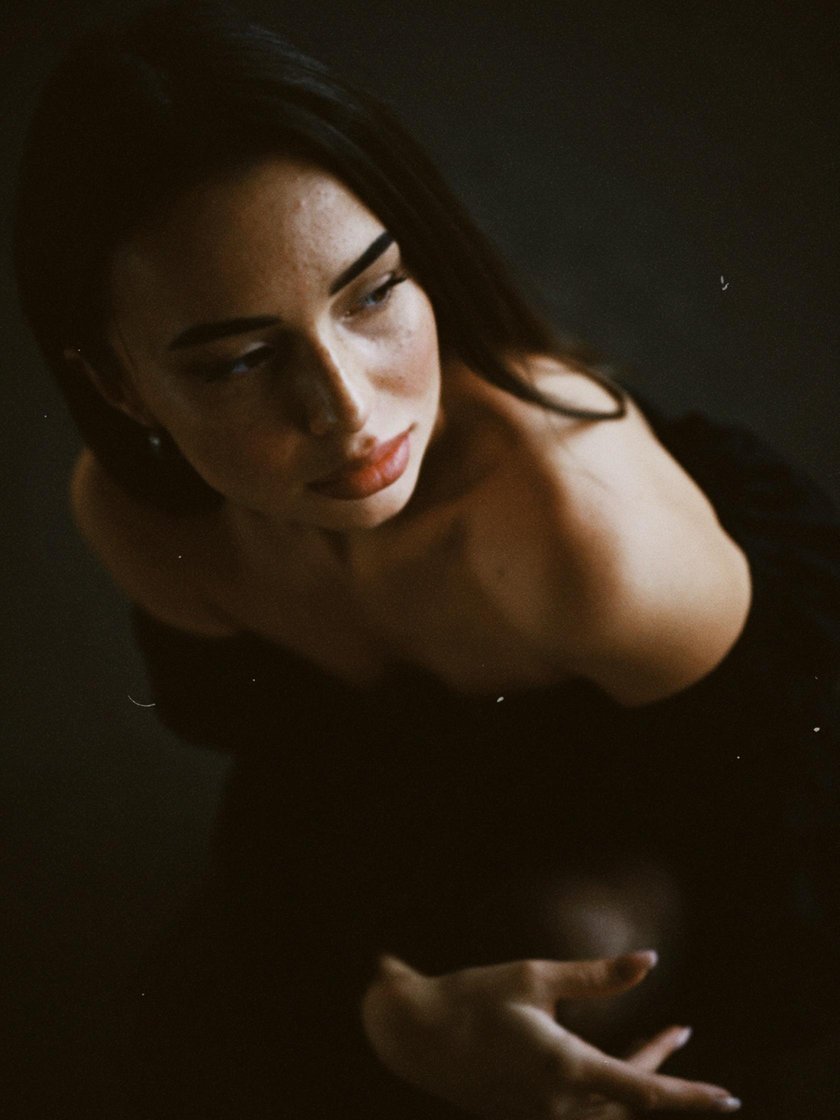
- Front side light. The golden mean. It emphasizes the model's cheeks, cheekbones, lips, and nose, it gives volume, but it doesn't make half of the face go dark, because it's not on the side. If you have a soft light source it can be the only sufficient source of illumination in a portrait. This type is not very suitable for photography dramatic lighting.
- Upper light. The sunken eye sockets, the black shadow under the nose and chin. The landscape in overhead light also looks rather dull. However, if the overhead light source is large and right above the subject’s face, you can get an interesting result.
- Under lighting. The bottom light is guaranteed to make a scary person for the simple reason that the shadow on the nose goes up, not down as usual. The shadow from the cheeks also goes upward, hiding the eye sockets. As a result, we get a face that looks like a skull. By the way, the lower light is the only type of bright that is practically not found in nature.
- Contrast light. When the illumination source is directly opposite or slightly to the side of the camera, it's called back-side light, which nicely emphasizes the outline of the face or figure. Thus, this method is best suited for dramatic lighting. And when there's only one illumination source, you get a silhouette. By the way, the backlight can be directed not only at the model, but also at the background behind the model, so it becomes soft and smooth.
If you're taking HDR photos, you'll need special HDR photography software in order to make real photographic masterpieces.
Advanced yet easy-to-use photo editor
Get Luminar Neo NowChoosing the Right Equipment for Dramatic Lighting
 With the help of this section, you will be able to compose your own kit of tools for dramatic photo lighting. I will tell you a few ways to create dramatic lighting. Believe me, it will be interesting!
So, let's start with the reflector. It helps to balance and soften the dramatic atmosphere. Roughly speaking, it gives you control over the light. A reflector can be not only a special thing bought in a photo store but also a wall at home, sand on the beach, and a white T-shirt of an assistant.
A two-sided reflector will suffice for the novice photographer. It usually comes with either white and gold sides or silver and gold. The white one helps to smooth out and remove unnecessary shadows. The silver one reflects a cold color. Gold in turn is warm.
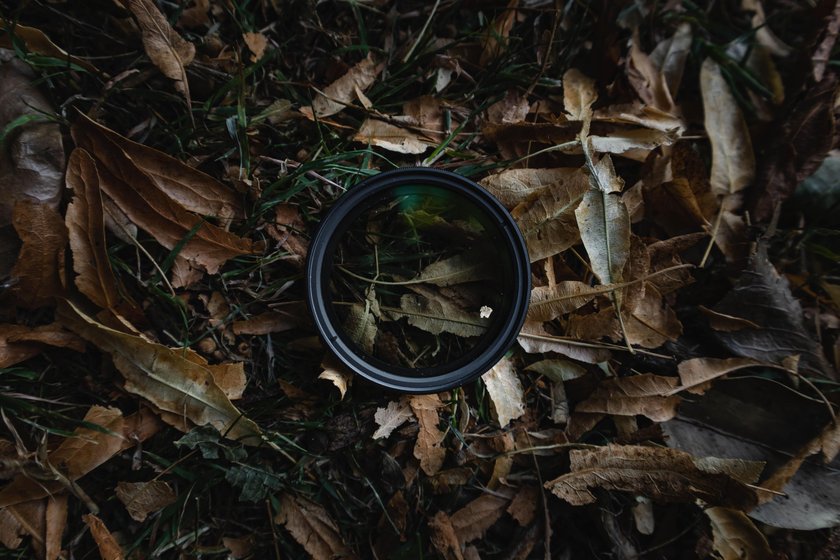
A light filter is an optical device that performs several functions. First, it protects the lens from contamination. Thanks to it the grooves will not get dirt and dust. And secondly, it changes the spectrum of light passing through it. Again, choose filters in the same way as reflectors. That is, based on your subject and locations.
When working with artificial illumination, keep in mind that a flash, such as a Speedlite or Strobe, provides a blast of light that doesn't fall as quickly as natural light. For this reason, I prefer to work with artificial illumination for a more dramatic and high-contrast look when setting up dramatic portrait lighting.
Many photographers most often forgo the softbox and use a honeycomb plate reflector to diffuse the light so as to provide more contrast in the camera. If you prefer a softer look, be sure to diffuse the light source or use a large softbox. All of this comes in handy for creating dramatic light.
If you're shooting outdoors, keep in mind that some landscape photography rules come into play. The best time to shoot is shortly before sunrise and at sunset when the quality of illumination will be excellent. If the photo is not too clear, you can use image stacking software.
Camera Settings for Dramatic Lighting
 Focus is crucial when making these types of photos. Before you press the shutter button, decide your focal point.
Where do you most want to create an accent in your photograph? That's where you need to have the sharpest focus.
You can use automatic or manual focus. Each approach has its pros and cons. If you're shooting very close, you'll probably need to use manual focus. However, manual focusing can sometimes be tricky, as it's easy to miss if you deviate even a millimeter.
Another important point is to have your lenses calibrated or learn how to do it yourself. If you are having trouble focusing, problems with lens calibration may be one of the main reasons for this. If you've done everything right, you can breathe out. This is the way the dramatic studio lighting is done.
Creative Lightning Techniques for Dramatic Portraits
Choosing a Lens
 Many photographers would argue that their 50mm lens is the best for dramatic light in photography, but what about the fact that lenses with such a "medium" focal length present perspective in a rather banal way, the way we see it every day? To create a more interesting image, we try not to shoot portraits with these lenses because they take photos that look too ordinary.
Most of our dramatic images are taken at 200mm or 85mm in order to convey an excellent narrowing of perspective that a 50mm lens cannot reproduce. This compression will not only expose your models in a more favorable light with less distortion of features but will also form a brighter background blur (bokeh) and bring the background closer to the subject.
Trying Different Angles
 We often fixate on what is right in front of us. After all, it's easier that way. Try to find other angles, above or below eye level, to form a new perspective in the frame. This technique can also be used to present people of different body types and heights in the most favorable light.
Shooting at noon with natural illumination is not easy. But using artificial sources, even something as simple as a pair of flashes, can weaken the strength of the sunlight and allow you to darken the image for better exposure. We especially use this technique when we are trying to create a portrait in a natural setting and emphasize a landscape.
Using Contrast for Dramatic Effect
 Using good color contrast will be the right solution for dramatic photography lighting. Using tonal contrast is difficult. Even a tiny area in a dramatic photo with an opposite hue can make a big difference in the perception of the photo. You can make your pictures even more interesting by increasing the contrast. Color saturation affects the brightness of the final result. The more intense the color, the stronger the color contrast.
Using Color Gels for a Unique Look
 Using CTO (orange) or CTB (blue) gels on your flashes will change the mood of your shot. Sometimes when you're shooting in an overcast environment with blue hues, adding a CTB gel will give a warmer feel to the shot if you adjust the white balance correctly. CTO gels can also be used to simulate sunlight. This will help a lot when shooting indoors.
Creating Shadows and Silhouettes for Dramatic Effect
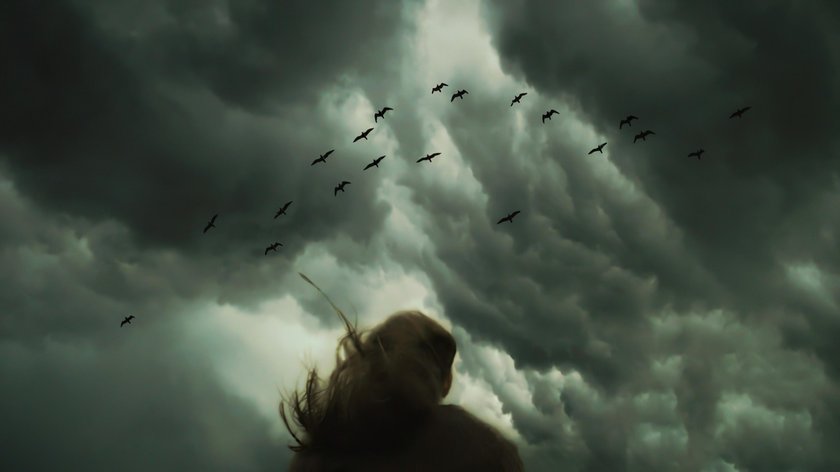
 Reflective surfaces and silhouette opportunities can seriously enhance your pic, both visually and in terms of depth. To create strong silhouettes, find a strong illumination source and place it behind; it could be anything from the sky to a window or wall. When shooting reflections, be creative in your choice of reflective surfaces; sometimes the best reflections can be found in the most unexpected places, whether it's flooring, glass, puddles, or granite walls.
It is not unusual for photographers to try to avoid shooting in the sun and to look for shadows to create easier and more even exposure. We've already looked at backlighting as a solution when shooting in harsh sunlight. But this source can also be used as a directional spot source. This effect is especially pleasing to the audience.
By shooting directly into the sun, you'll get dramatic deep shadows in the background and surroundings, and the viewer's attention will be focused on your illuminated subjects. Applying this technique in different conditions will create different visual effects. The effect is very useful when we don't have an available source to illuminate an object in the dark. A huge advantage of the video light is that it is constant, so you can see what the image will look like on the camera. We use LED video light, which lasts for over 2 hours. It's a good alternative to flashes, and it's easier to adjust for low illumination conditions.
Tips for Post-Processing Your Dramatic Portraits
 Even if your photos don't look too gloomy, you can enhance them with mood-creating processing techniques. In Lightroom, you can achieve this with the Gradient filter.
However, there are Adobe Lightroom alternatives that offer you just as much. Luminar Neo has many presets that can help make your photos look darker. The combination of modifying the image with the photo editor and following all the rules of photography will help you make the perfect dramatic lighting portrait.
Conclusion
The topic of creating dramatic portraits photography can go on and on because they can be improved before the camera aperture clicks and at the stage of processing! Use this knowledge to create your own masterpieces!
FAQ
In this section, we will focus on questions that were not answered in the article, but still frequently arise among users.
What is Dramatic Lighting?
It is a special technique in the frame that is created in photography, theater, and films. You can use dramatic lighting to show a great contrast between light and shadow.
Why is Dramatic Lighting Important?
It's just as important as any other key aspect of the photo shot. It's the subject, the model, the setting, and the atmosphere in the frame that creates a masterpiece, and lighting plays one of the key roles.
How Do You Take Dramatic Lighting Photos?
You need to gather all the necessary equipment for photo shooting and set up your camera in the right way. If you are going to take a photo outside the studio the time of day has a big influence on the exposure. If you are going to take pictures indoors, the equipment described in this article will be very useful.