
Blog

February 27, 2025
Explore Advanced VSCO Alternatives
Discover the top 15 VSCO-like apps that are transforming mobile photography. Create professional-quality content straight from your phone—no DSLR required!

February 25, 2025
Topaz Denoise: Is It Effective? A Review Of Pros And Cons

February 25, 2025
iPhone Photo Edit Hack: Top 10 Universal Tips

February 25, 2025
Bokeh Technique: The Art of Portrait Photography

February 21, 2025
Instagram Updates 2025: What New Features To Expect

February 18, 2025
St Patrick's Day Card Ideas To Spread Some Lucky Cheer

February 18, 2025
Why Won't My Camera Focus? Effective Solutions To Fix Issues

February 17, 2025
St Patrick's Day Baby Picture Ideas For A Fun DIY Shoot

February 17, 2025
12 GIMP Alternatives for Mac/Windows

February 17, 2025
Top 11 Picasa Alternatives
Most Popular

February 29, 2024
How To Take Photos Of Apartments: A Comprehensive Guide
Do you want to learn how to distinguish between good real estate photos vs bad? Then you are in the right place! Today, our blog discusses the rules for photographing apartments and houses for rent or sale.
Learn More
July 10, 2024
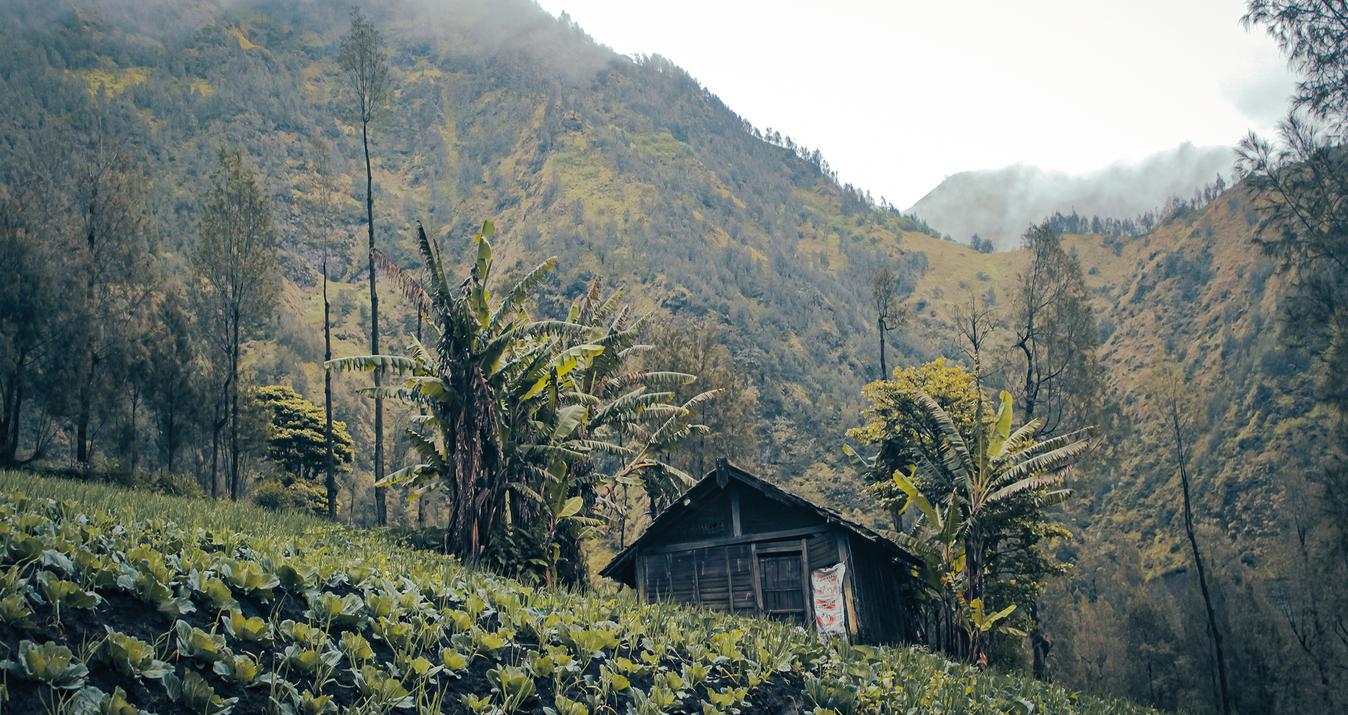
How to Photograph Mountains Up Close
Explore the beauty of mountain ranges up close and capture the breathtaking landscape with a wide focal length. Discover the thrill of photographing jagged rocks and snow-capped peaks in all their grandeur.
Learn More

July 29, 2024
3 Essential Tips for Wildlife Photography
Enhance your wildlife photography skills with our expert tips on capturing stunning shots of animals in their natural habitat.
Learn More
Subscribe to know first
Our delivery owl will bring you our best deals and news about Skylum news.
Thank you for subscribing!
Unlock Pro-Quality iPhone Photos with Our Free Guide! 📸
Gain instant access to simple yet powerful tips for enhancing composition, lighting, and editing—everything you need to transform your photos effortlessly!
👇 Fill out the form below to receive your guide directly via email.
Curiosity is the doorway to skill
Thank you for your interest! Discover the secrets to pro-quality photos in your guide, waiting in your inbox.