The Best Travel Tripod in 2026: Finding Your Perfect Companion
Last Updated on January 16, 2025
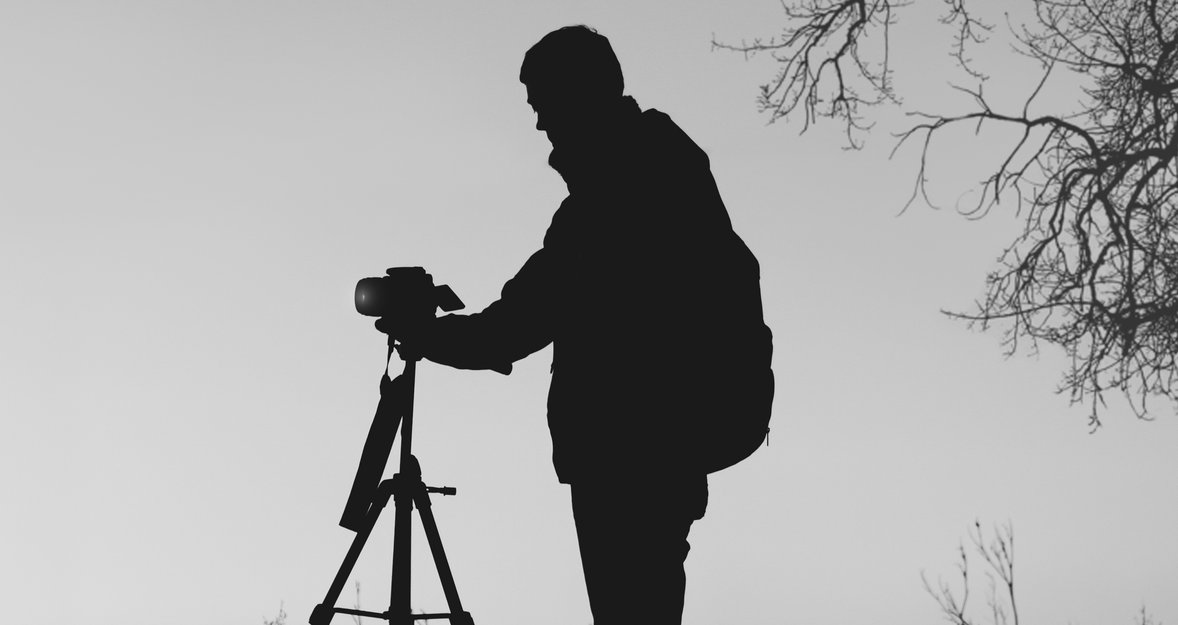
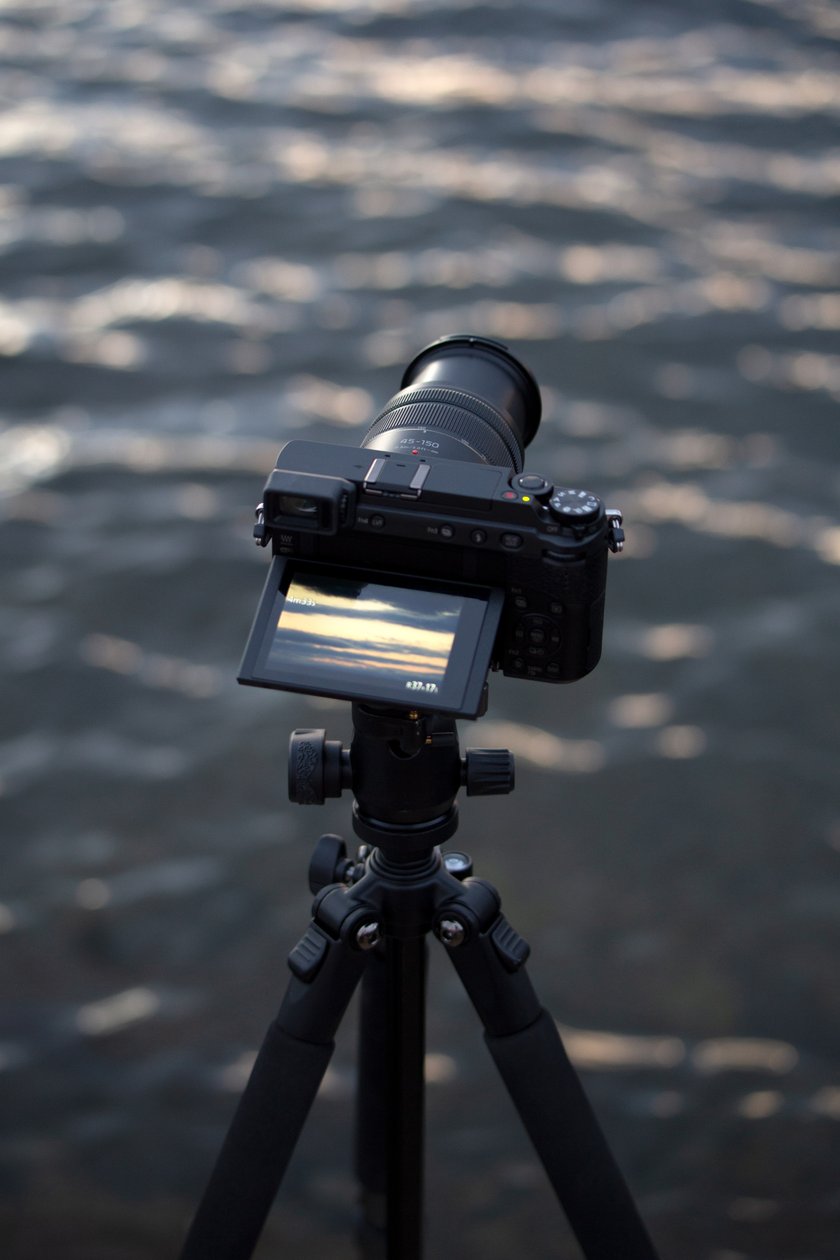
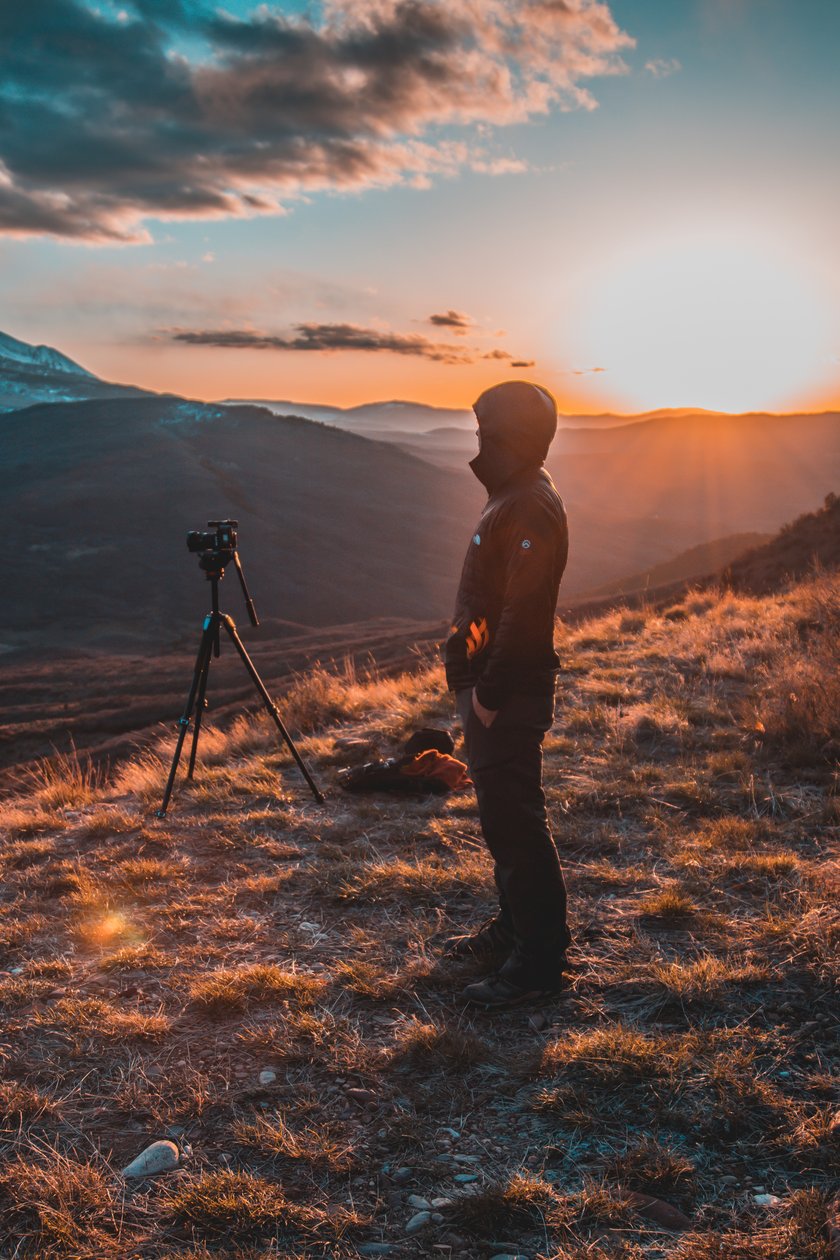
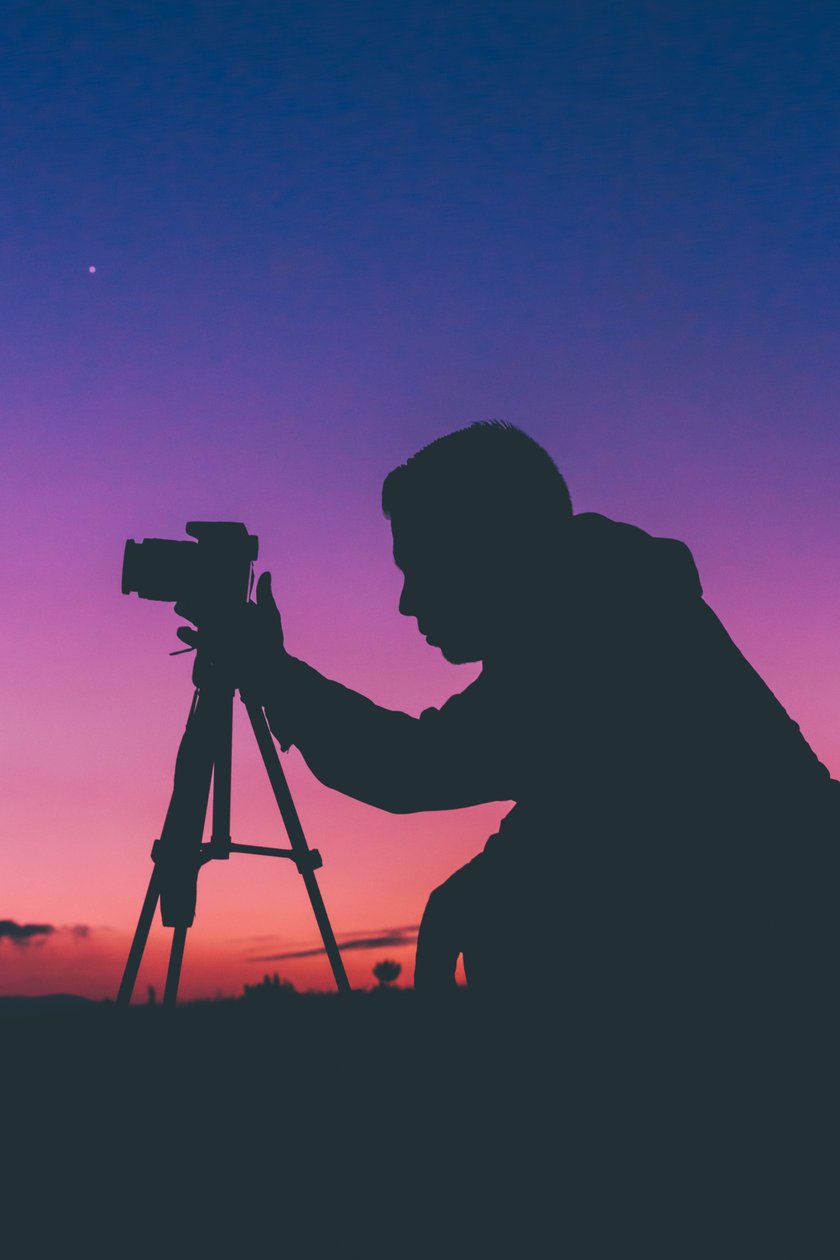
For those who earn their living as photographers, special equipment is simply necessary. Using a tripod is an easy and affordable way to instantly improve the quality of your photos. That's why it's so important to pack it with you when you travel, especially if you take a lot of pictures of landscapes.
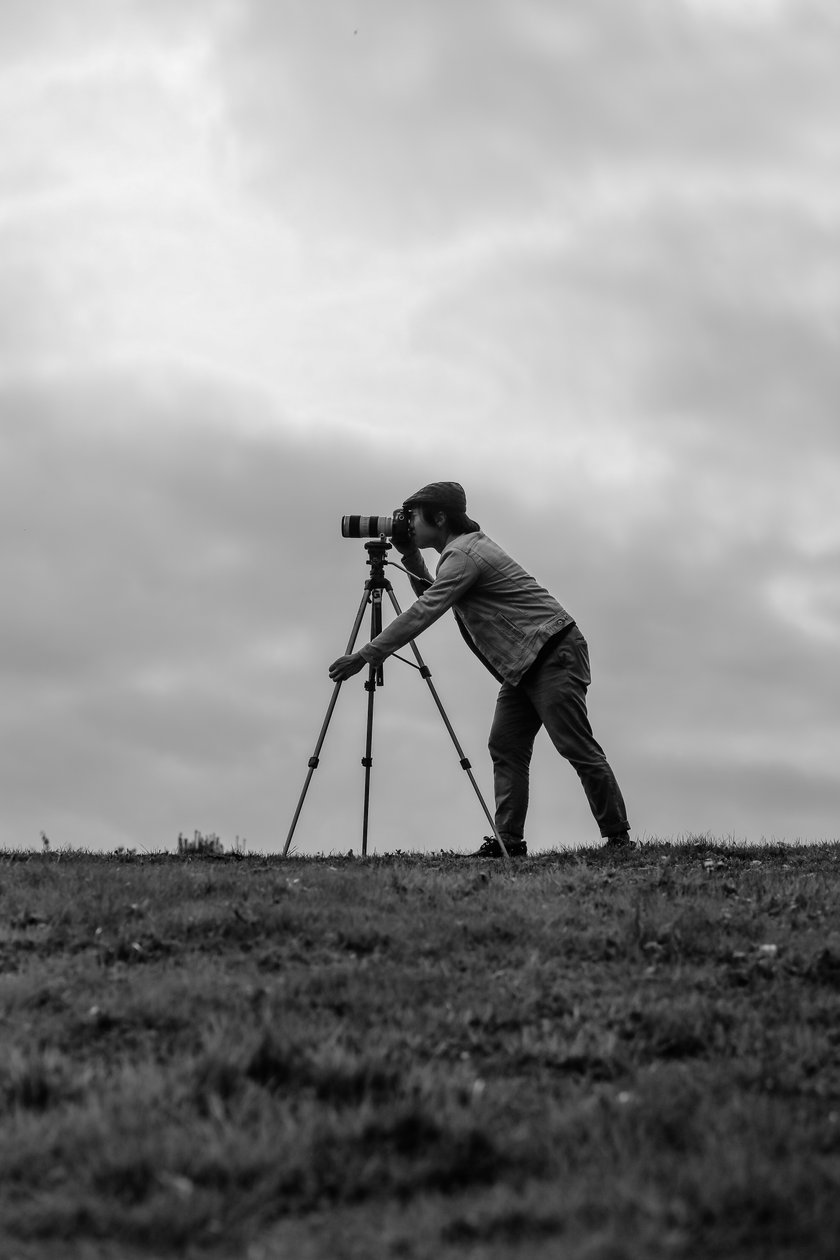
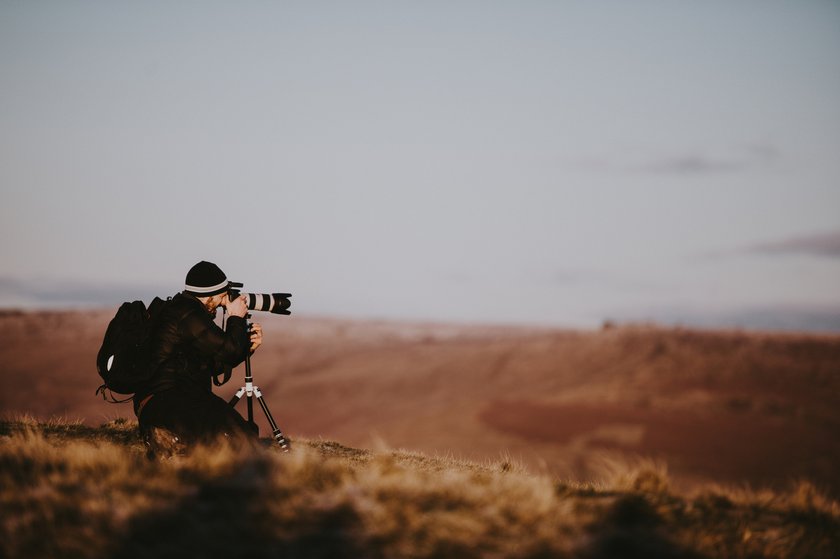
Today high-quality tripods are an essential tool for any photographer who enjoys traveling and taking pictures on the go. It provides stability and support for your camera, allowing you to take sharp, steady shots even in low-light conditions or when using slow shutter speeds. The best compact tripod also allows you to take self-portraits, group shots, and time-lapse photography without the need for a third party to take the photo. Amazingly convenient, right?
In addition, tripods for traveling are usually lightweight and compact, making them easy to carry and store in your luggage. Overall, this tool can significantly improve the quality of your travel photography and provide more creative options.
Now we're going to help you find the best lightweight travel tripod that will last you years and help you get incredible shots. Let's take a look at the most popular options for this equipment and the things you should consider before you make your purchase.
Moreover, if you make further improvements to your picture in a photo editor like Luminar Neo, the result is going to be stunning!
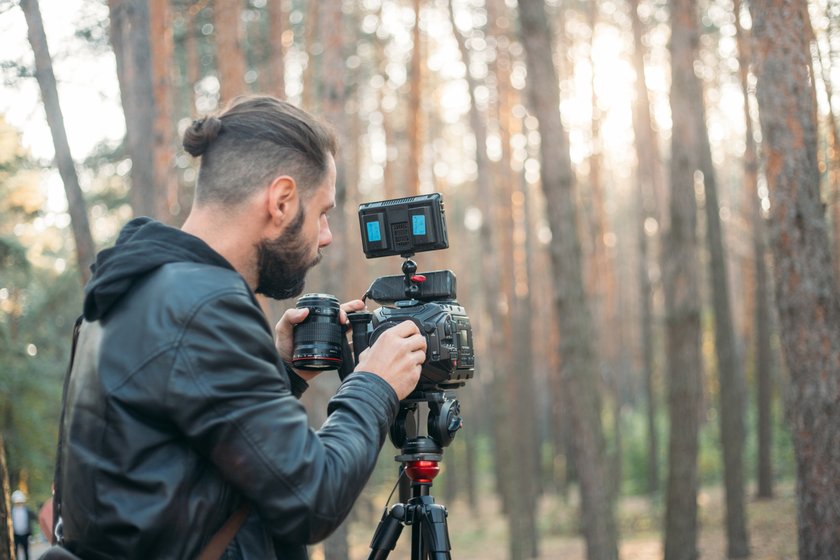
The 5 Best Tripods for Traveling in 2026
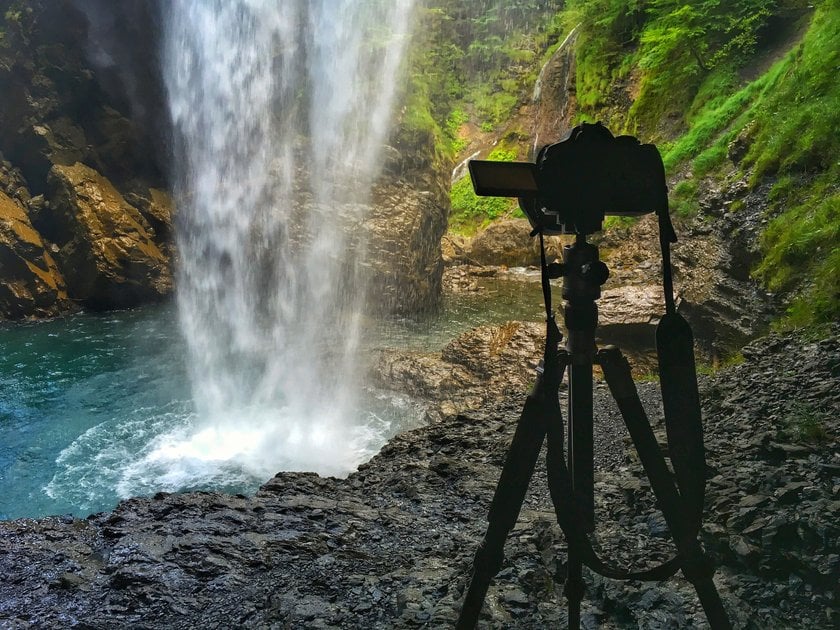
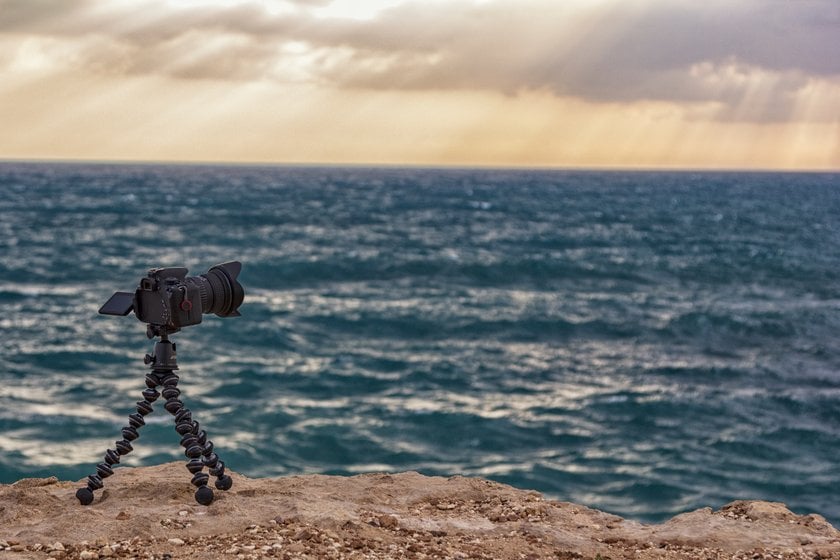
Every travel photographer especially understands the importance of using tripods to capture stunning, sharp images. When traveling, it's essential to have lightweight equipment that doesn't add weight to your gear. At the same time, the model you choose should be more functional than the tabletop tripod (you never know what surprises your trip will bring). Today we've selected the top 5 options to help you get quality photos and videos on the go.
By the way, if you are a nature or architecture photographer, you especially need HDR photo software. We recommend you follow this link to take advantage of Luminar Neo's exclusive AI tools and take your images to the next level.
1. Peak Design Travel Tripod
 This is a versatile and compact travel tripod designed for photographers and videographers on the road. It is created to be lightweight and portable while providing stability and durability. The features a unique design that allows it to fold down to about the size of a water bottle, making it easy to pack and carry.
Judging by the reviews on the Internet, many professional photographers spend hours testing this equipment while traveling and are very pleased with the quality of the images they get. This model has a load capacity of up to 20 lbs, making it suitable for use with a wide range of devices, including full-frame cameras with heavy lenses.
Peak Design also provides a unique aluminum center ball head construction that allows for quick and easy adjustments, as well as a built-in bubble level for accurate setting. Other features of this light weight tripod include:
- Five leg sections with twist locks for easy setup.
- Arca-Swiss compatible quick-release plate.
- Low and reverse shooting modes for increased versatility.
- Weather and shock-resistant construction.
- Available in carbon fiber and aluminum.
While this is a well-respected and popular product, there are a few potential drawbacks to be aware of, including price and limited accessory compatibility. The tripod is widely available and can be purchased from a variety of retailers, including camera stores and online retailers. The price varies depending on the model and reseller. For instance, the aluminum version typically costs around $350 to $400, while the carbon fiber ranges from $599 to $699.
2. Gitzo Traveler
 This is a line of high-end travel tripods created for people who need a lightweight and portable support system for their cameras while on the go. The Series 1 includes several various models, each with its unique features and specs, but all share a similar design philosophy and construction.
They are made from high-quality materials such as carbon fiber, which helps reduce weight without sacrificing durability. We consider it the best travel tripod for DSLRs. The model is designed to be compact and easy to transport, with legs that fold in on themselves to reduce the overall length. Other key features of this equipment:
- A reversible center column for low-angle shots.
- An interchangeable head system with a standard 3/8" screw.
- A hook to add weight to the column for increased stability.
- Rubber feet with interchangeable spikes for use on a variety of surfaces.
- A maximum load capacity of up to 22 lbs.
Overall, this is one of the best travel tripods that provide excellent stability and support for your devices, while also being lightweight and portable. However, the price of these models is typically higher than many other tripods you can buy on the market, making them a premium choice for professionals. But what's the solution? If you are just starting, you can find more affordable tripods for photography.
3. Manfrotto BeFree
 Now we move on to the best carbon fiber travel tripod. This brand is developed for photographers who want to travel and need a lightweight solution for their camera gear. It is made of high-quality carbon fiber, which makes it both strong and very light, with the added benefit of reducing vibration during use.
It is part of the modern range of collapsible tripods known for their compact size and easy portability. You can easily take this equipment with you on your travels. It has a quick-release system for attaching and detaching your camera, and the legs can be easily adjusted to different angles on uneven terrain. It has a load capacity of up to 17.6 lbs. Let's highlight other specifications of the model:
- A ball head with built-in bubble level for easy and accurate adjustments.
- Tripod has four leg sections with twist locks for quick setup and disassembly.
- A max height of 59 in and a min of 16 in.
- A reversible center column for low-angle shots.
- Rubber feet with interchangeable spikes for use on a variety of surfaces.
- Weighs only 2.8 lbs and folds down to just 16.5 in.
This regular tripod works well in a variety of shooting situations, from landscapes to portraits to traveling, and is an excellent choice for people who value mobility and convenience. In general, the tripod falls in the mid- to high-end price range for such equipment. Such a model can be a great gift for photography enthusiasts.
4. Punks Corey 3-Legged Thing
 This is a perfect lightweight camera tripod for your travel photography. This is a versatile and compact system designed for those who need a portable and durable support system for their cameras. The model features 3 removable legs that can be converted into a monopod or used as a boom arm for creative overhead shots. The legs are made of aircraft-grade magnesium alloy and have a load capacity of up to 66 lbs. Let's move on to the rest of the specifications:
- Made of aircraft-grade magnesium alloy.
- Maximum height 58 in and minimum (with legs fully extended) — 5 in.
- Folded length is 13 in.
- Comes with bubble levels for precise leveling.
- Weighs 3 lbs, making it easy to carry and travel with.
The tripod also features a removable and reversible center column that can be used for low-angle photography or reversed for macro photos. Other features include a 360-degree ball head, bubble levels, and rubberized twist locks for easy adjustments when setting up the tripod. This model also comes with a removable wrist strap for added stability and safety.
The main drawback is that the tripod kit has a relatively small minimum height of 5 in with the legs fully extended. This may be a limitation for some photographers who need to shoot from very low angles.
The best portable tripod is available online from major retailers such as Amazon, B&H Photo Video, and Adorama, and directly from the official brand website for around $200 to $300.
5. Induro Alloy 8M
 The Alloy 8M AT214 is a versatile and sturdy support system with multiple leg angles for photographers and even for filmmakers. It features a combination of aluminum and magnesium construction that provides a balance of strength and weight reduction. So, this is completely the best travel camera tripod that will help you achieve incredible picture quality. But if you want to unlock more details and clarity, be sure to try an image sharpener like Luminar Neo.
This model includes a number of leg sections that can be independently adjusted to three different angles for increased flexibility when shooting on rough surfaces. The legs are fixed in place with twist locks that are easy to use and provide a secure grip. Other characteristics of this lightweight travel tripod:
- A maximum load capacity of 22 lbs, making it suitable for use with a variety of cameras and lenses.
- A reversible center column that allows for low camera angle shots.
- A removable monopod leg that can be used as a stand-alone system.
- A rubber foot can be removed to reveal a metal spike for increased stability.
- A carrying case for easy transport and storage.
So, is a well-built and versatile travel tripod for DSLR that is suitable for a variety of photography genres. This tool is priced at approximately $150. But what about the disadvantages of this model? Although this model is made from a combination of aluminum and magnesium alloy, it still weighs approximately 4.4 pounds, which may be heavier than some other options. This can make it difficult to fit into a smaller camera bag or backpack.
Key Considerations for Selecting the Best Tripod for Travel
Selecting the right model for your camera and needs can be a challenging task, but there are some key considerations you can keep in mind to make the process easier. Here are some factors to consider if you want to choose the best tripod for traveling.
Also, don't forget that no matter which model you choose, you'll still need to retouch the resulting images. Think about choosing the best software for photography editing right away. You may have to buy paid subscriptions, and this is an additional expense that is especially important for beginners.
Materials
 The material of construction also makes a difference. Aluminum tripods are lightweight and sturdy, which is ideal for amateur photographers. They are also relatively inexpensive and readily available. Carbon fiber designs are lighter than metal ones but cost more. They are more durable and reliable, making them the perfect choice for professionals. The best lightweight tripod is the combination model, which has the best qualities of both materials.
Load Capacity and Weight
 The most important consideration when choosing a travel tripod is its size and weight. You want to find the best options that are compact and lightweight enough to carry with you on your travels, without being too bulky. It is also essential to consider the maximum load capacity of compact tripods for DSLR. Make sure that the construction can support the weight of your camera and any additional accessories you may have, like lenses, filters, or flashes.
Folded Size and Portability
 A model that is too large or heavy to pack and transport easily can be cumbersome and inconvenient to use while traveling. The folded size should be small enough to fit in your luggage or backpack without taking up too much space or adding too much weight.
Many tripods come with carrying cases or bags to make them easier to transport. When choosing among tripods on this list, consider your travel style, the type of photography you plan to do, and your overall gear load.
Stability and Leg Lock
 Stability and durability are crucial when buying a travel tripod. You want to find a tripod that is sturdy enough to withstand the rigors of travel and can withstand rough terrain and weather conditions.
Leg locks are an essential component of a tripod, holding the legs in place and providing stability. There are several types, each with its advantages and disadvantages. Look for a small travel tripod with a secure and easy-to-use option, such as twist locks, that can withstand wear and tear over time.
Accessories and Additional Features
 Some tripods come with additional accessories, such as spiked feet for use on uneven terrain or a hook for hanging weight to increase stability. There are even models with removable legs that can be converted into a monopod, which can be useful for certain types of photography. You may also need a phone mount on your tripod.
Care and Service of Tripods for Travelling
A camera tripod is a valuable tool for photographers, especially those who like to travel. To keep your equipment in good working order, it's important to take proper care of it. Here are some tripod care tips:
- Keep it clean. After each use, wipe down the tripod with a soft cloth to remove any dirt or debris. If it's particularly dirty, you can clean it with a damp cloth and mild soap. Just be sure to dry it thoroughly before storing it.
- Check for damages. Before every trip, inspect the equipment for damage such as cracks, loose screws, or bent legs. If you notice any problems, do not use the tripod until you've made the necessary repairs.
- Lubricate moving parts. Such equipment has several rotating parts, like the legs and head. To keep them working properly, apply a small amount of lubricant to the joints and hinges.
- Store properly. When you're not using the tripod, store it in a dry, cool place. Avoid exposing it to extreme temperatures or humidity as this may cause damage.
- Use a carrying case. If you're traveling with your tripod, use a carrying case to protect it from damage during transport. A padded case can also help prevent scratches and dents.
This travel tripod review would not be complete without detailed advice on caring for your new equipment. So, the frequency with which you need to clean your tripod depends on the type of photography you are doing. If you are taking pictures outdoors, it is a good habit to rinse the equipment with warm water after each shooting session. Also, when photographing in rainy weather, rinse the tripod with clean water and allow it to dry.
 There are times when your tripod needs to be cleaned immediately. For example, if you hear squeaks or grinding when you open or close the legs, you can be sure that something is blocked between the joints, such as sand or dried dirt. You should also clean your tripod immediately if it gets into salt water, especially if you make a photo shoot on the beach or near water. It has corrosive properties and there is a good chance that sand will get stuck in the cracks.
By following these simple tips, you can keep your camera tripod in excellent condition for many years to come.
To Sum It Up
Each of the 5 models in our top travel tripods list has unique features and benefits that make them suitable for different types of photography. Investing in quality equipment is essential for any photographer who wants to take their craft to the next level. A sturdy and reliable tripod can help you capture sharper images, reduce camera shake, and take advantage of low-light shooting opportunities. It also allows you to experiment with new angles and compositions, resulting in more creative and interesting photographs.
Also, don't forget to choose the right software to make post-processing even easier and more fun. If you're interested in the best photo editing for beginners, be sure to check out Luminar Neo first. This is a versatile and powerful tool for tripod photography. Its intuitive interface and wide range of AI features make it an excellent choice for photographers of all levels.
FAQ
How Do I Choose the Right Travel Tripod for My Needs?
Determine the weight and height of the tripod that will work best for you. Also, consider where you'll be using the equipment most. Make sure the model you buy is compatible with your camera. To choose the best option, check the weight limit and mounting system to make sure your DSLR can be securely attached, and think about a tripod setup.
Which Tripod Is Best for Solo Travel?
When choosing a tripod for solo travel, portability and ease of use are usually the most important factors to consider. Some options that may work well, in this case, are the Manfrotto Befree and the Gitzo Traveler (Series 0). You may also want to check out the Joby GorillaPod.
How Do You Carry a Tripod When Traveling?
Carrying all that gear around can be a challenge, especially when you're trying to pack light or move fast. Simply use a dedicated carrying case, attach the tripod to your backpack, or use a shoulder strap. If your tripod is too large to carry comfortably, consider breaking it into smaller pieces.
How Heavy Should a Travel Tripod Be?
A heavier tripod may be more stable, but it may also be more difficult to carry when traveling. As a general rule of thumb, a good weight for this gear is between 2 and 4 pounds. This range strikes a balance between stability and portability.


