Bird Photography Tips
Last Updated on June 18, 2025

Master the art of bird photography with expert tips on shooting and post-processing. Learn how to capture bird shots and enhance them using tools like Luminar and Lightroom.
Bird photography is the art of catching moments that slip away in a second, and it is unreal to get them back again. To catch a rare shot of birds means to get amazing emotions of happiness and satisfaction for the master. One precise shot can convey the grace of flight, the wariness of a gaze, or the power of movement — everything that an ordinary observer does not notice. Behind this shot are hours of waiting, silence, and concentration, when nature dictates its conditions.
But capturing the moment is only half the battle. You still need to set up the equipment, choose the composition, and think about the idea. Bird shots become truly unique after delicate post-processing. Luminar vs Lightroom details the advantages of the artificial intelligence editor and the usual tool for photo processing. They help to emphasize the texture of the pen, correct lighting, and remove noise from the background. Which tool to choose depends on the author.
Photographing birds
Photographing birds is a genre that combines reportage, nature observation, and sports photography. Birds are mobile, unpredictable, and don't let you get close.
Before releasing the shutter, you should study how a particular bird behaves — what time of day it is active, where it feeds, and how it reacts to human presence. This will help you to choose the right moment and not scare the subject.
The best time is early morning or evening. In soft light, shadows are longer and bird activity is better, so it is better to plan shooting under it than under harsh daylight — it distorts colors and creates unnecessary glare.
The challenges of photographing birds
Birds rarely stay still, and their flight is unpredictable, so fast autofocus and a short exposure time are required. In low light conditions, you have to increase the ISO and control the background — if it is too bright or colorful, the bird will be lost in the frame.
How to photograph birds? Don't be afraid to experiment and be prepared for dozens of unsuccessful shots for the sake of one successful one, so that you don't get frustrated, disappointed, and give up halfway through.
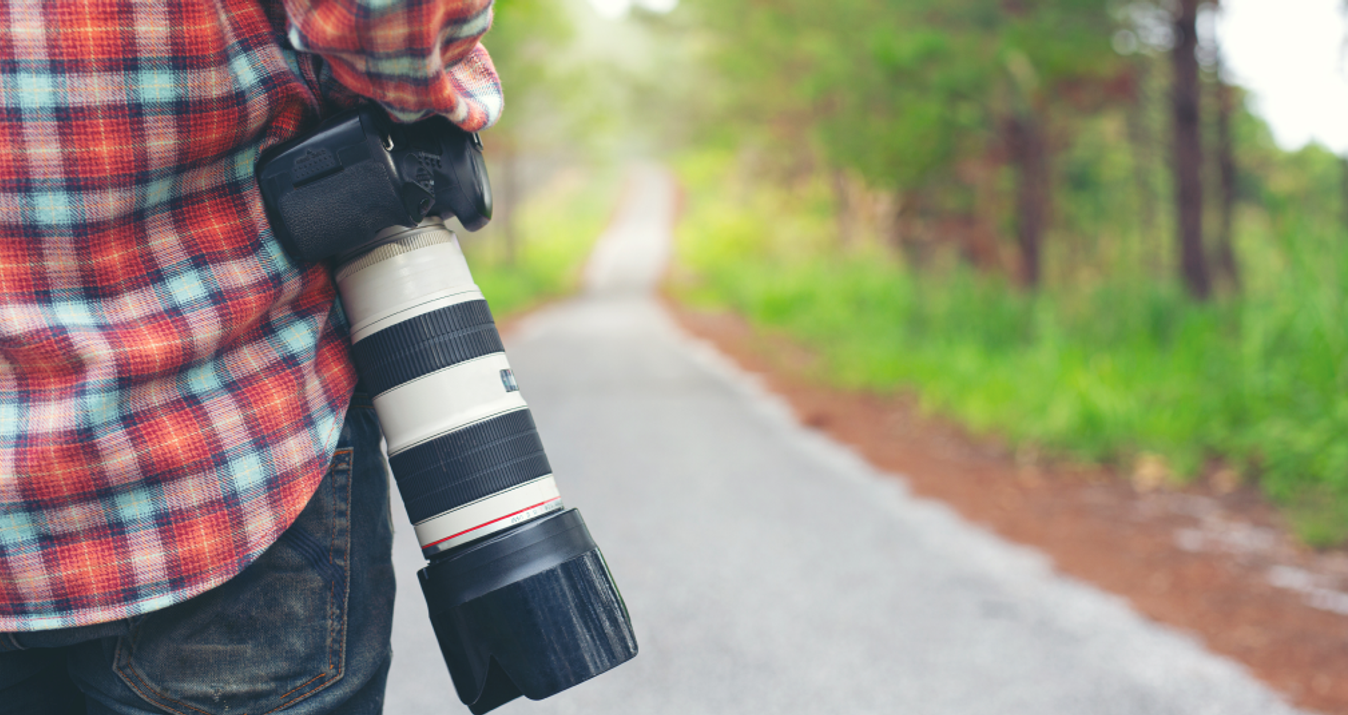
Essential equipment for bird photography
To achieve consistent results, you need the right equipment. It helps you shoot from a distance, capture movement, and maintain quality even in challenging conditions.
The best cameras for bird photography
The bird photography camera features high speed and reliable autofocus. Both DSLR and mirrorless models are suitable. Your chances are improved if the camera supports continuous shooting at 10 frames per second or higher and has a buffer for fast recording. It's beneficial to have a mode for tracking moving objects and customizable focus areas.
Other good examples:
Camera | Weight | Feature |
Nikon Z8 | 910 g | Excellent autofocus + high continuous shooting speed. |
Nikon Z9 | 1340 g | Mirrorless flagship with professional weather protection. |
Canon R5 | 738 g | 45 MP sensor + precise focusing on birds' eyes. |
Sony A9 II | 678 g | Lightning-fast shutter without viewfinder blackout. |
Sony A1 | 737 g | Versatile giant: 50 MP, 30 fps, 8K video. |
A good choice of camera with a crop sensor — they give you a «bonus» to the focal length, allowing you to shoot closer without changing lenses. For example, 300 mm on a crop will give you the equivalent of 450–480 mm. This is needed for shooting from a safe distance.
Lenses for bird photography
Telephoto lenses with focal lengths ranging from 300 to 600 mm have proven highly effective in birding photography. They allow you to operate without getting too close. The optimal option is a 400 mm f/5.6 lens, or a 100–400 mm lens with a variable zoom. For advanced hunters seeking unique shots, a 500- or 600-mm lens with a wide aperture (f/4) will suffice, but they are expensive and heavy.
Exclusive Tools of Endless Possibilities in One AI Editor
Explore Now!Stabilization when shooting handheld or with a light tripod reduces the risk of blurred shots and simplifies post-processing, even when using the best photo editor. When using the zoom, do not turn it up to the maximum, as this reduces the image quality at the edge of the range.
If you add a lightweight lens to your bird photography arsenal, consider a 70–300 mm lens. It is easy to carry around, especially in rough terrain.
Lenses for bird photography — comparing weight and capabilities:
Bayonet | Lens | Weight | Useful feature |
Canon EF | Canon EF 100-400 mm f/4.5-5.6L IS II | 1,64 kg | Excellent optical stabilization (IS). |
Canon RF | Canon RF 600 mm f/11 IS STM | 0,93 kg | Compact and lightweight with a long focal length. |
Canon RF | Canon RF 800 mm f/11 IS STM | 1,26 kg | Maximum zoom in a lightweight body. |
Canon RF | Canon RF 100-500 mm f/4.5-7.1 L | 1,365 kg | Smooth zoom range + dust and moisture protection. |
Fujifilm X | FUJIFILM XF 100-400 mm f/4.5-5.6 R LM | 1,375 kg | Reliable autofocus + weather protection. |
Fujifilm X | FUJIFILM XF 150-600 mm f/5.6-8 R LM | 1,605 kg | Ultrazoom with high image quality. |
Micro 4/3 | Olympus M.Zuiko ED 100-400 mm f/5-6.3 | 1,12 kg | Effective stabilization + dual autofocus. |
Micro 4/3 | Panasonic Leica DG 100-400 mm f/4-6.3 II | 0,985 kg | Compact superzoom with fast focusing. |
Micro 4/3 | OM System 150-400 mm f/4.5 TC1.25x PRO | 1,88 kg | Built-in 1.25x teleconverter (up to 1000 mm EFL). |
Nikon F | Nikon AF-S NIKKOR 200-500 mm f/5.6E ED | 2,3 kg | Constant f/5.6 aperture and smooth zoom. |
These devices are well-suited for shooting birds at a distance. For example, the Canon RF 100-500 mm is a versatile option for dynamic scenes, while the Fujifilm XF 150-600 mm provides a longer shooting range without compromising quality.
Photographing birds requires practice, experience, and patience. The more attempts you make, the better you will become at «reading» your feathered subjects and anticipating their movements.
How to photograph birds: Camera settings
Clear and expressive shots are obtained when the equipment is precisely adjusted to the shooting conditions. Birds move quickly and often change position, so incorrect settings can easily ruin a shot. The main recommendations will help you improve your birding photography skills in practice.
Recommended exposure settings
The right exposure settings are the foundation of photographing birds. Constant movement requires quick adaptation of settings to shooting conditions. Below is a basic table that can be used as a guide:
Situation | Shutter speed | Aperture | ISO | Tip |
Bird in flight in daylight | 1/2500 sec or faster | f/5.6 | 400–800 | Use a fast shutter speed (1/3200–1/4000 sec) for sharpness. This will be useful for swallows, swifts, and seagulls photographing swallows, swifts, and seagulls. |
A bird sitting in a tree | 1/1000 sec | f/6.3–f/8 | 200–400 | For a static shot, you can increase the aperture to f/8 for greater depth of field. Focus on the eyes. |
Shooting in cloudy weather | 1/1600 sec | f/5.6 | 800–1600 | Increase the ISO to maintain the shutter speed. Watch out for noise — ISO 1600 is acceptable on modern cameras. |
Golden hour (morning/ | 1/2000 sec | f/4 | 800–2000 | An open aperture and auto ISO will help in low light. Use a flash with a diffuser if the subject is in shadow. |
Auto ISO with a maximum limit can be used to avoid noisy images. For sharpness, it is best to keep the aperture in the range of f/5.6–f/8. At f/5.6, the background will be softer, while f/8 will provide clarity across the entire bird. If you need to adjust settings for bird photography in difficult conditions, start by setting the shutter speed priority and auto ISO.
Canon, Nikon, Olympus OM-D, Fujifilm, and Sony cameras offer double exposure photography. This setting allows you to combine two photos into one by superimposing or aligning two exposures in a single frame.
Focus modes for photographing birds
Autofocus can be useful when photographing birds. For moving shots, the tracking focus mode (AI Servo / AF-C) is suitable. It allows the camera to keep the focus on the subject when it is moving quickly.
If the bird is sitting still, single autofocus (One Shot / AF-S) is suitable. In this mode, the camera focuses once, which provides accuracy in a static scene.
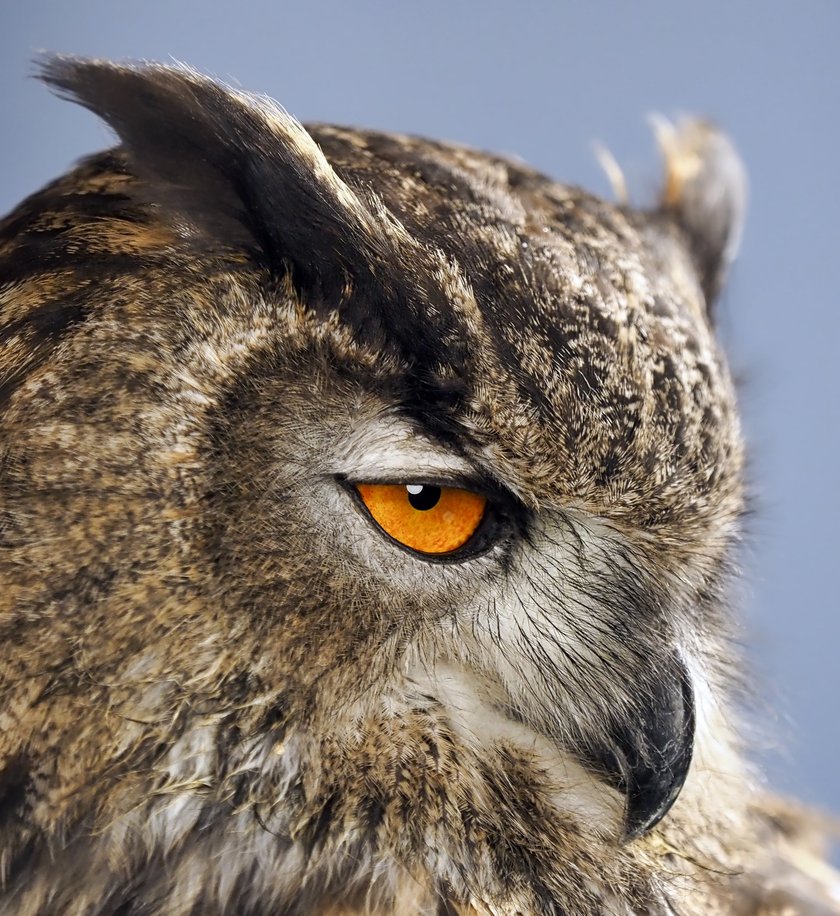
Additionally, you can use zone or spot focus mode to direct the camera precisely at the bird's head. Eye-detection autofocus tracking (available on the Canon R5, Sony A7 IV, and Nikon Z8) gives excellent results in portrait shots.
Using continuous shooting to capture events
One practical tip for birding photography is to use Burst Mode. It is especially useful when birds are taking off, hunting, or interacting with each other.
Examples of use:
when photographing a heron catching fish, continuous shooting at 10–20 frames per second allows you to choose the perfect moment;
in the morning, when birds are active, continuous shooting will help you capture shots with their wings spread.
To use this mode, it is recommended to enable H+ (high speed) in the camera menu and use a fast UHS-II or CFexpress memory card so you don't miss the moment due to a full buffer.
Your AI-Powered Photo Editor for MacOS and Windows
Discover Now!Additional useful camera settings
To get unique, high-quality shots, we recommend following these bird photography tips and adjusting the following settings:
Pre-AF (Pre-Autofocus). Helps you keep the focus locked in advance as the bird approaches.
Focus-priority shutter. Ensures that the shot is taken only when the focus is accurate.
ISO limit. It is recommended to set the maximum (for example, ISO 3200) to maintain a balance between light and noise.
RAW format. Using it gives you maximum possibilities for post-processing.
These tips will help you photograph birds correctly from a technical standpoint and consistently produce high-quality images.
Tips for photographing birds

Next, we will discuss how to take pictures of birds — from choosing a subject and location to composing the shot and working with lighting. This information will help you avoid common mistakes and improve your results from the very first shots.
1. Choose your bird
Choosing one species of bird allows you to study its behavior, activity schedule, and preferences, which makes it possible to capture the perfect shot. For example, titmice, sparrows, and pigeons are often found in cities and are not so shy — you can use them to practice your basic skills. Then you can try photographing woodpeckers, jays, or herons in parks and suburbs. One useful bird photography tip is to study the routes and habits of your chosen species.
2. Use natural lighting for best results
The optimal time for shooting is one hour after sunrise and before sunset. The light at this time is warm and soft, conveying the texture of the feathers well and avoiding harsh shadows. For example, in the morning light, the white feathers of a heron do not “fade” but retain their detail.
Direct bright sunlight at midday causes uncontrollable glare, so it is best to avoid this type of light. In cloudy weather, the light is diffused, which is also suitable for portrait photography. If you need to compensate for the lack of light, it is better to increase the ISO than to sacrifice the exposure.
3. Be patient and move slowly
Any sudden movement can scare away birds, so you need to be patient and unhurried, keeping your camera steady even before you approach. A good strategy is to choose a hiding place — a bush or tree — stand still, and wait.
Many birds return to their favorite feeding spots or nests on their own. One of the basic tips for bird photography is to be quiet and still. Even with a simple camera, you can take a great shot if you wait for the right angle and behavior of the bird.
4. Choose the right location
To capture wild birds on camera, you need to go where they live. The best places are natural areas with minimal human presence, such as forest belts, riverbanks, and nature reserves. In the city, parks, botanical gardens, and lakes are suitable.
There are useful apps available online that allow you to view who lives in the area in real-time. Many bird photographers use the eBird app or simply monitor their chosen location for a couple of days. If you find a feeder or a place where birds often sit, that's already a good spot for shooting.
It is convenient to shoot where you can hide behind a tree, in the bushes, or in a shelter. Alternatively, you can arrive early and wait quietly for the birds to come on their own.
If you want to compete in birding photography, choose places with diverse landscapes — you're more likely to encounter a wider range of species there. For example, at the junction of a forest and a field or near water. The more diverse the environment, the more interesting the shots.
5. Choose compositions for photographing birds
A well-constructed composition makes images more expressive. Even the brightest bird can get lost in the background if the frame is not constructed properly. Below are the basic techniques for use in photo reports about birds.
Fill the frame and keep it clean
Always try to take a picture so that the bird occupies most of the frame. If it is small, it will be difficult to see its color, feathers on its wings and tail, and other details. Remove distracting elements such as branches in front of the lens, debris, and bright spots in the background. The fewer distracting elements in the photo, the better it will look.
The importance of backgrounds
The purpose of the background is to emphasize the bird — it should not compete with or distract attention from it. It is best if it is neutral and blurred. This is achieved with an open aperture and the correct distance to the subject. A colorful or bright background distracts and clutters the frame.
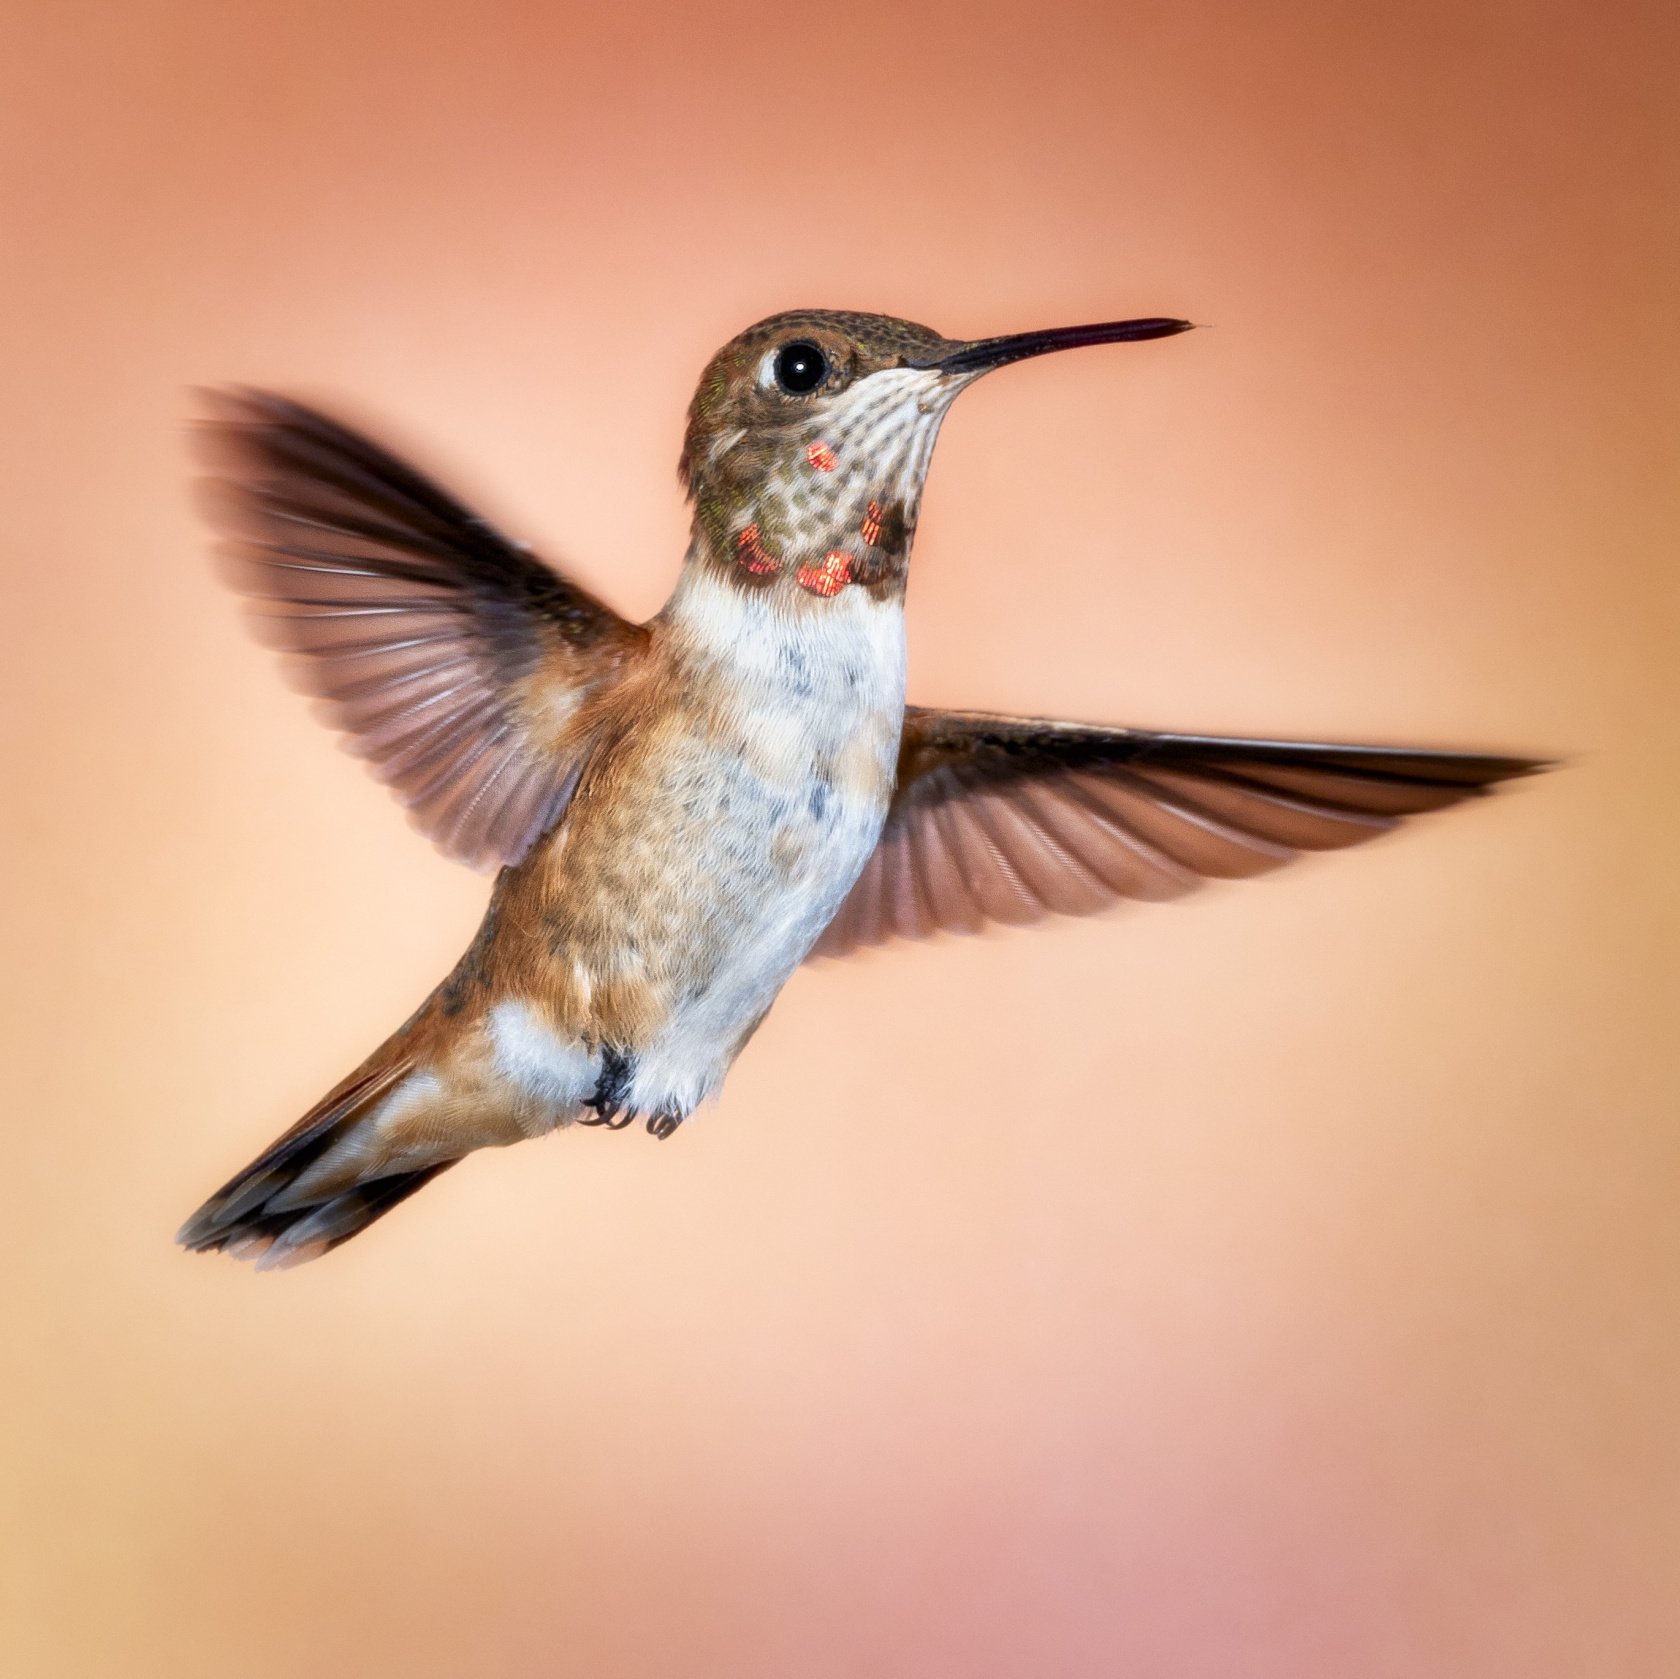
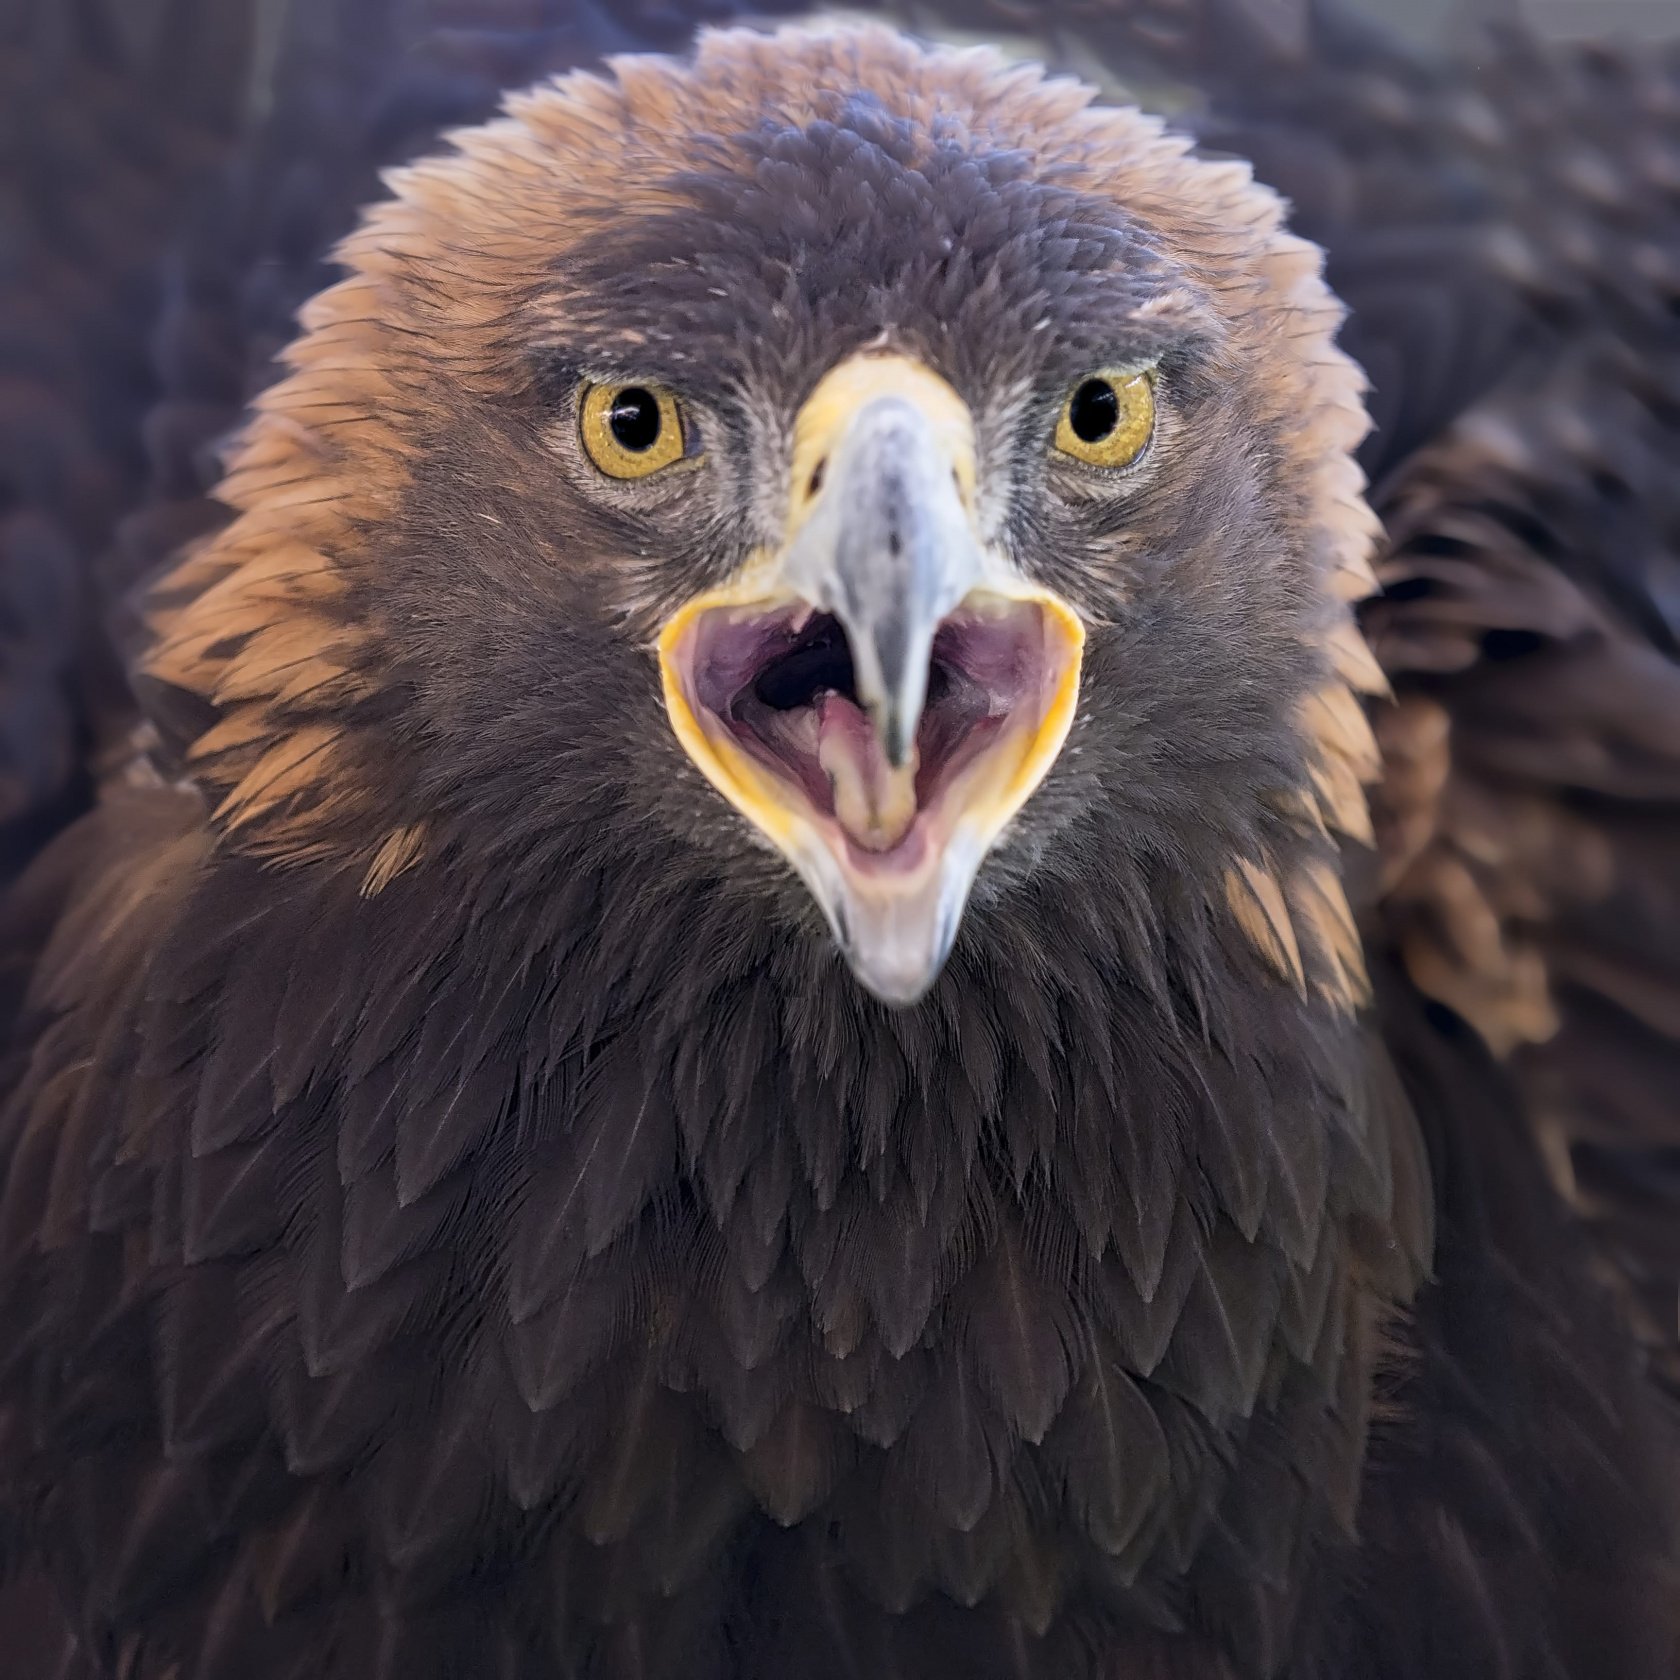
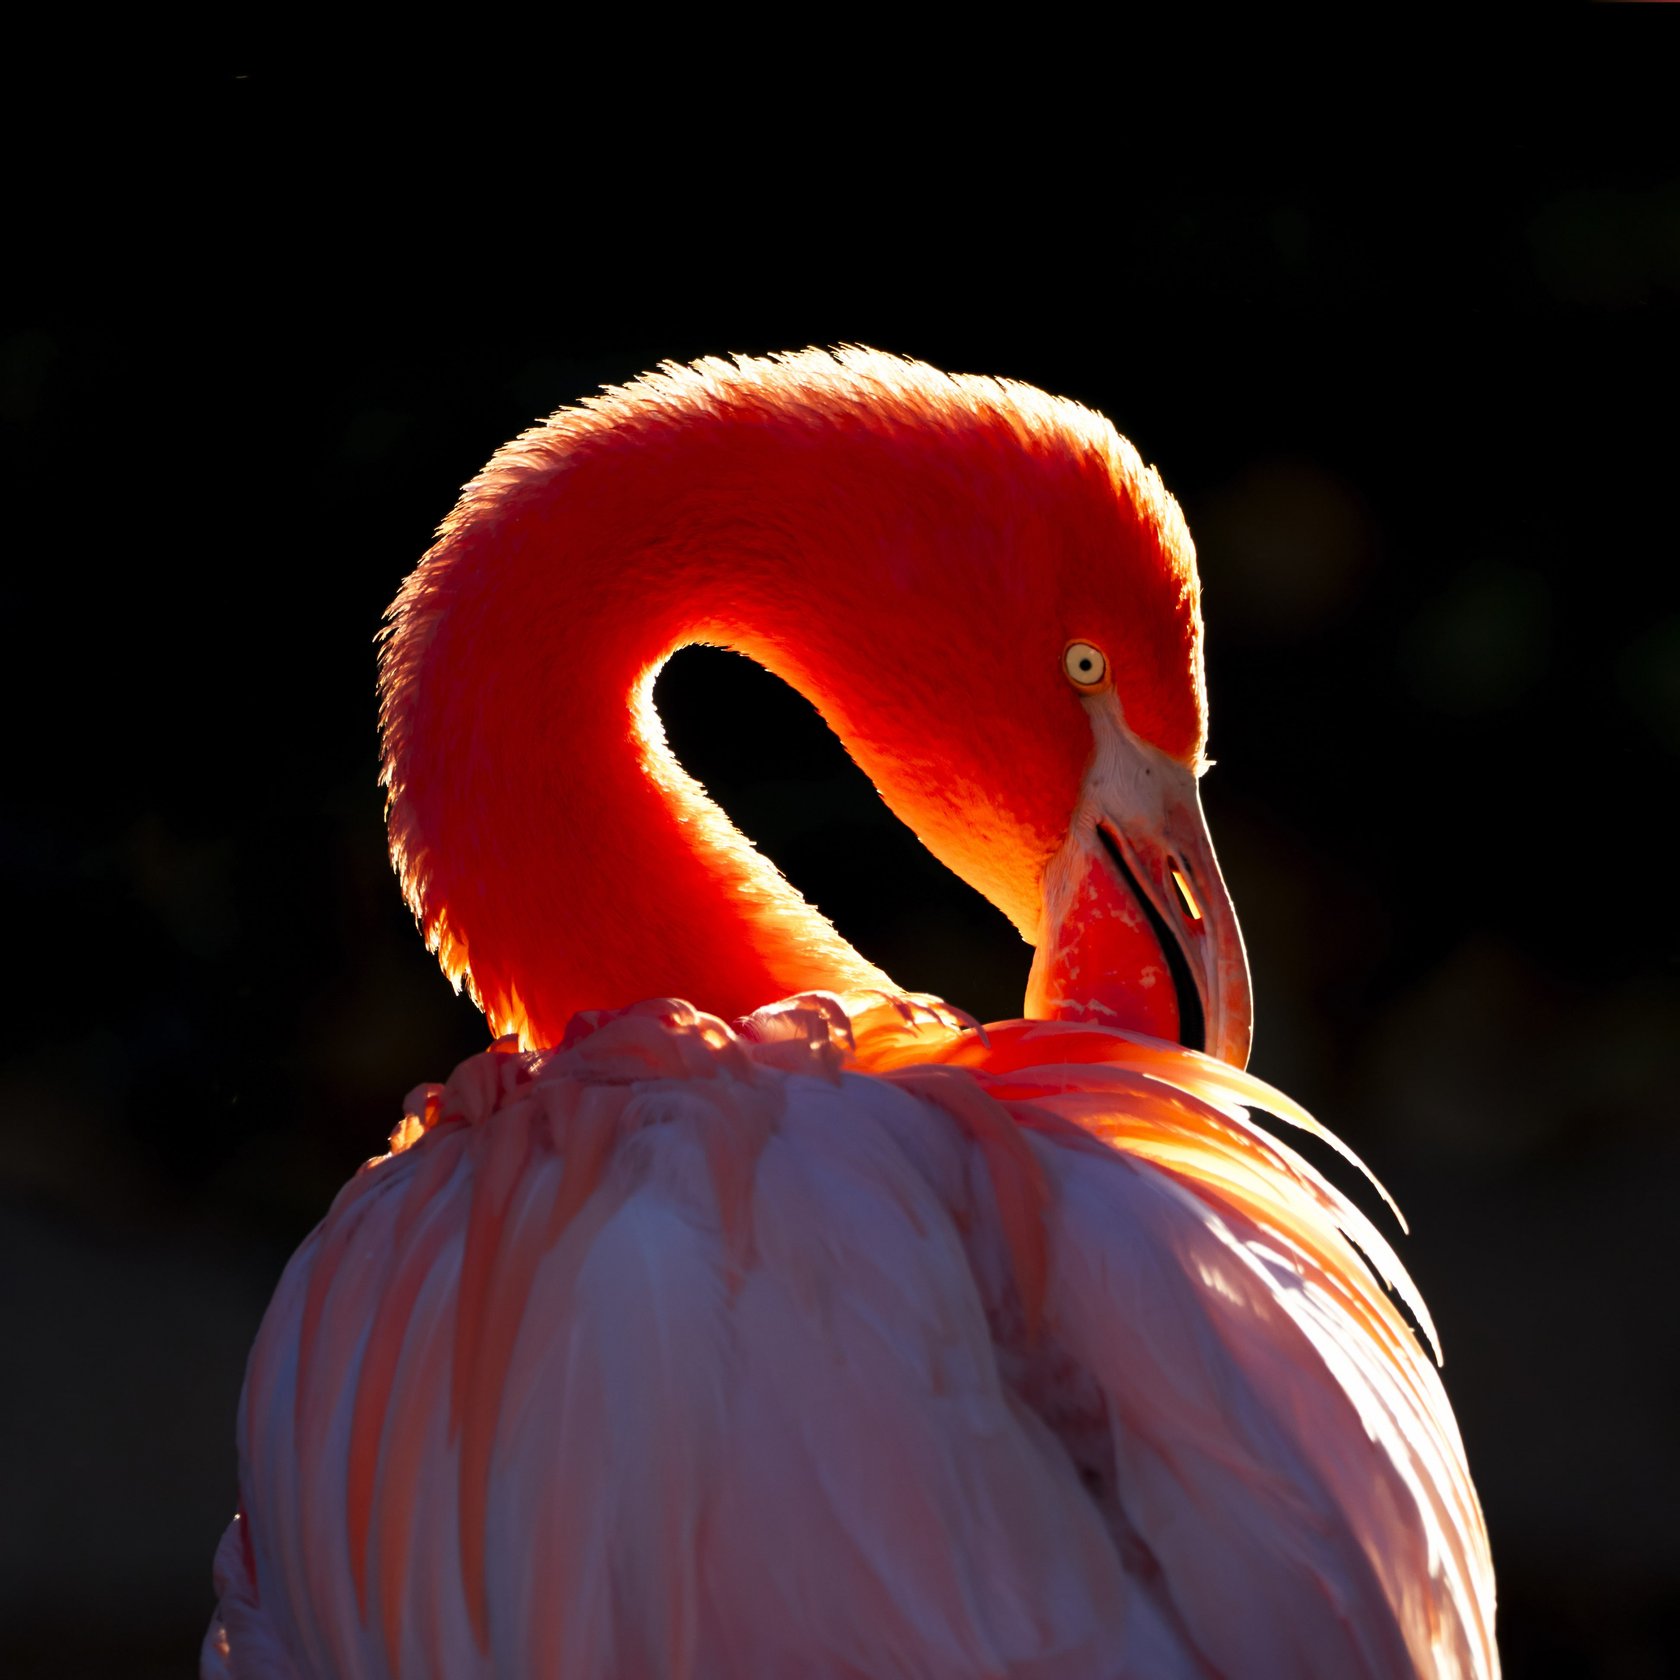
Stand at eye level with the subject
Photos taken from a bird's-eye level look more natural — they create a sense of presence and involvement for the viewer. If the bird is on the ground or low, it is worth getting down. This helps to convey the bird's gaze and emotions, even though many people don’t believe it is possible to capture these in birds. Many photographers have captured vivid emotions in birds on multiple occasions. Birds, like humans, can show joy, fear, anger, or curiosity. In nature, they use body language to communicate with each other. For example, raised feathers can indicate fear or threat, while flattened feathers can indicate relaxation.
Creating narrative images of birds
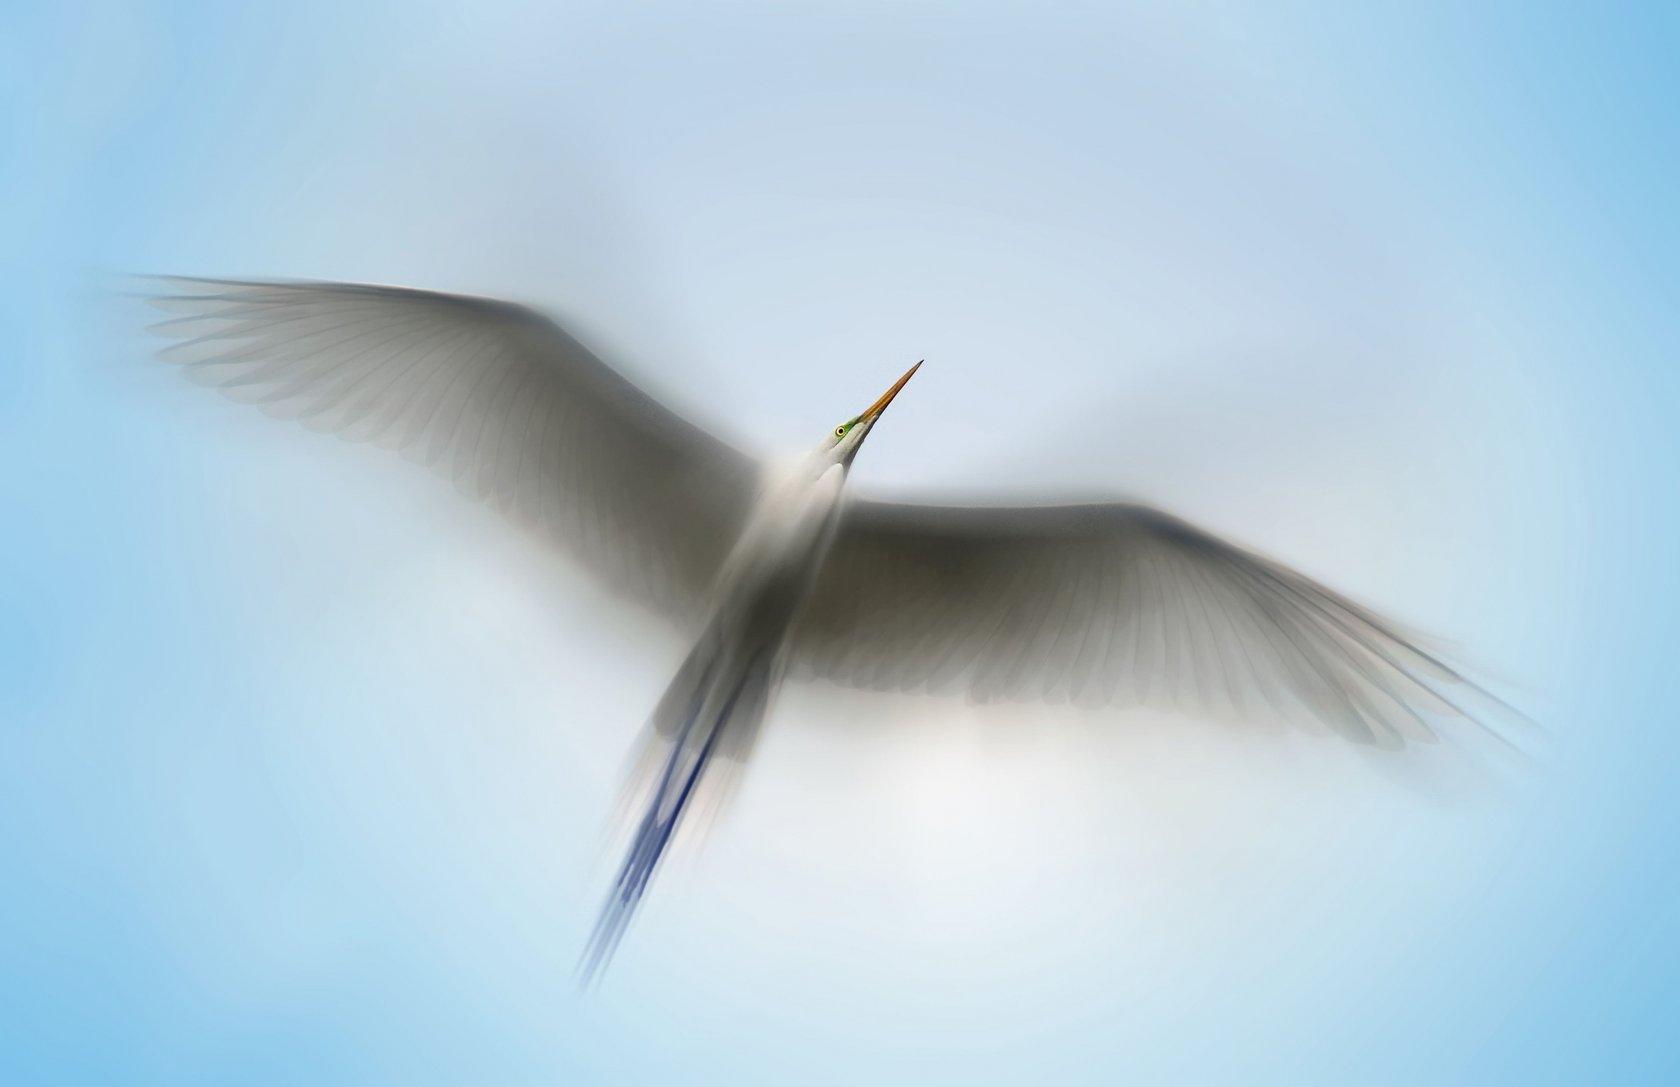
A photograph of a bird sitting on a branch or pecking seeds from a feeder is certainly cute. But the photos that attract attention are those that show movement. When a bird is preening its feathers, hunting, or feeding its chicks—that's when the story comes to life. And that's what makes a photo vivid, memorable, and interesting. In our case, photos are valued for their technique and the sense of life they convey.
6. Experiment with different shooting angles
The same bird can look different depending on the angle — the length of the beak, the size of the wings, tail, and head, and the shade of the feathers can also change. It is not always best to shoot from above or from the side. Try to find an unusual angle: from below, in profile, through foliage, or light.
It is better to take a series of photos from different angles and then choose the most suitable option. For example, image editing software will help correct the color or crop the composition in post-editing. Don't be afraid to look at things from a new angle — this is one of the most important tips for photographing birds.
7. Use Your Surroundings to Frame Your Shots Creatively
If the bird is sitting in the bushes, leave some foliage in the foreground — it will add depth to a flat photo and create a sense of presence. If you are photographing a bird in winter, use snowy branches to frame it. This will help convey the mood of the scene.
Surrounding objects mustn't obstruct the bird. If extra branches or leaves are in the way, you can use AI Background Remover. It will separate the bird from its surroundings and clean up everything unnecessary.
8. Practice Your Focusing Skills
Focus must be precise, especially on the bird's eyes. Even a slight shift makes the photo «empty». For stationary birds, you can use a single autofocus point. For movement, use tracking focus mode (AF-C or AI Servo). If a sparrow is hopping along a path, tracking focus will help you keep it in focus with every hop.
9. Always Keep Your Camera Ready for the Unexpected
What if a great scene happens in a second? A bird lands nearby, and you can see the entire model in detail. Or it spreads its wings in all their beauty, revealing a unique coloration that can only be seen at that moment. Birds hunt quickly too — a few seconds for a dive or a throw. If the camera is in your backpack, the moment will be irretrievably lost.
Keep your camera turned on and with you. Set up a “fast” profile — shutter priority, high shutter speed, auto ISO. If you are walking by the water and notice a heron, you will have a maximum of 2-3 s to aim and take a picture. The camera must be ready at that moment.
How to Photograph Birds in Flight?
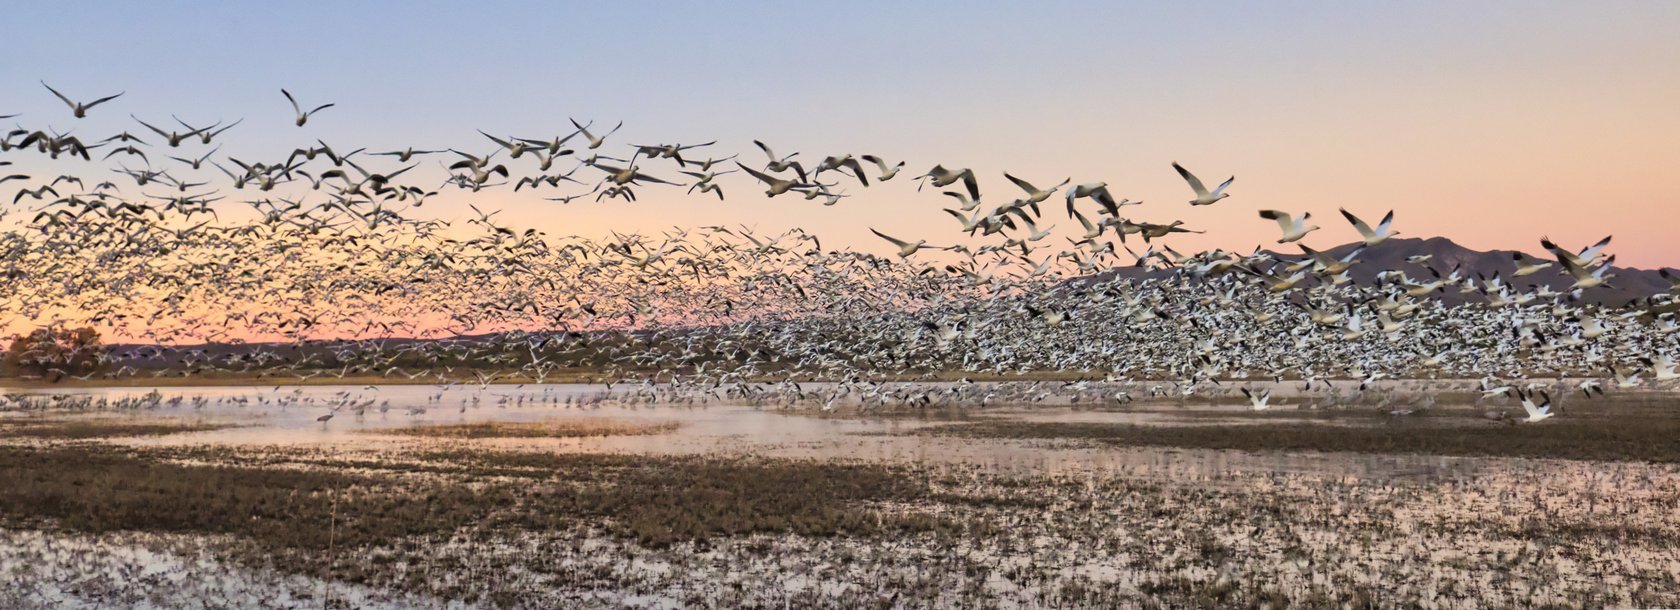
Capturing birds in flight and obtaining breathtaking, air-filled shots is the pinnacle of bird photography. Birds flap their wings quickly and almost imperceptibly to the eye, often changing direction for reasons known only to them.
Tracking Technique
Photographers specializing in photographing birds note that you need the skill to keep them in the frame while they are flying. Use the tracking autofocus mode (AF-C or AI Servo) and enable a group of focus points, rather than just one central point. This helps to maintain focus, even if the bird changes direction abruptly.
If a seagull is flying in the frame, the tracking focus automatically adjusts to its movement, preventing the image from blurring. It is better to start with slow birds such as pigeons, crows, and herons.
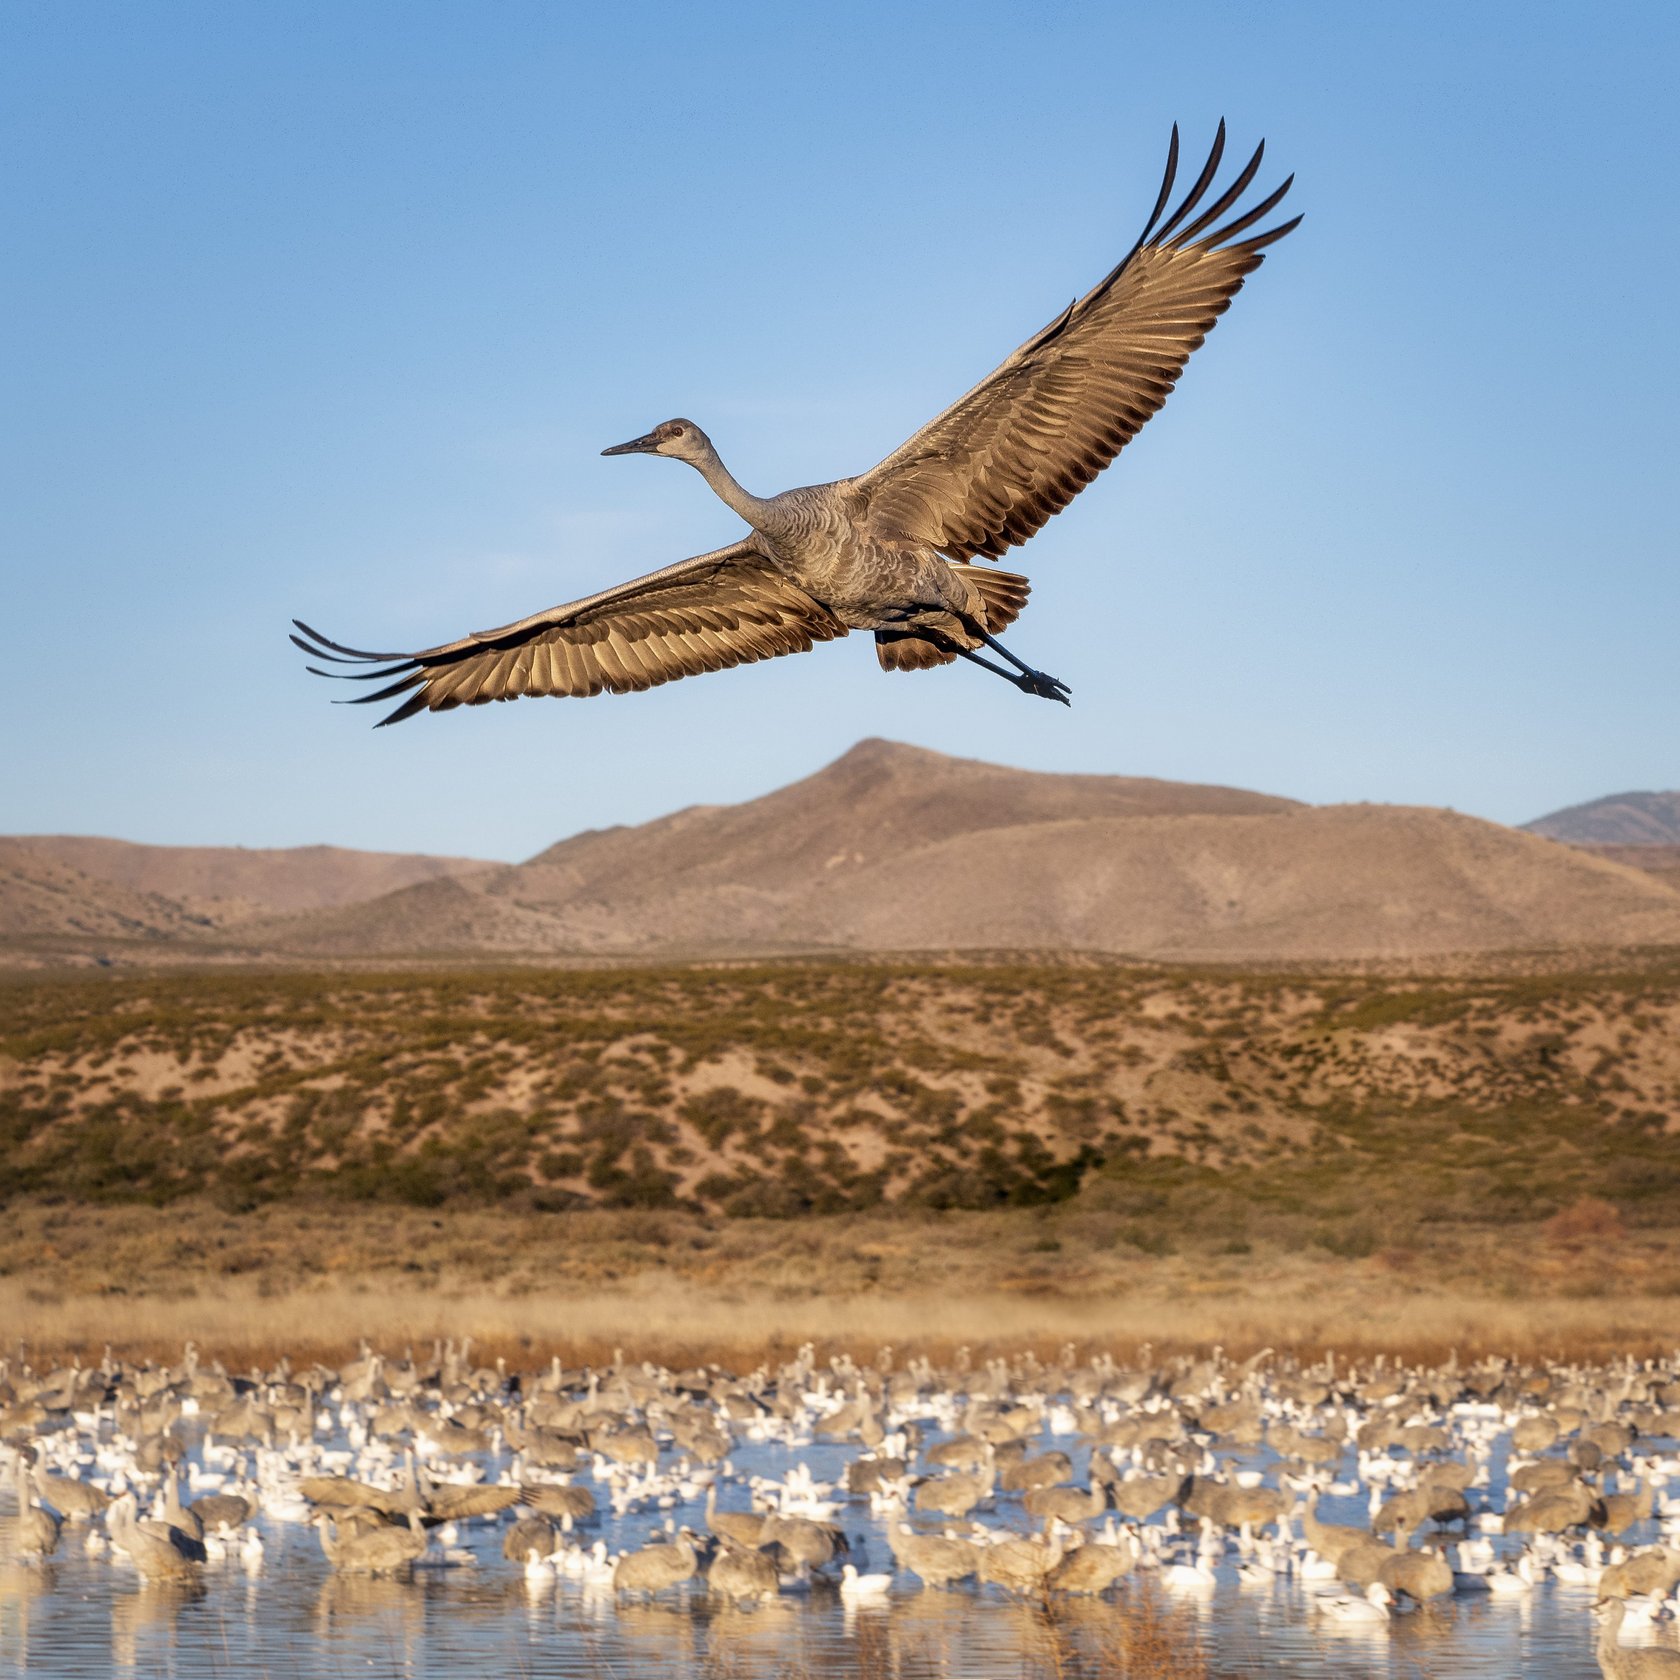
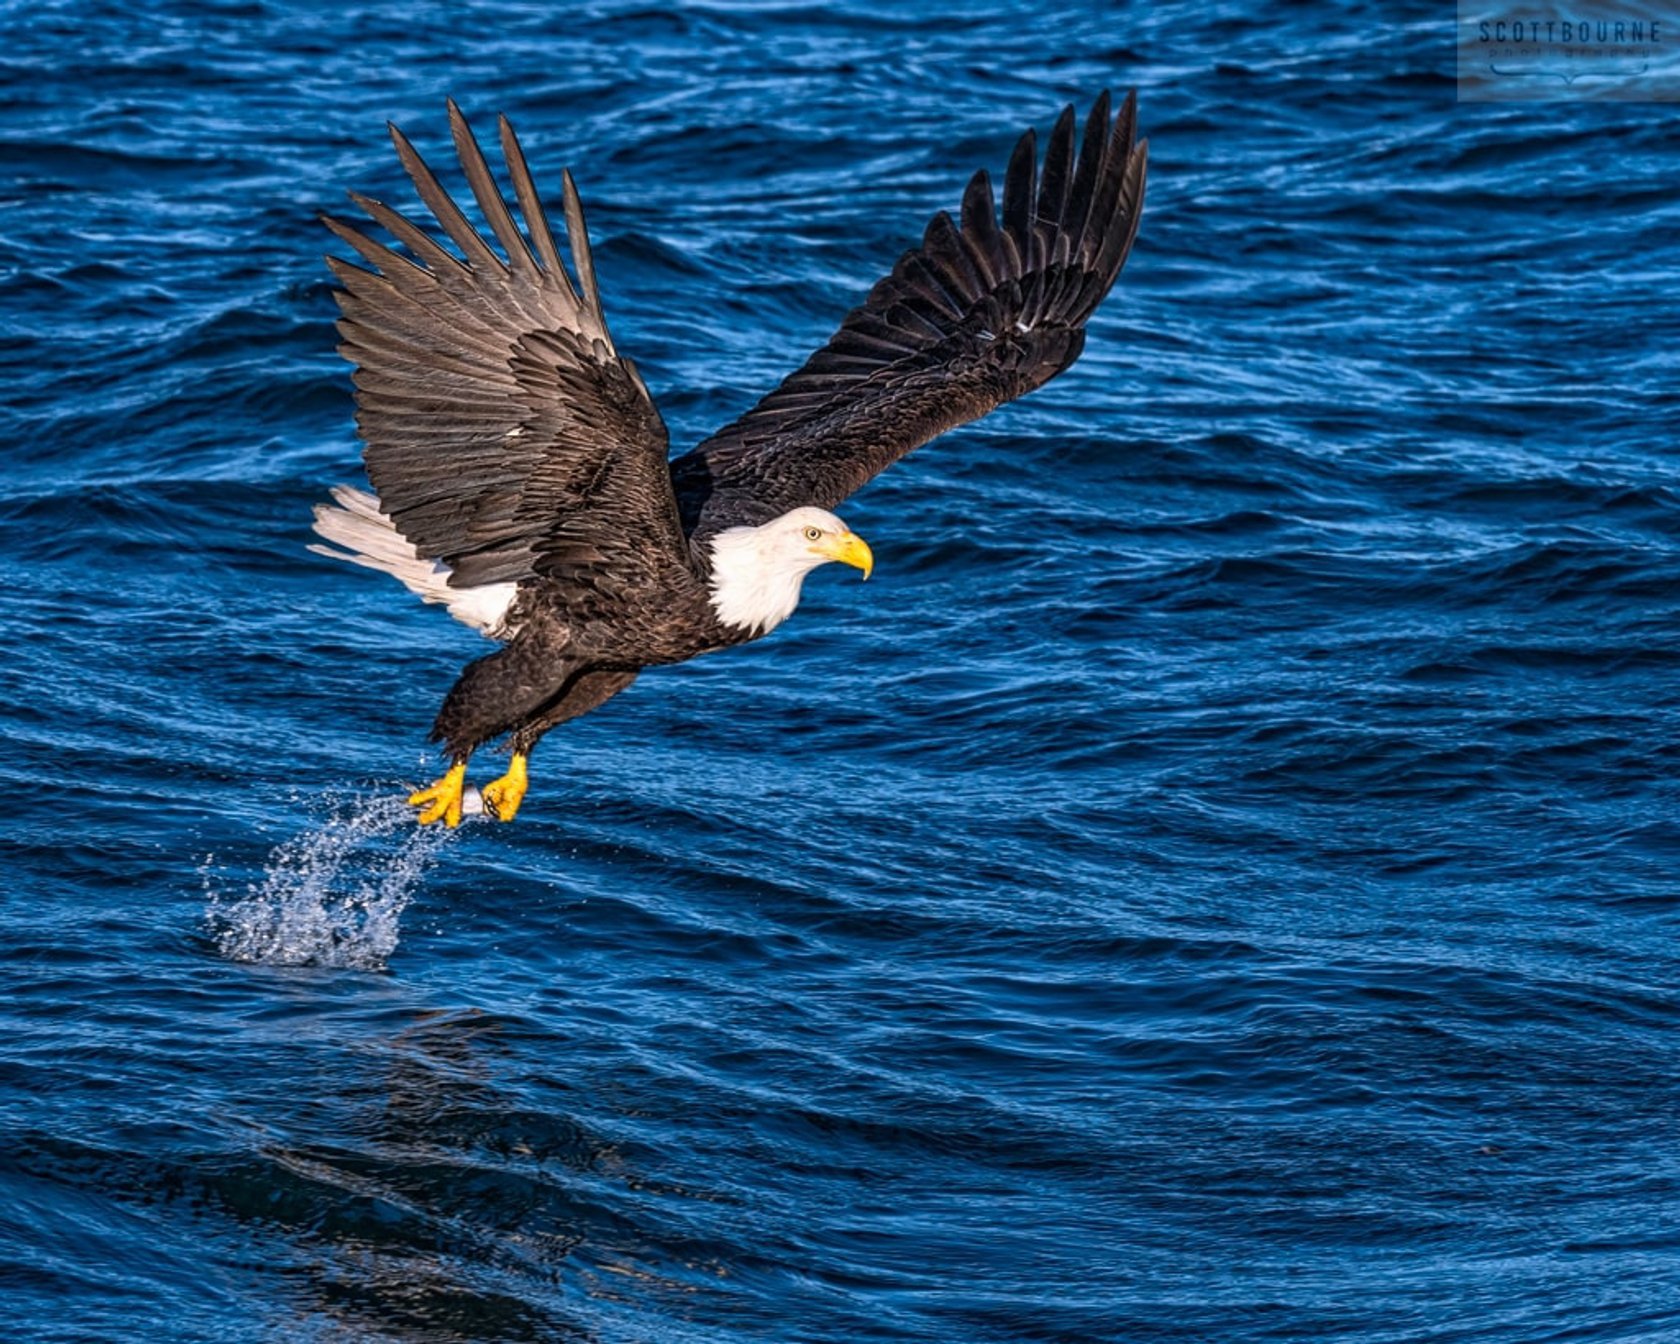
Spectacular Moments of Takeoff and Landing
Takeoffs and landings look spectacular and attract attention because of their dynamism and immediacy. If a bird is standing on a branch or by the water, it may be about to take off. Focus, set a short exposure of 1/2000 s or faster, and start shooting in burst mode. The camera should be ready in advance.
A duck pushes off from the water — at this moment, the spray and spread wings create a lively, interesting composition. The same logic applies to landing — catch the moment when the bird stretches its legs toward the branch. Continuous shooting at 10+ frames per second will greatly increase your chances of capturing a good shot of takeoff or landing.
Post-processing Bird Photos with Luminar Neo
Luminar Neo is an affordable and easy-to-use tool that helps you quickly improve your shots without complicated manual retouching. Here's what you can do in just a few clicks:
Replace the sky and improve the background. Luminar Neo has a Sky Replacement feature that recognizes the sky and changes it without manual cropping. You can add clouds, a warm sunset, or soft diffused light.
Adjust exposure, color, and cropping. If the exposure is off, the background may be overexposed or the shadows may be too dark. Photos of birds with bright plumage, such as snowbirds or goldfinches, look better with slight adjustments to saturation and contrast.
Modern techniques for increasing sharpness and noise reduction. The Denoise image function helps to remove excess grain without losing detail. When working with ISO 1600+. Tools for increasing microcontrast and sharpness are suitable for fine-tuning feathers — this highlights the texture without making the frame look «overdried».
Nowadays, editing photos is much easier than it used to be. Of course, you can't replace professionalism, but help yourself with modern applications and tools. If you are seriously interested in bird photography, they will greatly simplify your workflow.
Become a Photo Ornithologist

The ability to notice details, see something interesting in the most ordinary things, and sit quietly in ambush for a single successful shot—that's what unites birdwatchers. A short walk with a camera can turn into a real little adventure if you look at nature as an observer and storyteller.
To «tell a story», you need to start with the basics: learn how to compose your shot, adjust the exposure, choose the background, and remove noise. All of this is the foundation without which even the most interesting moment can go unnoticed.