The match made in Heaven: eagle photography & Luminar
April 13, 2017
If you plan to take photos of eagles or other birds, make sure to check out these helpful tips from Scott Bourne.
As a bird and wildlife photographer, I am lucky enough to witness some of the best scenes nature has to offer. On my most recent trip to Alaska to photograph bald eagles (my 19th visit to that state) I was mere inches from these magnificent birds. It only takes a few minutes in that situation to realize we’re all pretty small parts of an amazing universe and my place in it is to document what I am privileged enough to witness first hand.
When I get back to my digital darkroom I am faced with the challenge of bringing the beauty I saw to life on a computer screen. More and more often I find myself relying on Luminar to help me accomplish that task.
I prefer to get my images right in camera. It saves time in post and lets me spend more time acquiring the digital images I need to tell the stories the birds share with me. I also like to make “artistic” images that aren’t meant as natural history photo reproductions, but rather simple art meant to be enjoyed for nothing more than it’s aesthetic value. In those cases photo software like Luminar is invaluable.
Scott BourneSometimes the limitations of dynamic range, or a particular shooting situation leave me no choice but to find a solution in post to finish an image so it looks just right.

Once I get Luminar open all the real fun begins!
A couple of the things I like most about Luminar are the workspaces and presets. I usually import my images into Lightroom which I primarily use as a sorting and cataloging program. I then export my images to Photoshop where I create a duplicate layer and then call up Luminar as a plug-in.
You can skip all these steps if you just want to import your images directly into Luminar because it’s powerful enough to work as a standalone image editor. My workflow is partly just habit and partly because I have so many images that I need something like Lightroom to keep me organized.
I have created a custom Luminar workspace I simply call “Bird.” The download link for the workspace will be available in the end of this post. When I import my images into Luminar I tend to often use the same Luminar filters on a regular basis so having a custom workspace where all those filters I like are conveniently presented to me is very nice.

My “Bird” workspace consists of the following filters:
- Color Temperature
- Tone Saturation/Vibrance
- Polarizing Filter
- Clarity
- Advanced Contrast
- Details Enhancer
- Foliage Enhancer
- Highlights/Shadows
My regular workflow
I like to think that most of my images are darn close right out of the camera but every image can use a little nudge towards perfection.
Luminar’s Tone Filter allows me to correct the basics like exposure and contrast. Among the many sliders in this filter is a gem called Smart Tone which seems to be magic. Using this slider I can bring out feather detail in the shadows and adjust colors so they pop. When photographing bald eagle adults (with black bodies and white heads) the Whites & Blacks sliders come into play as well.
Using my image Eagle Flight, it is a good, solid exposure but it lacks the pop I like in my images so I added some contrast and smart tone, pulled down the highlights and boosted the shadows. I also upped the saturation a little and added some clarity. Lastly, I added some dehaze and polarizer to blue up the sky.

If you look at the before and after images you will see that the changes are subtle, but the after image more closely resembles what I saw with my naked eye, has more contrast, detail and punch.


Luminar has one of the shortest learning curves of any piece of post-processing software I have ever used. Within minutes of firing it up, I was making corrections that improved my images. As a bird/wildlife photographer, I find the presets to be particularly valuable when I want to preserve detail.
The artistic side of me likes to experiment with those same presets by stacking them and using different blending modes to see what sort of results I can get. If you want to learn more about Luminar there’s plenty of information at the Skylum site and over at my new site PhotoPlugins.net
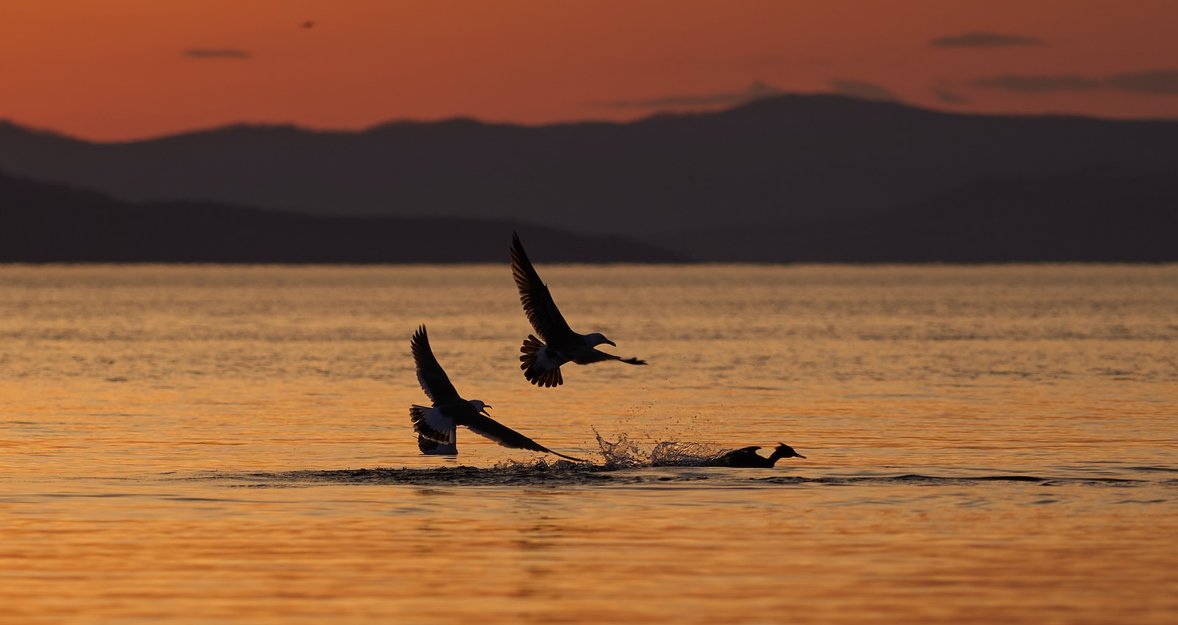
And check out some of the other images from my recent Alaska trip!


The "Birds" workspace for LuminarDownload the workspace and unzip it. Then, open any image in Luminar (standalone mode) - click on File - Show Workspaces Folder - drag the unzipped .plist file to the Workspaces folder in Finder
You don’t have to travel to Alaska to find cool birds to photograph. Most people reading this live within an hour of a zoo, national wildlife refuge, local, state, regional or national park. You can find birds in all these places. Look for them near water like lakes, rivers, ponds or seashores. Anywhere there’s water, cover, and food you’ll find birds. Taking pictures of birds isn’t the easiest kind of photography but it sure is fun!