Essential For Lighting Headshots Tips
August 22, 2023
Lighting is the linchpin of photography, especially for headshots, where the right placement can make or break a portrait. The best lighting for headshots captures the essence and personality of the subject in a compelling way, yet achieving this is an intricate balance of art and science.
This post explores the nuances of light placement for portrait photography editing. With a deep understanding of properties and creative techniques, photographers can craft headshots that tell a captivating story.
In this guide, you'll discover the secrets to mastering headshot lighting, from understanding sources to leveraging techniques and modifiers that enhance your portraits. Whether you're an experienced photographer or just beginning, this book will equip you with the insights to create remarkable, personality-driven headshots!
Role of Light in Headshots and the Importance of Compelling Headshots
Light in portrait photography is more than an illuminator; it sculpts the subject, defines depth, texture, and mood. The right conditions reveal facial expressions, showcase unique features, and enliven the eyes. In headshots, it is a powerful instrument that interprets character.
Compelling headshots are essential. Whether for a professional portfolio, an actor's casting call, or personal branding, an impactful headshot portrays credibility, professionalism, and personality. It serves as a prelude to the first encounter, leaving a lasting impression.
1. Mastering Headshot Illumination
A. Basics
Properties of Illumination
- Color Temperature: Different sources emit varying colors, measured in Kelvins (K). Understanding color temperature is crucial for capturing subjects naturally or in a stylized manner.
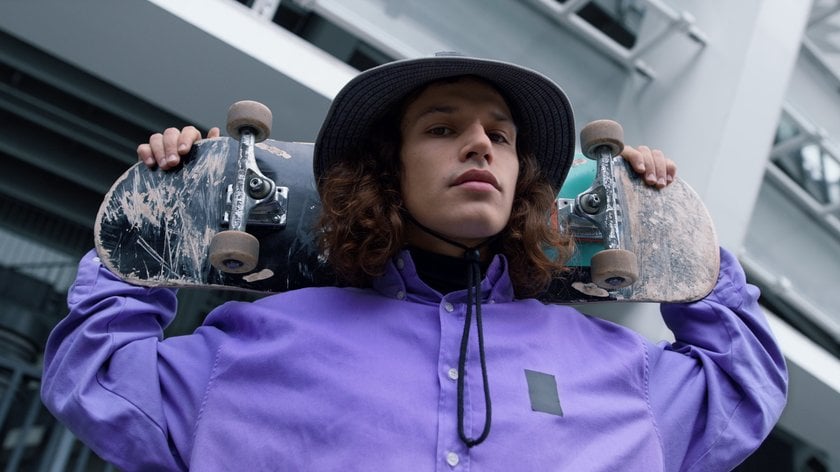
- Directionality: The direction of illumination on a subject can emphasize or soften features. Directional patterns, whether frontal, side, or backlit, create shadows and highlights, adding depth to the portrait.
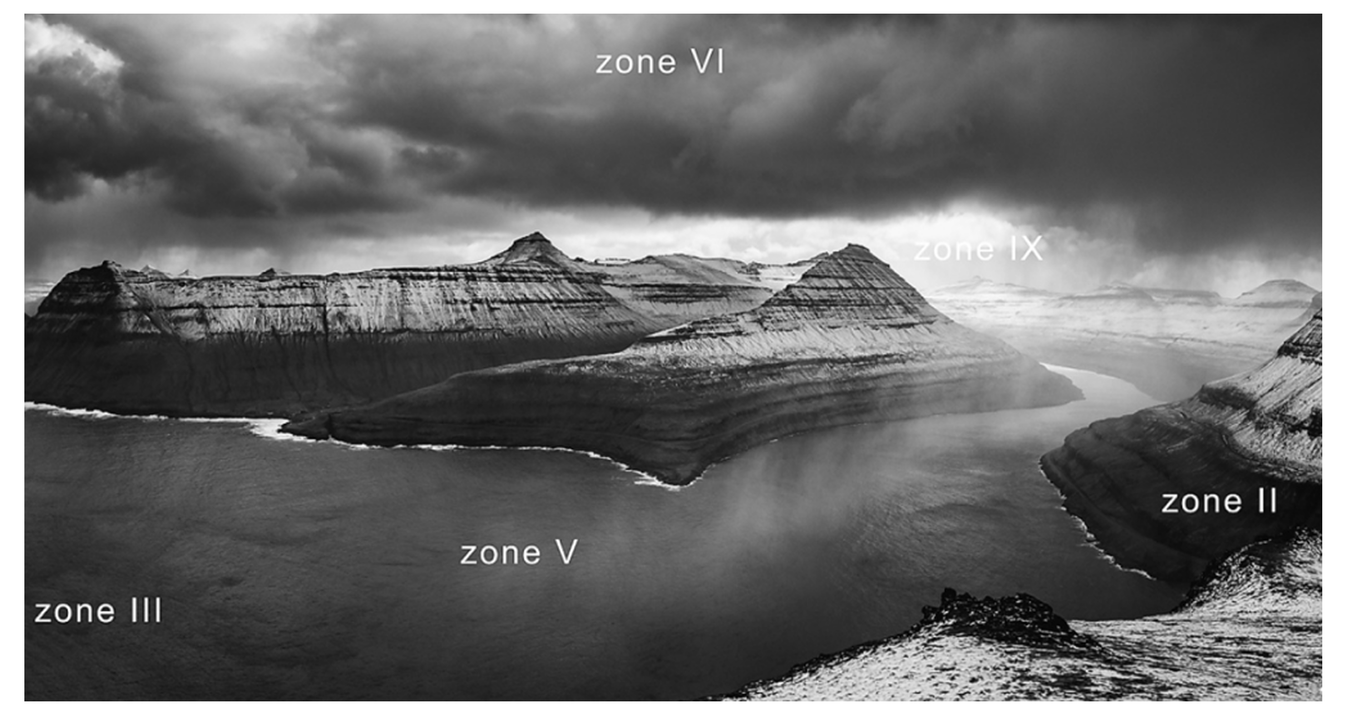
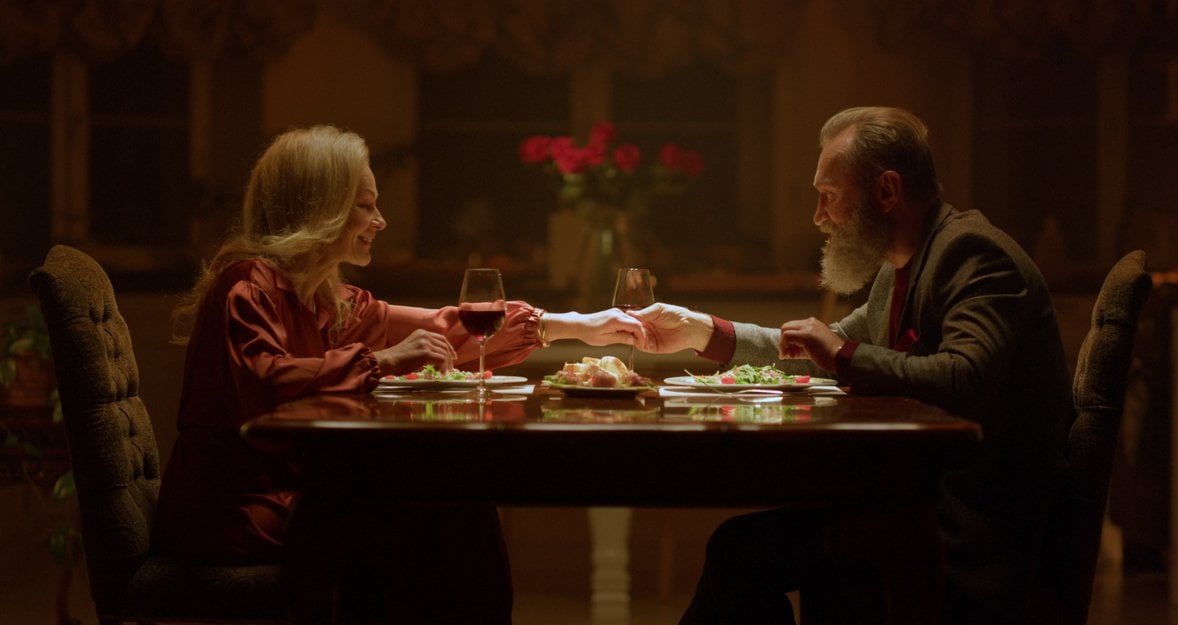
- Intensity: Manipulating the strength of illumination shapes the headshot's mood. Bright conditions suggest openness and energy, while subdued settings impart a sense of mystery and intimacy.
Sources
- Natural: The sun offers a wide range of conditions throughout the day, making it a versatile and ever-present source of illumination.
- Continuous: Sources like studio lights or lamps offer continuous illumination, enabling photographers to see the real-time effects.
- Strobe: Flash or strobe lights provide powerful, adjustable illumination essential for precise headshot setups.
Incorporating this knowledge is crucial for creating compelling lighting for professional headshots. Tailoring a combination of sources, modifiers, and techniques to the subject's features and the desired portrait mood is a nuanced process.
B. Techniques and Modifiers
Directional Lighting and Patterns
- Butterfly Lighting: Positioning the illumination directly in front of the subject produces symmetrical shadows, perfect for a flattering, natural appearance.
- Rembrandt Lighting: Placing the illumination at a 45-degree angle forms a small triangle of brightness on the subject's cheek, adding depth and drama.
- Loop Lighting: Slightly off to the side placement results in a small shadow loop on the subject's cheek, a versatile setup suited for most face shapes.
- Split Lighting: When the illumination is at a 90-degree angle, it casts half of the face in brightness and the other half in shadow, achieving a strong, moody effect.
Shadows, Highlights, Diffusion, Reflectors
- Shadows: Use shadows to add depth and contrast to the image. Shadows can be soft or hard, depending on the source and modifiers used.
- Highlights: Bright areas that attract attention. Proper placement can emphasize the subject's best features.
- Diffusion: Soften the light source with diffusers like umbrellas or softboxes. This spreads it evenly, reducing harsh shadows.
- Reflectors: Bounce light back onto the subject with reflectors. They fill in shadows and can be used to add warmth or coolness to the image.
Using these techniques and modifiers in your lighting setup for headshots allows for a range of creative possibilities. You can craft headshots that capture the subject's personality and emotion in a compelling and professional way!
2. Adapting to Different Environments
A. Natural Light
Identifying It
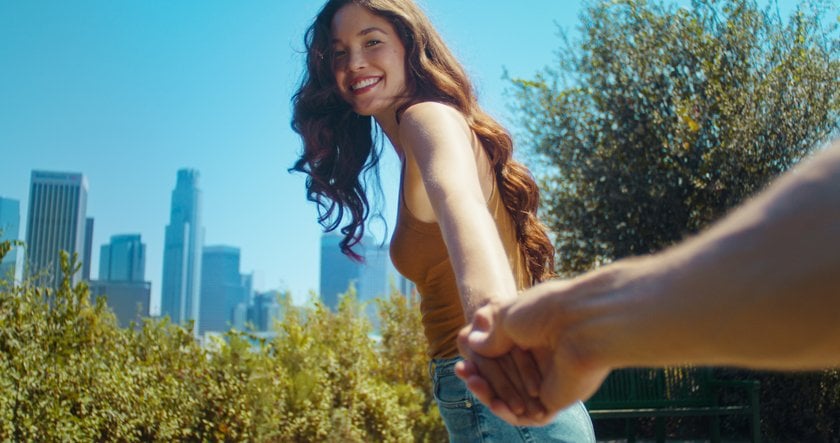
- Quality: Seek soft, diffused light that flatters the subject's features without harsh shadows or overexposure. Overcast days or shaded areas are ideal.
- Direction: Early morning or late afternoon light provides a warm, slanted illumination that adds depth and dimension.
- Intensity: Be mindful of the intensity of natural light. Too bright can cause squinting and hard shadows, while too dim may result in grainy photos.
Subject Positioning, Diffusing Sunlight, Reflectors
- Positioning: Arrange your subject with their back to the sun for a gentle, balanced illumination on their face. For a more striking effect, use side illumination.
- Diffusing Sunlight: Employ a diffuser to produce even, flattering illumination that minimizes harsh shadows and hotspots.
- Reflectors: Use reflectors to redirect illumination onto the subject, filling in shadows, enhancing eyes, and creating an attractive catchlight.
So, now you can create a simple headshot lighting setup that produces stunning results!
B. Studio Lighting
Essentials
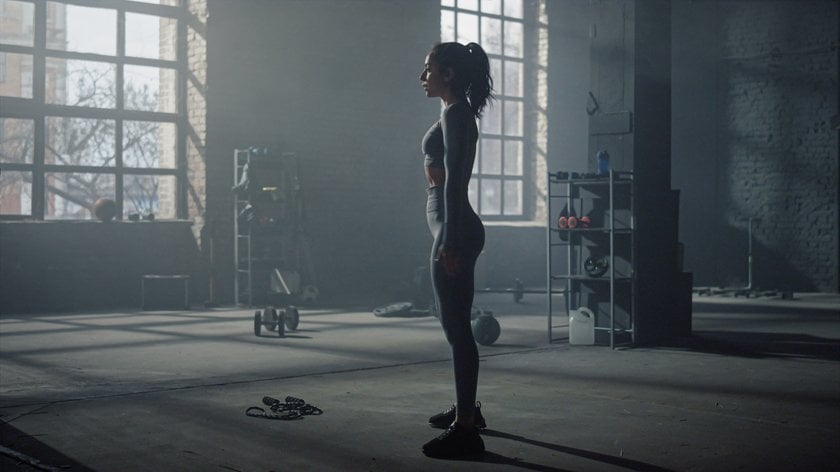
- Main Light: The principal source defining the subject's shape and producing shadows, typically the brightest in the setup.
- Fill Light: Positioned opposite the main, this one diminishes shadows and adds detail to the subject's darker side.
- Backlight: Situated behind the subject, it provides separation from the background and introduces depth to the image.
- Background Light: Employed to brighten the backdrop, ensuring uniformity and helping the subject to stand out.
Setups and Balancing Sources
- Three-Point Lighting: A versatile studio portrait lighting setup consisting of the main, fill, and backlight. It's essential for creating depth and shaping the subject.
- Four-Point Lighting: This setup adds a background light to the three-point setup, offering more control over the entire scene.
- Balancing Sources: Properly balance the intensity, direction, and color of light sources to achieve a harmonious and flattering effect. Use light meters and adjust settings to ensure even and consistent exposure.
Studio lighting offers precision and control, allowing you to craft compelling headshots that capture the subject's personality and features in a professional and captivating way. Experimentation and practice will help you find the perfect studio portrait lighting setup that suits your style and enhances your subject's unique attributes!
Backgrounds
1. Choosing the Right Background
- Complementing the Subject: Select a background that complements the subject's skin tone, clothing, and overall mood of the portrait. Use colors and tones that create contrast without being distracting.
- Creating Depth: Use textured or layered backgrounds to add depth and interest to the image. This can enhance the three-dimensional feel of the portrait.
- Reflecting the Purpose: Tailor the background to suit the purpose of the headshot. A professional headshot might benefit from a neutral background, while a creative portrait may use a more vibrant, expressive backdrop.
2. Lighting the Background
- Separating the Subject: Utilize a backlight or hair light to establish a halo around the subject, differentiating them from the backdrop and introducing depth to the photo.
- Background Illumination: Apply it uniformly to brighten the backdrop and avert unwanted shadows. Modify the intensity to attain the preferred outcome.
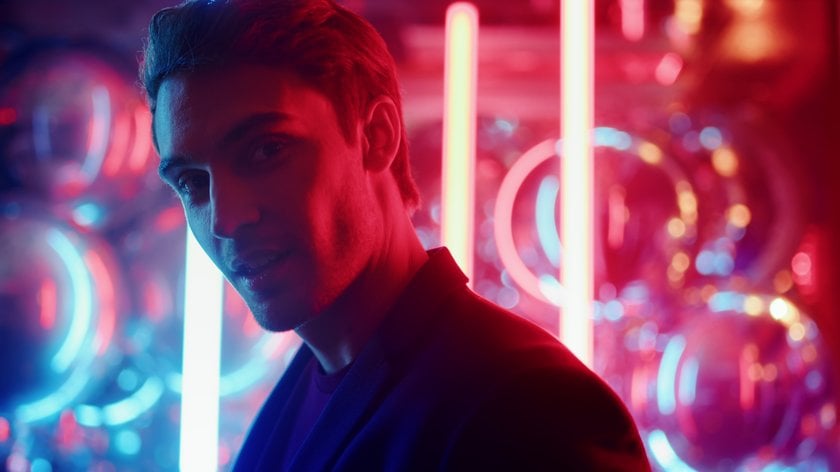
- Creating Mood: Adjust the hue and strength of the background illumination to establish mood and ambiance. Use gels to introduce color and modify the tone.
- Avoiding Spill: Employ flags or barn doors with your lights to direct it, preventing spill onto the subject or other areas of the scene.
Selecting and lighting backgrounds are integral components of crafting compelling headshots. A well-chosen and properly lit background can enhance the subject, create depth, and set the mood for the portrait.
Post-Production
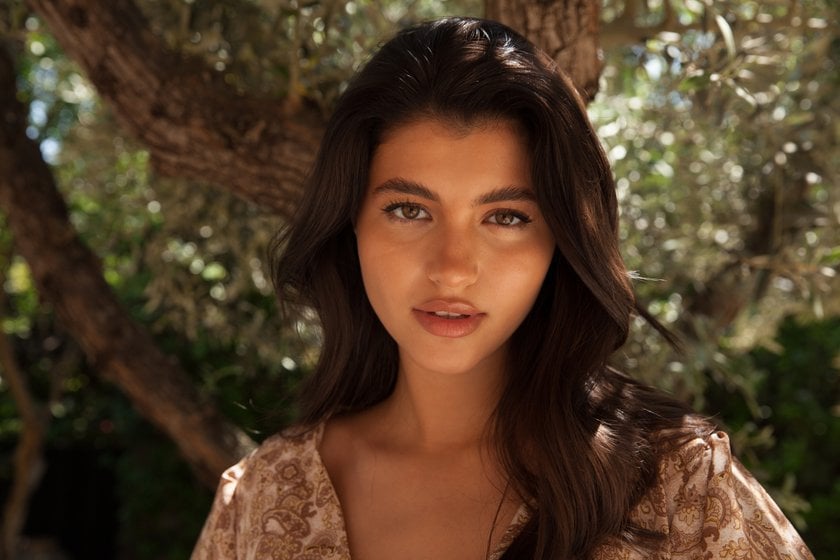
- Balancing Exposure: Adjust the exposure levels to ensure that the subject's face is well-lit and details are visible. This includes tweaking the highlights, shadows, contrast, and overall brightness.
- Enhancing Features: Use retouching tools to enhance the subject's features, such as sharpening the eyes, smoothing the skin, and emphasizing the contours of the face.
- Color Grading: Apply color grading techniques to enhance the overall tone and mood of the image. Adjust the color balance, saturation, and vibrancy to achieve the desired look.
A powerful tool to assist in post-production is Luminar Neo. It offers advanced AI-driven features that make it easy to balance exposure, enhance features, and apply color grading to your headshots. With an intuitive interface and a wide range of tools, Luminar Neo is an excellent choice for photographers looking to streamline their post-production workflow and achieve professional results!
Advanced yet easy-to-use photo editor
Get Luminar Neo NowBy using post-production techniques and tools like Luminar Neo, you can further refine your headshots, ensuring that the lighting, features, and overall tone of the image are optimized to create compelling and professional portraits!
Conclusion
Mastering the art of compelling headshots hinges on striking the right balance between art and science. A pivotal element is choosing the proper light set up for headshots as it shapes the subject's face, defines depth, and sets the mood. By understanding light properties, applying creative techniques, and using tools like Luminar Neo, you can create captivating, personality-driven headshots. Remember, headshots often serve as a first impression!
Happy shooting!