
Blog

January 17, 2025
Bokeh Technique: The Art of Portrait Photography
Master the bokeh technique in portrait photography to create stunning, blurred backgrounds that highlight your subject. Learn how to use depth of field to enhance your photos.

January 15, 2025
The Rule of Space in Photography: Composing Images That Tell a Story

January 13, 2025
Valentine's Day Backdrop Ideas To Set The Mood For Love

January 10, 2025
Valentine's Day Instagram Captions: Ideas For Your Feed
January 09, 2025
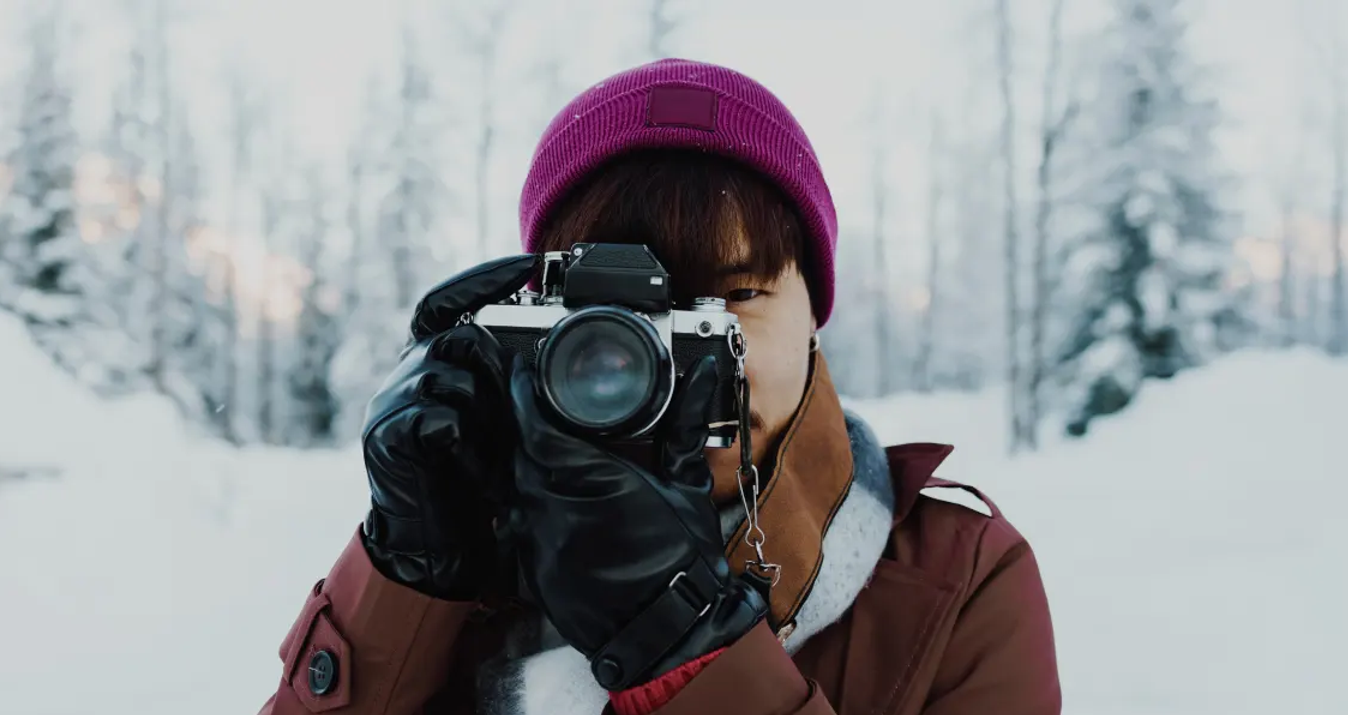
Top Cameras for Cold Weather: Gear That Thrives in Extreme Conditions

January 02, 2025
Mastering Skyscape Photography: Techniques for Stunning Shots
December 31, 2024
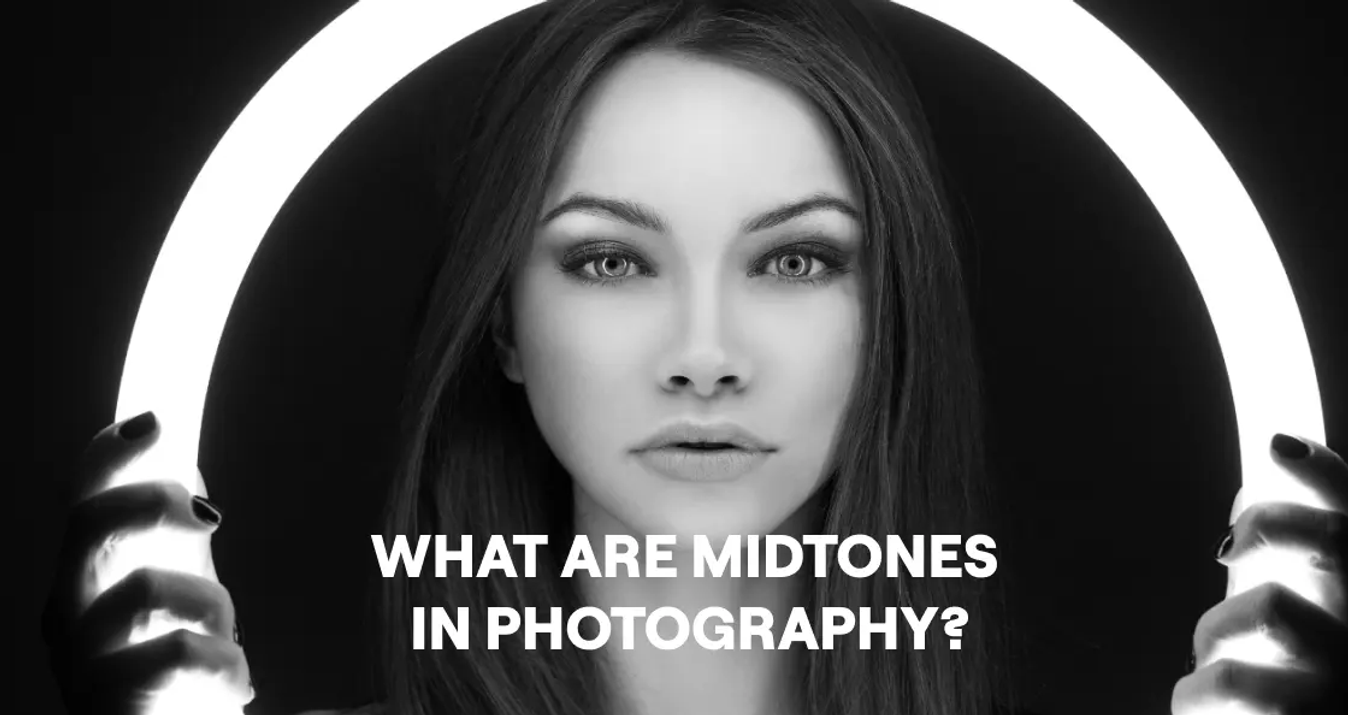
What Are Midtones In Photography?
December 28, 2024
Best Paint.NET Alternative for Creative Mastery

December 27, 2024
Start the New Year Right: Goal-Setting for Photographers
December 27, 2024
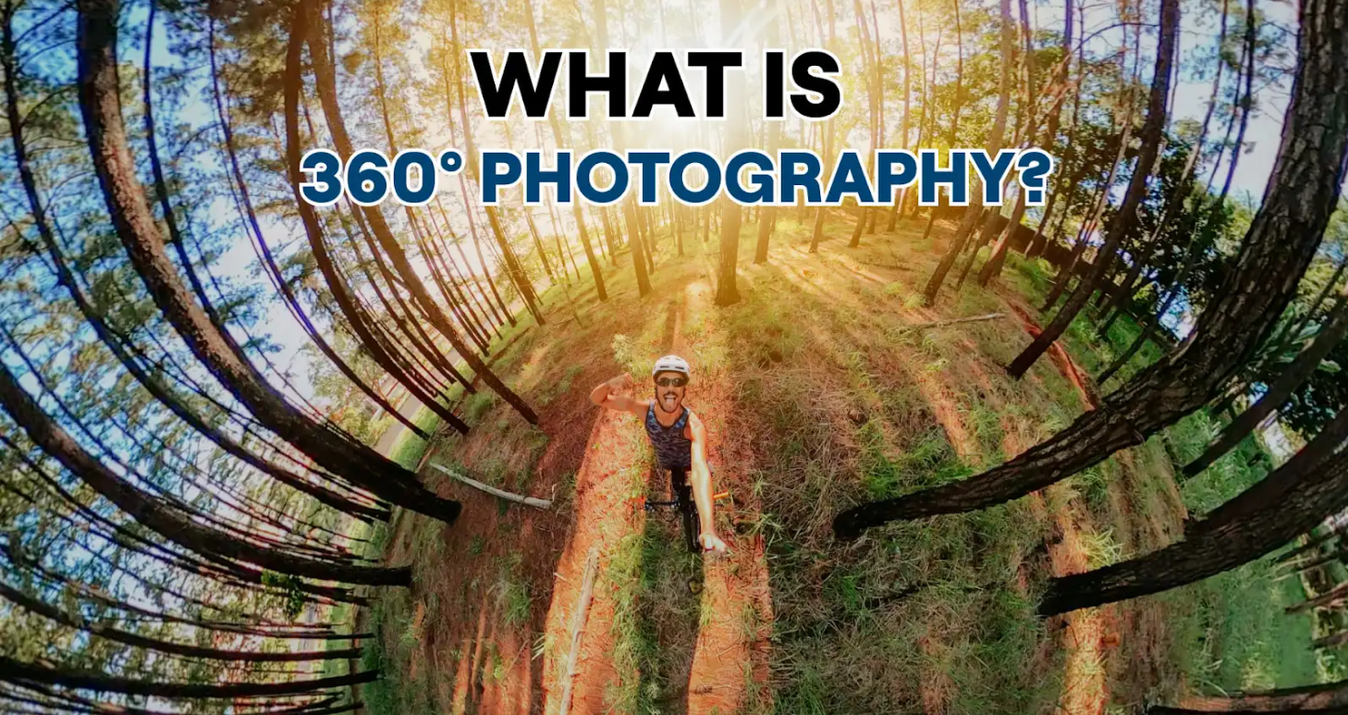
360 Degree Photography: Guide to Perfecting Panoramas
Most Popular

June 26, 2024
Photo Editors For Apple Vision Pro: When Technology Reaches New Levels
Want to know how useful the new Apple Vision Pro is for photographers? Then stay with us because today, in our blog, we will talk about new technologies for the photo processing process.
Learn More

August 19, 2024
Best Sony Mirrorless Camera: Finding Your Perfect Match
This post dives into various Sony mirrorless cameras and guides you to the ideal model for your specific requirements. Keep reading to discover which camera fits both your photographic style and your budget!
Learn More

October 29, 2024
Evoto Alternatives — Discover Top-Rated Replacements
If you are a photographer looking for more control, offline functionality, or at least more straightforward pricing, several top-rated Evoto alternatives offer similar features or even better ones to meet your editing needs.
Learn More
Subscribe to know first
Our delivery owl will bring you our best deals and news about Skylum news.
Thank you for subscribing.
Unlock Pro-Quality iPhone Photos with Our Free Guide! 📸
Gain instant access to simple yet powerful tips for enhancing composition, lighting, and editing—everything you need to transform your photos effortlessly!
👇 Fill out the form below to receive your guide directly via email.
Curiosity is the doorway to skill
Thank you for your interest! Discover the secrets to pro-quality photos in your guide, waiting in your inbox.