October 20
11 min. to read
How To Use Luminar Neo: A Complete Guide
Once you select any sample photos, the software has the metadata: what camera the picture was taken on, the ISO, the focal length, and so on.
You can also hover over and favorite any photo, so treat this section as a photo organizer. In the catalog section, you can sort your pictures by capture time, reject unmarked and edited images, and so on.
Luminar Neo includes many nice presets, and a wider pack is available. Explore them before you start editing. They may be really helpful for enhancing your images. The following sections will dive deeper into this software's editing capabilities.
What Are Luminar Technologies In Photo Editing? Basic Features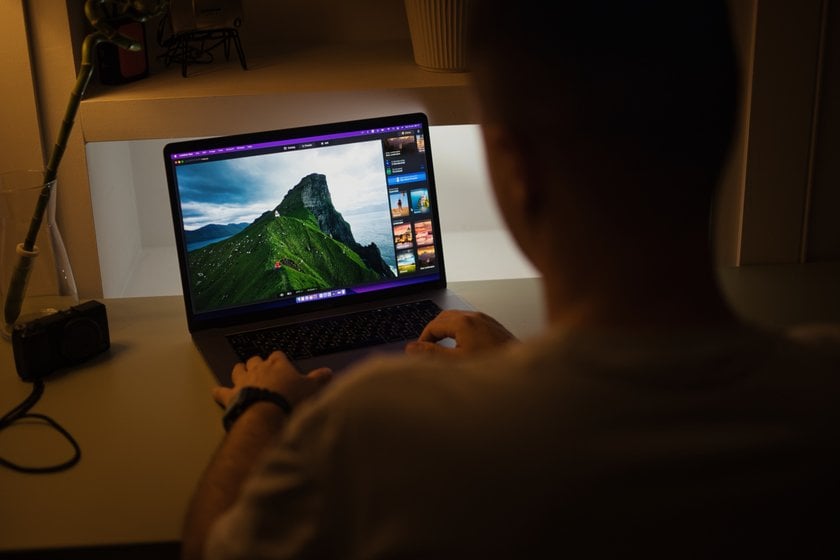

Layers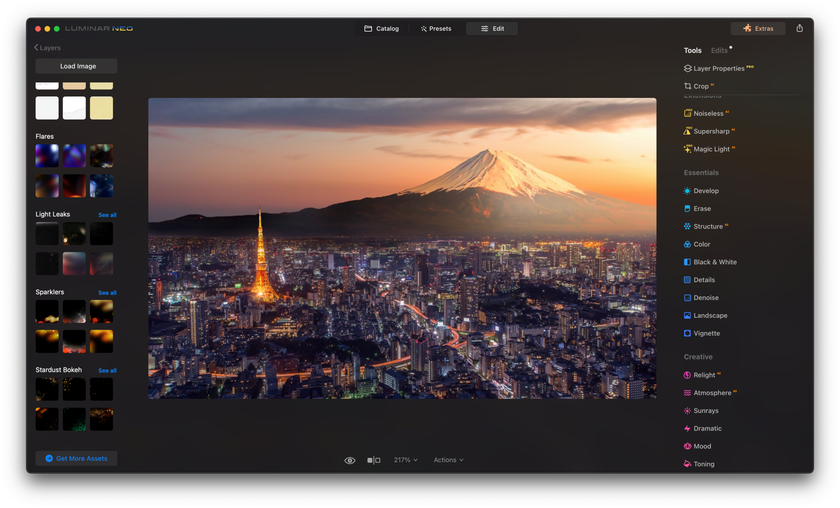

There are some nice features that Luminar Neo has over other photo editors. One is that you can apply layers on top of your image. Most photo editors provide just basic adjustments or filters, while this one eliminates the need for some advanced image editor like Adobe Photoshop. Here, you can load up your overlay, like a dust overlay or something like that, and you can organize these layers however you want. With a steep learning curve, you will easily understand how to merge two photos in Luminar.
Typically, people use Lightroom and Photoshop together because you can't add overlays in Lightroom, but you can do everything in one application here.
Once you apply an overlay, you can select the layer and change the opacity, change the blend mode, and have it fit. For example, have it fill, fit, or stretch if it's smaller. It can be practically used if you have numerous similar photos that are out of focus and need to make a perfectly sharp one. You import your images into the software and lay them on one another until you reach the perfect result, and that is how to focus stack in Luminar.
Edit History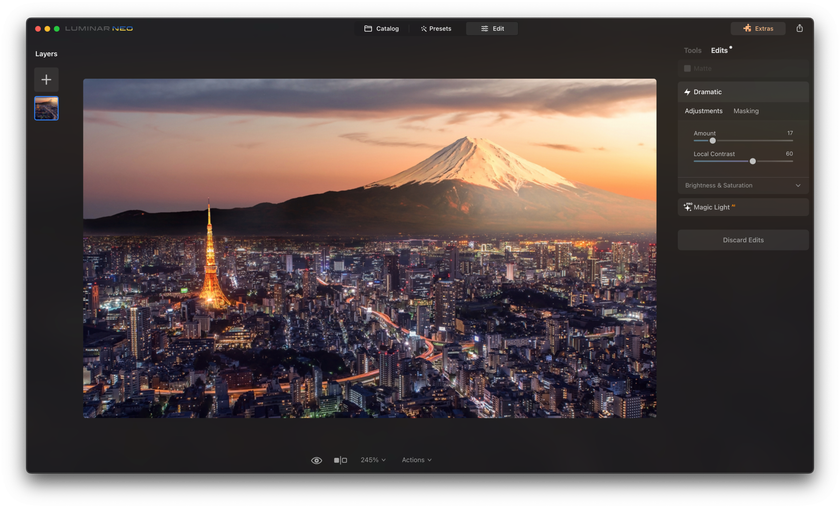

Another thing you can do is check the history of edits. Show the before and after to adjust the picture more. If you change images, return and change them; you can also discard the edits.
Cropping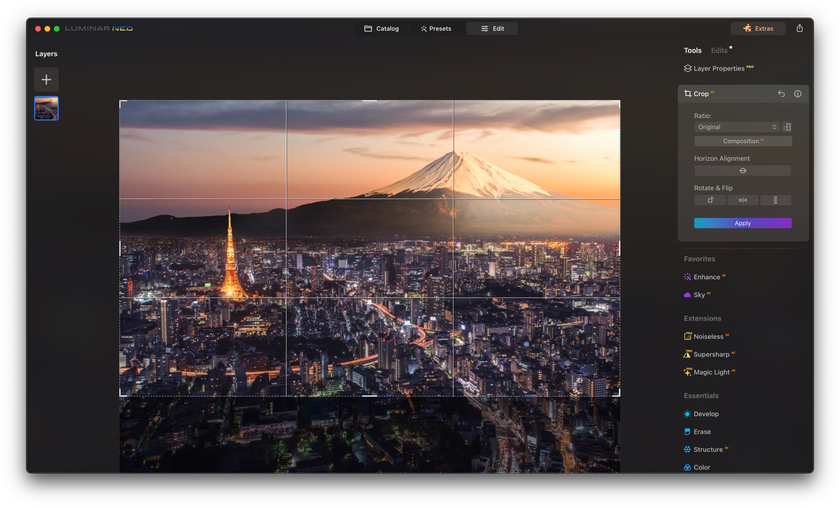

Here, you can select the aspect ratio and do things such as rotate and flip the image, and there's also a horizontal alignment for simple straightening. The composition AI helps to determine the best settings for every feature.
As we know the basics, let's learn how to turn average pictures into extraordinary ones with Luminar Neo.
Elevate Your Photography with Our Advanced Software
Discover PricingEnhance Your Photos With Luminar Neo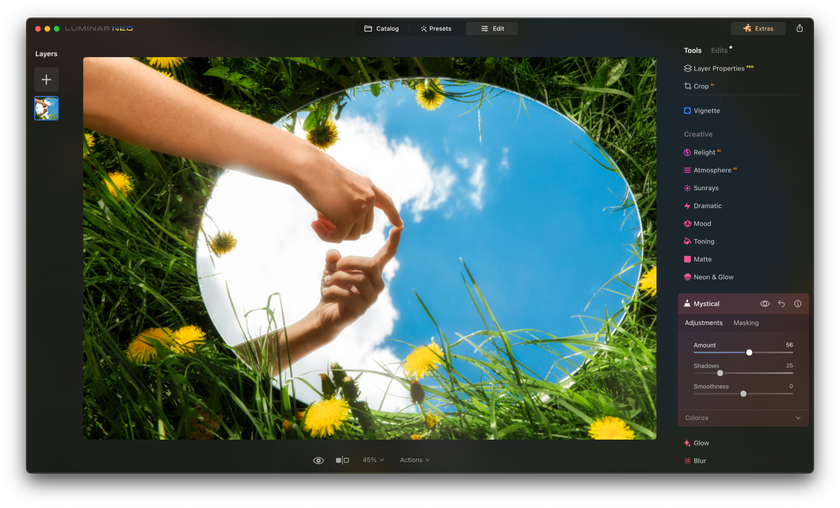

Enhance AI is a blanket filter on top of your image to boost contrast, saturation, and brightness.
If you want to enhance only certain parts of your image, choose the Mask AI. Similarly to how the Composition AI automatically selects the best interests of the photo to be cropped, the Mask AI determines the best parts of the image to apply the mask on. It can be done under human control, which means you select the details of the image you want to have masking on (the AI offers you the list of available options — nature, architecture, sky, humans, and so on). Only these parts of the image will be enhanced.
Contrast, shadows, highlights, and color curves can be specifically adjusted only for certain parts of your picture without affecting the whole image.
As it may be clear from its name, the Erase tool eliminates something you don’t want to be in your picture — power lines, dust spots, etc. Structure AI is another feature where the artificial intelligence selects parts of the image that require improvement. In this case, it is done from the perspective of structure and clarity.
The Black-And-White feature converts the whole image into monochrome. Still, we can apply it only to certain parts of our vision, targeting a specific color to attract the viewers’ attention to something particular.
The SuperSharp AI and its details feature are perfect if you want some small elements of your picture to be sharper and more eye-catching.
Sky AI lets you replace the sky on your image with something more suitable from the Luminar Neo base. There are multiple variations of the skies to choose from. You can relight the whole picture by the atmosphere you have chosen. You can also eliminate the haze, experiment with saturation, or even change the daytime and season on your photographs.
The Relight AI tool can adjust the lighting of objects closer to the foreground and things in the background. It is really good if you shoot in bad lighting conditions. The Atmosphere AI can introduce fake fog mist until the background, so if you want to add depth to a photo, you can increase it slightly. You also have the option to add fake Sun Rays. You can change the radius of it, you can change the number of sun rays, and then you can also change the warmth of it if you want.
Dramatic is a tool to stylize your image by desaturating it. Mystical is another stylizing tool, but it makes your pictures glowy. The Glow tool allows you to choose different types of glow on your photo and leaves room for experiments with its size and shade. Mood is a filter applied to the picture. Toning specifically targets highlights and shadows. You can use any color for them.
Editing Portraits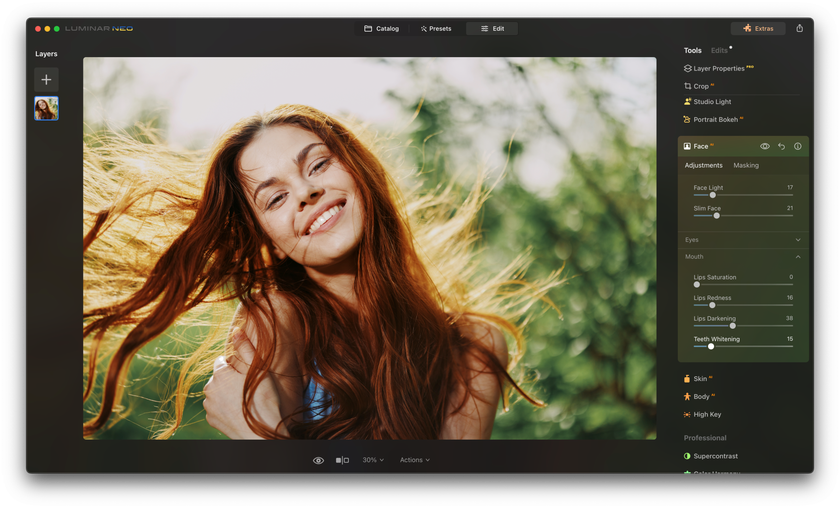

If you shoot on a very wide f-stop and want to make the background a bit more shallow, you can apply Portrait Bokeh, and it'll just blur the background a little bit more than before. It can detect what the subject is and what the background is so that the whole image won’t be distorted.
You can use Face AI to adjust specific lighting situations to increase the face light. You can also slim the face and change things such as eyes: you can increase the eye's brightness and color, and no masking is needed. The mouth can be enhanced as well. It is also possible to smoothen skin or remove extra shine from the skin if you shoot in too bright light and the skin looks pretty weird.
Color harmony within the Body AI includes color balance, split, warmth, and contrast. You can also manually lighten up certain parts of the photo.
After you finish, you can press Actions and Save as Preset. You can also show the before and after. And then, once you're done, you can go over to File Export. You can also go to File Share and share to your email, messages, or your phone.
The Definitive Solution for Picture-Perfect Portraits
Discover Today!Bottom Line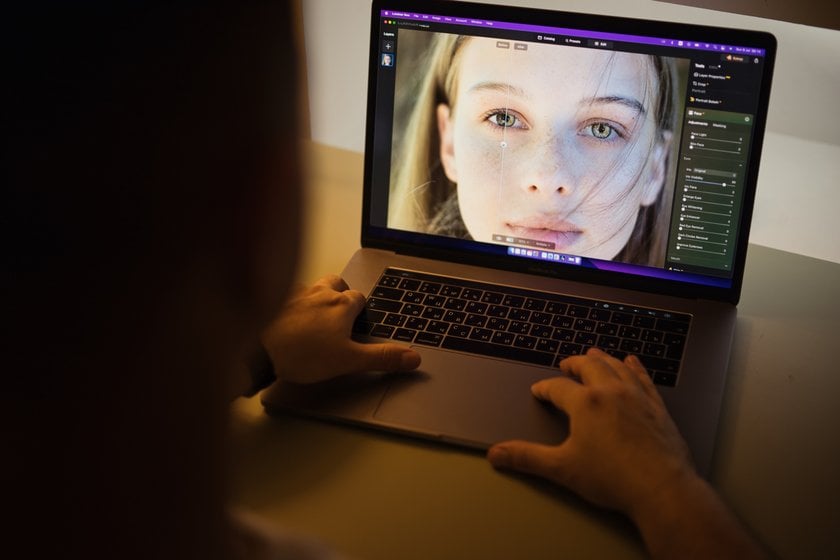

Luminar Neo is a powerful and versatile photo editing software that offers a wide range of features to enhance your images. From its user-friendly interface to its innovative AI capabilities, it has become popular among photographers and photo enthusiasts. Whether you're a professional looking to streamline your editing process or an amateur seeking to transform ordinary photos into extraordinary ones, Luminar Neo has you covered.
With its user-friendly interface, AI-driven enhancements, and the ability to work seamlessly with popular photo editing software, it's an excellent choice for anyone looking to take their photo editing to the next level. So, whether you're looking to create stunning landscapes, enhance portraits, or add creative touches to your images, Luminar Neo is a valuable asset in your photo editing toolkit.
 >
>
