How To Create HDR Images – Best HDR Photography Tutorial
May 24, 2023
In order to create HDR pictures you need to have a few RAW images, shot in a special way, and HDR merging software to process a single final HDR photo.
In our previous tutorial, How to Shoot HDR, I explained the process of taking bracketed photos for conversion to High Dynamic Range (HDR) images. This lesson will explore the process of creating a single HDR image from a series of bracketed exposures, using Adobe Lightroom®, Photoshop®, and Luminar Neo.
Before starting, you'll need photos, of course. If you haven't yet captured bracketed photos for your HDR images, see the tutorial linked above to learn how. Once you've captured the images, download them to your computer for processing. Then follow the instructions below for the application you choose. Remember that for the best results, you'll want to use the RAW files from your camera.
Don't know which software to use? We advise you to try Luminar Neo. Its unique tools will help you create the perfect HDR image with HDR Merge Extension and take advantage of other excellent features, such as AI upscaling.
What Is High Dynamic Range in Photography?
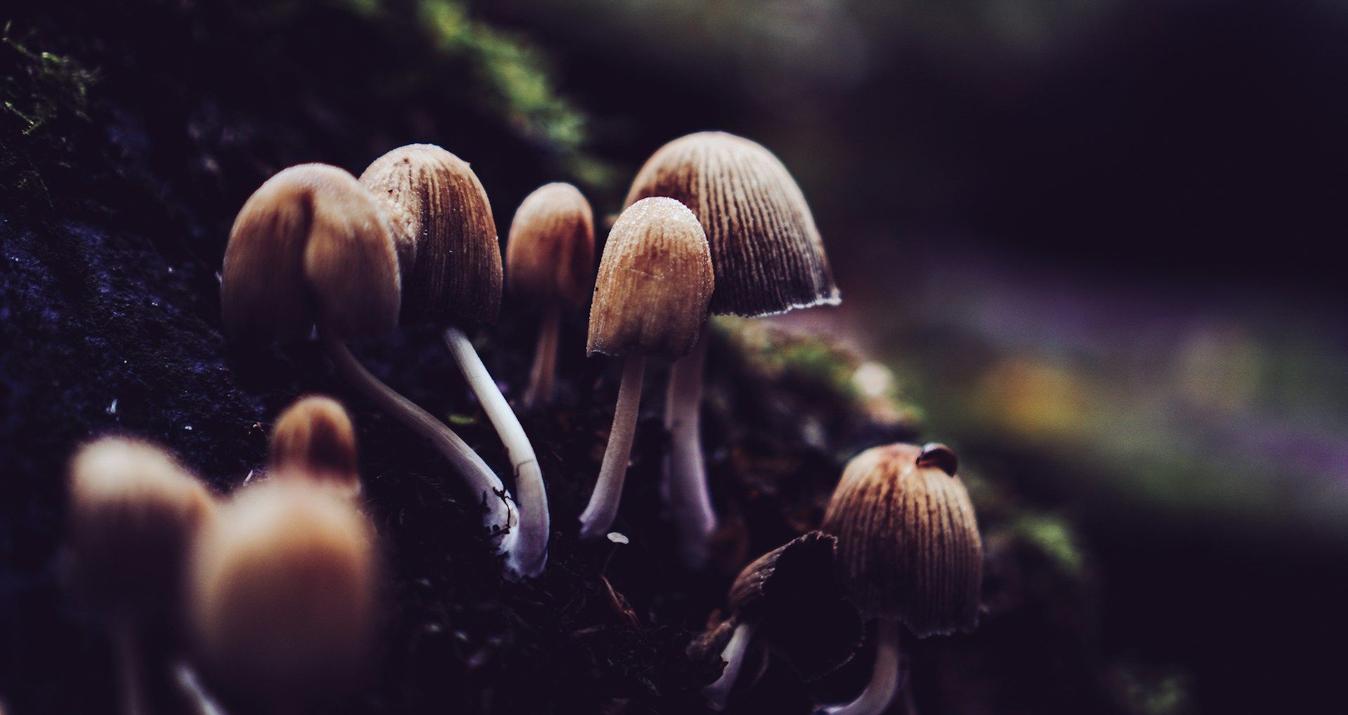
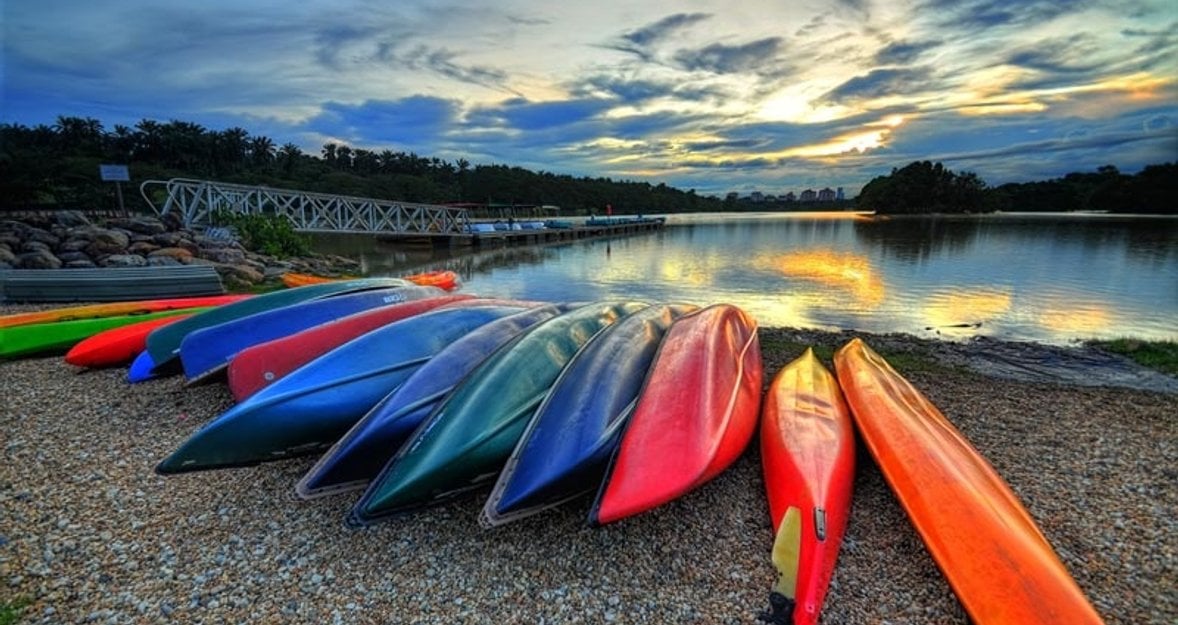
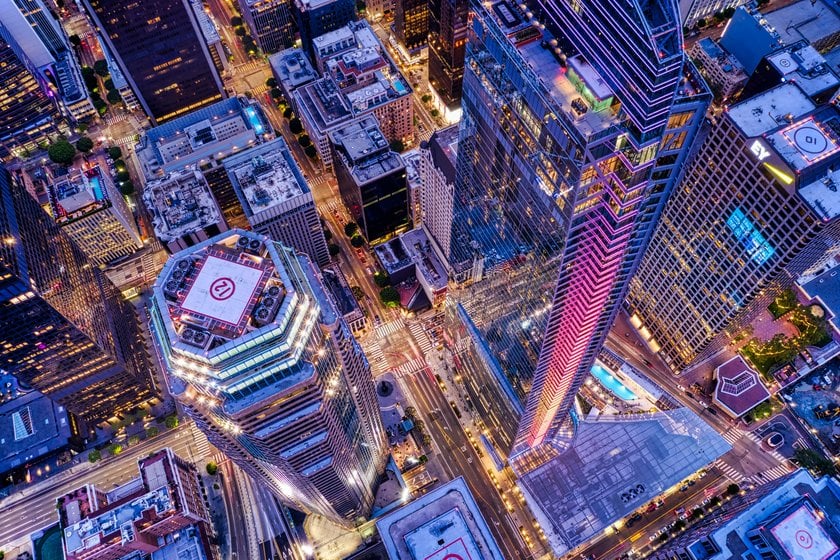
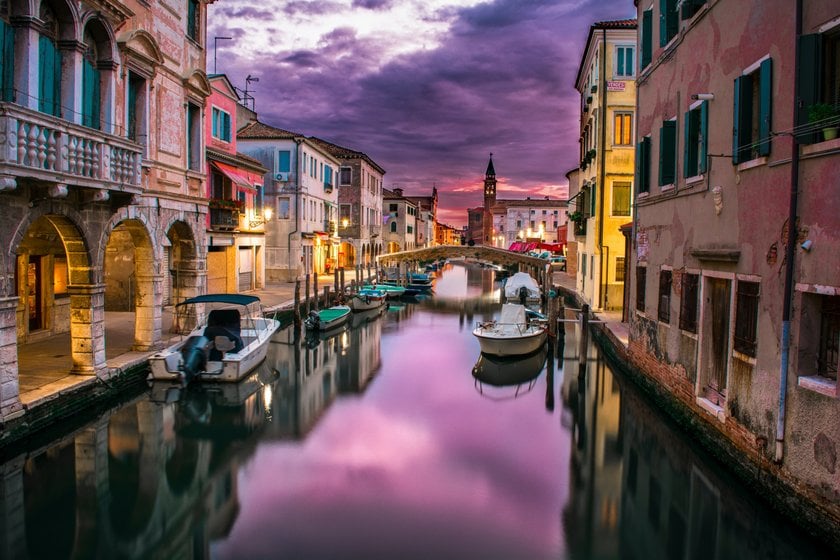
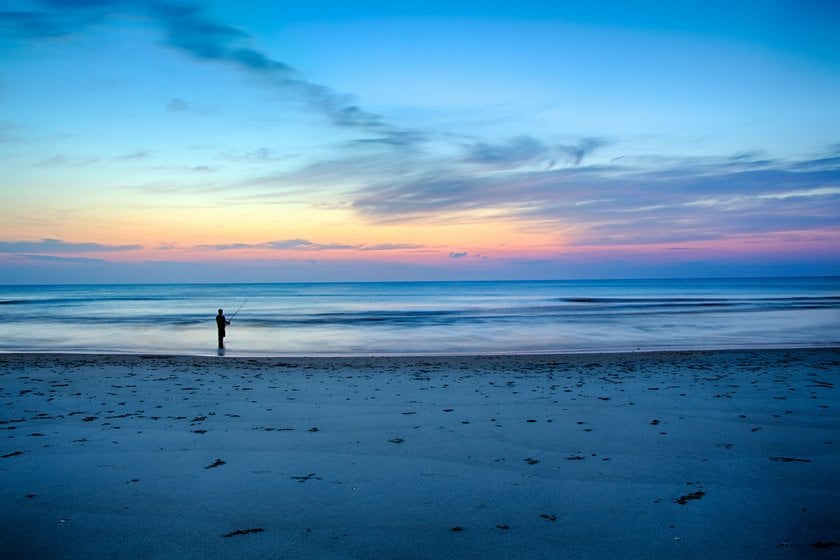
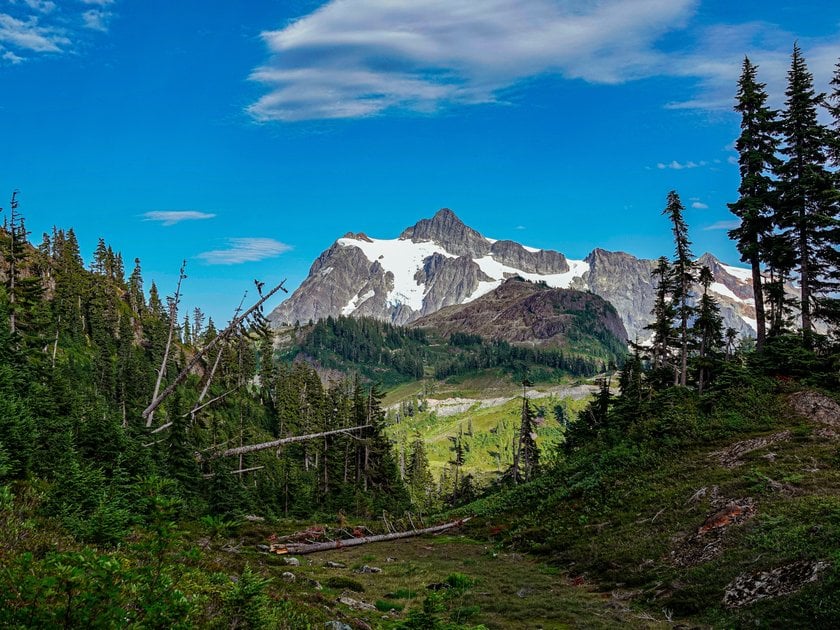 HDR photography is a technique that enables to capture a wide range of brightness levels in a single image. You need to bracket pictures, which means taking multiple photos of the same scene at different exposure levels. With the help of specialized HDR software, like Luminar Neo or Adobe Photoshop, photographers can merge several images into HDR images with greater detail, tonal range, and color accuracy than a single picture could capture. This is done by using the tone mapping function, which allows you to lighten up photos, and adjust the image's brightness, contrast, and saturation to achieve the desired result. You can also try AI image sharpening to make the picture even better. Many online tutorials and courses are available to help users learn how to HDR a pic, which covers everything from photo techniques to post-processing. With practice and dedication, anyone can create stunning images that showcase the beauty of the world around us.
Lightroom CC
 To work with images in Lightroom, you'll first need to import them. The most common way to do this is to create a library to give the program quick access to your files. I prefer to do this with the option to add images without moving them, so the photos remain where I originally saved them.
How to make HDR photos with this software? Once your images are imported, simply open the library and Ctrl/Cmd+click the RAW files you want to blend into an HDR image. Then select Photo/Photo Merge/HDR from the main menu or use Ctrl/Cmd+H. This will open a dialog box allowing you to select or deselect Auto Tone, Auto Align, and the level of Deghosting* applied. When you like the looks of the preview, click the Merge button.
After waiting for the images to blend, a .dng (Digital Negative) file with the name of the first file selected should appear next to the original images in the library. (DNG is Adobe's RAW format, retaining most of the data from the original files.) This image can then be opened for further processing in the photo editor and saved in the format you wish to use for display.
Photoshop CC
 How to create HDR images in this one of the most popular apps? Photoshop can be used to edit DNG files created in Lightroom, but you can also create HDR files directly from RAW files. The photo files can be accessed using Files/Browse in Bridge or File/Open, but it's often simpler just to use Merge to HDR Pro to select and open them.
From the main menu, select File/Automate/Merge to HDR Pro. Browse your files in the dialog box and select them using Ctrl/Cmd+click. If necessary, check the box next to Attempt to Automatically Align Source Images, then click the OK button. You can watch Photoshop open a file and create layers from the images, then a preview will open allowing you to make several adjustments like noise reduction.
You can select one of several presets from a drop-down list that will determine the options you can adjust. “Local Adaptation” gives you the full set of options. Try these presets to determine which adjustments work best for the current image. If there are ghosts* in the image, check the “Remove ghosts” box to allow Photoshop to try to eliminate them.
Tone Mapping
 As you work with your HDR images, you'll notice that the initial blending of your bracketed photos often appears dull and flat. Many of the presets and controls you use to adjust the final image are using a technique known as tone mapping. While it's often confused with HDR image creation, it is a separate process that's important to display your High Dynamic Range images. We'll explore that subject in a separate tutorial.
* “Ghosts” are objects that appear blurred or doubled in merged HDR images due to movement in between exposures, such as the effect of wind on flowers, grass, trees, etc. “Deghosting” or “remove ghosts” are algorithms in HDR software that attempt to detect and remove secondary objects.
FAQ
Here we have prepared for you the answers to the most popular questions.
How Do I Create an HDR File?
To create a High Dynamic Range file, you need to capture multiple images of the same scene at different exposures and then merge them together using specialized software like Adobe Photoshop, Lightroom, or Luminar Neo.
Can You Add HDR to a Photo?
Yes, you can. For creating HDR pics, use specialized software like Adobe Photoshop or Photomatix Pro. However, the final image may not be as optimal as capturing multiple exposures at the time of taking the photo.
How Do We Create HDR Photographs Using Photoshop?
To use HDR mode in Photoshop, you need to go to "File" > "Automate" > "Merge to HDR", select the necessary photos, and then adjust the settings for tone mapping, and save the final image.
How To Make an HDR Image in Lightroom?
To make a realistic HDR image in Lightroom, you need to select multiple photos with different exposures, right-click and select "Merge to HDR", then adjust the settings for tone mapping to achieve the desired result.