Extremely Useful Noiseless Tricks That You may have not Found yet
June 22, 2015
Noiseless is easy to use, in fact it'll choose the best preset to fix your noisy shots.
Noiseless is ultra-easy to use — in fact the software will automatically choose the best Preset — but we still have some secret tricks up our sleeve you should know about. Here are the first 5.
1. The Amount slider is your friend — once a Preset is applied, be sure to experiment with the Amount slider to dial in just the perfect amount of noise reduction for your photos
2. Check your WHOLE photo with the Navigator window — Because it’s important to check your results at 100% or 200%, you may find yourself looking at a very small part of your photo. Be sure to open the Navigator window to quickly view results all around the image at the zoom level you most prefer.
3. A Detail is worth a thousand words — Noiseless brings over some of our best technology from the very popular Intensify product. Use Structure and Details to add back detail to your image if the noise reduction smooths things out a bit much for your taste.
4. Have a Smoothie on us — Want to get creative? Noiseless is well known as a “utility” player; fixing images. What a lot of people don’t know is that you can get creative with it too. Try maxxing out the Smoothing slider and check out the results. ;-)
5. Take 3 minutes and watch Tim Grey’s video on Noiseless — Sometimes there is simply no substitute for seeing a master educator at work. Take 3:28 from your life to hear how Tim approaches using the tools in Noiseless. 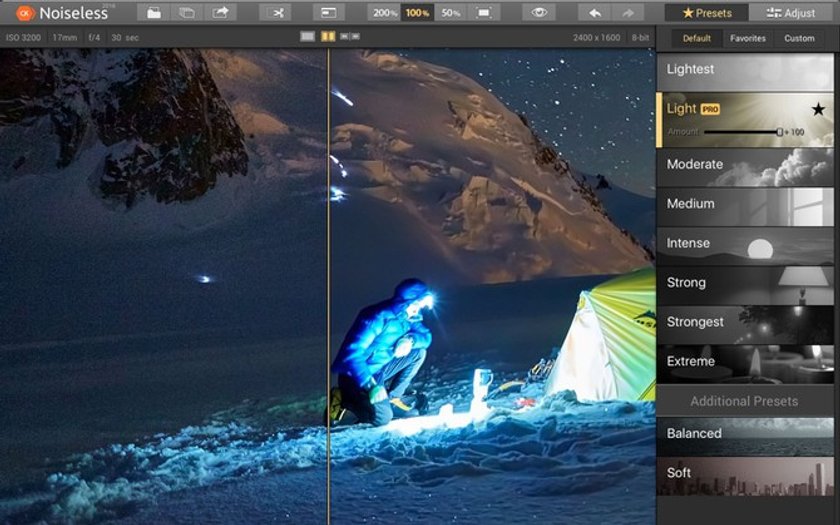
Sometimes you want your photos to have what some think of as an authentic “photo” look, with a little bit of grain/noise left in certain parts and not in others. That’s where selective editing comes in! Fortunately, Noiseless takes a different approach than anyone else. Rather than forcing you to tediously use brushes and masks to identify just where you want noise reduced and where you don’t, Noiseless introduces Filters.
The Filter controls actually "take away" noise reduction based on Tonal ranges - e.g. highlights, midtones and shadows. This makes it ultra-easy to, for example, leave the noise in a dark background while diminishing it on a lighter part of the image like a face. Experiment with it yourself and explore the power of truly easy selective editing!
Integration with Photos
Photos for Mac is Apple’s new software intended to serve casual photographers and fully replaces iPhotos and to some extent Aperture. What makes Photos great for everyone is that it works very similar to Photos for iOS (on the iPhones) and has new, expanded syncing with iCloud and a host of other features. Read more about Photos on our blog here .
Noiseless works great with Photos. Simply launch Photos > click Image > Show Edit Tools > Extensions > Show More > Select Noiseless > when you finish, just click Apply
Import of custom presets
One of the hallmarks of Noiseless is its powerful set of built-in presets. The app automatically analyzes and applies what it thinks is the best choice for your image. If it doesn’t look perfect to you right away (or you just dig experimenting), click stronger or lighter presets until you’re satisfied.
Of course, you can then move over to the Adjust tab for even more fine-tuning. Once you have a perfect result, why not Save your own Custom preset? Just click the +Create button at the bottom and give your new preset a name you’ll remember!
You can swiftly and easily “pass” your photo from one Skylum app to another. This helps you explore more creative options than you would otherwise have time for and lets you put the finishing touch on your photo masterpiece!
Noiseless is a perfect place to start with any low-light photo. Just click on the Export button and select one of other 5 apps. You can use Focus to apply a cool vignette/blur effect and share on social media. Or, head into Tonality and convert your image to monochrome. It's up to you where to finish!