Transform Images with our
RAW Photo Editor
Enhance the quality of your images and unleash creativity through artistic expression using Luminar Neo, an AI RAW photo editor. This award-winning software lets you creatively manipulate your images and achieve great results with ease
View plansHow to Use our RAW Photo Editor?
Key Features of the RAW Image Editor
Enhancing your Photos with RAW Photo Editing Software
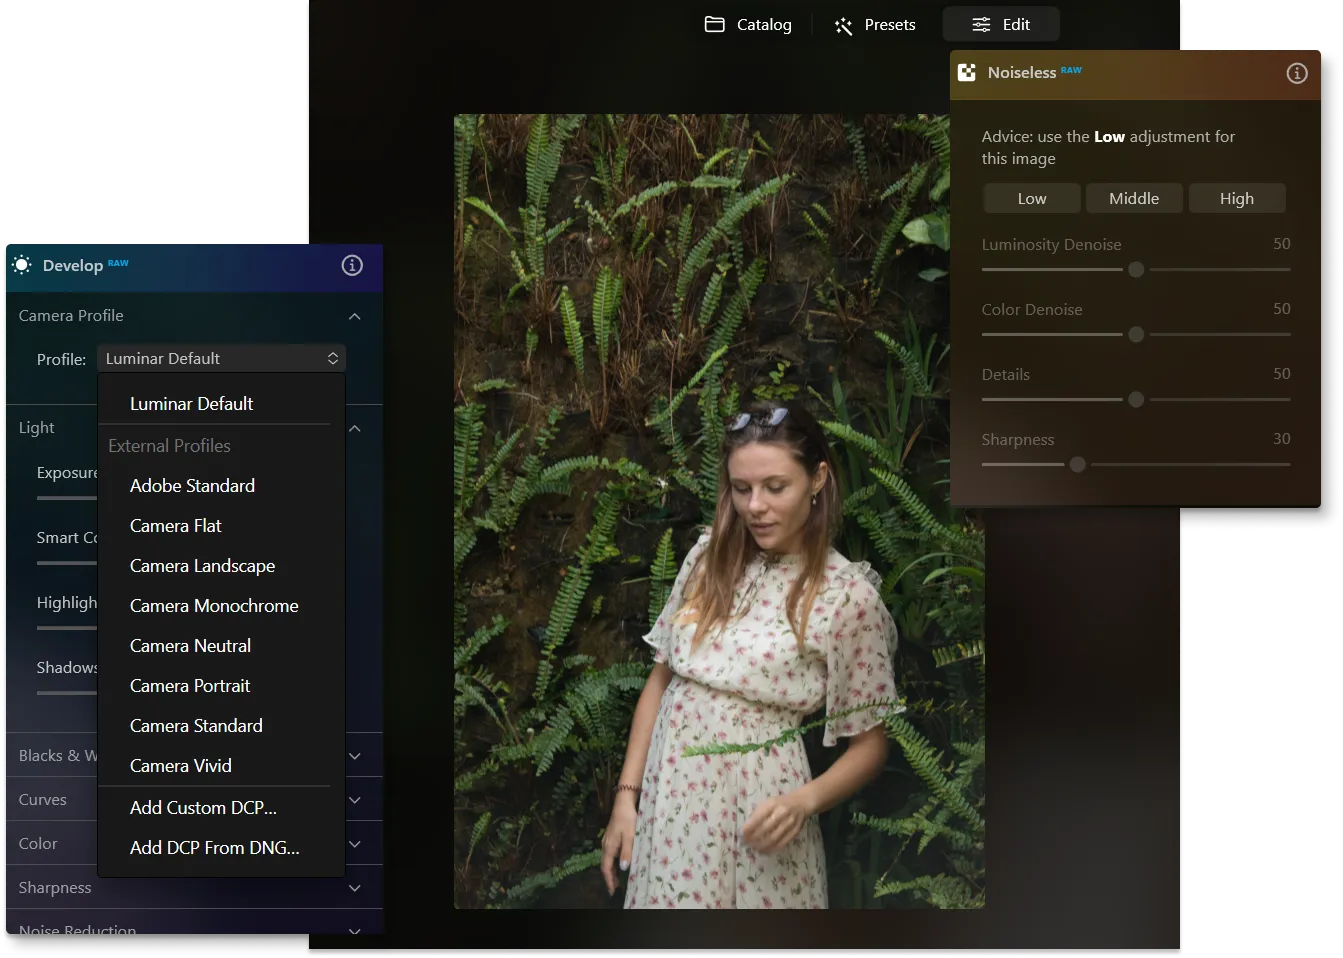
Here are just some of the controls of Develop RAW tool of our RAW editor:
• Camera Profile.
For maximum control over your RAW files, be sure to give DNG camera profiles a try.
• Curves.
This is one of the most powerful tools for adjusting your image’s tone. It allows you to brighten, darken, add contrast, and shift colors.
• Auto Distortion Corrections ( RAW only). Click this option to automatically correct lens distortion. This tool analyzes your image and its metadata to calculate an automatic fix. Get rid of wide-angle distortion and get truer perspective lines and more attractive portraits.
• Auto Fix Chromatic Aberrations (RAW only).
Chromatic aberration is a type of color fringing. It often happens with telephoto lenses and in areas of high contrast. Chromatic aberrations tend to show up as magenta or green edges around objects.

.webp)


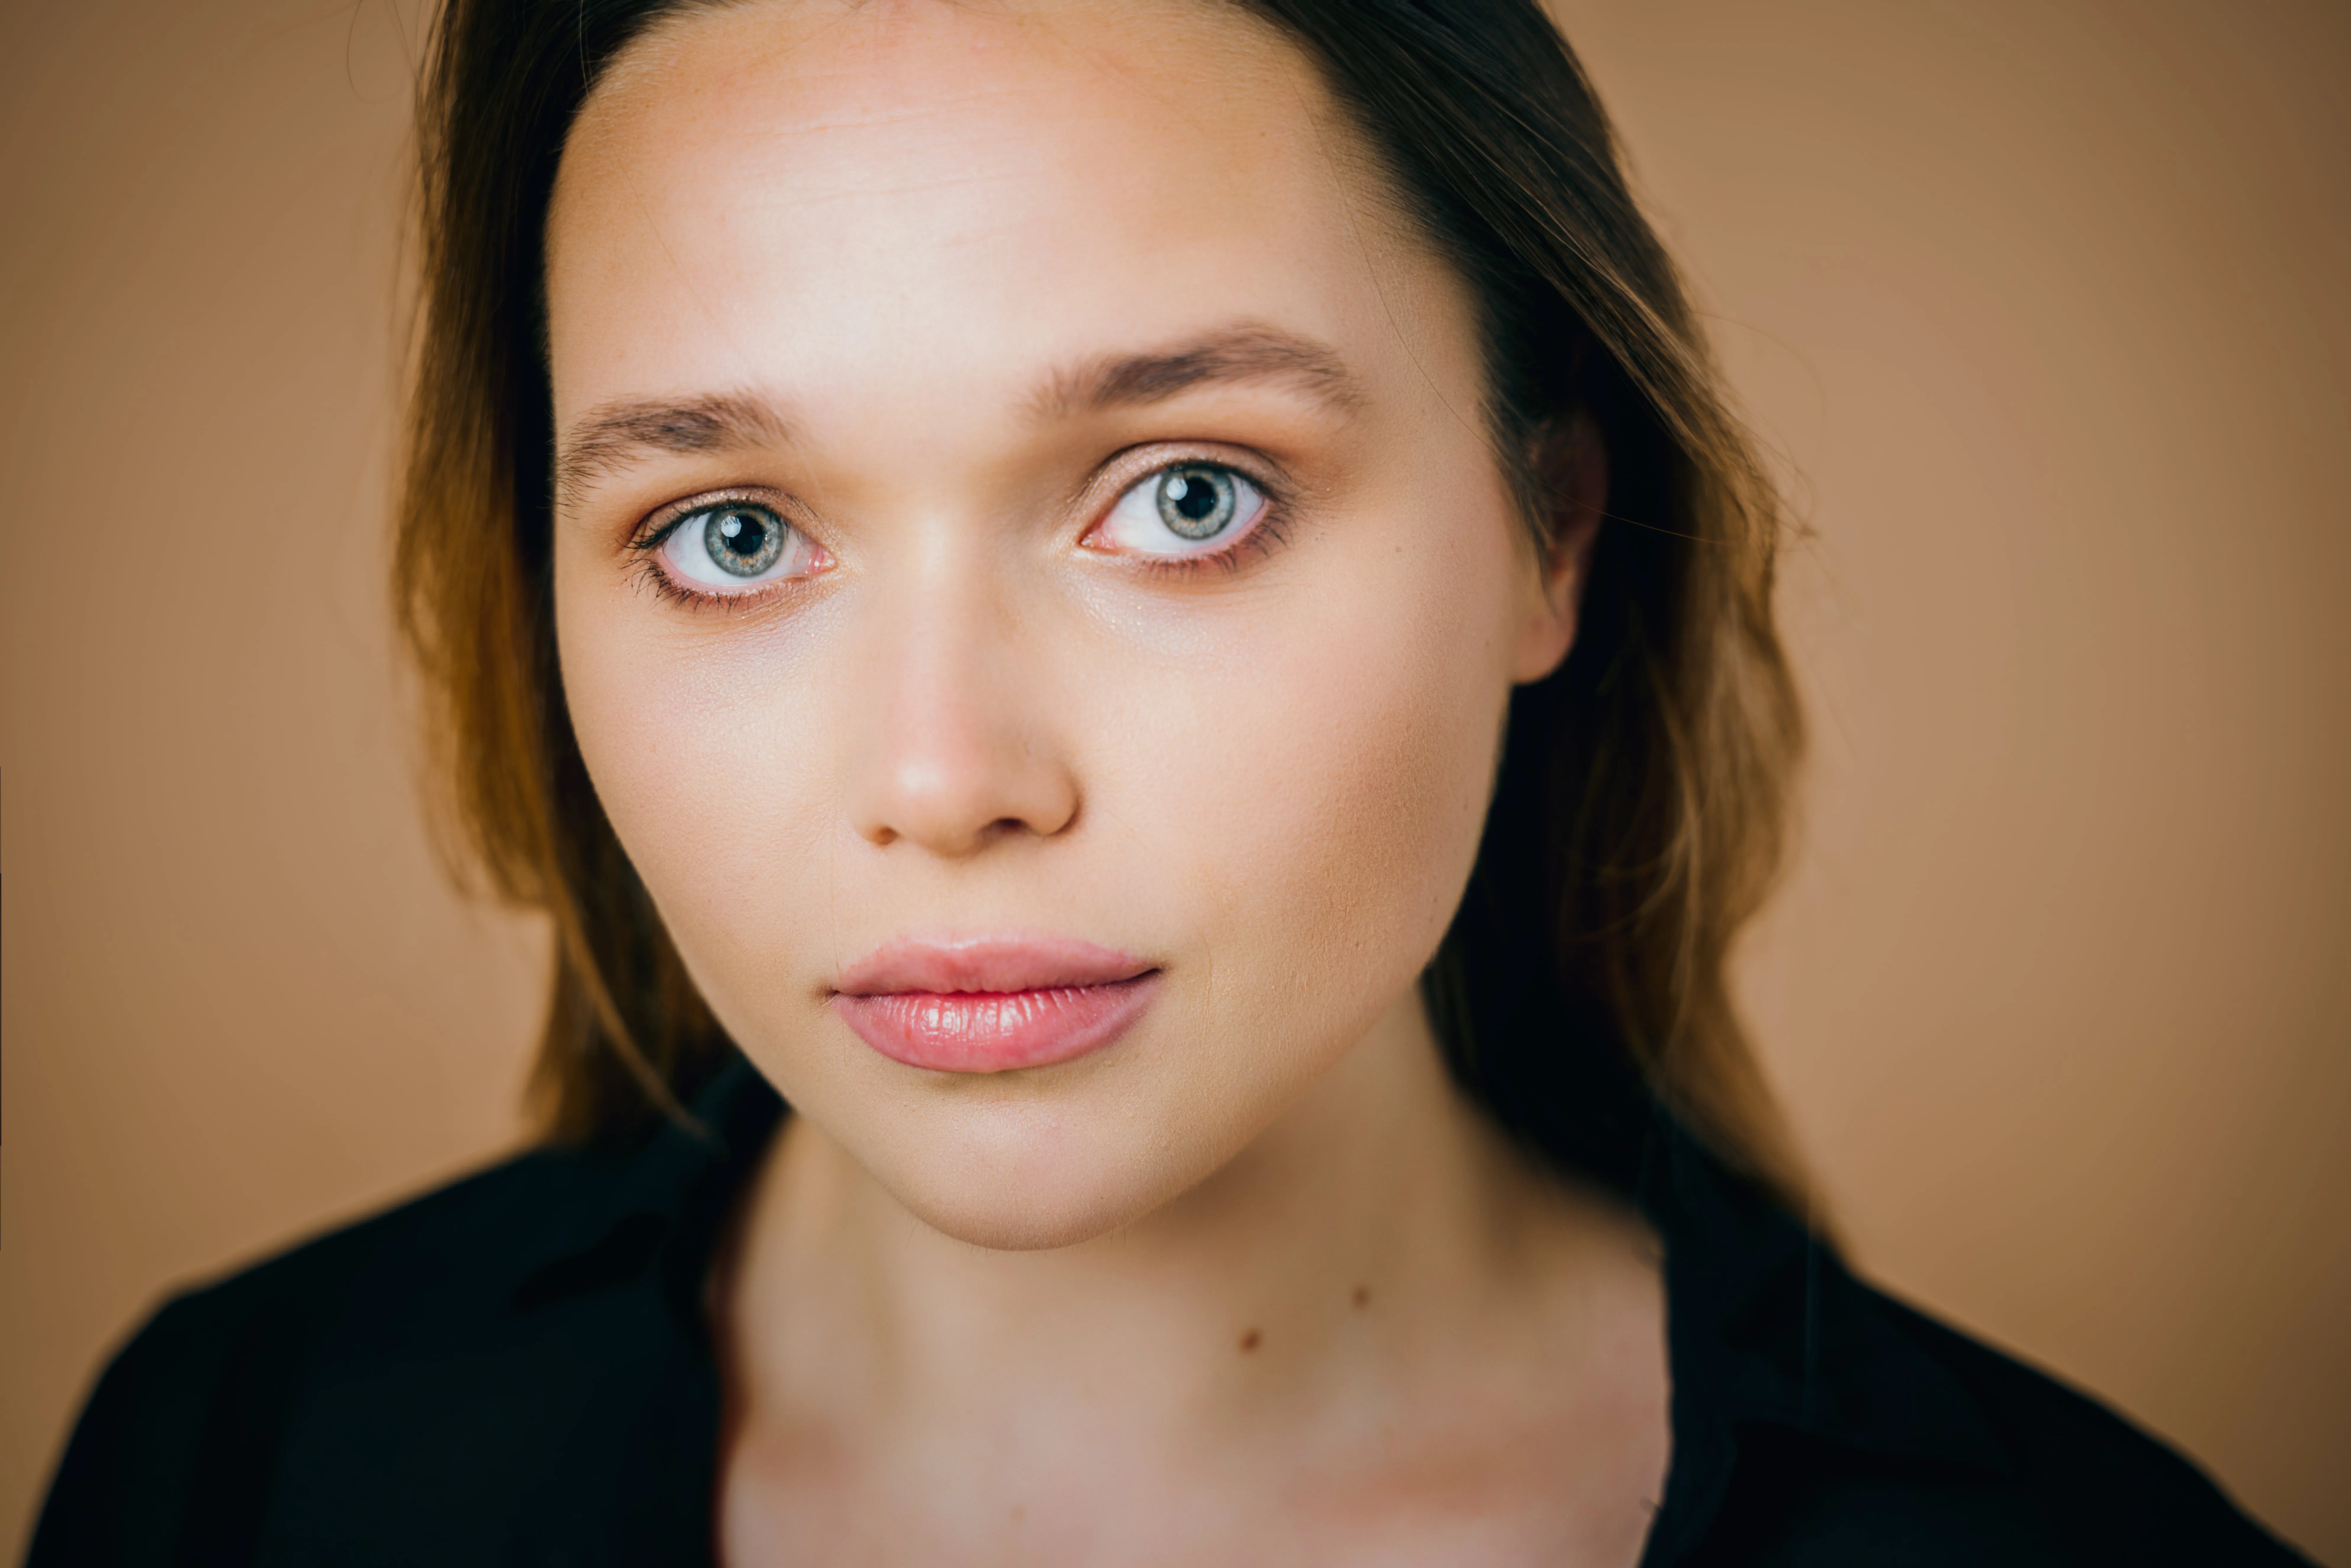
How Can I Edit Faces with AI?
Beautify and Perfect Your Portraits
• Slim Face. This is a valuable technology to contour and shape a face realistically. Make the face proportionally smaller and naturally slim, achieving more attractive results in your portraits. It’s also helpful to correct lens distortion on a face.
Here are some of the AI edit face features you’ll find in Luminar Neo:
• Dark Circles Removal. Easily remove dark circles or shadows below the eye.
• Lips Saturation. Enhance the color of the lips.
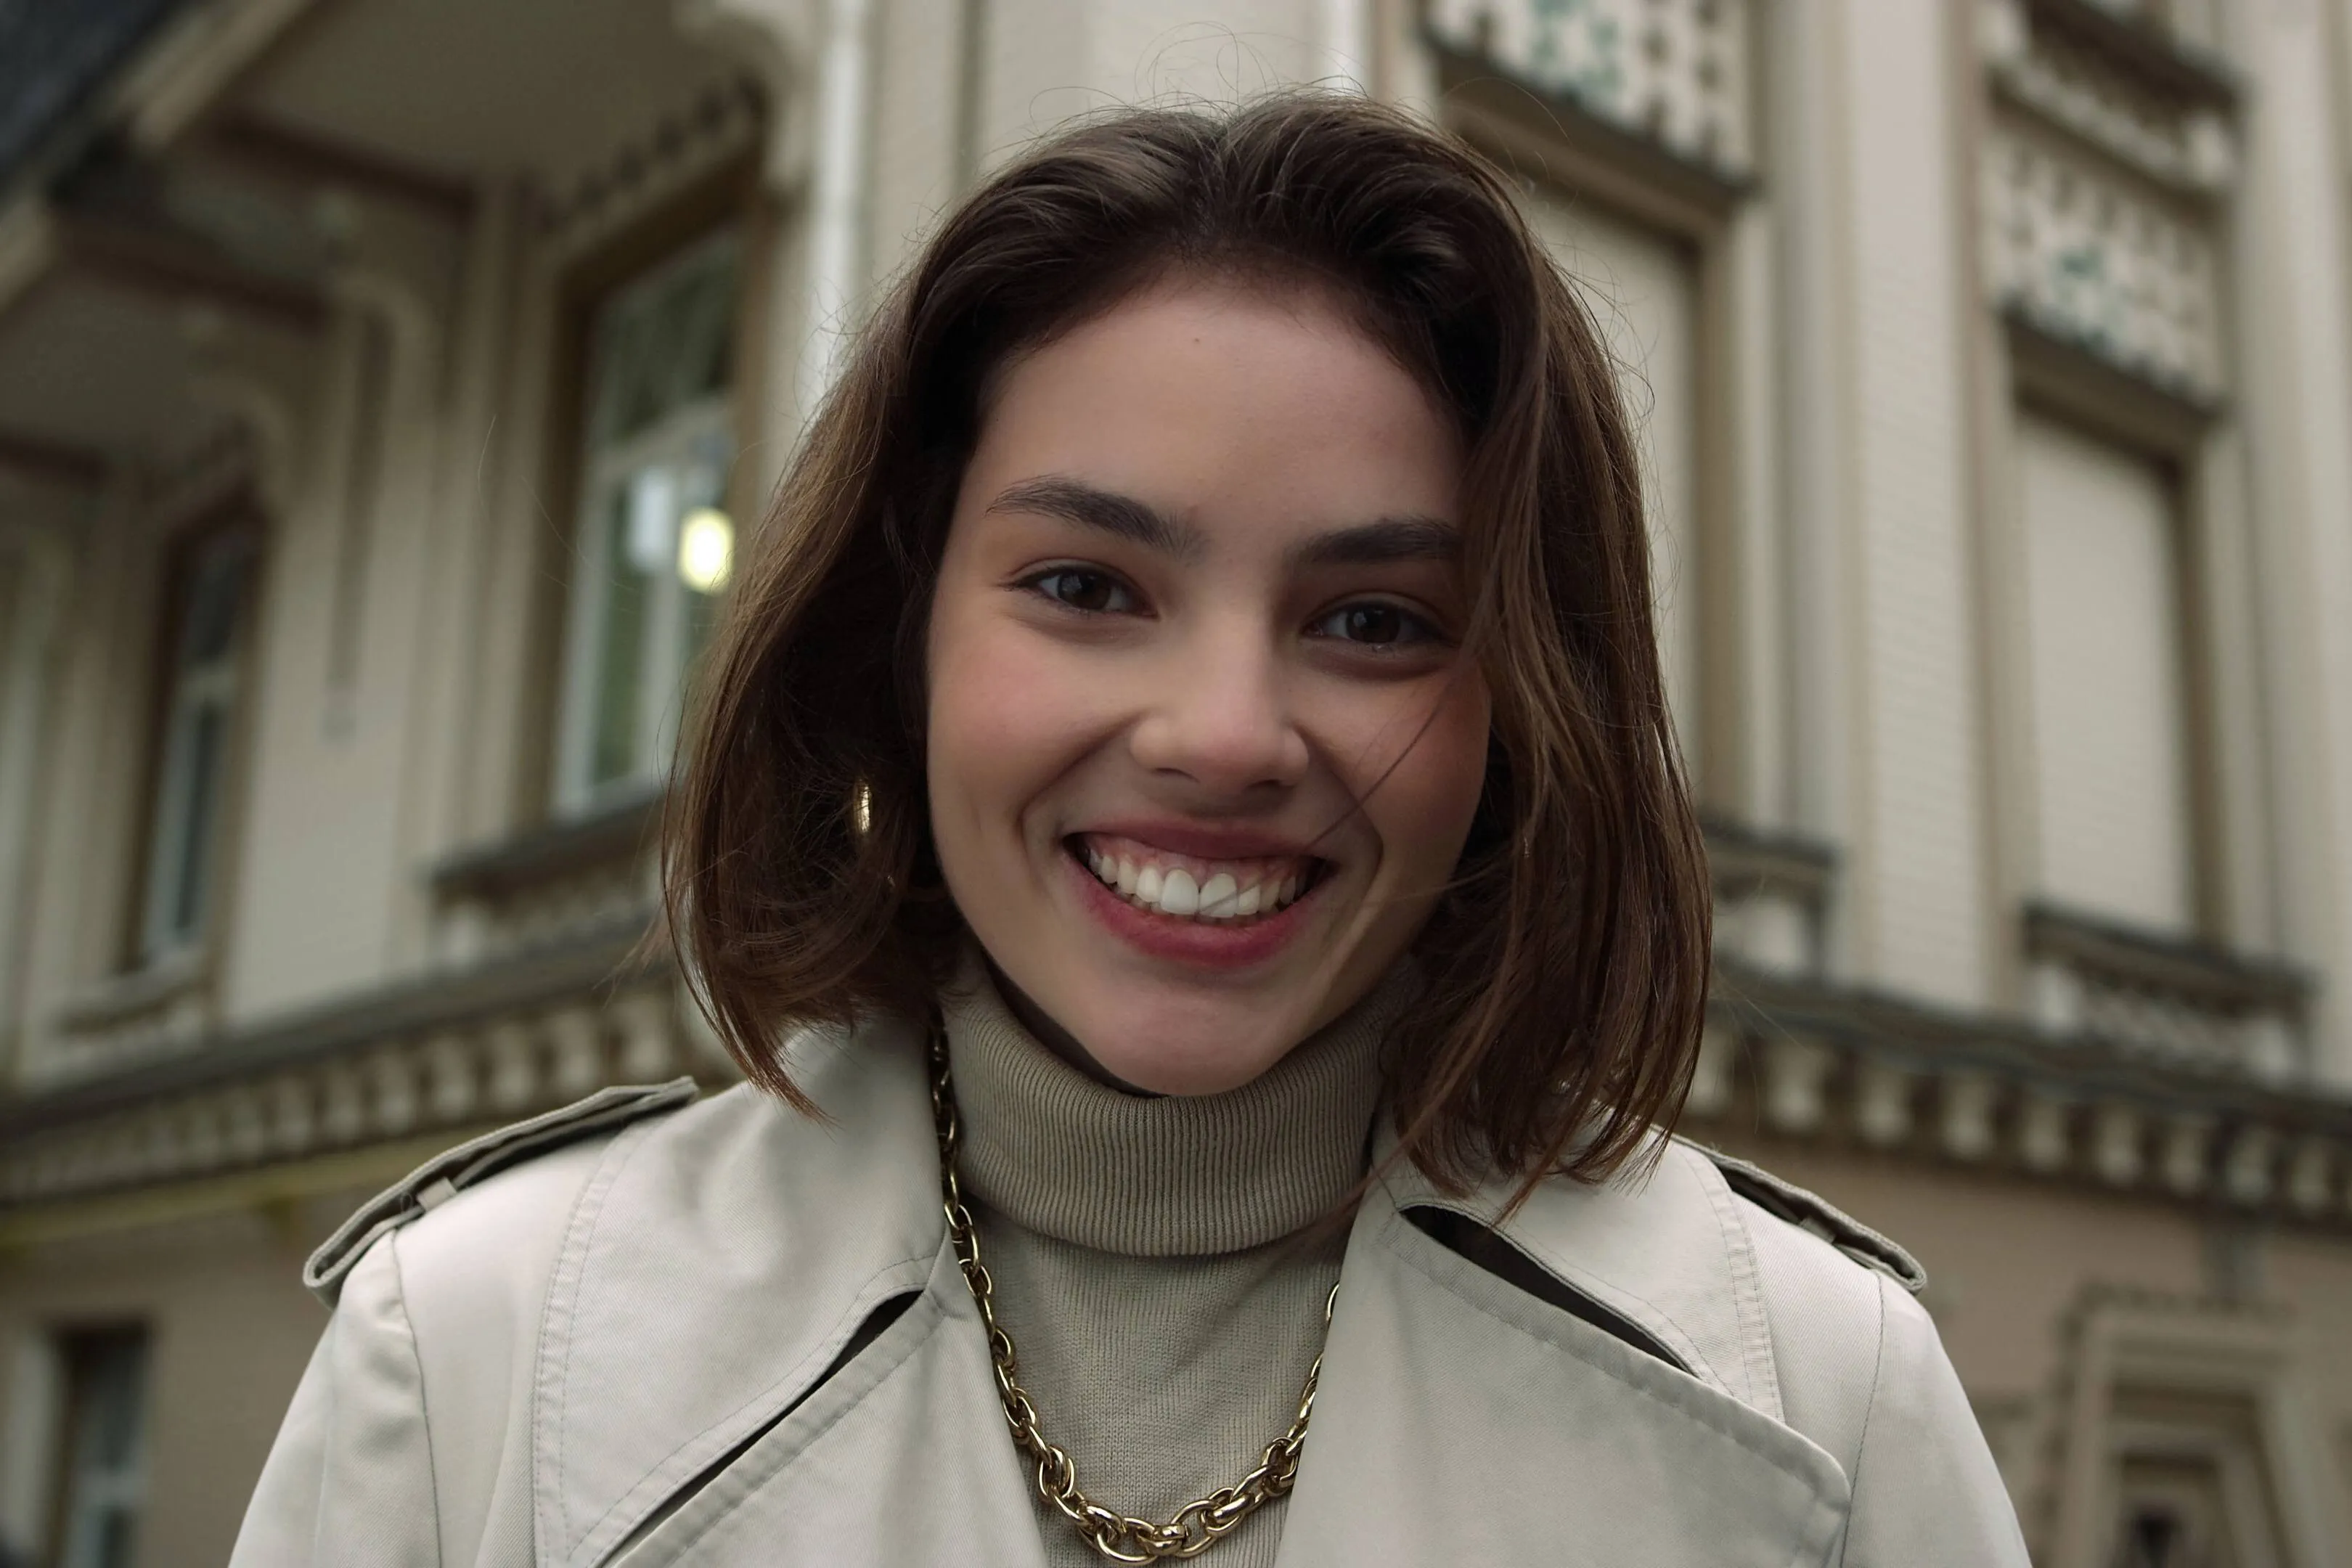
Creative Possibilities Unleashed
After you edit your photos with the Develop RAW tool, experiment with the other features, depending on your goals and the contents of your photo. There are plenty of portrait tools, landscape tools, Presets, Layers, Generative AI tools, and so much more to explore!
.webp)
Explore Other Features
_before.avif)


An application & plugin
For macOS & Windows
- High-performance AI editor
24/7 technical support
30-day money back guarantee
Join our communities