What is HDR photography? And why you should try it.
September 12, 2016

You've heard of HDR. But do you really know what it means and why you need it?
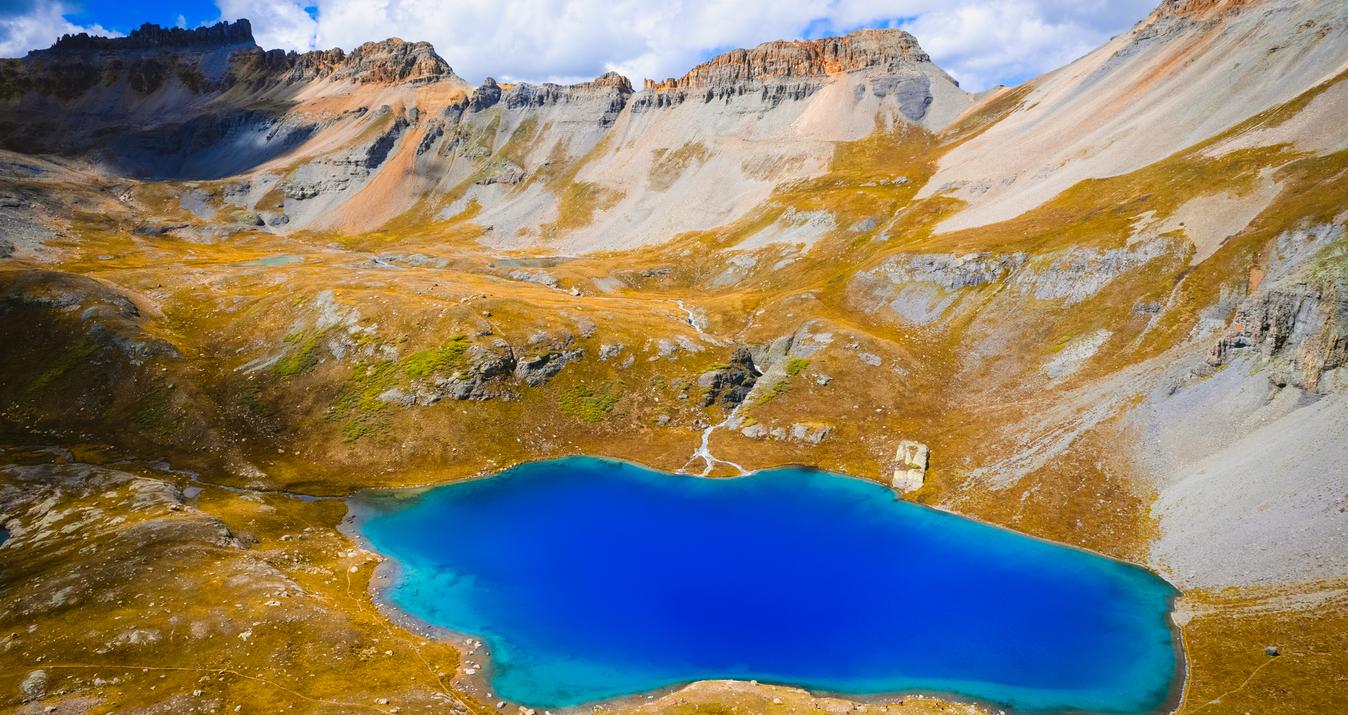
HDR is a style of photography that’s worshipped by some and despised by others. Some of the pictures you’ve seen online with beautiful bright green landscapes backed by rolling grey fog, or sunny blue skies behind colorful Italian cities, have probably been worked on with the advantages of HDR. But this technology can be used for both good and evil.
But let’s start off with the basics. If you’re not a shutterbug genius, the term ‘dynamic range’ might be somewhat confusing. Essentially, what this term refers to is the range from dark to light you’re able to capture in a photo. If your subject exceeds your camera’s dynamic range, your light areas end up washed out and your darkest areas look like black blobs.
Trying to get a good picture that captures both sides of the spectrum and more closely resembles what your eyes see can be nearly impossible. Fortunately, modern technology and the software newer cameras use to process the shots are making getting pictures like this a little easier. That basically explains what dynamic range is—it’s a style of photo with a larger dynamic range that will give you the high contrast pictures you haven’t been able to capture.
While HDR can bring out every color in a sunset, over-processing the images can also take away from the detail you captured. HDR photography uses digital imaging and the sensors in cameras to differently map what the cameras capture in order to create a more dynamic contrast.
The sensors in cameras are far less dynamic than the human eye, but HDR processing software will differently map shadow and highlights by overlapping several different exposures of the same image. The software takes each level of exposure and combines the data, distributing the light captured by the sensors across the image more accurately.
How to create the HDR image?
To create an HDR image, there are several things you’re going to need. First, you’re going to want a camera with AEB (Automatic Exposure Bracketing). It isn’t impossible to create an HDR image without AEB, but the technology gives your camera the ability to take several pictures at once, whereas without it you’ll need to take the images one at a time.
Next, you’re definitely going to want a tripod. Using a tripod ensures that each picture your camera takes will be nearly perfectly aligned, without it lining up each image can be extremely frustrating.
Finally, you’ll need to invest in a software for HDR photo blending. There are tons of different applications to look at, but a few of the best are Aurora HDR 2017, EasyHDR and the HDR tools in Lightroom and Photomatix Pro. These are the top rated HDR software applications because their algorithms really work, and they’re easy to use even if you’re not the best with computers. One more thing before you start: you’ll want to check that the memory card in your camera has a high enough capacity to store a large number of the images you shoot in the RAW format. As opposed to JPEGs, RAW images aren’t compressed. Therefore, the images are a much higher quality but also take more disk space.
Now that you’ve got all the necessary tools to capture an amazing HDR photo, let’s talk about everything you’ll want to know as you take the next step in your photography career. Here are some tips to help you while you’re getting started. As we discussed, HDR imaging works the best on a still scene, because each image the camera takes must be as similar as possible. It isn’t entirely impossible to get a decent HDR photograph with a moving subject in it, but it’s definitely not something you’re going to want to try and accomplish your first week out.
At first the most important thing you’ll want to focus on is making sure each image is as similar to the one before it as possible. While you’re looking for your next subject, try and look for an area that has a great contrast - a lot of dark and light areas. Though our eyes are used to seeing high contrast without issue, these are the kind of shots that will come out best in an HDR processing software.
One of the hardest parts of working with exposure shots like these is figuring out whether or not your subject actually needs HDR. Though most images will have their light and dark areas, if the lighting is fairly even your shot is probably going to come out perfectly all on its own.
Learning when HDR is and isn’t necessary is one of the first steps to becoming the best with the technology. Once you’ve gotten started with HDR, you’re also going to want to pick a style that suits you. Since HDR software applications use tone mapping to create the picture, depending on the level of control you can make images very realistic and natural or go in a different direction to something that looks super-colorful and surreal. It’s all up to you!
Most of you will probably agree that HDR is going to look great on a sunset. Because of the vast range of colors and light in a sunset, it’s nearly impossible to capture a great picture of a sunset with a camera alone. If a sunset is where you’re looking to start, here are some great tips and techniques to keep in mind while you chase that perfect photo.
First, make sure that you bracket your images two stops apart. This will give you enough range for processing without overloading you with images. Next, you’re going to want to find out how to set your camera to a low ISO. Processing an image with the necessary software for an HDR image introduces a lot of noise, and starting with a low ISO will help you learn to deal with that issue.
It’s important to understand that while you may change your shutter speed to catch an image in the fading light, never, ever change your aperture. Changing the aperture while bracketing your shot will change your camera’s focus and you’ll end up with an HDR image that blurs together. Once you get to the processing stage, it may take you a while to figure out which settings you need to work with to make each image come out at its best.
Don’t worry about it too much—you’re just starting out, try and have a little fun with the newest addition to your photography skill-set. When you need help down the road, there are tons of tutorials for the most popular HDR software applications, so you will be able to learn everything you need to know to take your images to the next level.
Everything you’ve learned from this post should give you a great start into the world of HDR. Remember to take your time and set up your camera for the best shot, and always remember to have fun! And if you want to learn more about HDR photography, check out this post by David Crewe, where he explains on when you should use HDR techniques and when it's better to stick with other photography styles.


