What is merge in HDR photography
February 11, 2016
Learn more about merging of HDR exposures into one final picture to save dark and light details of a scene.
HDR Merge: Easy and Fast
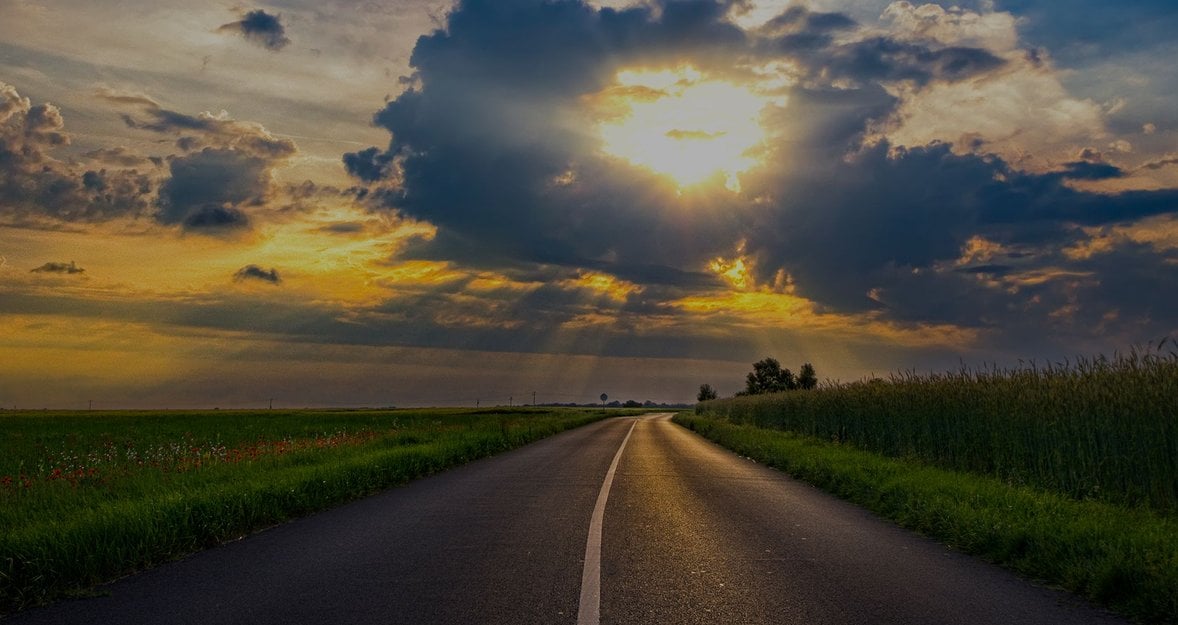
Capture high contrast scenes with HDR photography. Take bracketed exposures and merge them into one high dynamic range picture by means of hdr merge software. You can use Photoshop Elements to create HDR or any other habitual app. But the most popular is Aurora HDR thanks to its might and simplicity. So you have the brackets. And it’s time to merge them.
Aurora HDR Merge
Step 1
Install Aurora HDR photo editor on your Mac. Launch and click. Load images. Find the folder where you store the brackets. Left-click on necessary files holding command button. Selected files are highlighted.
Step 2
HDR will be made from this. You see your brackets in a new window. Auto alignment (photos were taken without a tripod), Ghost Reduction (there are moving objects) and Chromatic Aberration (to remove purple fringing) are under them. Tick any if required.
Step 3
Aurora HDR merge makes your photo look natural. Save the photo on your hard drive. Or export it to another application. Or share your HDR pic with the world via social networks.
Aurora HDR features
Here’s a list of some Aurora HDR features. To learn more, click here.
- Powerful merging algorithm, that's faster and more powerful than in other software
- Over 60 one-click presets for instant amazing results
- Over 60 essential editing tools to adjust color, remove noise, control light & more
- Layers with blending modes, custom textures, and luminosity masking
- Export and sharing to popular social media, including Facebook and 500px
- Free demo version, available for downloading from the official web site