What Is White Balance In Photography: Understanding Its Role
October 21, 2025

Have you ever opened a photo and wondered why the whites look wrong? Welcome to white balance explained, the short, useful guide that will save your colors and your reputation.
After years of shooting, I realized that something even more essential hides behind every true-to-life photo is white balance. Whether you’re photographing a glowing sunset, a snowy mountain, or a candlelit dinner, neutral color calibration determines if your neutral tones appear true or take on a strange blue, orange, or green tint.
Many beginners overlook it, thinking they can “fix it later.” But mastering it in-camera saves time, keeps colors accurate, and gives photos that natural, professional look.
In this article, we’ll explore what white balance really is, why it matters, and how photographers use it not only for accuracy but also for creative storytelling.
What Is White Balance
 Before anything else, let’s start with a clear white balance definition:
White balance іs the process of adjusting the hues in your image so that neutral tones appear accurate and all other colors look natural.
Every type of light, whether sunlight, fluorescent bulbs, or a candle, has its own color temperature. Your camera tries to interpret this and compensate for it, but it doesn’t always guess correctly. In specialized situations, even in astrophotography, white balance for moon photography matters because moonlight and nearby artificial lights can pull tones in unexpected directions.
So, what exactly does white balance do? It ensures that the light tones in your photo appear neutral, not tinted yellow or blue. For example, if you photograph a bride in her ivory gown under tungsten lights, the camera might record it as yellowish. Proper light balance neutralizes that color cast, so her dress looks true to tone again.
When you adjust your white balance settings in-camera options like Auto, Daylight, Cloudy, or Tungsten, you’re telling your camera how to interpret the light source. Auto works surprisingly well most of the time, but in mixed lighting or creative shoots, manual settings give you more control.
Your AI-Powered Photo Editor for MacOS and Windows
Discover Now!Understanding Color Temperature
 Color temperature is the backbone of understanding white balance. It’s measured in Kelvin (K), ranging roughly from 1000K (warm, orange light) to 10,000K (cool, blue light).
Candlelight is about 1800K, tungsten bulbs hover around 3200K, while daylight is closer to 5500K. The higher the Kelvin number, the cooler the light appears.
When you ask, “What is the purpose of white balance?” The answer lies right here: It compensates for color temperature differences to keep your tones true. Your camera adjusts its internal color response to neutralize these temperatures.
For example:
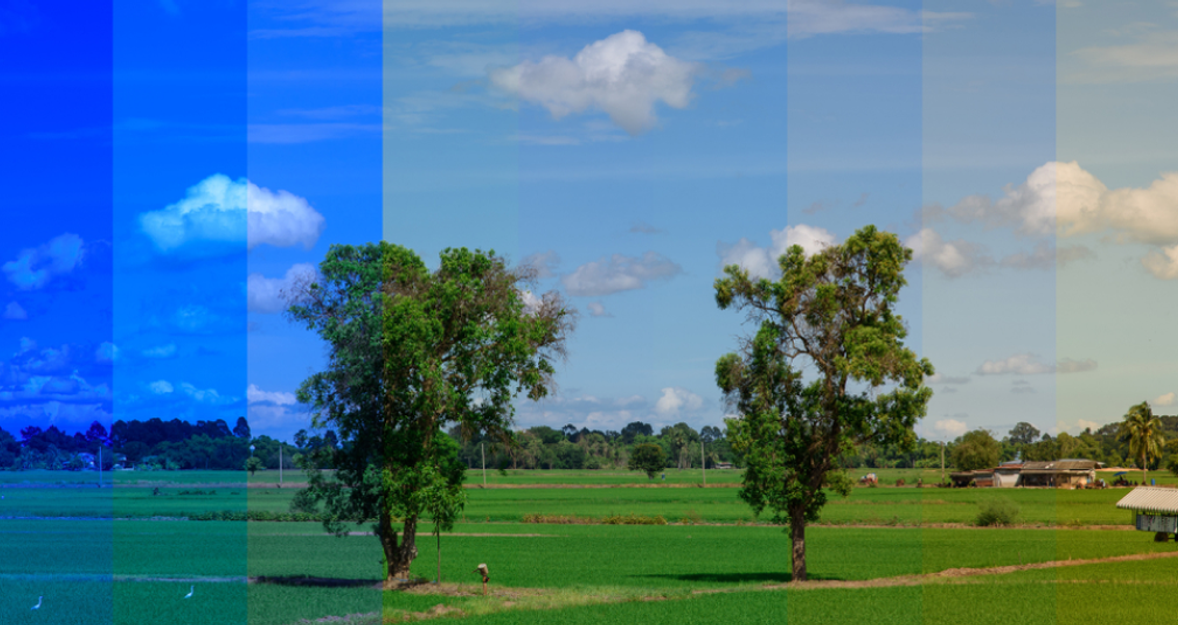
If you shoot under warm tungsten light, your image may look orange. Set your camera to a cooler white balance (like 3200K) to neutralize it.
If you’re outdoors in the shade, which has cooler tones, use a warmer setting like Cloudy or Shade to bring warmth back.
If you’ve ever wondered how do you white balance a camera, the answer depends on your light source. Most cameras allow you to set it manually by photographing a neutral grey card under your light and using it as reference. This method works perfectly when color precision matters, such as product photography or portraits where skin tones must look natural.
Lighting isn’t just about brightness it’s about color relationships. For instance, when shooting a sunset, you might prefer warmer tones rather than a perfectly neutral harmony. The right sunset camera settings can help preserve that golden warmth instead of neutralizing it away.
Understanding color temperature helps you see light in a whole new way. Soon you’ll notice how a kitchen lit by fluorescent bulbs makes people look slightly green, or how evening shadows add cool blues to pale walls. Once you see these shifts, tweaking the tonal balance becomes intuitive.
Unleash the Power of Image Brightener
Try It Today!How to Calibrate White Balance
 If you want consistent results, you must know how to adjust white balance properly. Most photographers start with presets: Auto, Daylight, Cloudy, Fluorescent, and Tungsten, but the best results often come from custom calibration.
Here’s the best way to white balance your camera step by step:
Use a grey card or white sheet: Place it under the same lighting as your subject.
Take a photo of it: Fill the frame with the card or sheet.
Set your camera’s custom white balance: In your camera’s menu, select “Custom” or “Preset Manual,” and choose the image of your grey card as reference.
Save that setting: Now your camera uses that reference to neutralize the color cast.
That’s it, you’ve created a precise hue baseline for your environment. Yet, light can change quickly, especially outdoors. If clouds move or the sun shifts, recalibrate. You’ll instantly see a difference in color consistency between shots.
If you prefer post-processing, there’s also selective colorization software hat lets you fine-tune specific hues after shooting. It’s especially handy when your image contains multiple light sources or mixed temperatures.
Using White Balance Creatively
Once you’ve mastered technical accuracy, it’s time to break the rules. Color balance does not need to neutralize every photograph; it can establish mood, provoke emotion, and direct the viewer’s eye.
For instance:
Set a cooler tone (around 4000K) for a sterile, moody look in a hospital or winter scene.
Push it warmer (around 7000K) for cozy café interiors or sunlit portraits.
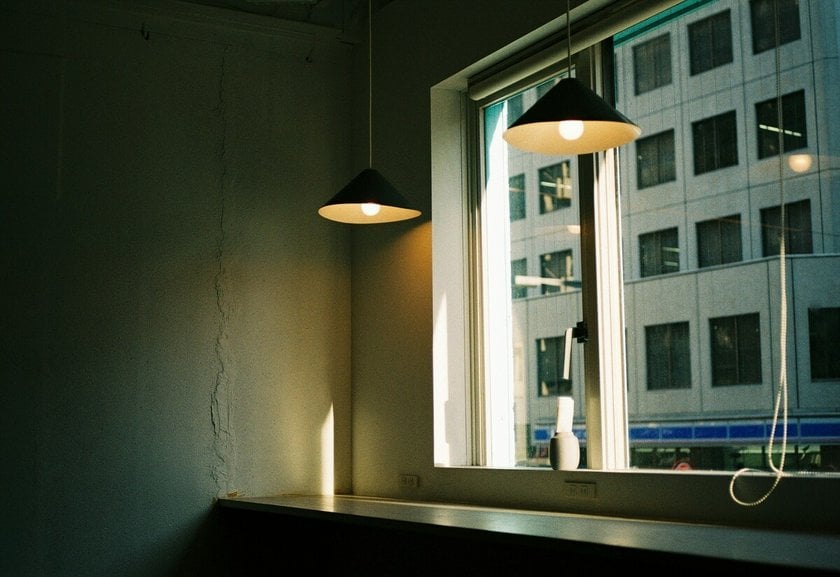
Deliberately mix light sources like cool daylight from a window and warm indoor bulbs to add depth and atmosphere.

This is where white balance turns from correction into creativity. Think of it like choosing your color palette in painting. The mood of your image depends heavily on your tonal temperature. You can also push boundaries by converting your images to monochrome. A black and white image converter removes color distractions entirely, letting light and contrast tell the story. In such cases, neutral harmony influences the tonal relationships even though the final image has no pigmentation.
One of my favorite exercises is photographing the same scene with multiple color temperature adjustments. A daylight-balanced photo of a street at dusk looks calm and realistic, but change it to tungsten, and the same scene glows blue and cinematic. It’s like painting with invisible color filters. That’s why correcting white balance doesn’t always mean making it “perfect.” Sometimes, perfection is less interesting than emotion.
What If Your Footage Is Already Shot?
We’ve all been there. You take an amazing shot, only to realize later that the colors are completely off. Maybe your image looks too orange or icy blue. Don’t panic. While getting it right in-camera is best, you can still fix it afterward. Start by shooting in RAW format. RAW files store all the color data, giving you freedom to adjust white balance later without quality loss. In editing software, simply slide the “Temperature” and “Tint” controls until neutral tones look natural again; this is exactly what does white balance do in practice: it restores neutral tones, so the scene reads correctly.
If your image is overexposed or underexposed, tools that light up pictures or brightness adjusters can help recover balance before color correction. But sometimes, fixing it in post isn’t so much about accuracy, as interpretation. If, say, your daytime shot is emotionally flat, a subtle warming can create nostalgia. Cooling an image, conversely, can enhance loneliness or calm.
Putting It All Together
White balance might seem technical at first, but it’s really about seeing light truthfully and using it intentionally. Knowing the WB camera meaning, the label or Kelvin value that tells your camera how to interpret the color of the light, makes those choices less mysterious. It affects how emotions, hues, and realism translate through your lens. Once you understand tone stability through light temperature and calibration, you gain the power to control atmosphere, consistency, and storytelling.
From the warm tones of golden hour to the cold sheen of fluorescent lights, or even that soft glow of a full moon, each light tone adjustment decision affects the story your photograph tells. Photography is not so much about taking a photo; it’s more about interpreting light. When you get white balance right, each photo is a true representation of the moment and your personal experience thereof.


