To start using Photolemur as a Photoshop plugin, you should follow the steps below.
How to install Photolemur plugins
Photolemur can be used as a plugin in Adobe Photoshop CS5 or higher and Lightroom Classic CC.
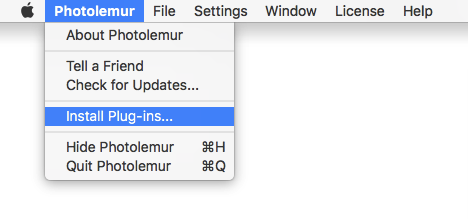
To install the plugins, launch Photolemur and open its top menu. In the menu, select Install Plugins.
Then you’ll see a window with the list of available plugins. To install a plugin, click the Install button next to Adobe Photoshop or Lightroom.
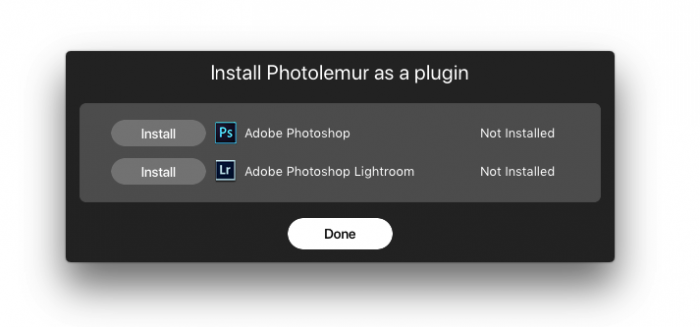
Then click Done and relaunch the app to apply changes.
How to use the Photolemur plugin in Photoshop
In Photoshop, Photolemur can be used for single image processing only.
To edit your photo with the Photolemur plugin for Photoshop:
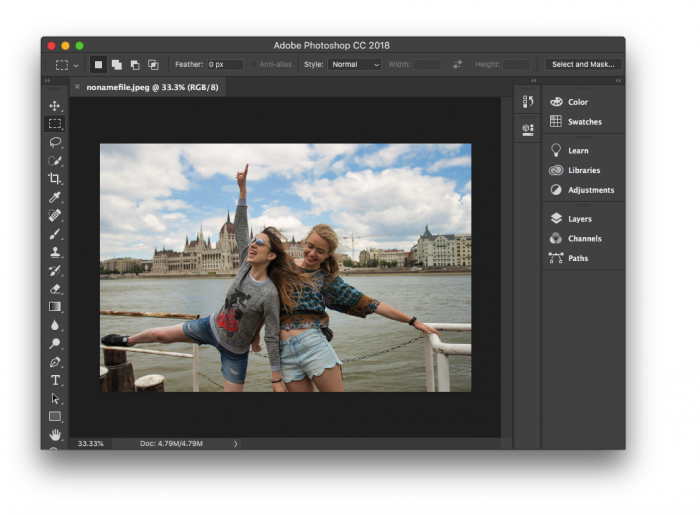
1. Launch Photoshop and open your photo.
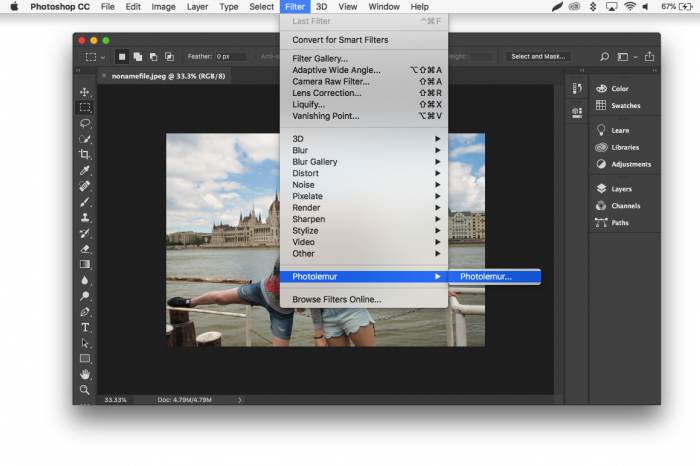
2. In the top menu, click Filter and select Photolemur.
3. Photolemur will start doing its magic. When it’s done, you can use the slider to control the final result (the brush icon next to Done) or save changes (Done).
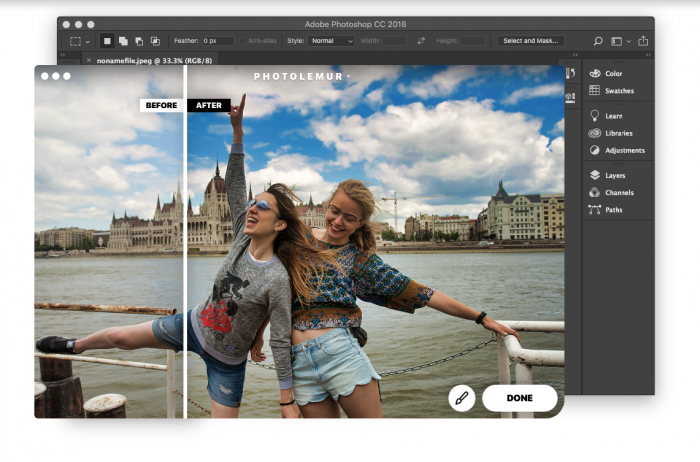
When you click Done, Photolemur’s adjustments will be applied to your photo.