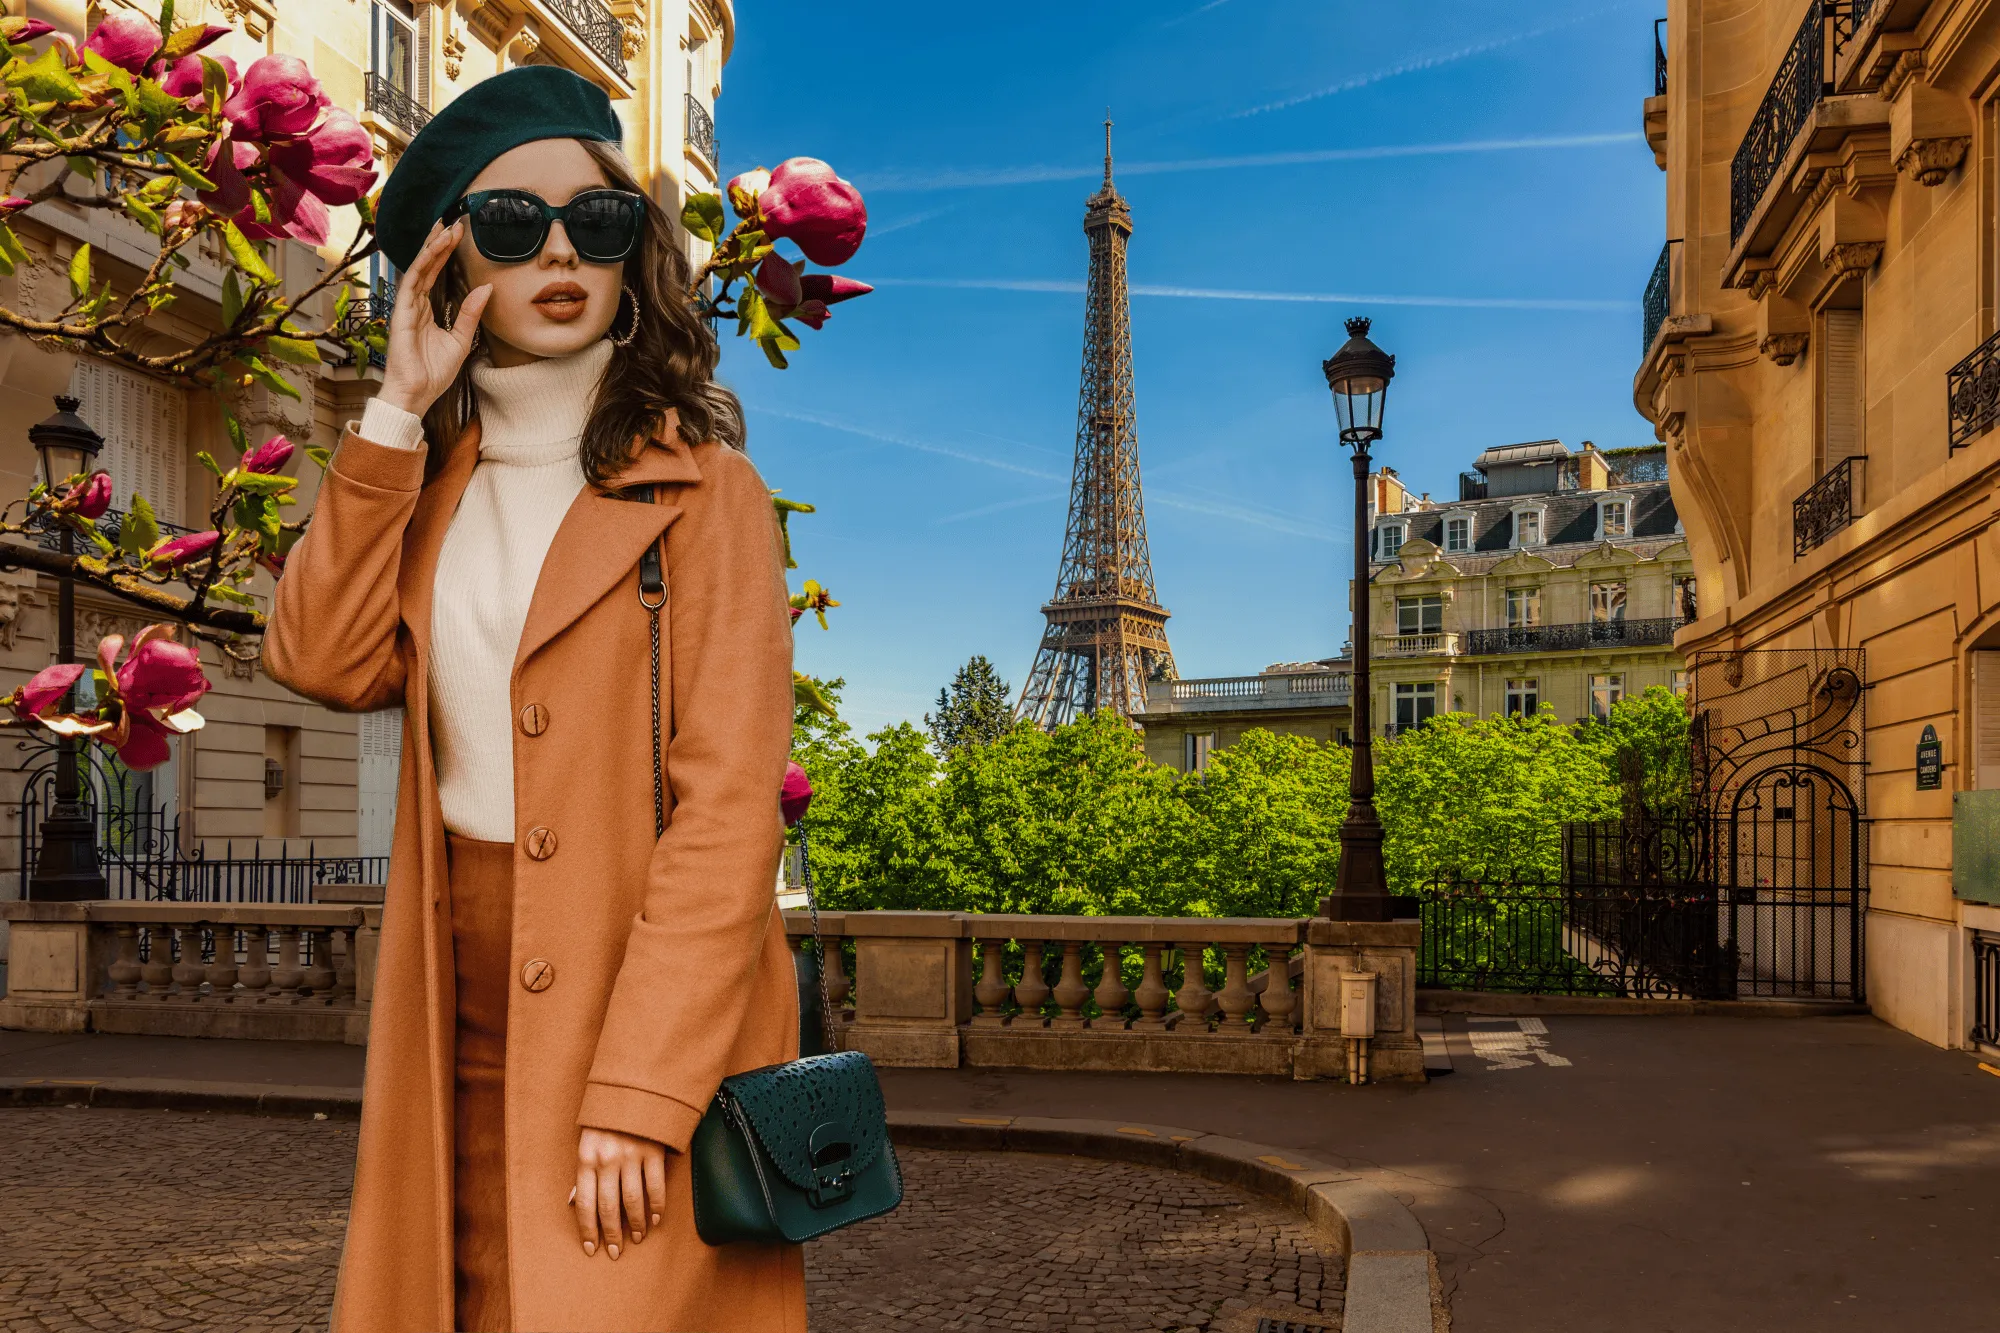
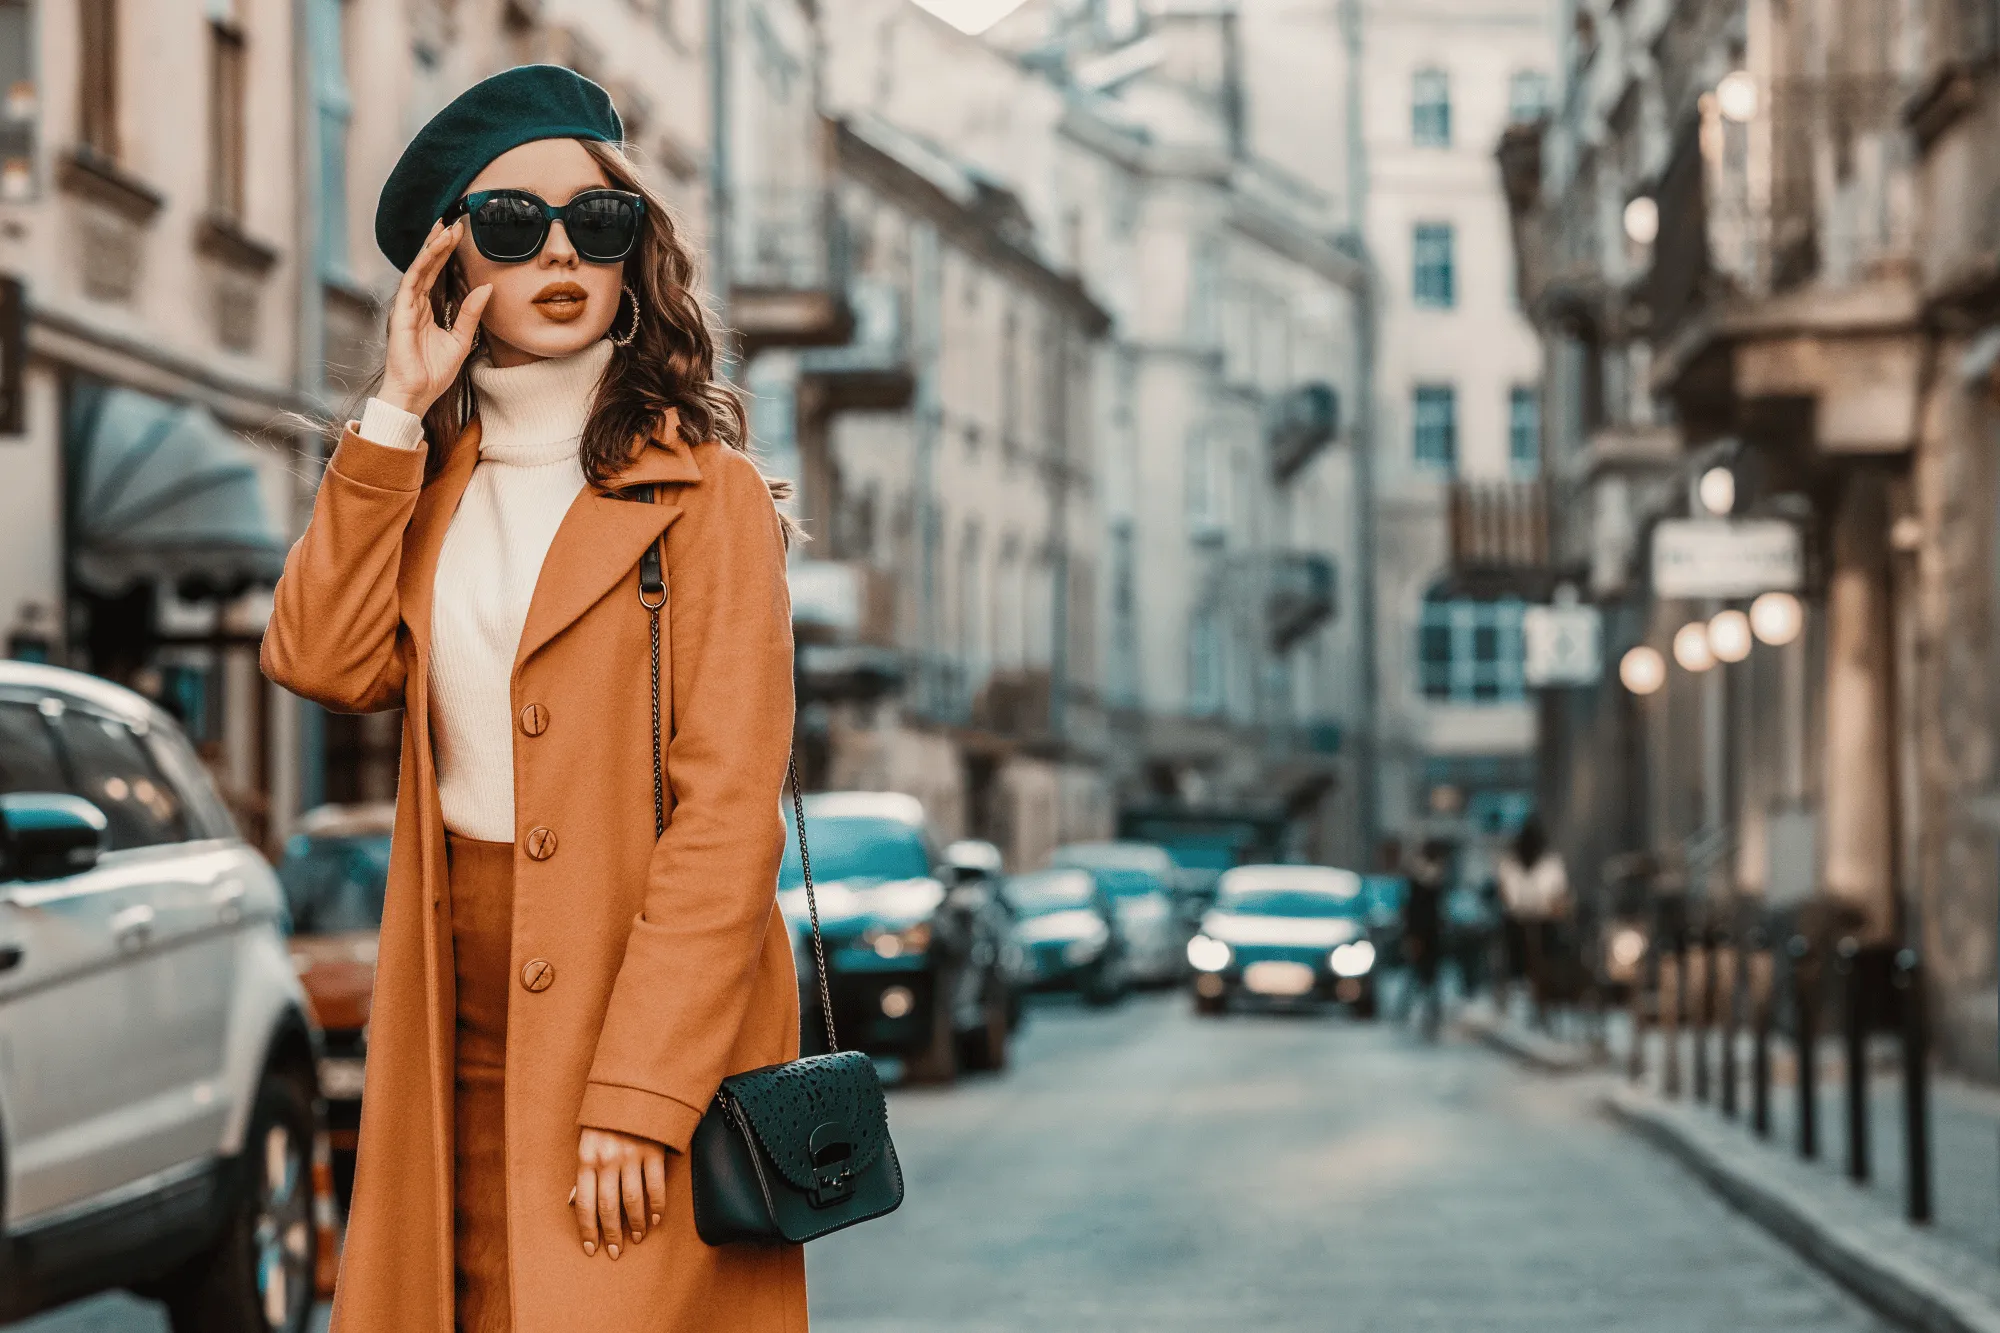
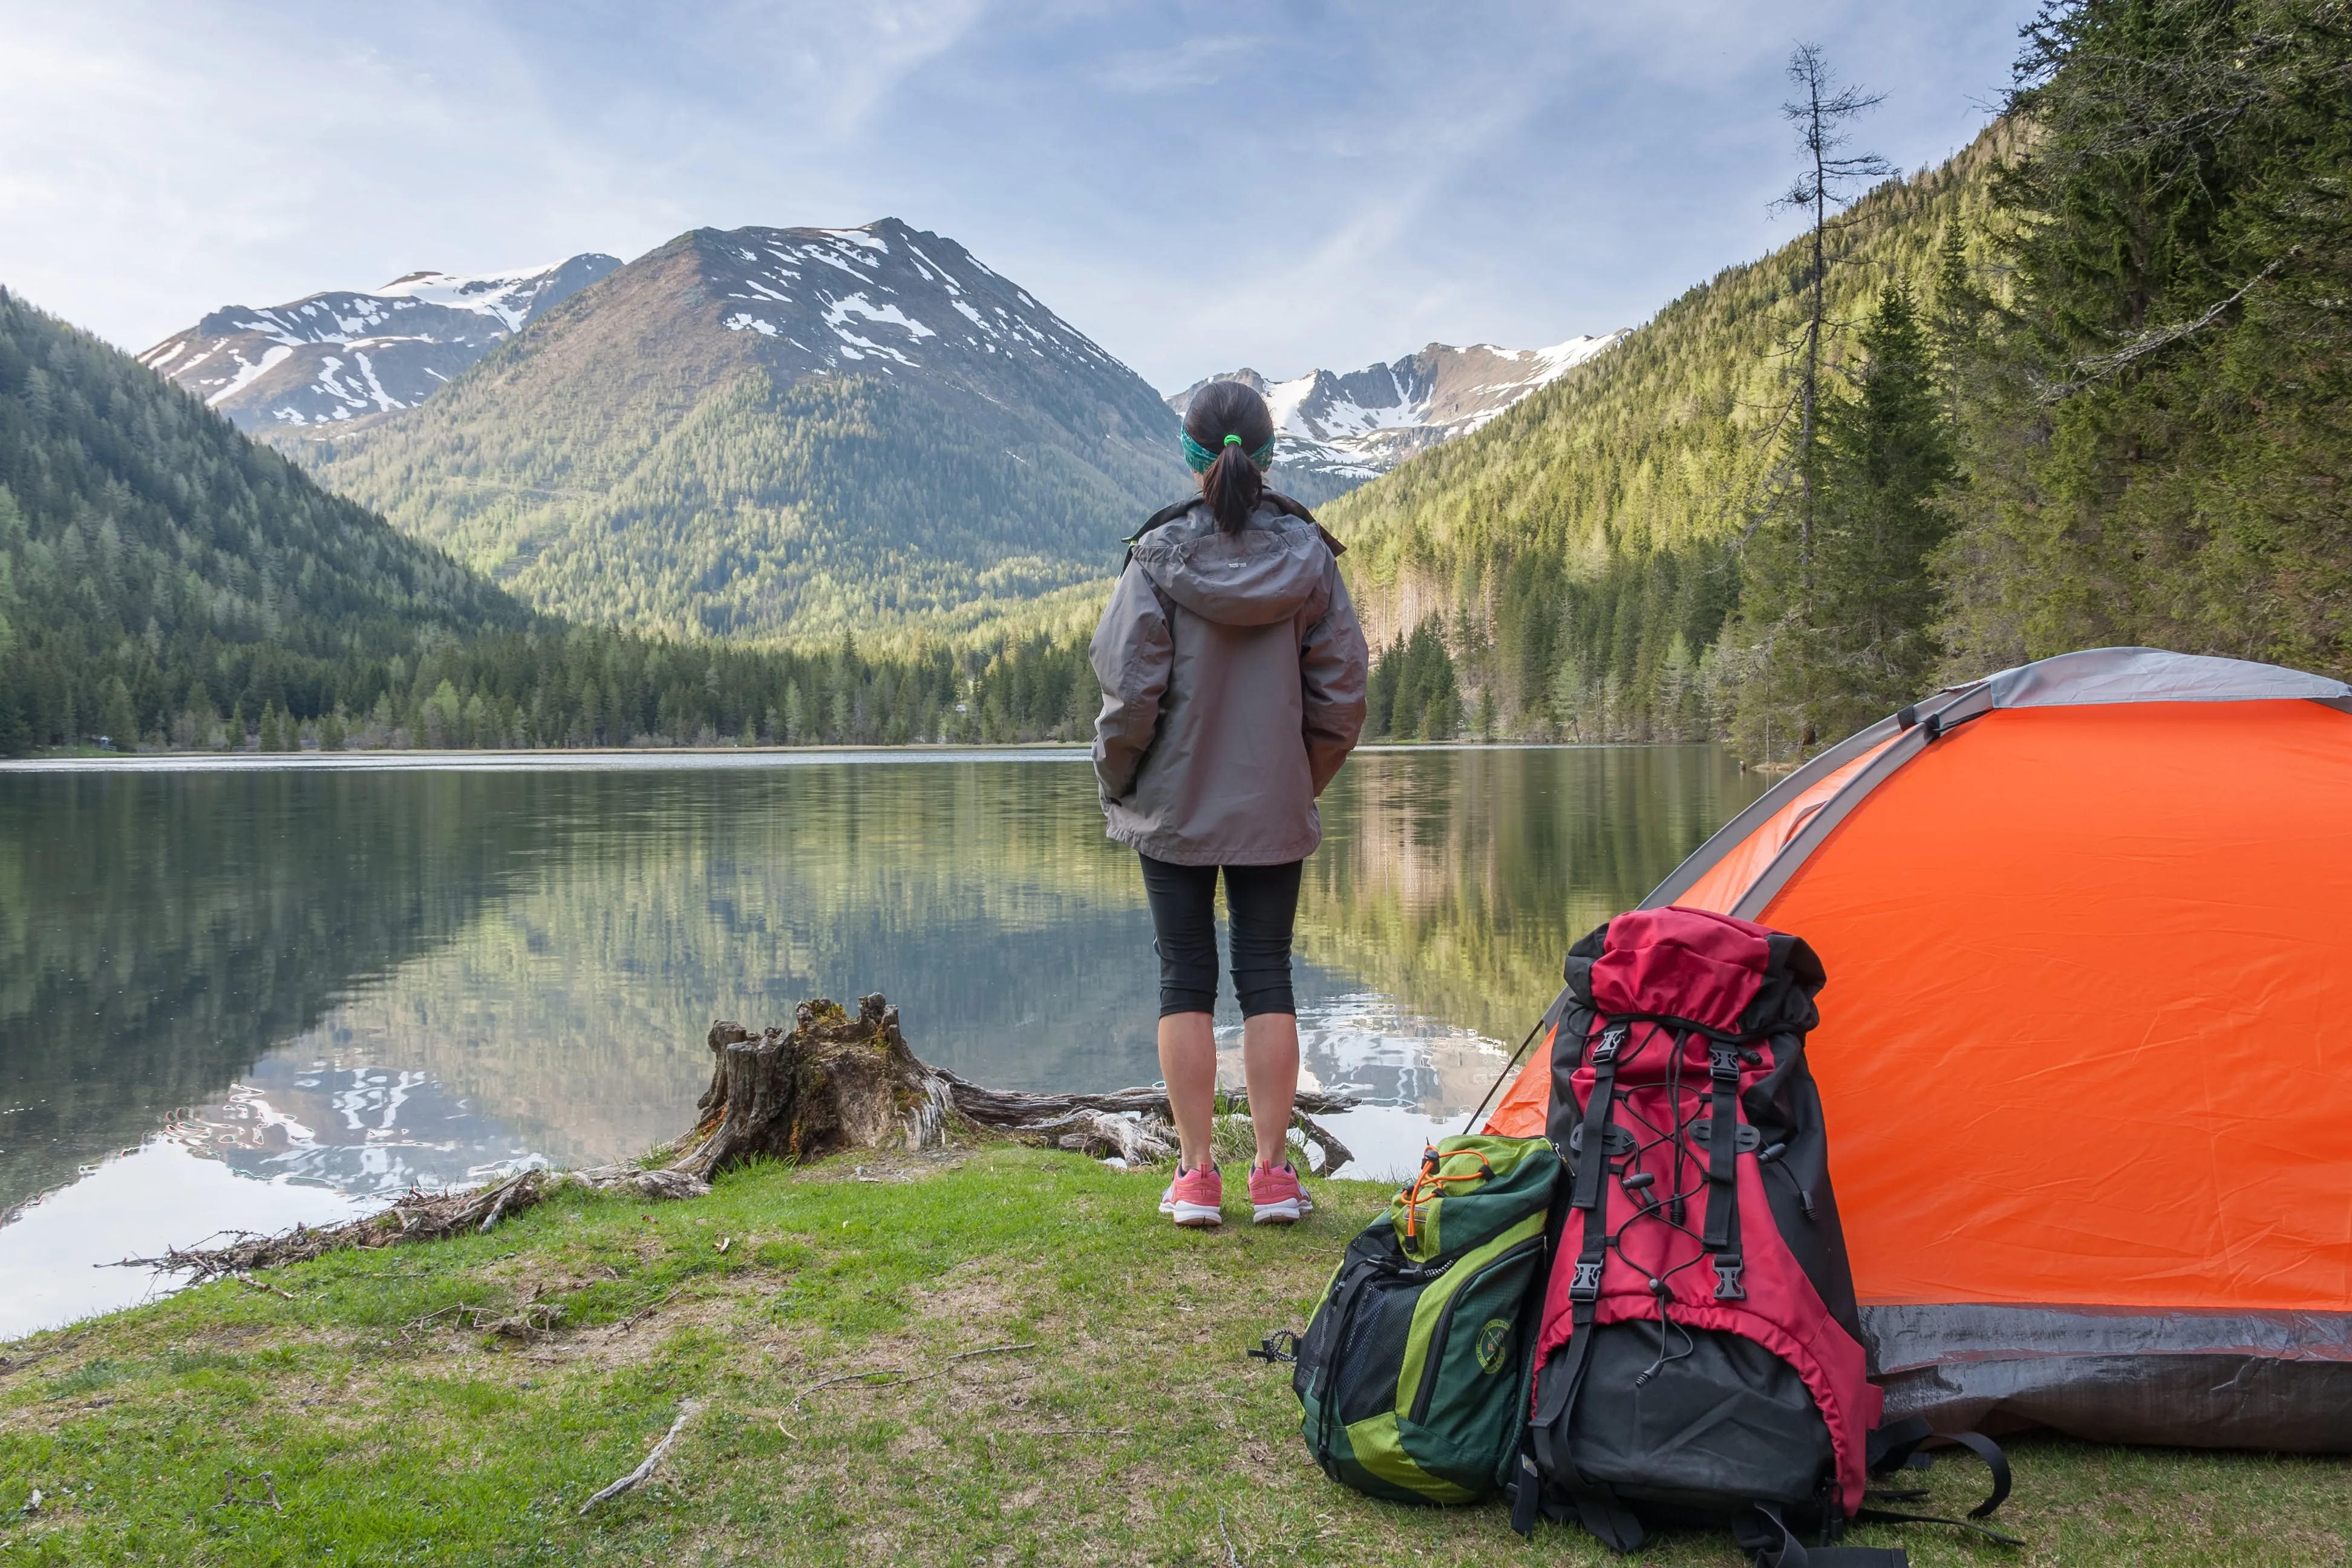
Smoothly Change a Photo’s Background
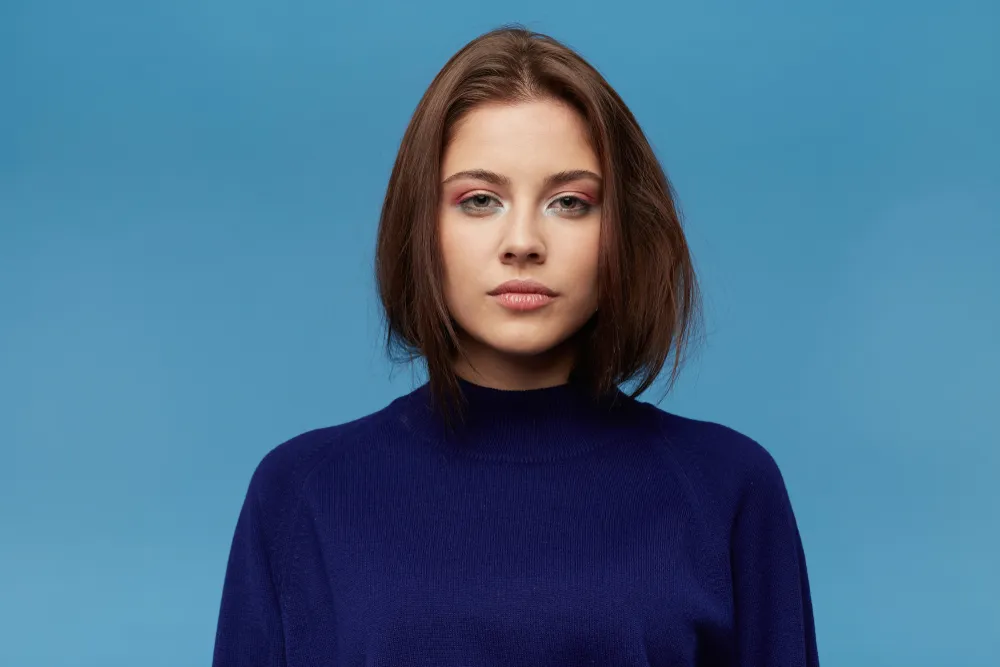
Looking for a quick way to make your photo more appealing or creative? Use Luminar Neo to change the background of a picture with ease, and enjoy the results!
View plansHow to Effortlessly Change a Picture Background
Like a Pro?
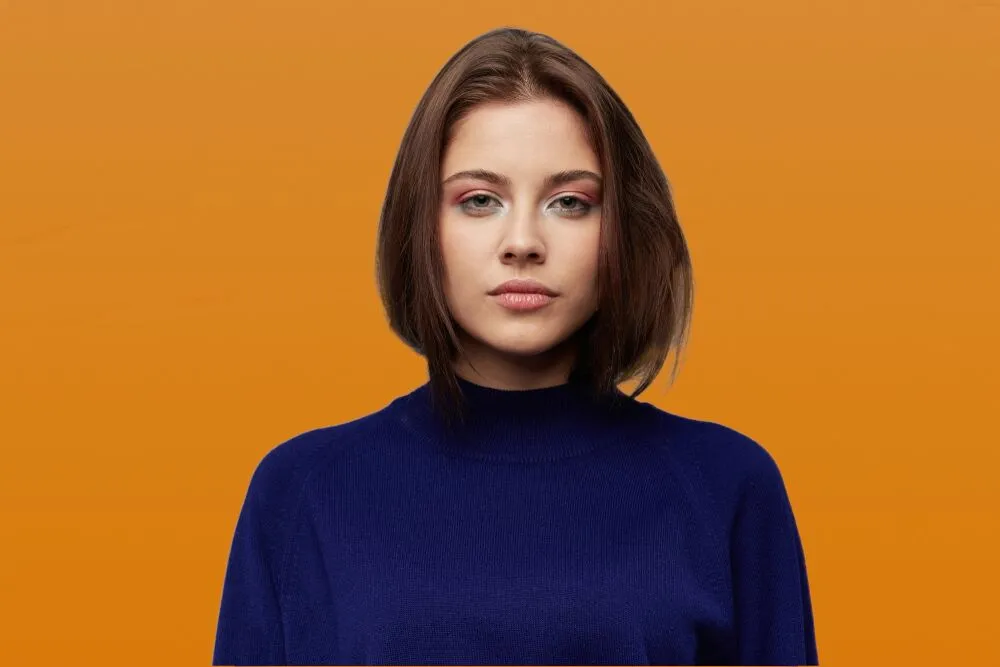
Easily remove the background with Luminar Neo’s exclusive pro-level Extension Background Removal AI which detects the subjects of your photo and lets you remove the background in a click. Then, you can change the background of your image to anything you like by using Layers!
.webp)
Why Should You Choose Our Image Background Changer Feature?
Try the power of Luminar Neo’s AI!


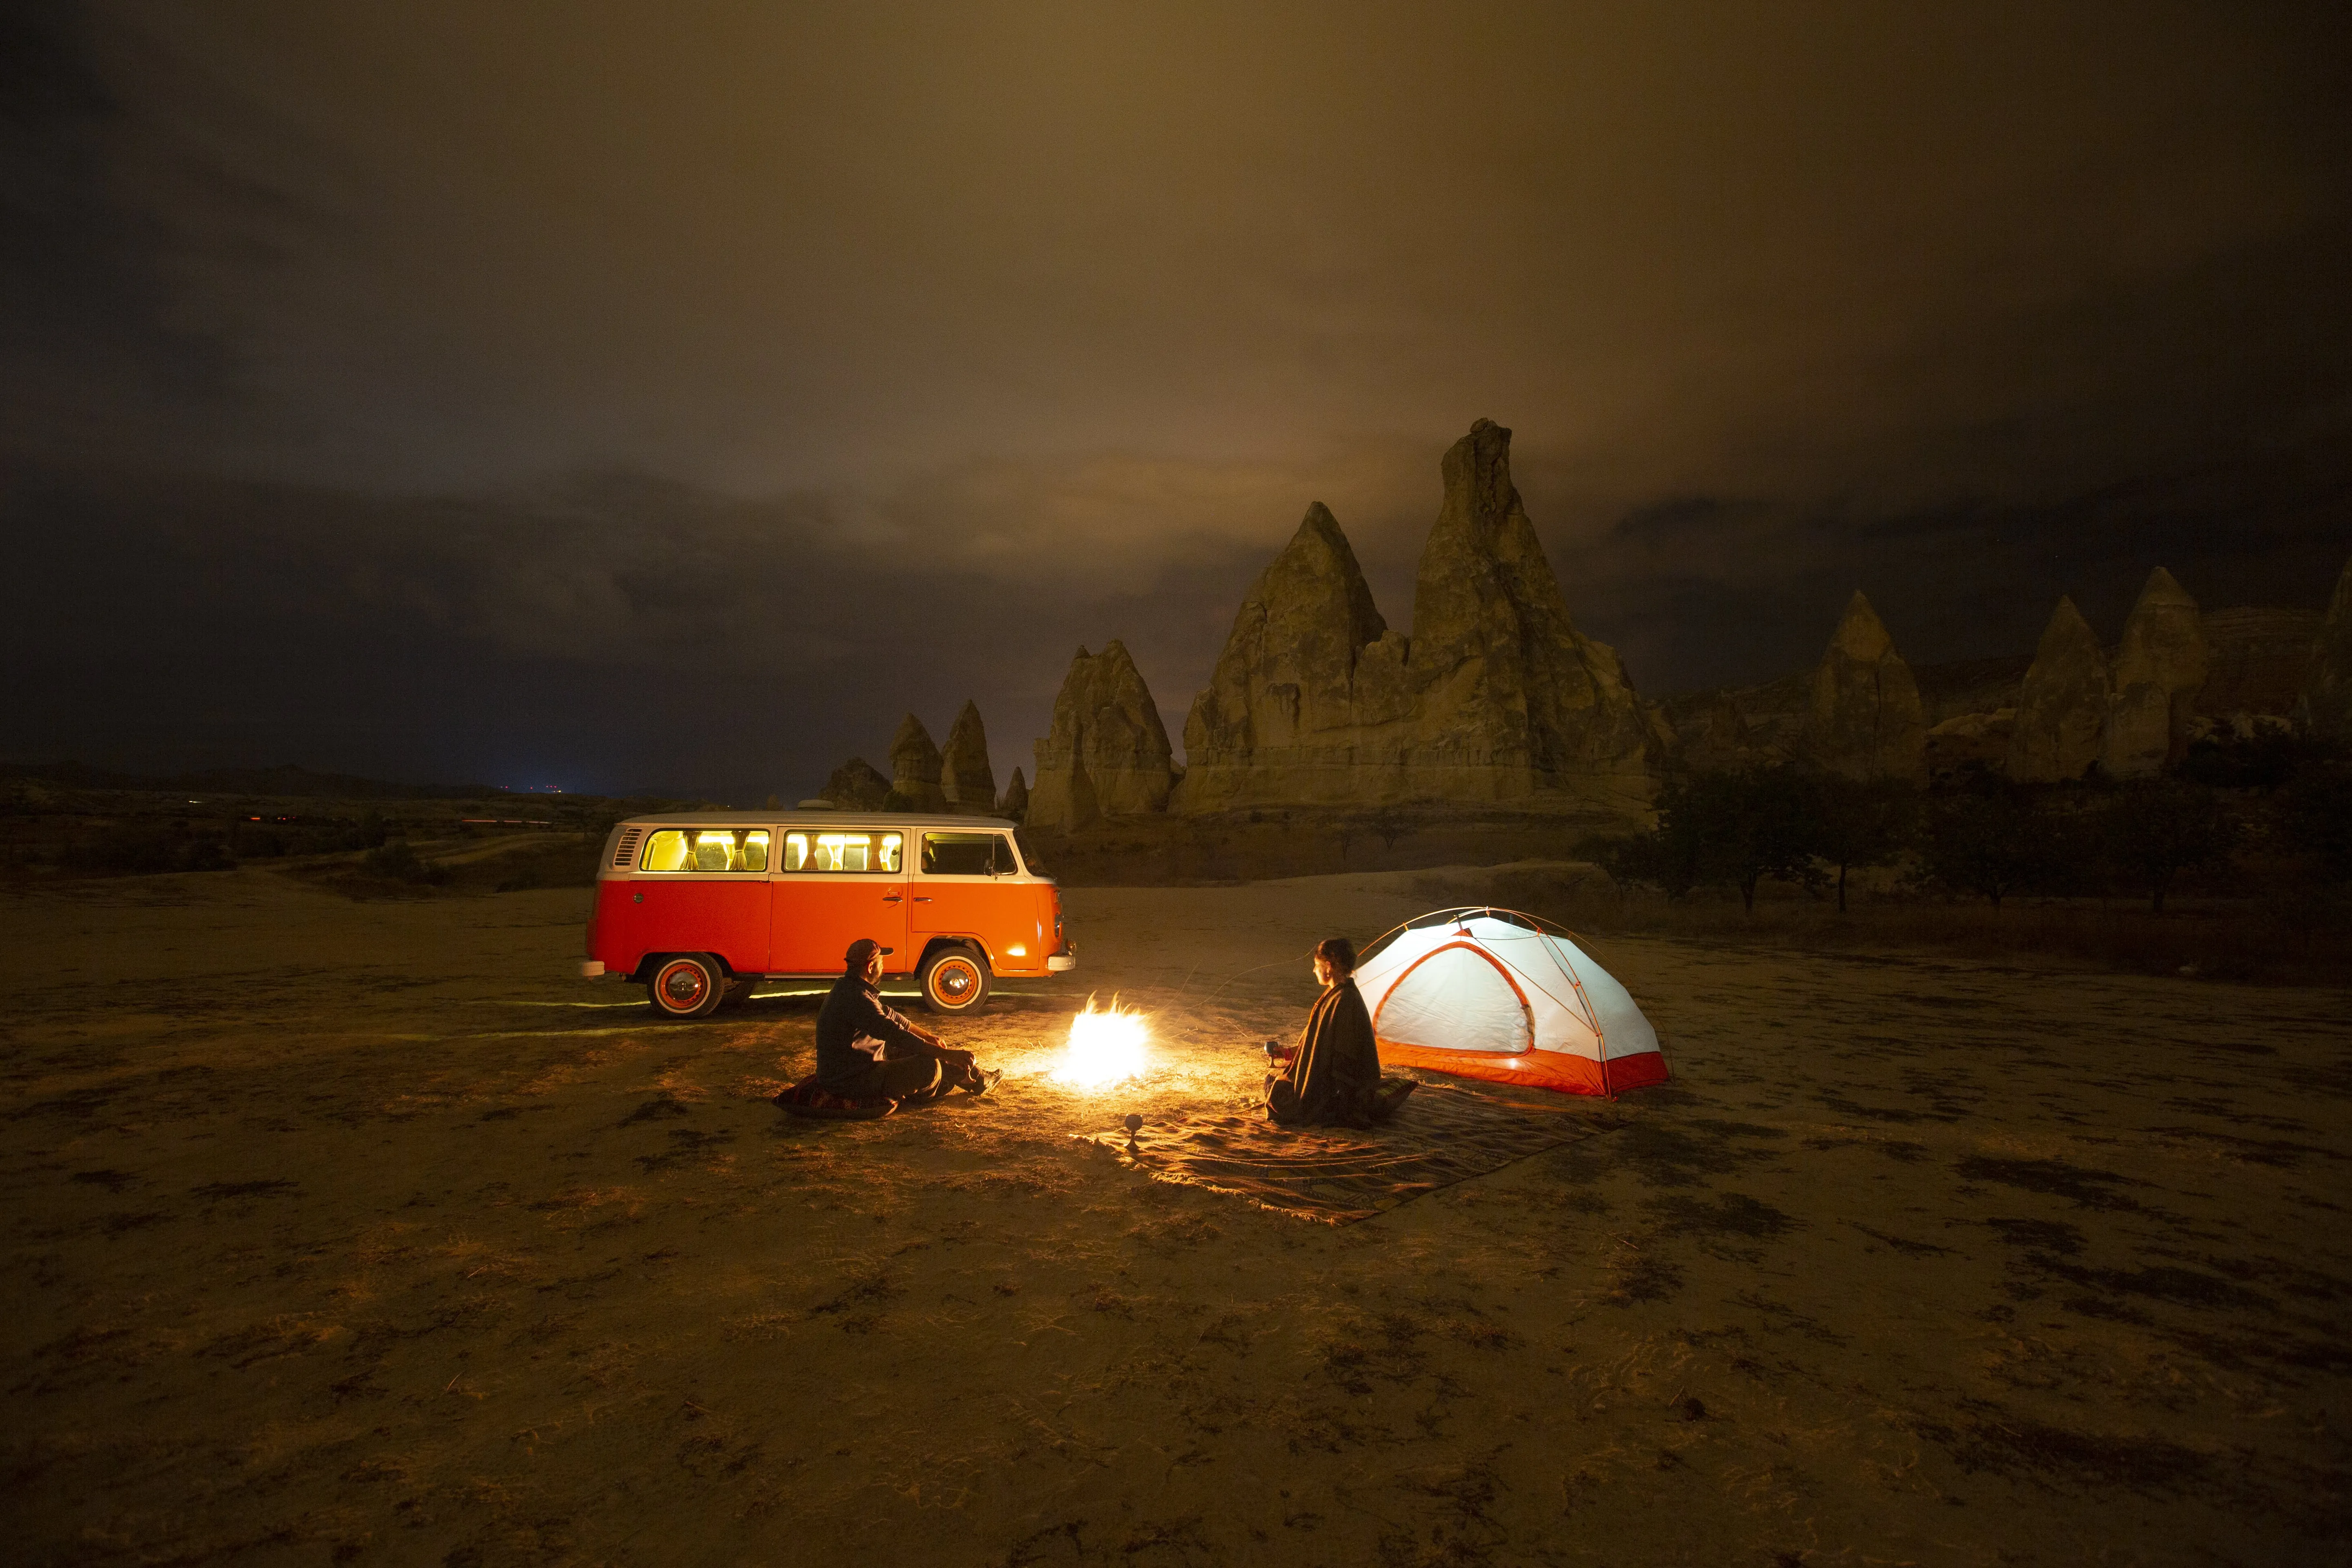
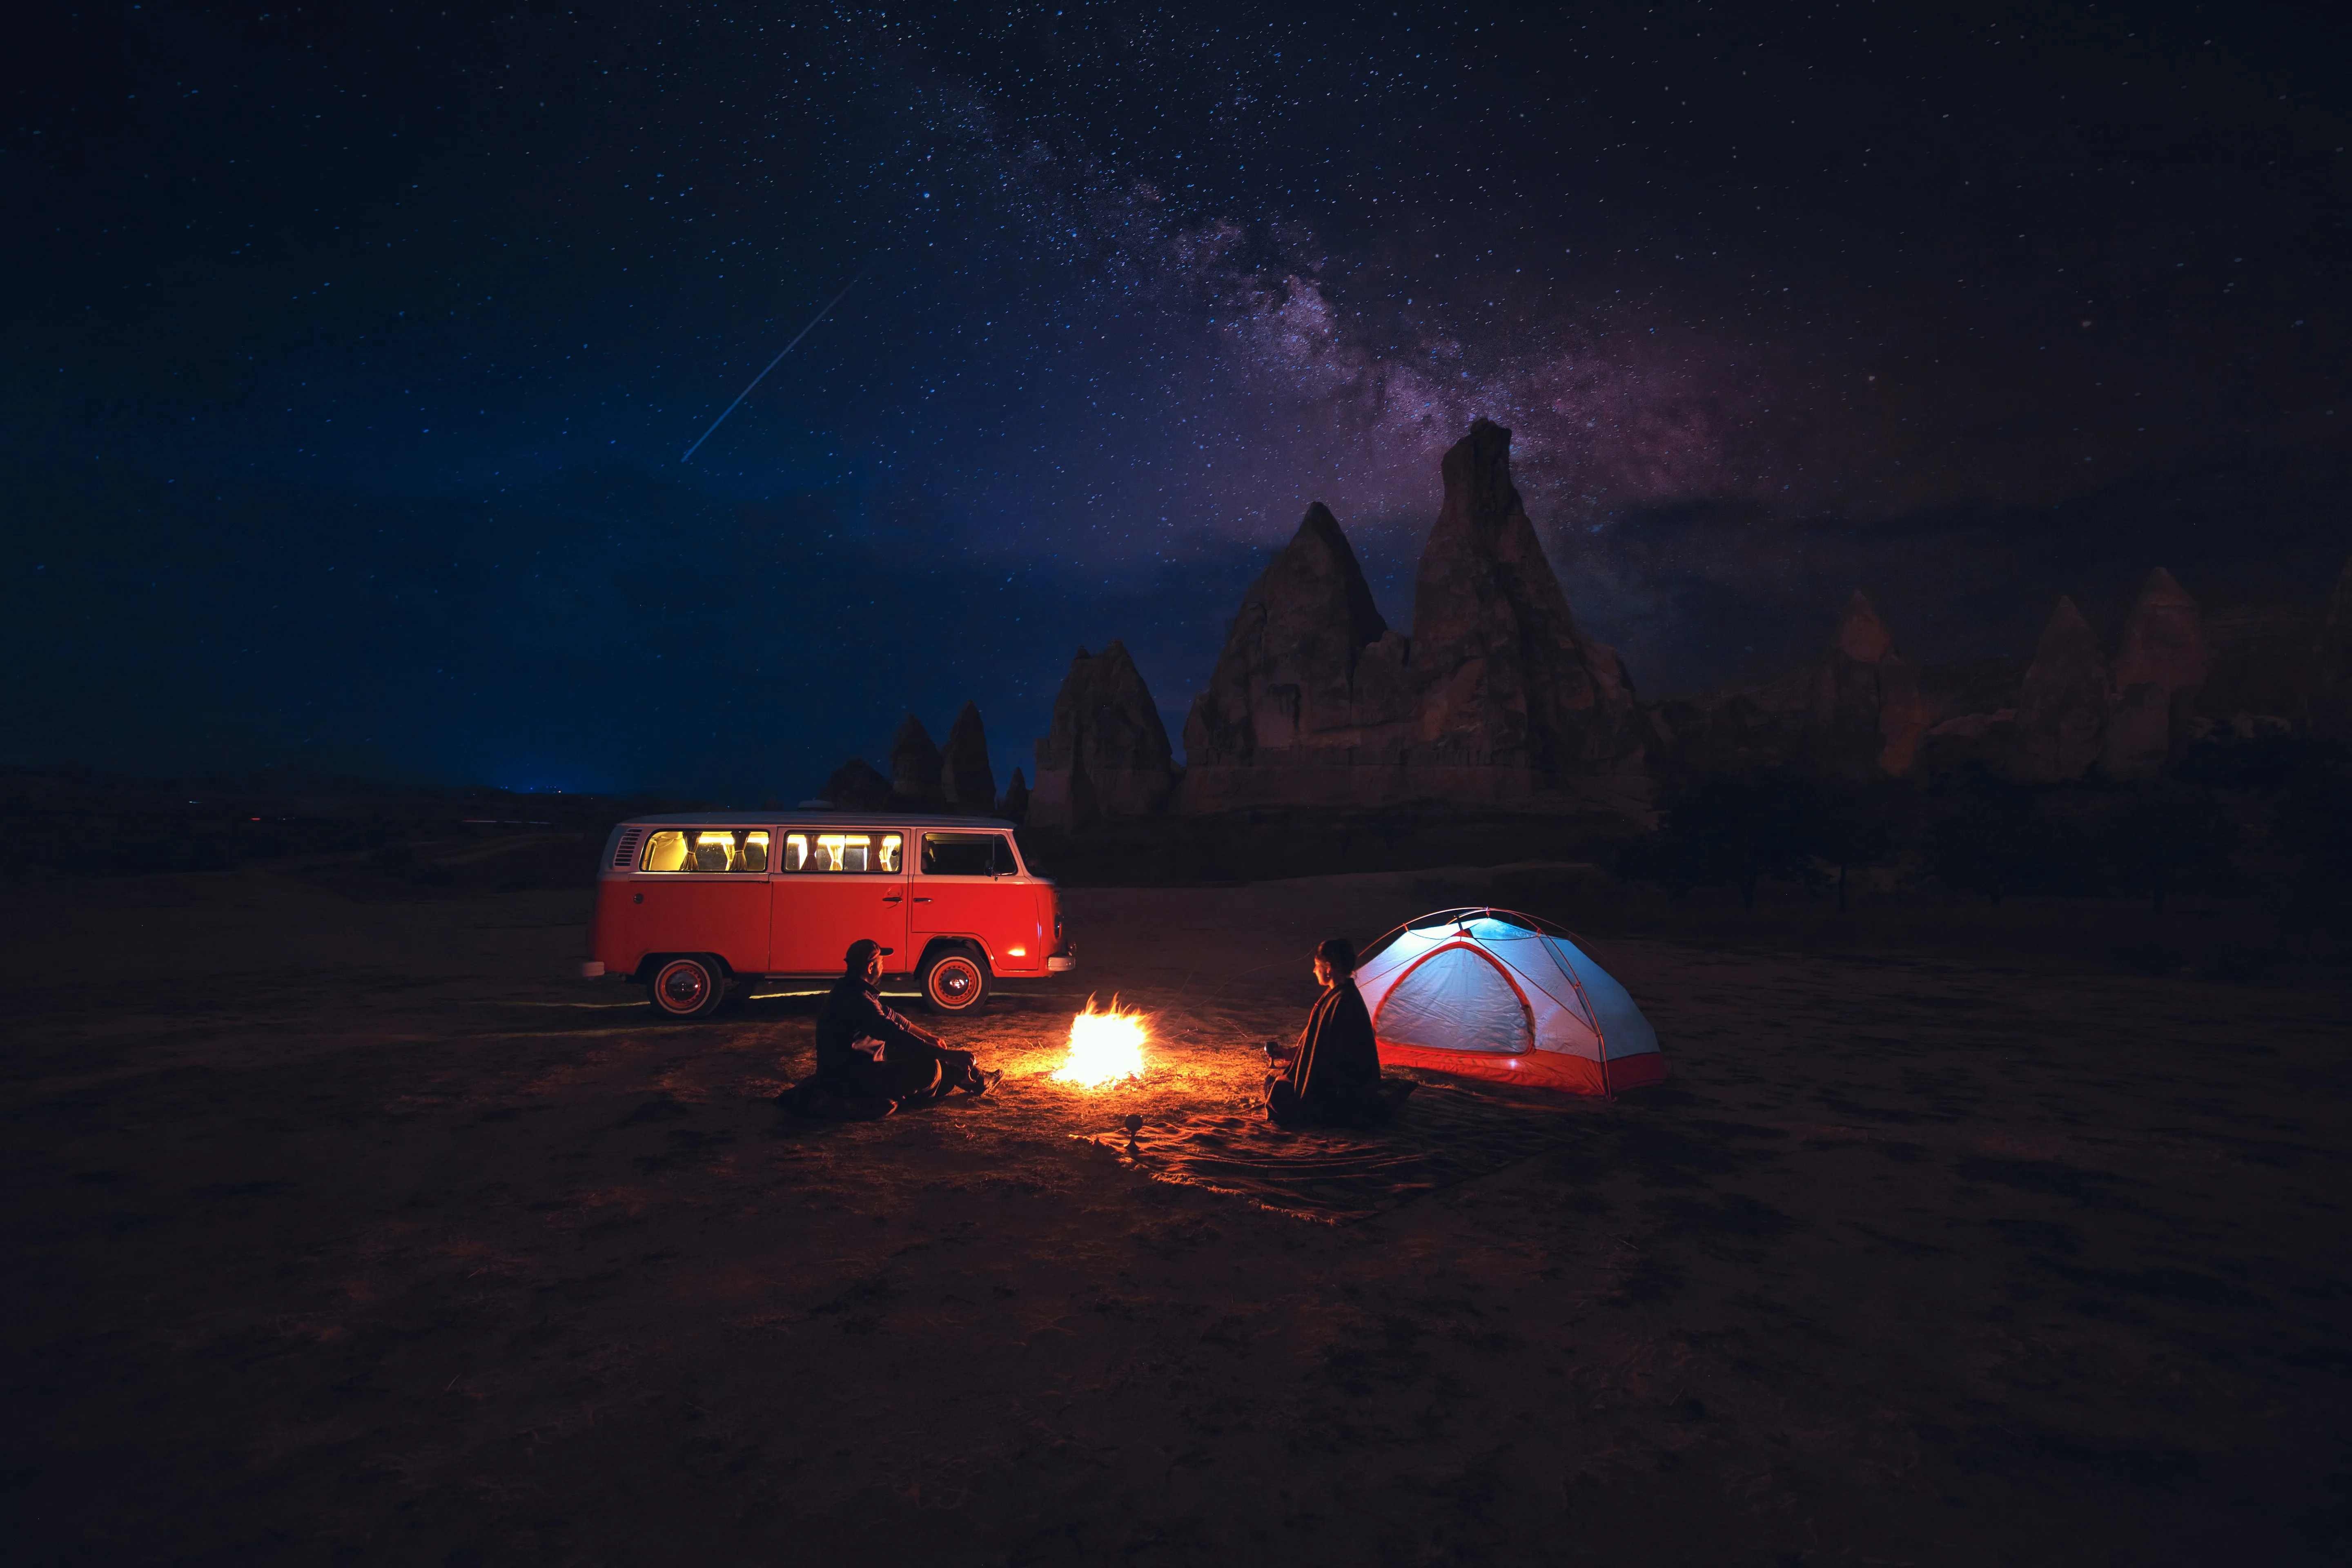
Innovative Ways to Change the Background in a Photo
Revamp Your Pictures With an AI Background Changer
Here’s a step-by-step guide on using the Background Removal AI Extension in Luminar Neo:

Select an image: Click the Edit tab

Layers Properties: select the Masking tab and choose Background RemovalAI

Selection: Select the chosen main object or choose from additional elements found in the image.

Remove the background: Click “Remove” to initiate the Background Removal process. Luminar Neo will remove the image’s background, revealing a transparent checkbox background.

Click Refinement Brush for additional finetuning: A Transition Mask will appear, highlighting Transition in a white checkerboard pattern, Object in orange, and Background in blue. Select a brush and apply it to refine each section.

The final image will appear with a transparent background. Use Layers to add a new background and move the layer to the bottom of the Layers palette. This will reveal the image on a new background.
Explore Other Features


An application & plugin
For macOS & Windows
- High-performance AI editor
24/7 technical support
30-day money back guarantee
Join our communities

Frequently Asked Questions
How to recolor an image with Luminar Neo?
Can I reverse the picture recoloring?
How can I seamlessly blend the subject with the new background?
Can I use precise image recoloring on any type of image?
Why Luminar Neo is the best photo background changer?
Who can benefit from Luminar Neo background replacer?
• Portrait photographers: replace backgrounds while keeping subjects natural
• Contentcreators: create diverse visuals from a single photo
• E-commerce teams: adapt product or model backgrounds quickly
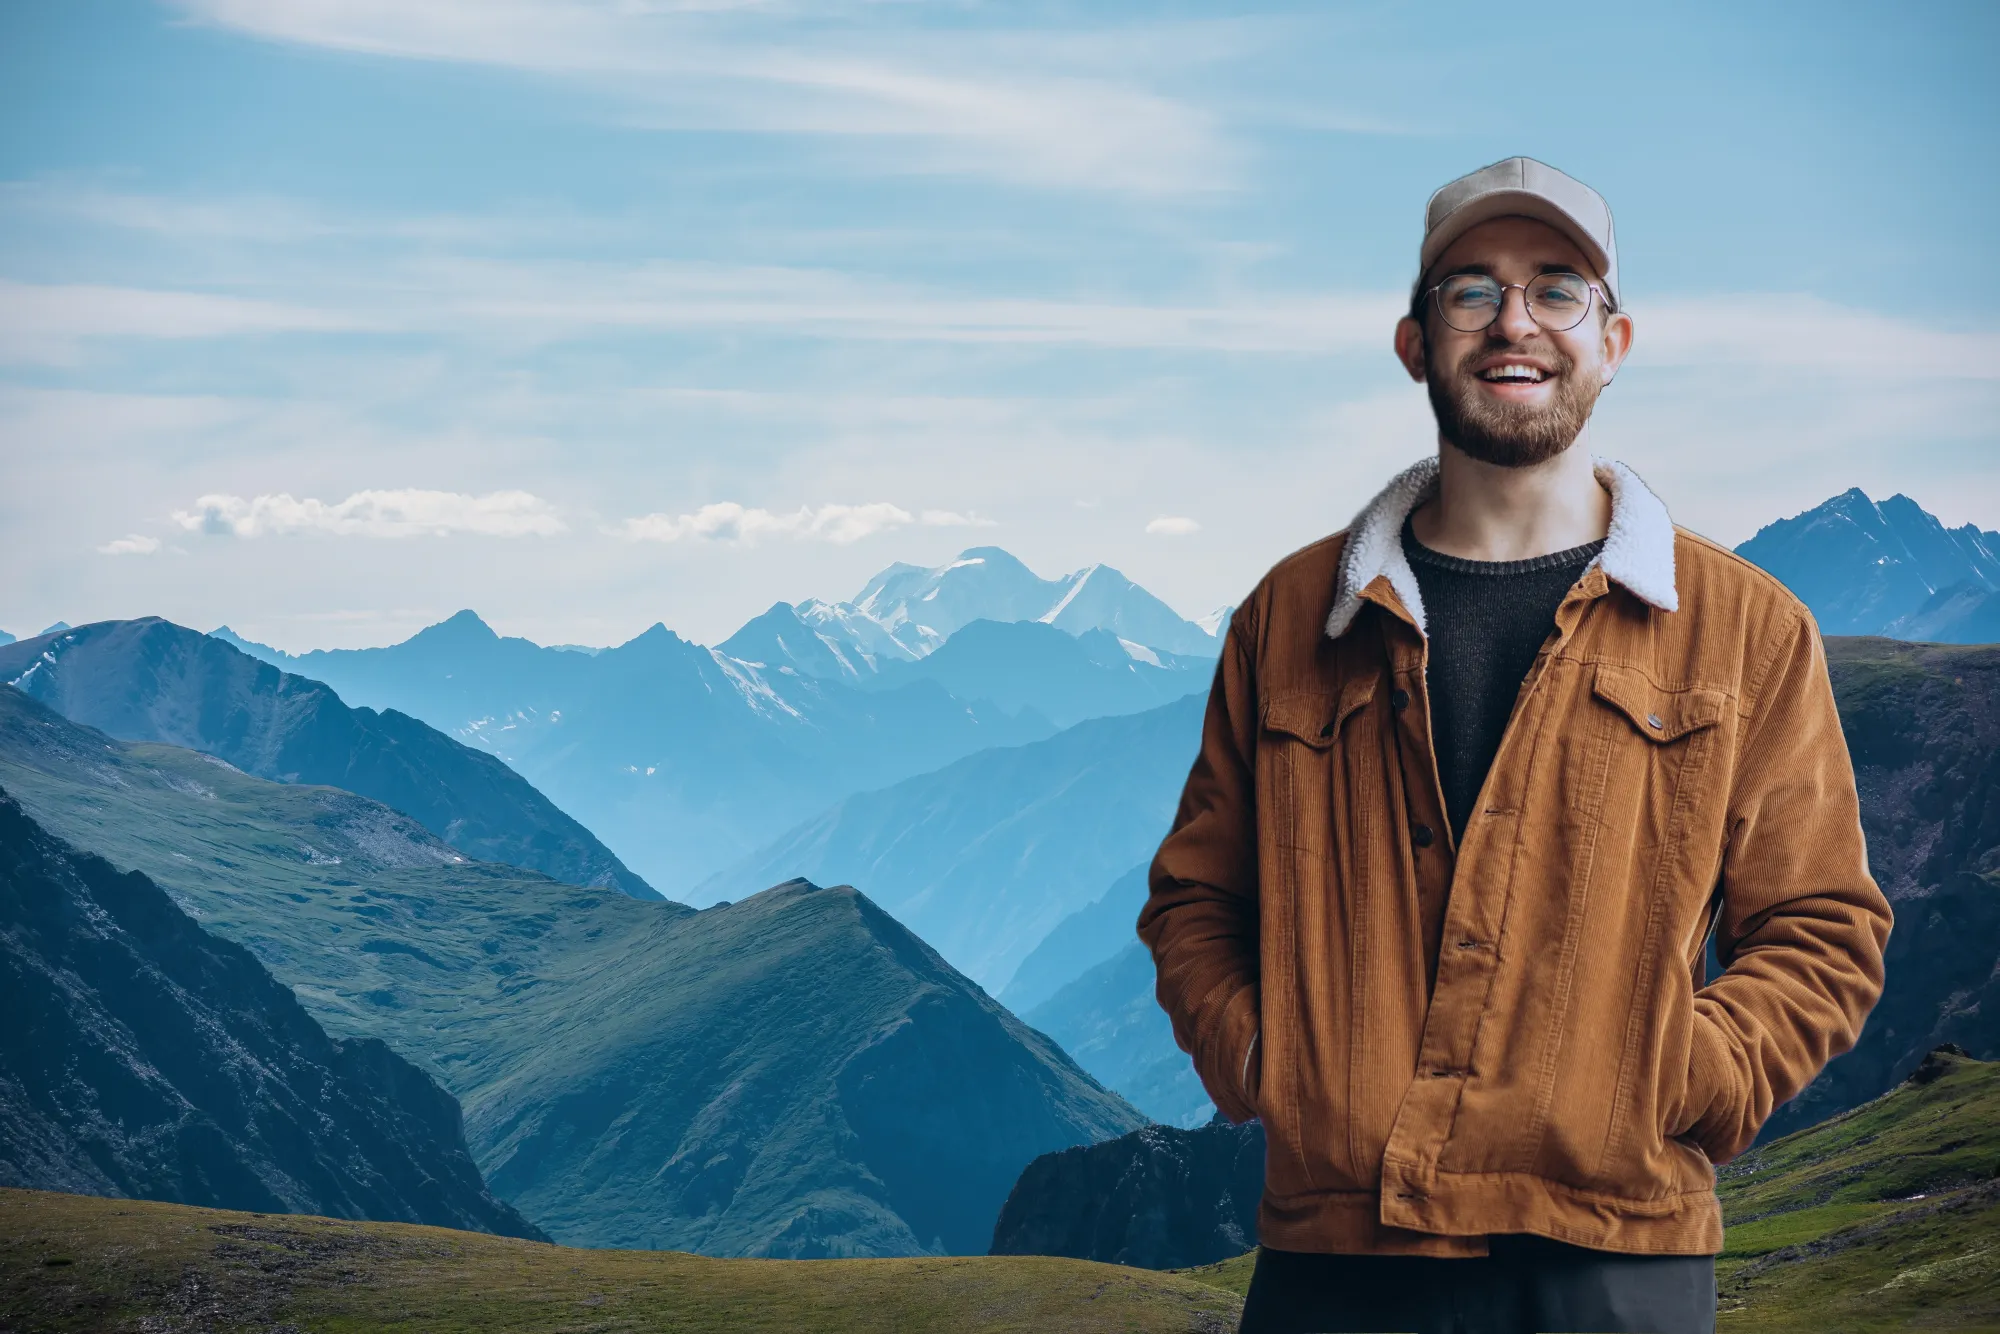
• Travel creators: enhance or change locations in images
•Editors: combine Mask AI and layers for controlled edits