 View plans
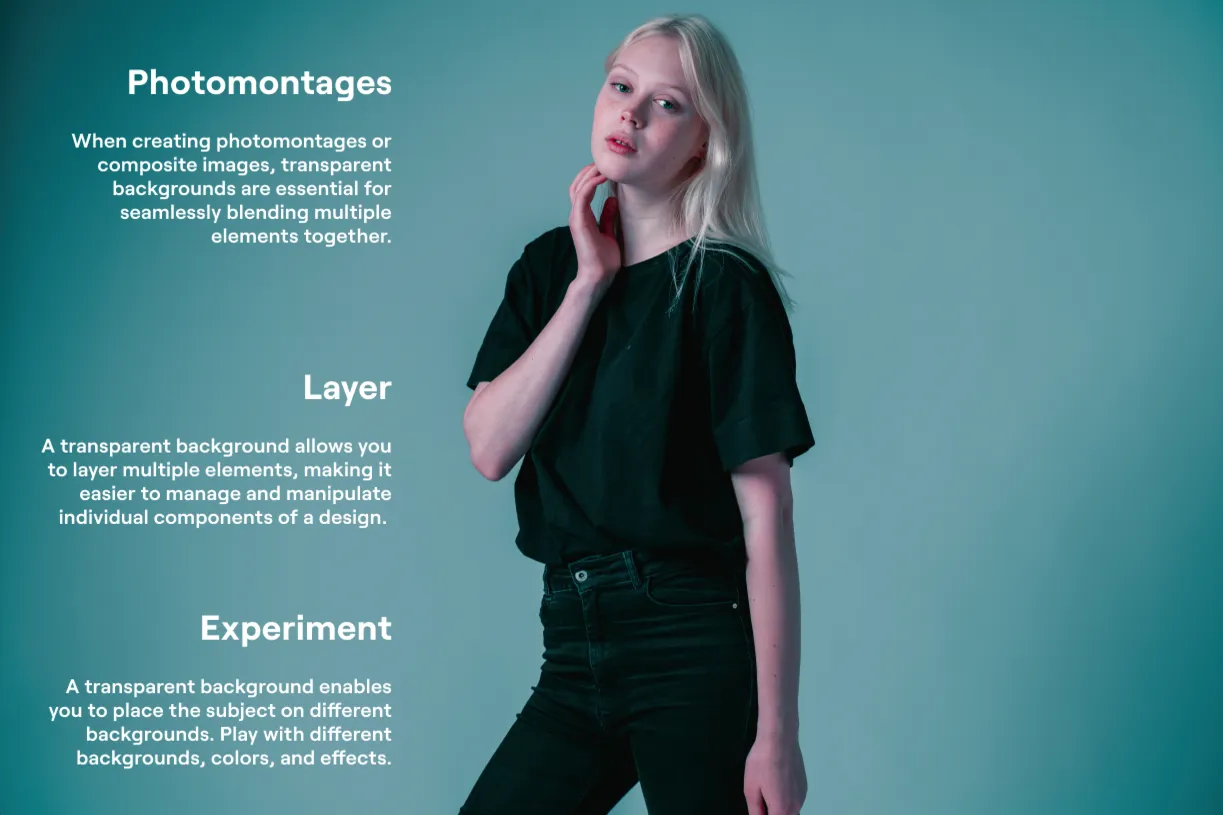
Make Your Own Art With a Transparent Background
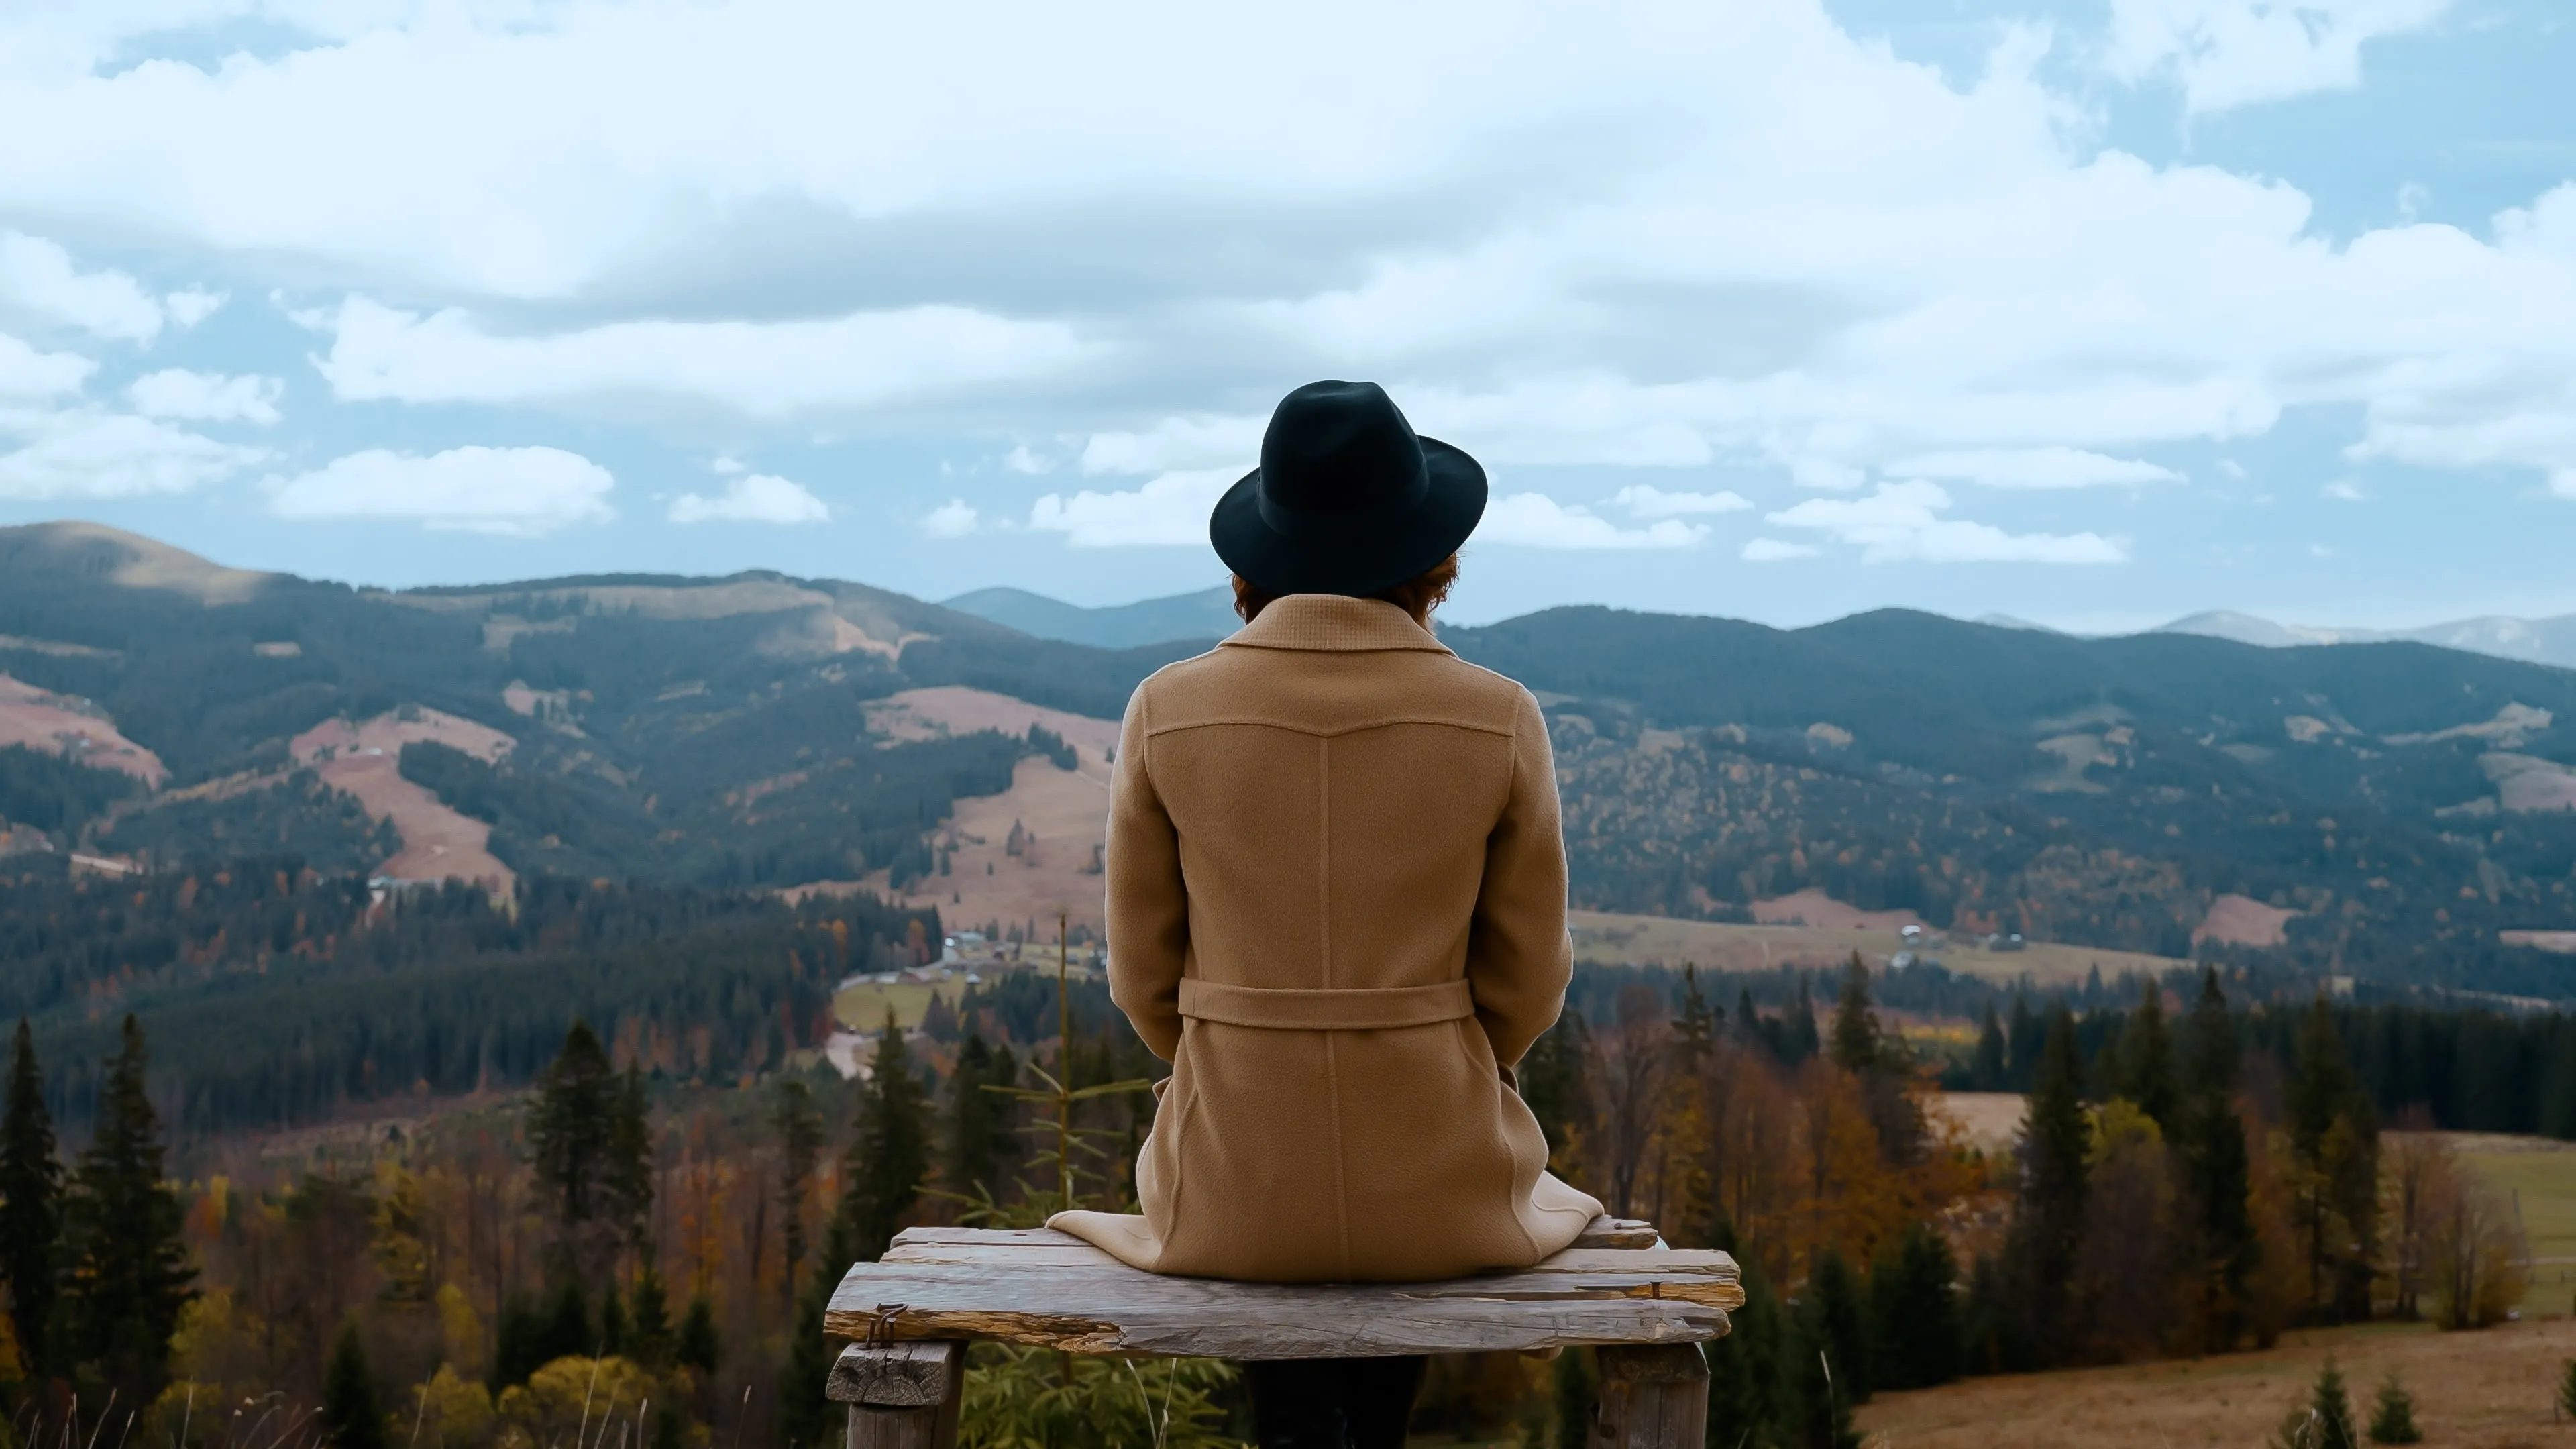
Removing the background allows you to isolate the main subject in a photo. It’s the first step to creating some amazing digital art
View plansHow To Transform Images With Transparent Backgrounds?
Luminar uses AI to make JPG background transparent in just a few clicks, helping you create clean cutouts for graphic design, product photography, marketing materials, and other creative projects.
Why Our Transparent Background Photo Editor Is A Must-Have?
To isolate a subject from the background in most traditional photo editors, you’d have to use masking tools. Luminar’s Background Removal AI detects the subject of your photo automatically, masking it in no time and giving you a transparent background to work with.
Cut down the routine and get to the creative part at once!
Cut down the routine and get to the creative part at once!

%20(1)%20(1).avif)
.avif)
© Depositphotos
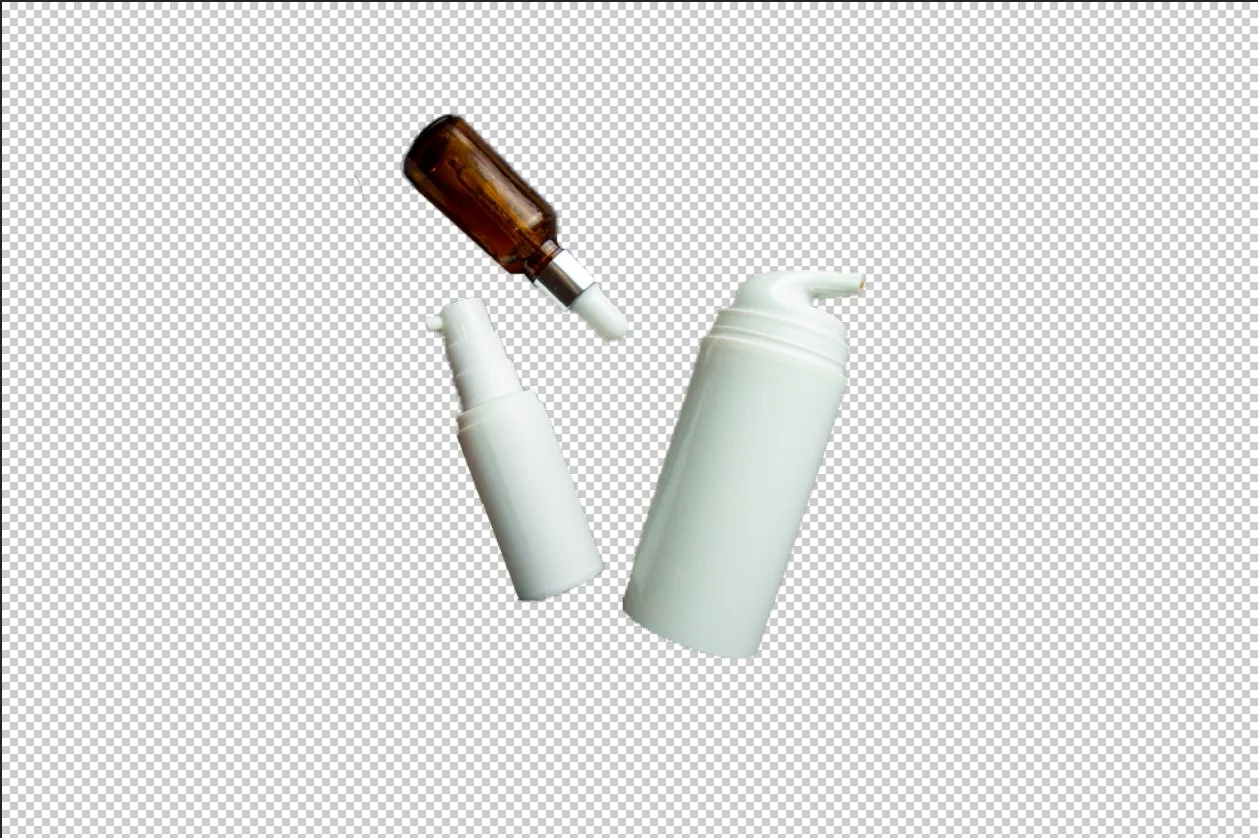
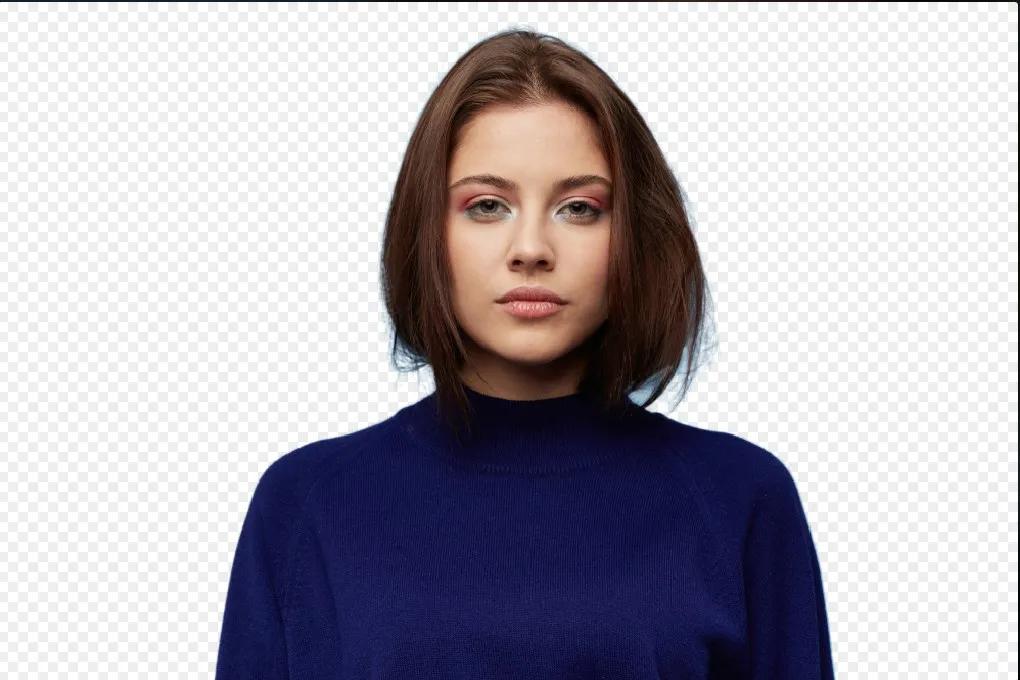
Get A Transparent Background To Boost Your Image’s Visual Appeal
How can you enhance your photos with a transparent image maker?


Effortlessly Convert A Background To A Transparent Image
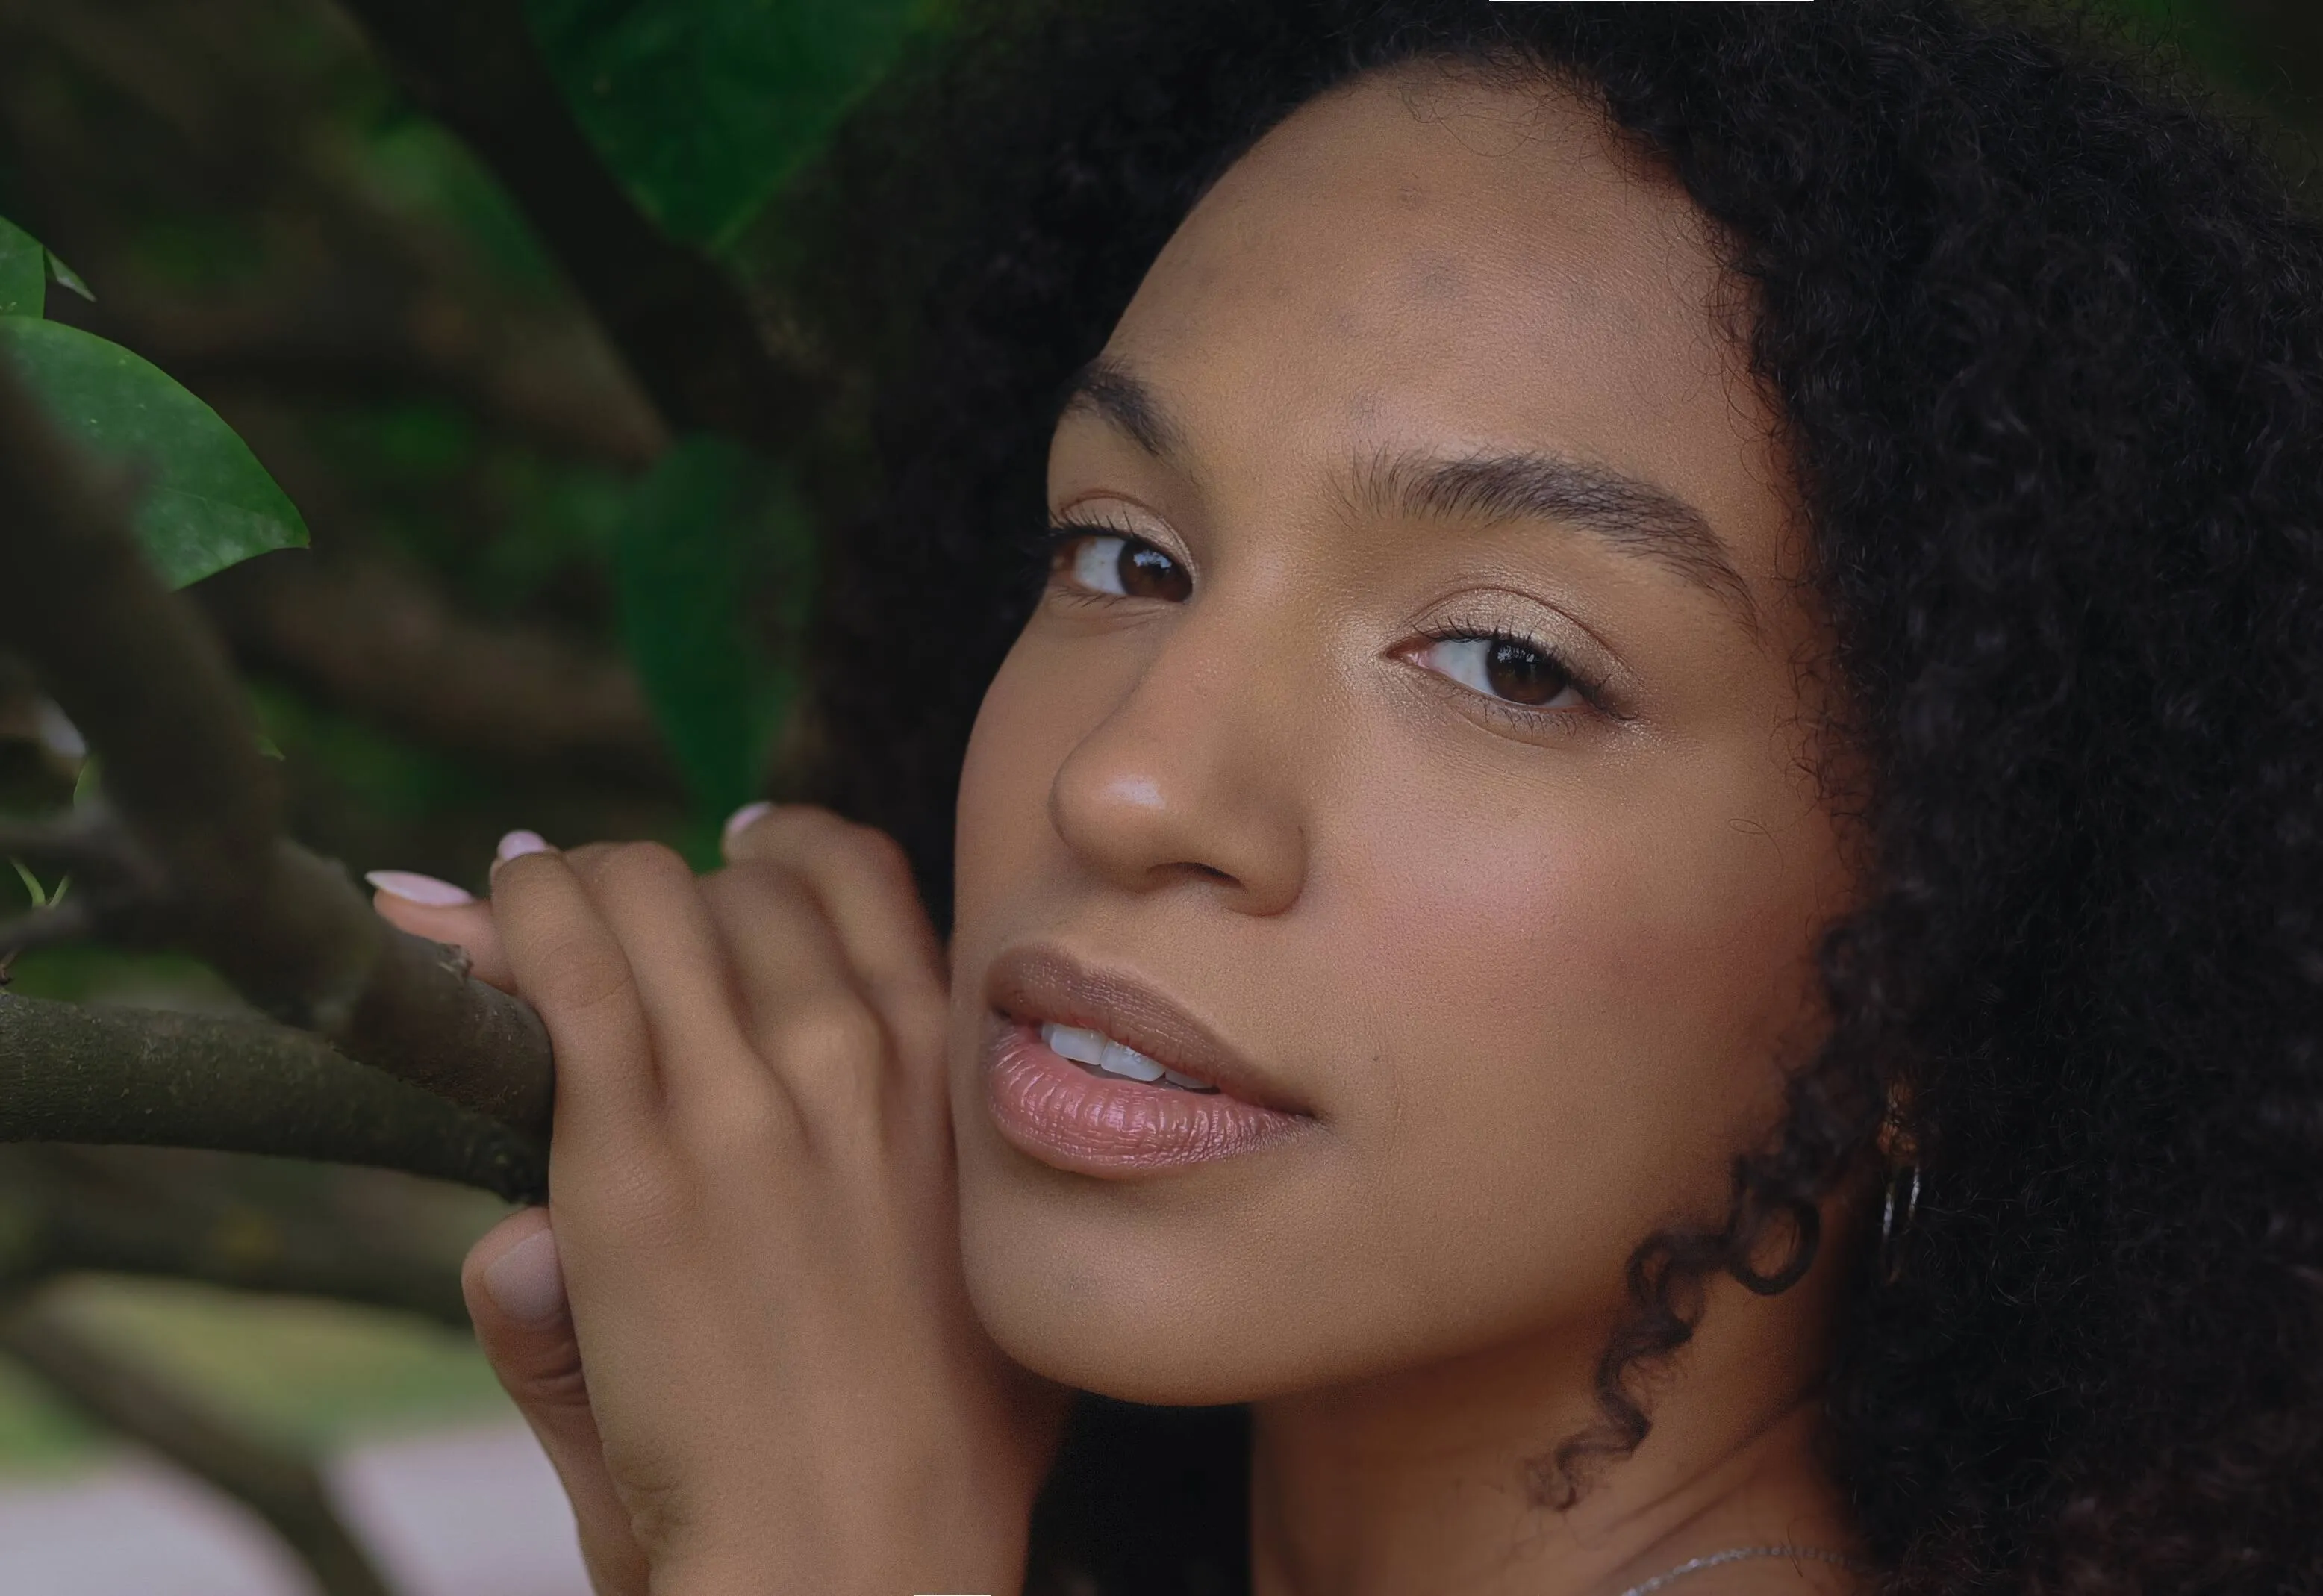
Use Luminar’s Background Removal AI or the designated tool for portraits, the Portrait Background Removal AI tool to get rid of the background in just a few clicks

© theshots.contributor

© VitalikRadko
Explore Other Features
Luminar has plenty of other features to help you edit faster and easier
Sepia Filter

© shutterstock
Add a touch of vintage charm and warmth to your images with our easy-to-use sepia color filter.
Film Grain
© Lisa
Our film grain effect transforms your pictures, adding a touch of nostalgia and artistic flair.
Resize Image

Film Grain

© Depositphotos
Film Grain
Film Grain
Edit and resize your pictures in under a minute - all while maintaining their stunning clarity.
Clone Tool

© Lisa
Discover the power of the Clone Tool – ideal for removing unwanted objects, repairing textures, and filling in missing parts.
Blemish Remover

© alinatroeva
Our blemish remover effortlessly polishes your photos, giving you the confidence and refined appearance you deserve.
Batch Photo Editor
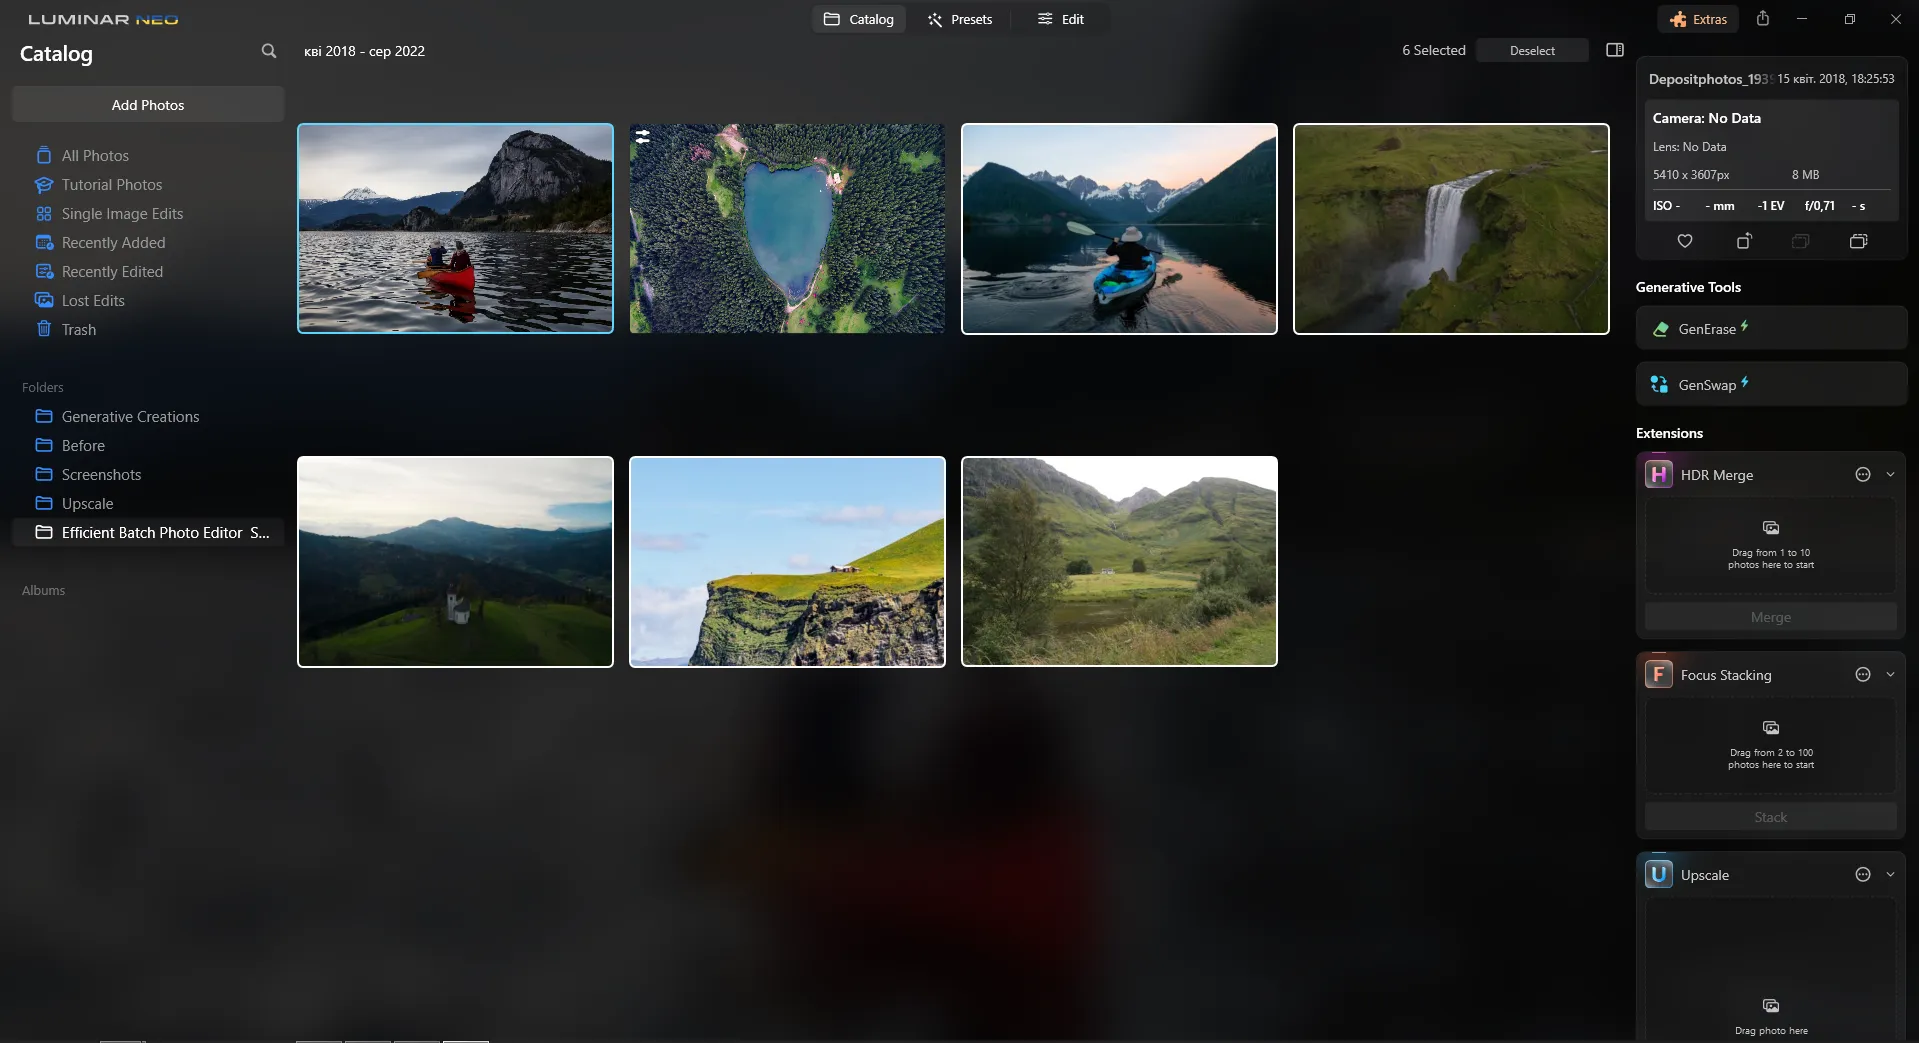

Save time and enhance productivity by editing photos in bulk. Try it now and revolutionize your editing process!
An Application & Plugin
For macOS & Windows
- High-performance AI editor
24/7 technical support
30-day money back guarantee
Join our communities
Frequently Asked Questions
How to make the background of a picture transparent with Luminar?
If you’re looking for a transparent background generator, use the Background Removal AI which will help you easily remove the background.
Can I reverse a transparent photo maker effect?
Luminar has an Undo feature that can help you reverse an effect easily, including a transparent background converter effect.
What image formats support transparent backgrounds?
Several image formats support transparent backgrounds. The most common are PNG, GIF, TIFF, and SVG. Note: while JPG files do not support transparency by default, you can convert an image and create a JPG background transparent effect by exporting it to a format that supports transparent areas, such as PNG.
How do I make a logo transparent?
Simply remove the background of the logo with the Background Removal AI Extension. Plus, Luminar Neo has a Layers feature that lets you play with different images and create composites.