Luminar Neo is the latest in the family of Luminar apps. The Skylum Team is committed to developing Luminar Neo and evolving it into an even more convenient one-step platform for creating photos you love. The new modular engine in Luminar Neo allows it to incorporate new functionality and allows us to focus on improving the user experience and developing the platform’s technologies. This opens the door for many possibilities, and with 20 updates and 7 new Extensions released in just the first year of its existence, Luminar Neo’s future is bright! However, this does mean that we will not be further developing Luminar 4 or Luminar AI.
What’s new in Luminar Neo compared to Luminar 4?
Luminar Neo boasts a new engine, incredible AI tools, and a more intuitive workflow. For example, Luminar Neo’s edit states are saved separately, so you can change each edit separately. And there are incredible tools to discover. Here are just a few of them.
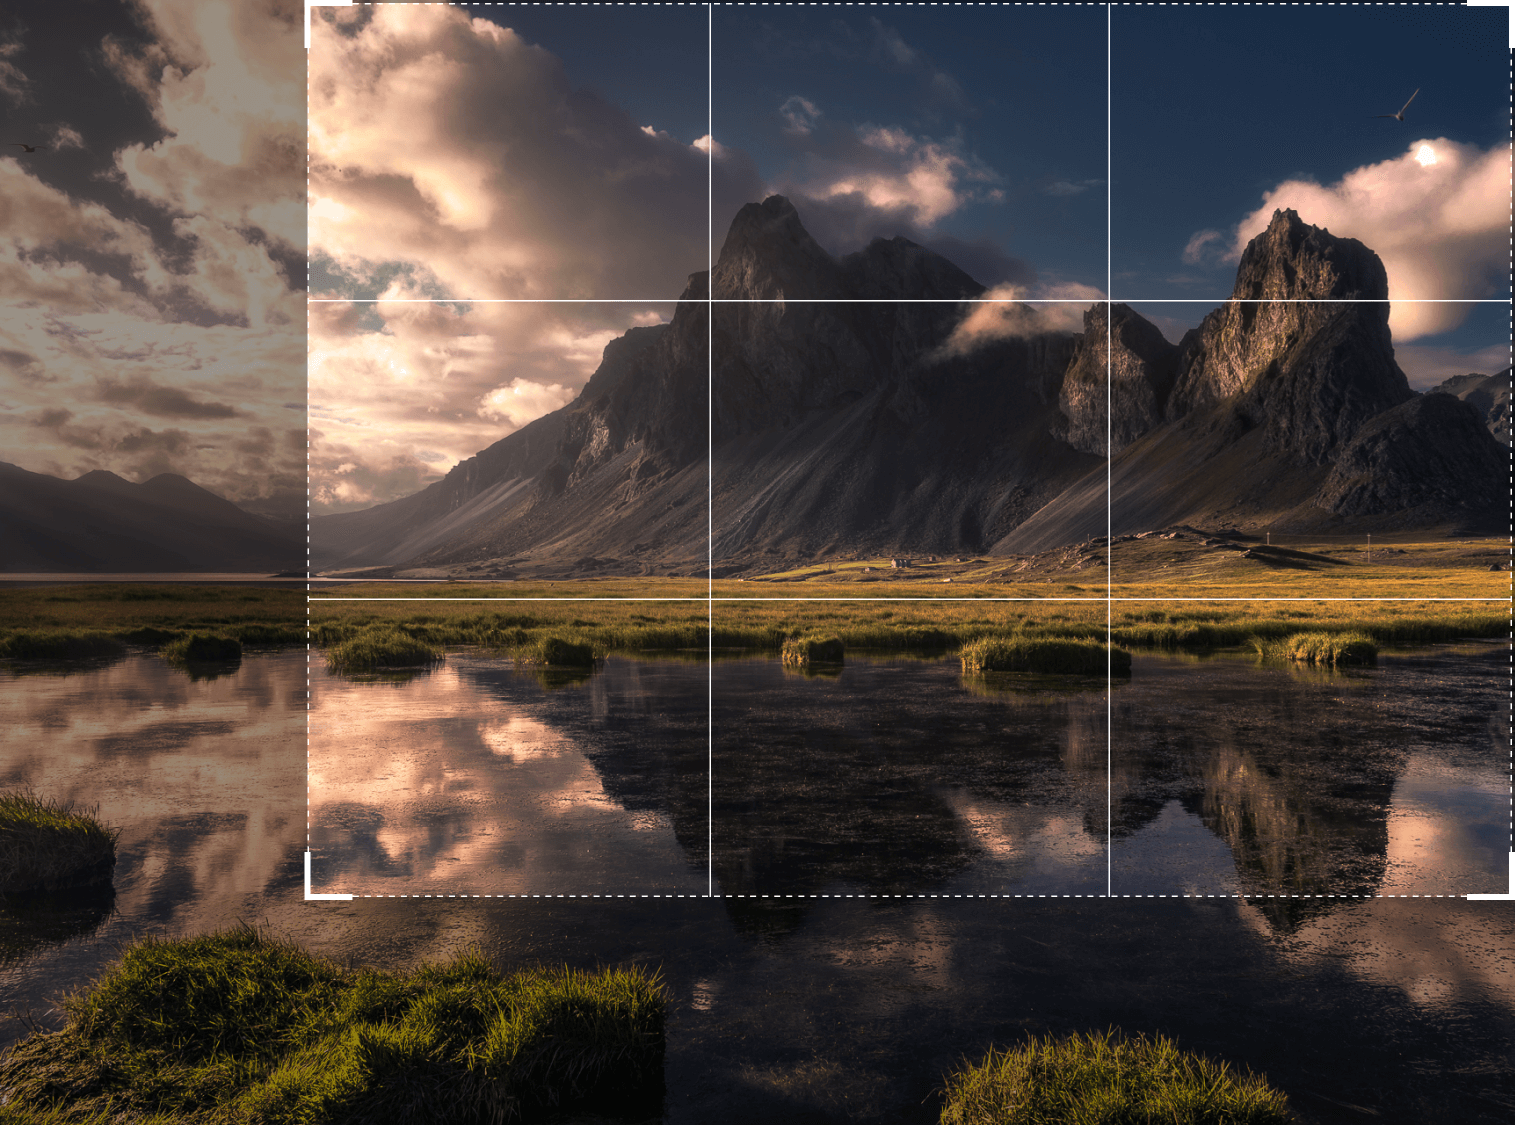
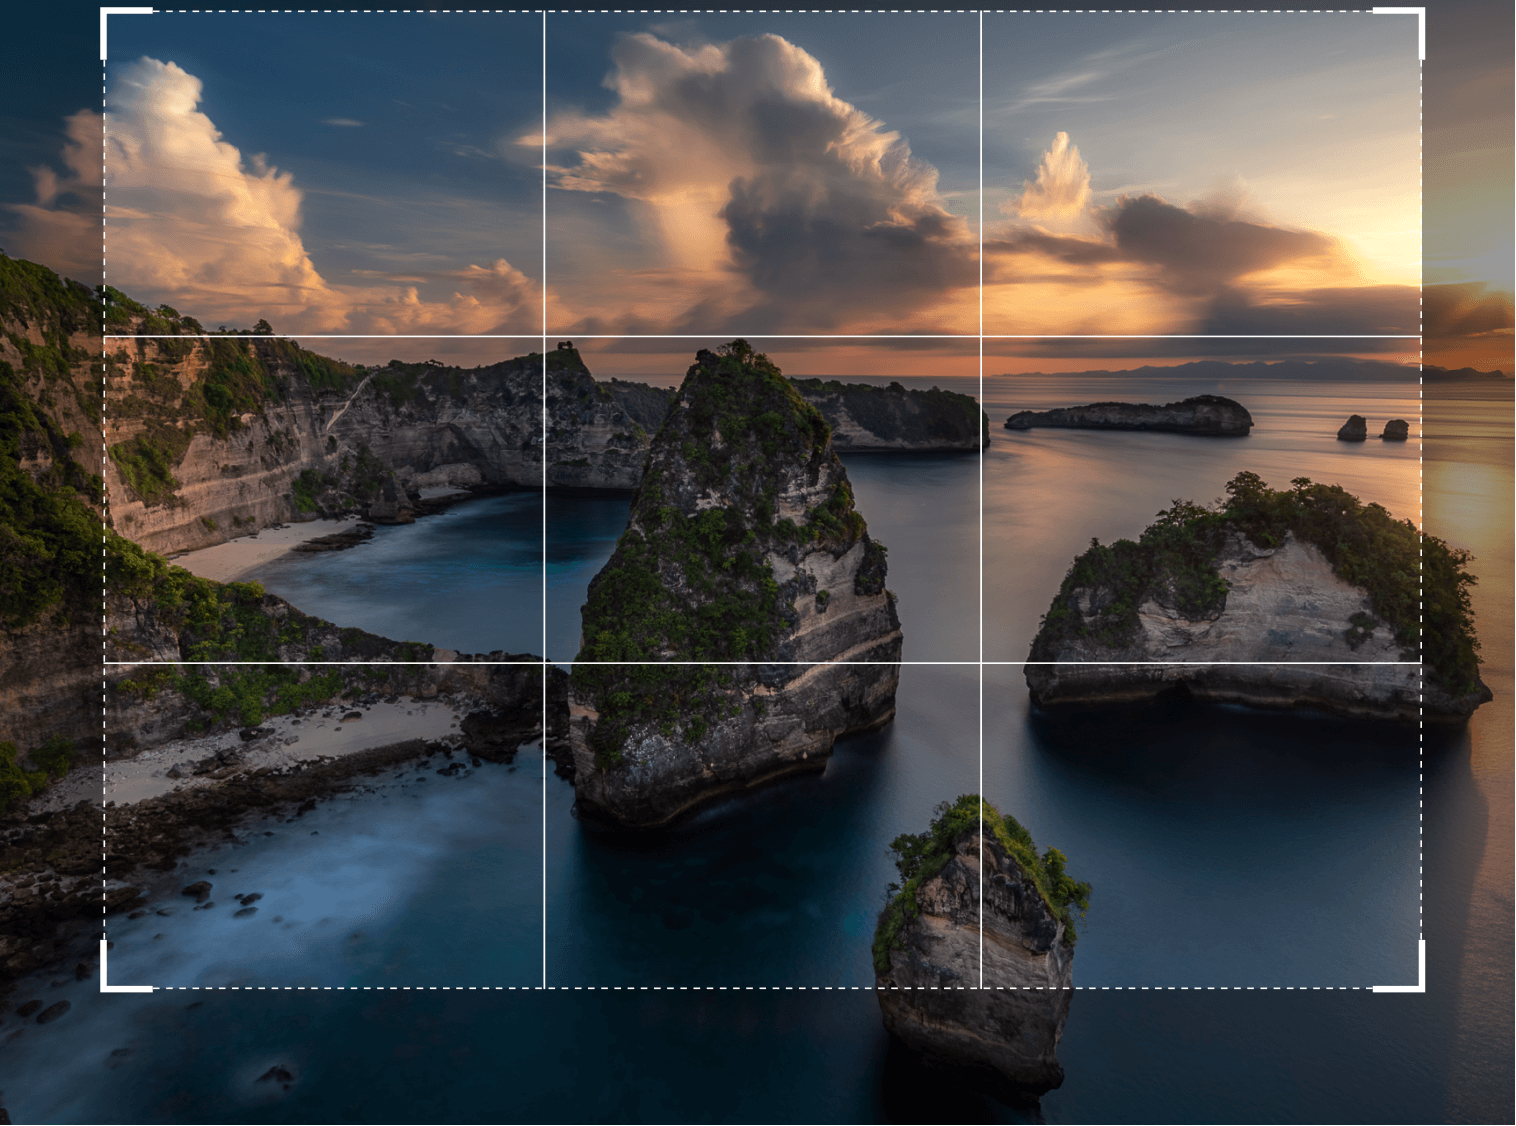
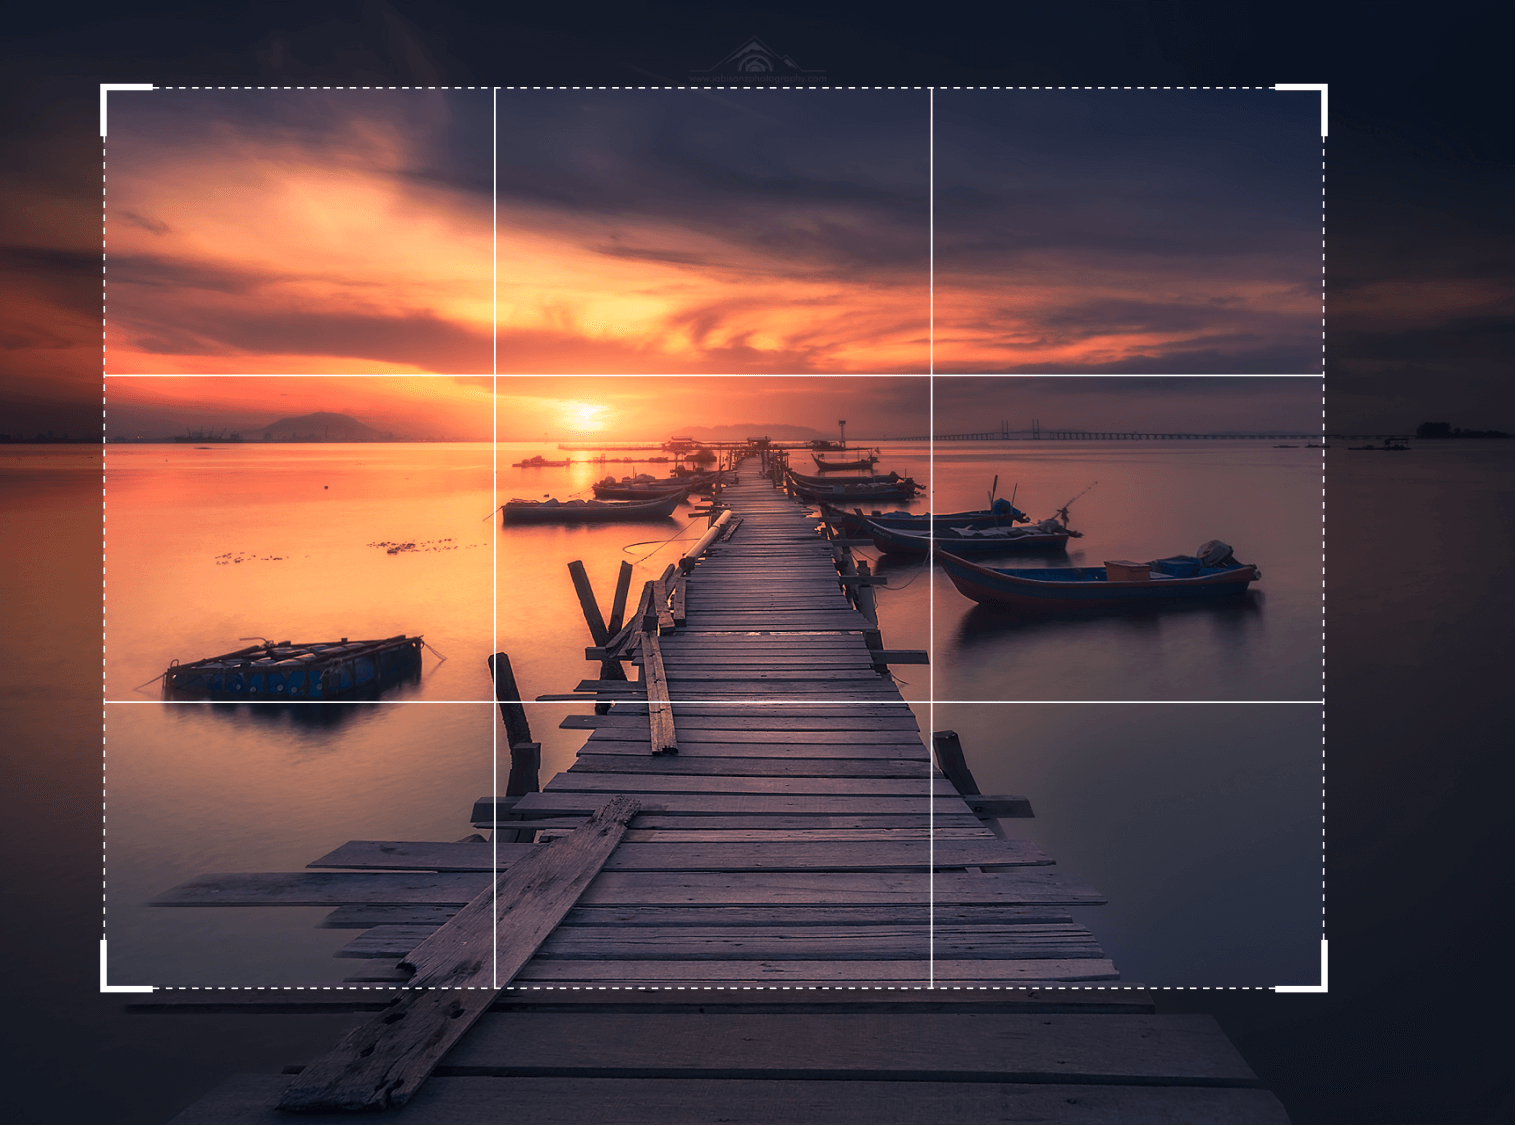
Perfect the composition
Composition AI can show you how the pros would edit your photo. Discover an interesting composition that you may have missed.
Get more editing power with 7 fresh Extensions for Luminar Neo. Easily achieve pro-level results with Supersharp AI, Upscale AI, Noiseless AI, HDR Merge, Magic Light AI, Focus Stacking, and Background Removal AI.
By buying our products you help 🇺🇦 Support Ukraine
Frequently Asked Questions
What is Luminar 4?
Luminar 4 is a stand-alone photo editing program that merges traditional photo editing and AI-powered tools into one program. From organizing, editing to exporting, Luminar 4 is extremely capable in all aspects. With a clean and easy-to-use interface, it’s a viable option for beginners to professionals alike. However, it is no longer available for purchase.
Which software is better for photo editing: Luminar 4 or Luminar Neo?
Even though they are both incredible photo editing software, Luminar Neo is the latest in the family of Luminar apps. The new modular engine in Luminar Neo allows it to incorporate new functionality and allows us to focus on improving the user experience and developing the platform’s technologies. This opens the door for many possibilities.
Can I download Luminar 4?
Sure! If you purchased Luminar 4, you should have received links for a Luminar 4 download. In any case, the download links for Luminar 4 are waiting for you in your Skylum account.
NOTE: Your Luminar 4 purchase is linked to the billing email address you provided. Use that email to log in to your Skylum Account or, if needed, create a new Skylum Account tied to that email address.
What is the Luminar 4 price?
We recommend purchasing the new Luminar Neo app, that boasts more editing capabilities. Find out the pricing here.
What are the main benefits of using the Luminar 4 photo editor?
Skylum Luminar 4 is an award-winning app designed to edit photos. If you already have Luminar 4, you may have noticed how easy and fast it is. However, if you’re looking for something new, we recommend trying the latest in the family of Luminar apps — Luminar Neo.
Is Luminar Neo an upgraded version of Luminar 4, or are they separate programs with distinct features?
Even though Luminar Neo continues the tradition of Luminar apps, they are separate programs with unique features. Luminar Neo boasts a new engine, incredible AI tools, and a more intuitive workflow. For example, Luminar Neo has a variety of AI tools designed to tackle issues that photographers often face in their photo editing.
Luminar 4 vs. Neo: What are the changes in performance and user experience?
Comparing Luminar Neo vs. Luminar 4, it’s safe to say that Luminar Neo has a modular engine, which means that Luminar Neo is faster, less resource-intensive, easier to update. Plus, it allows for the development of new tools to fix common problems faced by photographers. For example, it has AI Masking that helps save time with automatic object selections. Moreover, there is a Layers mode which allows you to easily make local adjustments. On top of that, Luminar Neo is constantly evolving thanks to Extensions, pro-level tools for specific editing problems.