Precision Editing With
The Clone Tool
Remove unwanted objects or elements from an image, fix textures, eliminate imperfections, fill in missing or damaged portions of the image – perfect your images with the Clone tool.
View plans


What Can You Do with the Clone Tool in Luminar Neo?
Simply select a source (from which pixels are taken) and then paint those pixels on other areas of your image to cover up damage or blemishes. Luminar Neo offers feathering to make it easier to blend strokes.
Innovative Uses Of The Photo Clone Tool


Artistic Effects
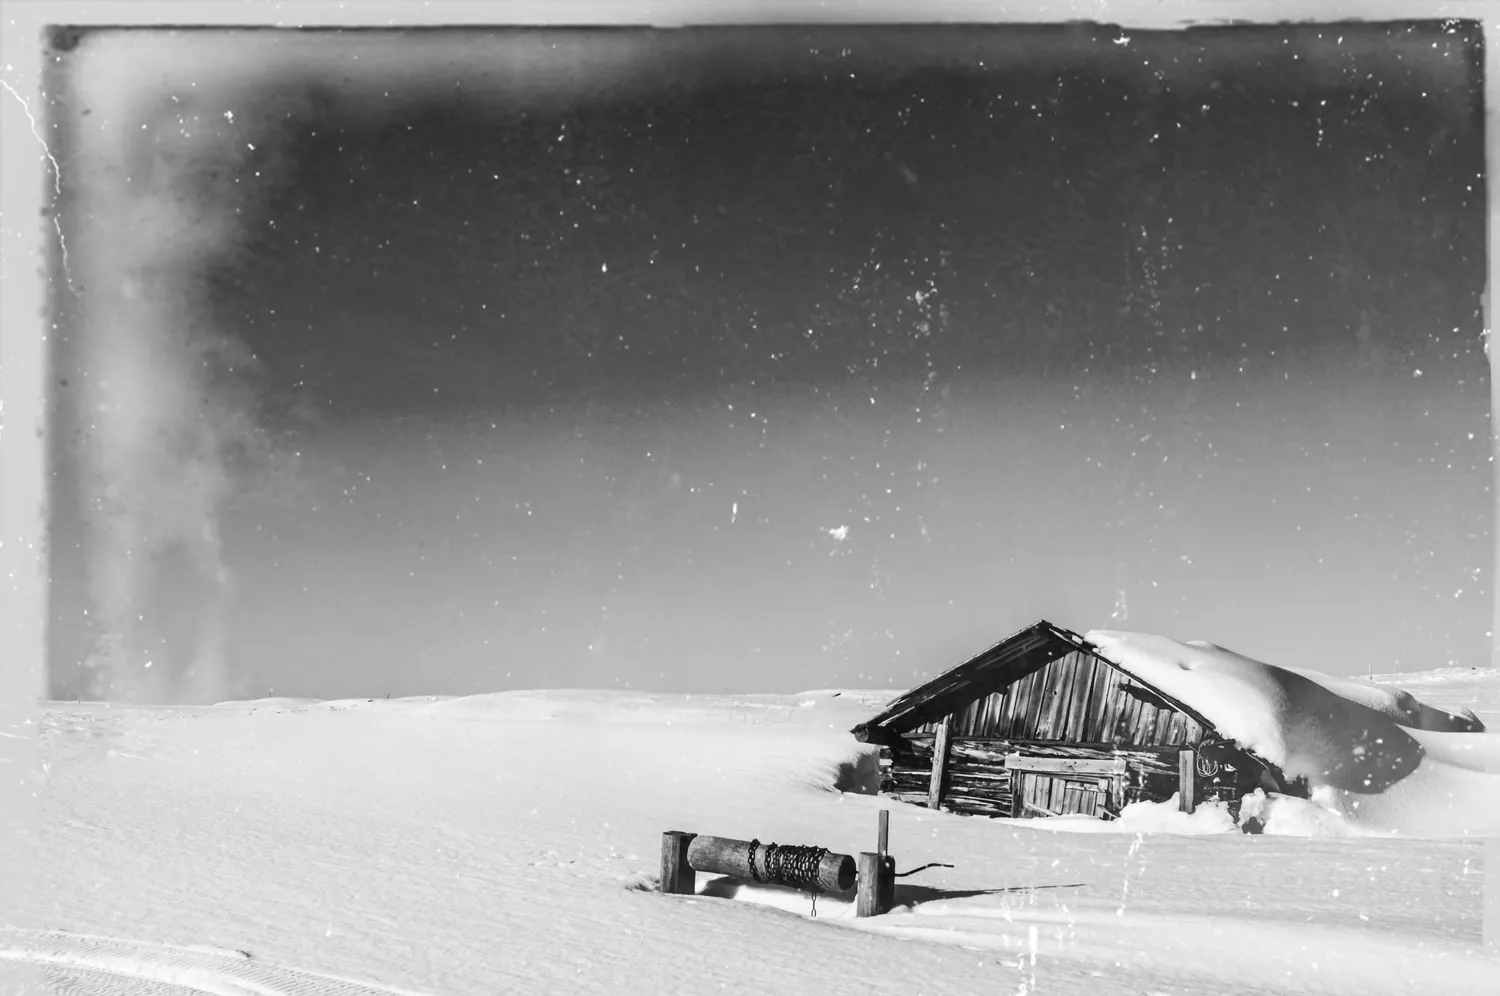

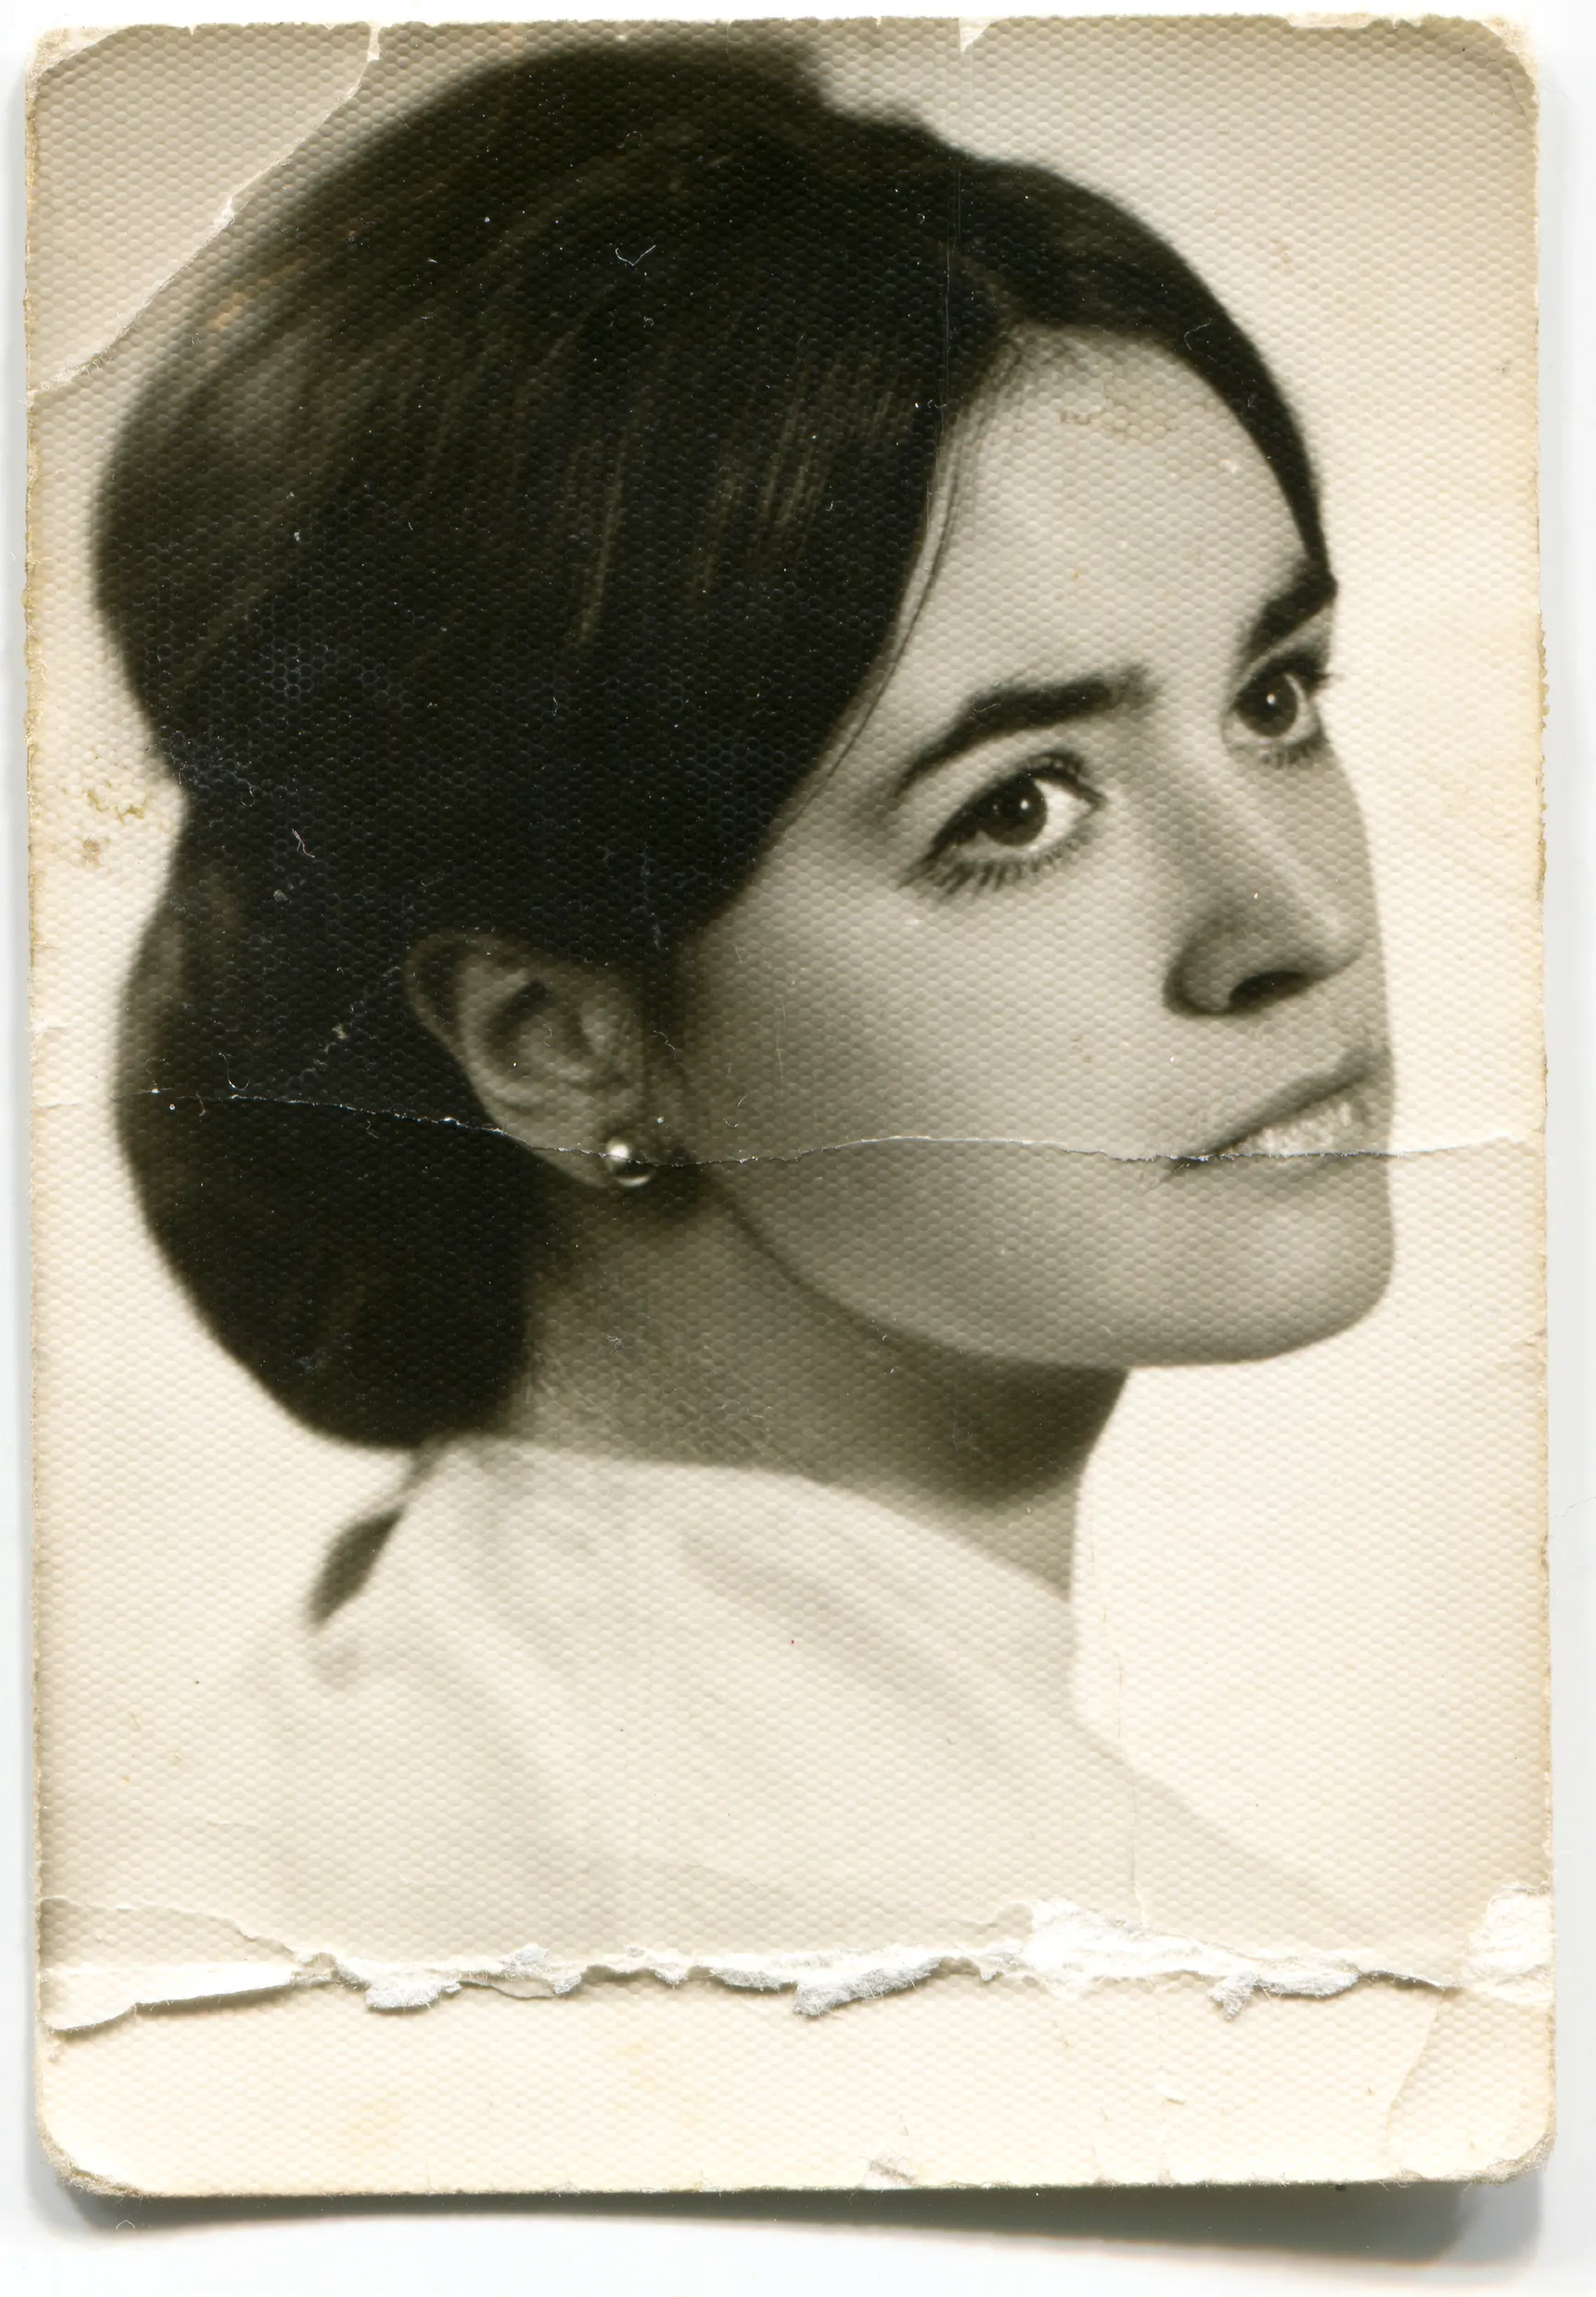
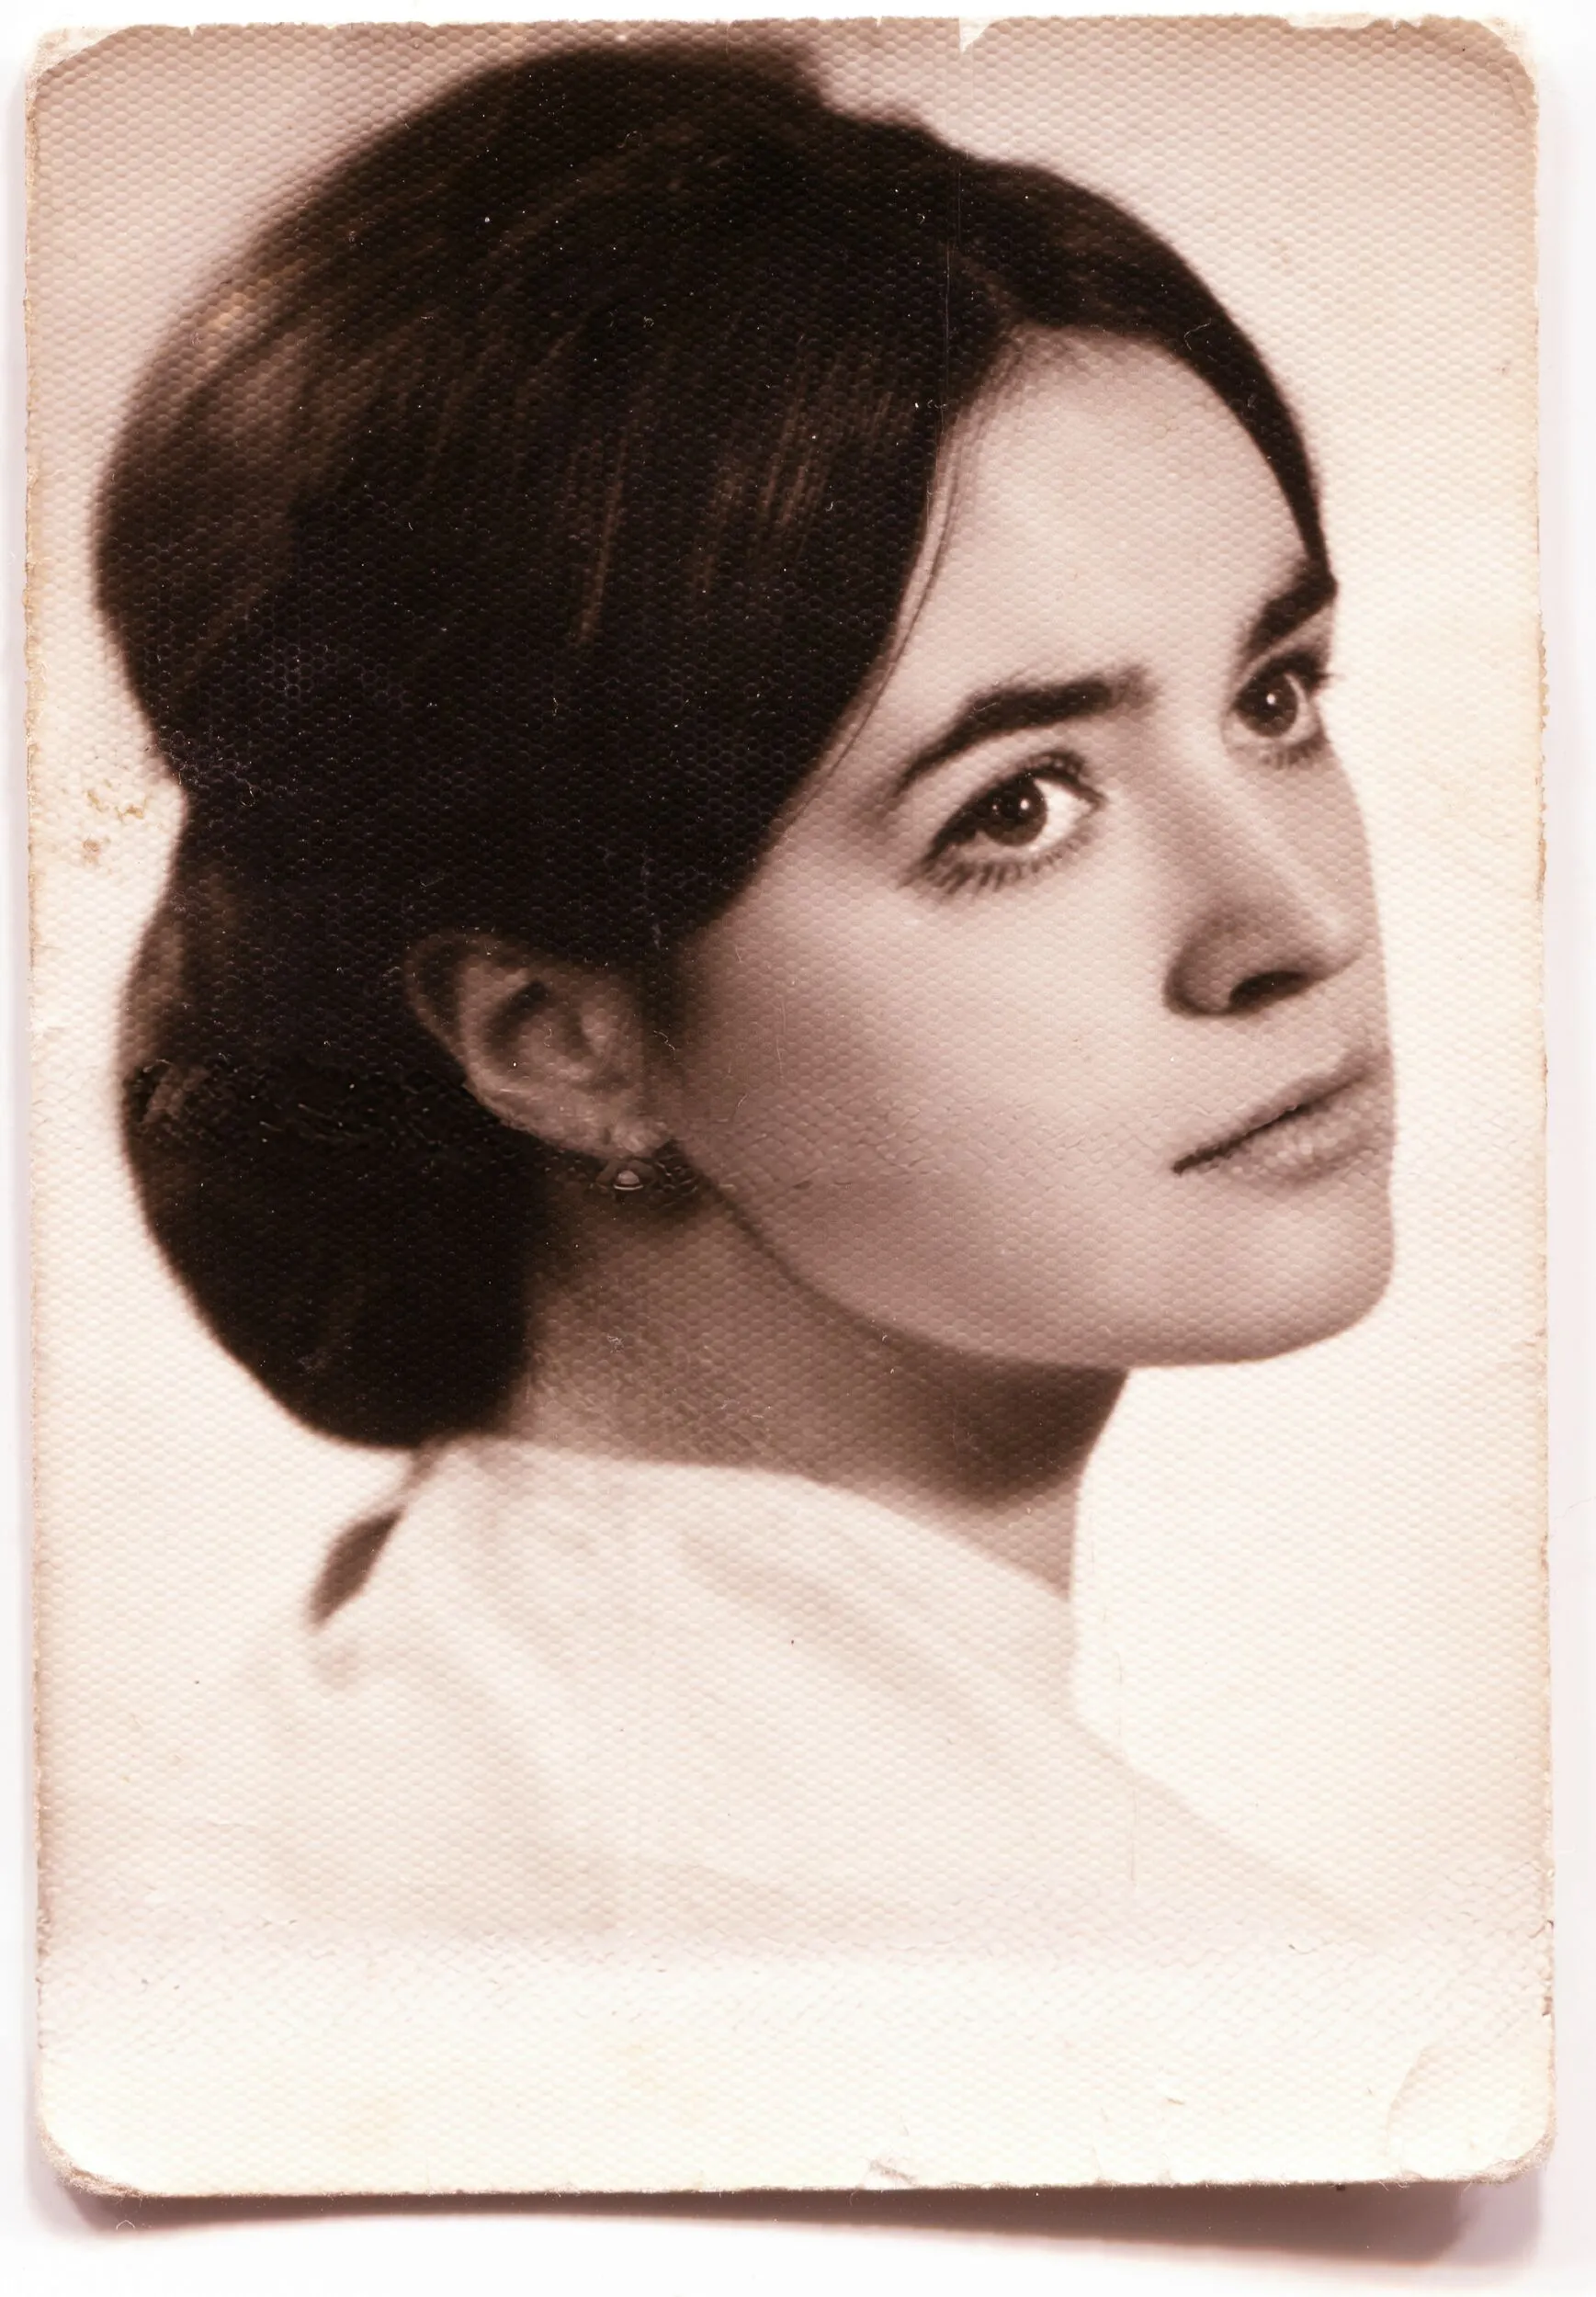
Restoration

.webp)
Correcting Perspective
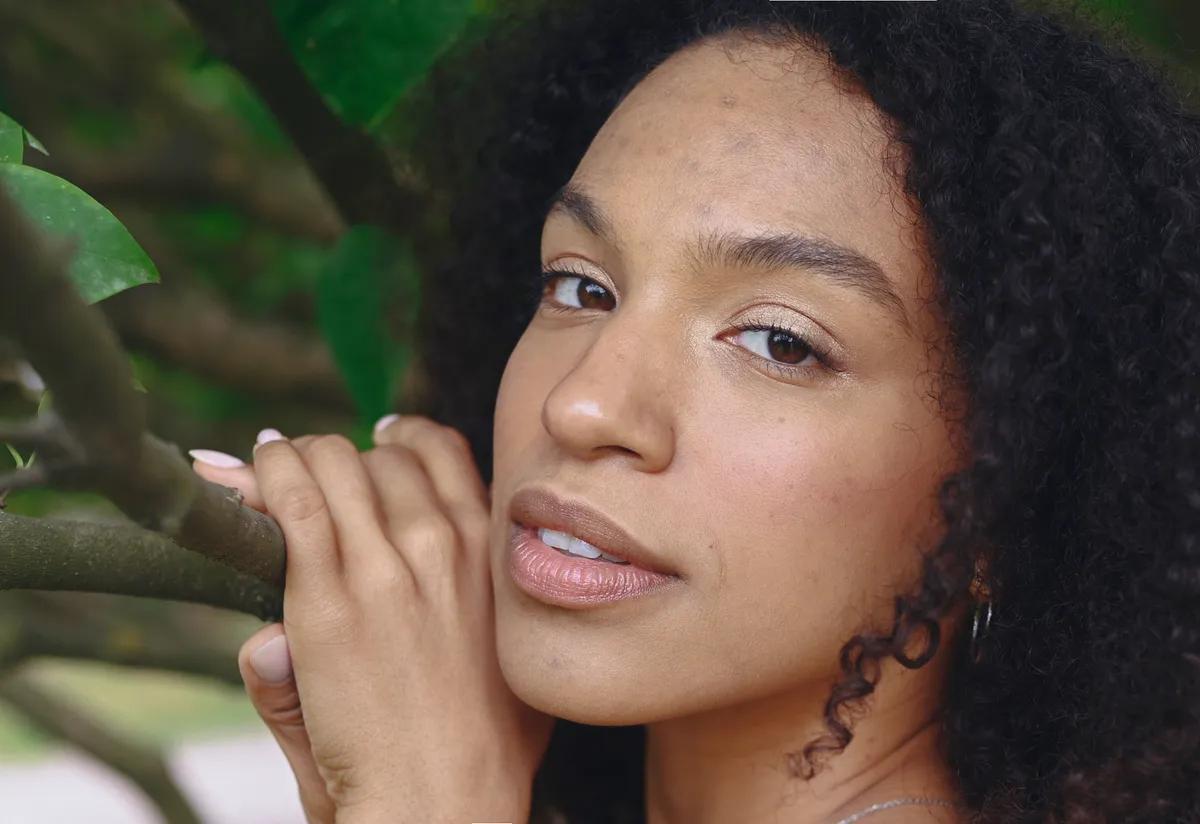
Perfect Portrait With The Brush Tool
Do so with the Clone Tool’s brush to really catch all the details.

How To Use The Clone Tool?
To use the photo Clone Tool in Luminar Neo:

Open an image that needs cloning and open the Clone tool in the Professional tools section.

Click to set the source. Adjust your brush as needed, including the Radius, Softness, and Opacity. Click and brush over the damaged area.

Use the Zoom buttons and the Hand tool to explore the image’s details.

Click and paint out the pixels you want to remove. You can also try small dabs and short strokes to get a blended look. Try blending multiple strokes and lowering the opacity of the brush for the best results.
Explore Other Features


An application & plugin
For macOS & Windows
- High-performance AI editor
24/7 technical support
30-day money back guarantee
Join community of Luminar Insiders

Frequently Asked Questions
What is a cloning tool in photo editing?
What is the difference between the healing brush tool and the spot healing brush tool?
How to reset the Clone tool?
The Clone tool is not working, what should I do?
Why Luminar Neo is the best clone stamp tool?
Photographers choose Luminar Neo clone stamp because it fits clean-up tasks where manual control matters more than automation.
Who can benefit from Luminar Neo clone tool?
- photographers removing small imperfections or distractions
- product and portrait photographers needing controlled corrections
- users who prefer manual accuracy over AI-generated resultsIt works best for detail-level retouching rather than large-area replacement.
It works best for detail-level retouching rather than large-area replacement.