How to create a black and white portrait
November 18, 2020

Vanelli walks us through the steps of using Luminar AI to create a stunning black and white image.
Black and white photos have a classic look. But are you tired of grayish-black and white photos that make your image look dull and unexciting?
A great black and white photo needs rich details and true depth. Thankfully, LuminarAI makes this easy. You’ll find built-in black and white Templates to help you get started. There’s no need to spend so much time moving a bunch of sliders around hoping something will magically appear.
This feature works very well for portrait photos but can be applied to almost any image.
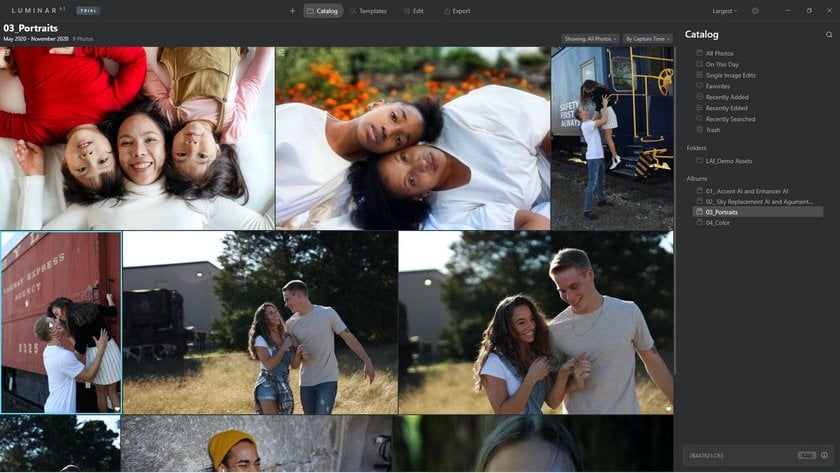
Step 1: Open a photo in LuminarAI or choose one in your Catalog.
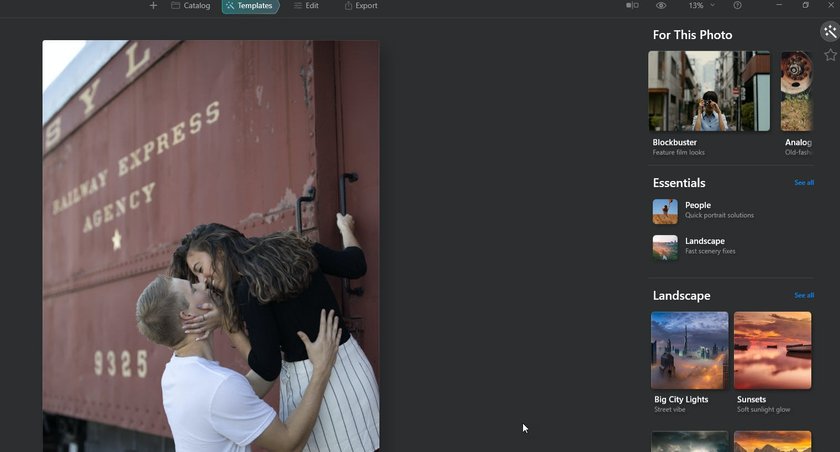
Step 2: Choose Templates to browse a collection of great starting points to speed up your editing process and boost creativity.
Step 3: From the Portrait group, choose the Black & White collection.
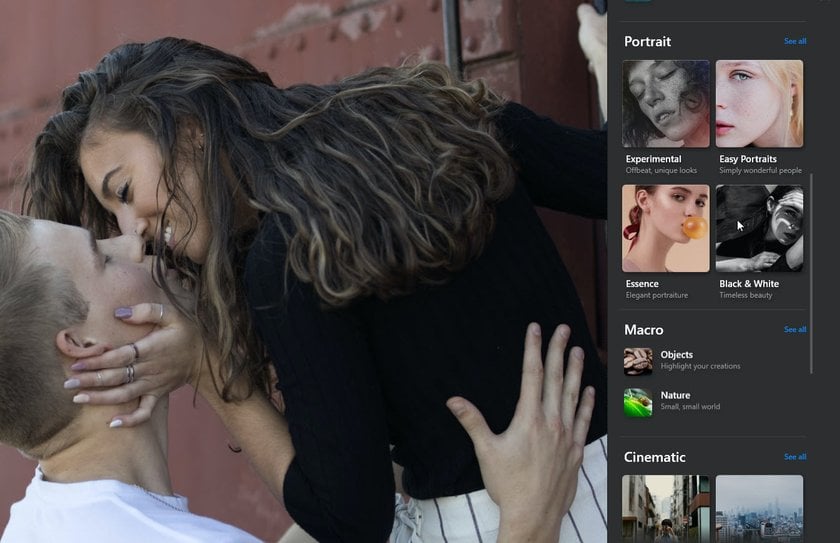
Step 4: Choose one of the Templates. Here, we used Soulful.

Step 5: Let’s customize the Template for a refined result. Click the Edit button.
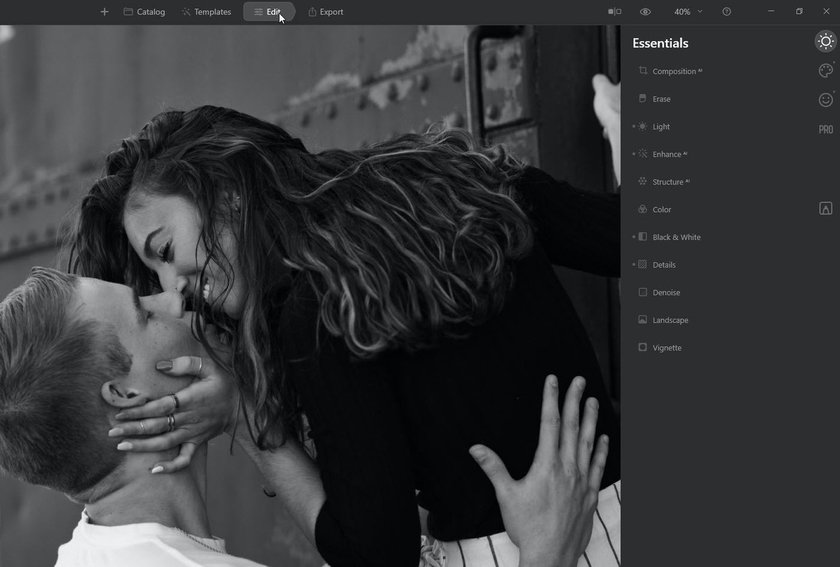
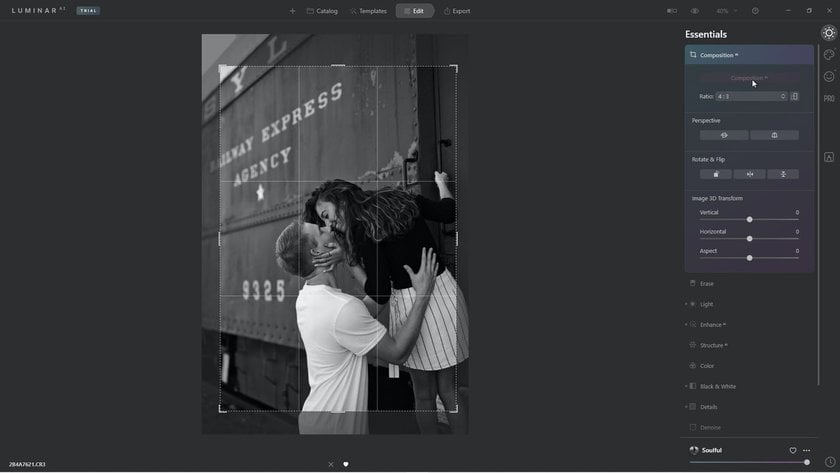
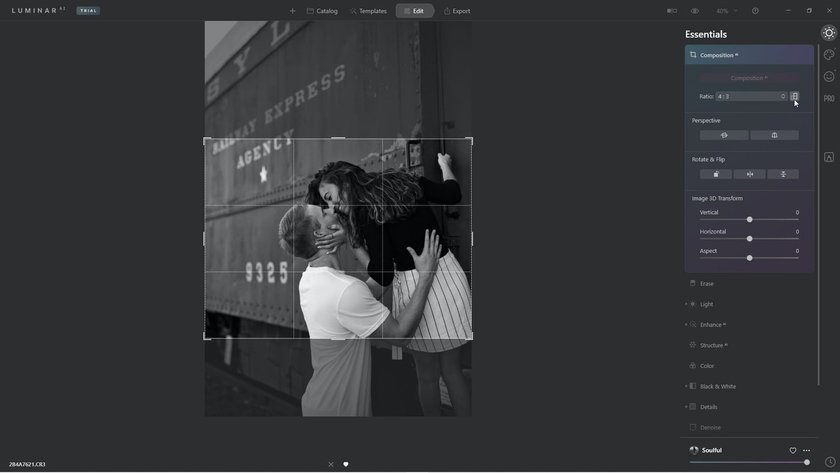
Step 6: Let’s get a perfectly composed photo. From the Essentials section, choose CompositionAI and click the CompositionAI button. I like the crop, but I want the orientation to be landscape. Click the Orientation button to convert the crop.
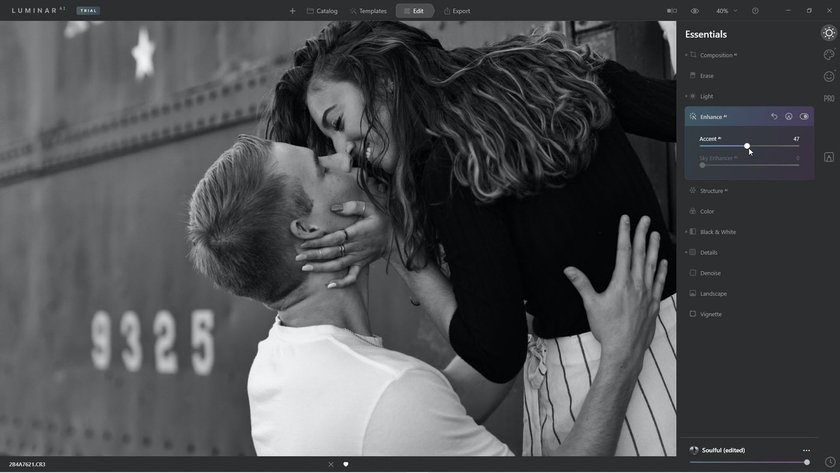
Step 7: Let’s get perfect exposure and contrast. Click on EnhanceAI and then adjust AccentAI to bring out hidden details.
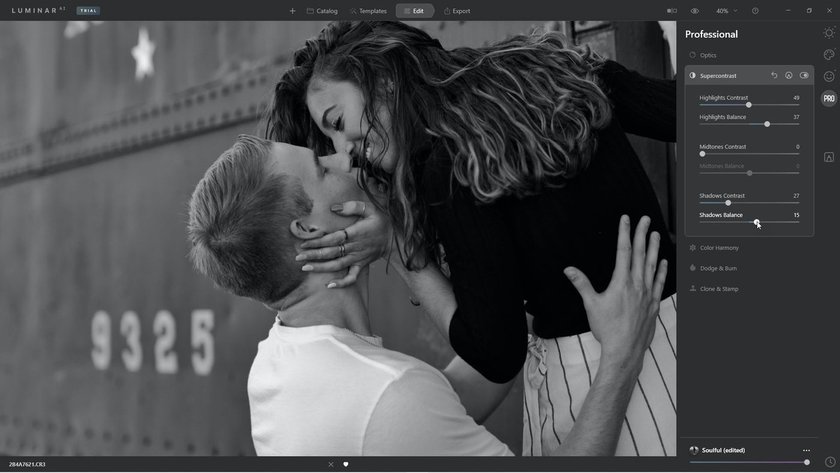
Step 8: Let’s get an amazing dynamic range for the photo. Click the Professional tab.
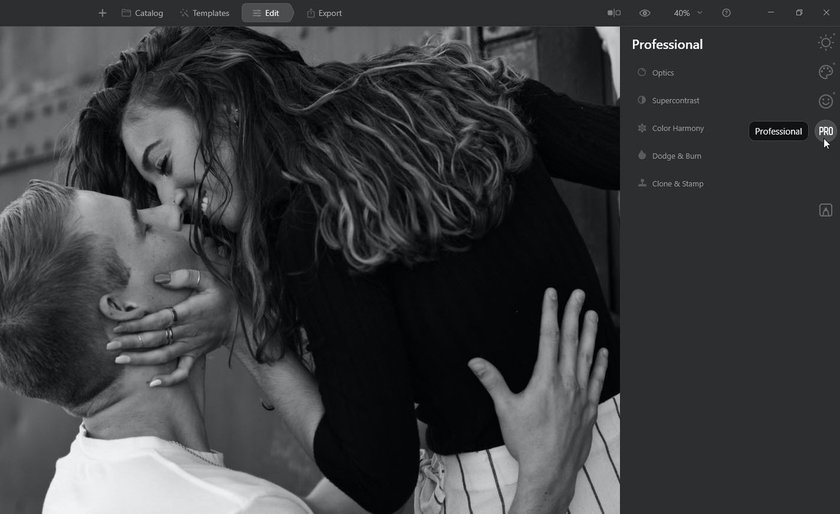
Step 9: Adjust the Supercontrast controls. Refine the Highlights and Shadows to get the perfect black and white photo.
Let’s look at the results.