How To Photograph Waterfalls?
Last Updated on February 20, 2025

Learn Expert Techniques For Long Exposures, Creating Silky-smooth Water Effects, And Conveying The Dynamic Energy Of Waterfalls Through Your Lens.
Waterfall shooting is a rewarding and thrilling exercise for photographers, irrespective of their experience level. Whether you are a seasoned photographer or just starting out, mastering how to photograph a waterfall allows you to produce amazing shots highlighting this wonderful phenomenon’s natural beauty.
This guide dives into the essential techniques, settings, and tips to elevate your photography. By the end, you’ll clearly understand how to take pictures of waterfalls like a pro.
Understanding the Basics of Waterfall Photography
 In order to capture the essence of a waterfall, you have to balance factors such as lighting, shutter speed, and water motion. It’s all about testing different settings and finding the right combination that is best suited for the mood that you want to convey.
Key Considerations
Lighting. Water cascades are often shot in natural light, changing rapidly depending on the time of day and weather conditions. Early morning or late afternoon provides the softest and most flattering light.
Composition. The composition is crucial when snapping. It’s important to frame your subject and surrounding elements to emphasize the fall’s grandeur while maintaining a balanced scene.
Movement of water. Capturing the movement of water is central to waterfall photography tips. How you manage the motion of the water can significantly impact the image’s final look.
Camera Settings for Waterfalls: Balancing Aperture, Shutter Speed, and ISO

To get the best result in your waterfall photoshoot ideas, you must familiarize yourself with the exposure triangle: aperture, shutter speed, and ISO. The combination of these waterfall photography settings is the key to having better-exposed photographs.
Aperture
The aperture controls light entering the lens and affects the field depth. When photographing waterfalls, a small aperture (higher f-number, i.e., f/8 to f/16) is generally required so that it and the surrounding landscape are in focus. For a shallow depth of field, where the waterfall is separated from the background, a wide aperture (lower f-number) can be used.
ISO
Maintain your ISO as low as possible, preferably ISO 100 or 200, to prevent introducing noise into your photos. Low ISO also prevents overexposure in the event of longer shutter speeds.
Shutter Speed
Shutter speed for waterfalls is vital in defining the appearance of the water in the photo. How you operate the shutter can create different images, from freezing the subtle details in the water’s flow to softening the flow for a dreamy, silky effect.
Here are some general guidelines:
Fast waterfalls. For a more detailed, frozen look, you should use a faster shutter speed, such as 1/500 or 1/1000 of a second.
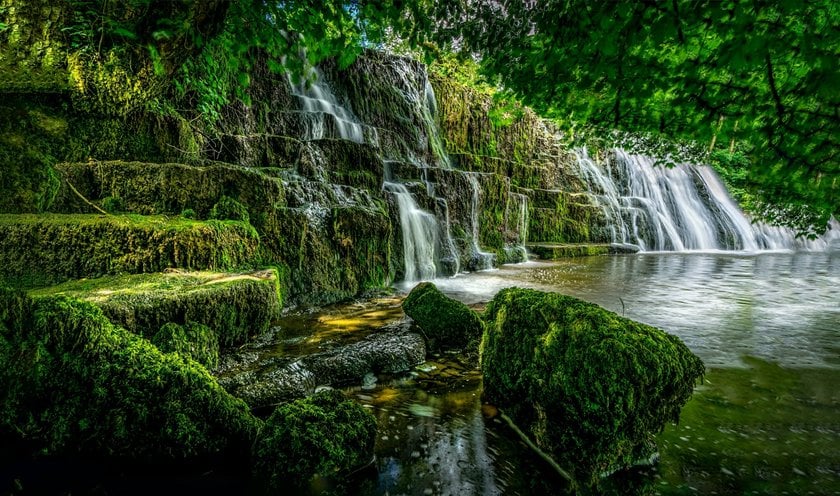
Slow waterfalls. If you want a more dramatic, misty effect with smooth, flowing water, a slower shutter speed of around 1/4 to 2 seconds is ideal. This creates the waterfall long exposure effect, which is particularly stunning for larger ones.
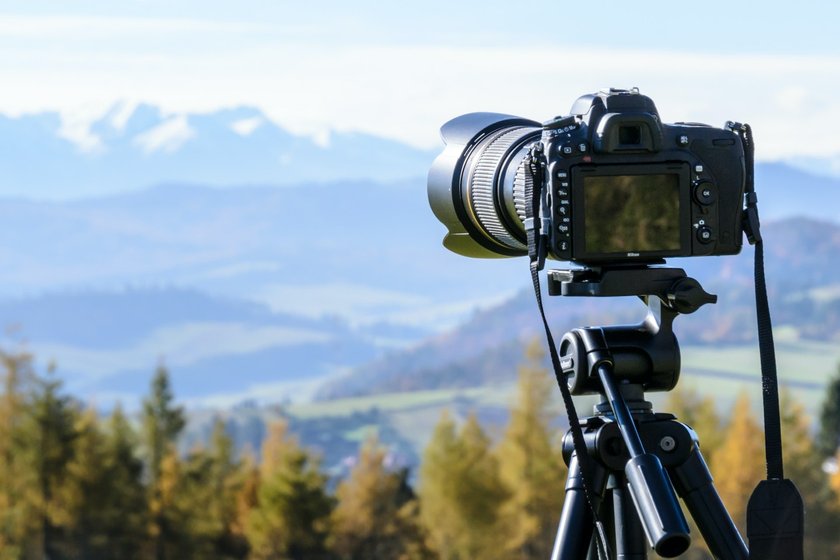
Also note: With longer exposures, such as a slow shutter waterfall effect, a tripod is absolutely necessary. A tripod will hold your camera steady for the longer exposure periods and eliminate any camera movement or blur.
Using Filters for Waterfall Photography

Filters are useful when photographing waterfalls, particularly when a long exposure is used.
ND Filters
Neutral density (ND) filters are essential light-control devices. Such a filter reduces the light coming through the lens, so you can photograph with slower shutter speeds when it is extremely bright and won’t overexpose your image. ND filters are a big asset when performing waterfall-long exposure shots when the sun shines.
Polarizing Filters
Polarizing filters reduce glare and reflections off the water, which can contribute to the overall clarity of your image. They also darken the blue in the sky and enhance the saturation of surrounding colors. When taking photos of falls, a polarizer can help you capture the rich water and landscape details.
Getting ahead of the questions, yes, filters are not mandatory. However, they make the job much easier. If you frequently shoot waterfalls, having at least an ND filter in your kit is definitely worth it.
Composition Tips: Framing the Perfect Waterfall Shot

Composition plays a critical role when talking about how to take waterfall pictures. A good composition can elevate your cascade image from great to incredible.
Rule of Thirds
Using the rule of thirds is a great method of framing your shots. Imagine dividing your frame into nine equal sections by drawing two horizontal and two vertical lines. Place the waterfall or point of interest along the lines or where they intersect to create a more dynamic, balanced picture.
Leading Lines
Look for natural leading lines, such as rocks, rivers, or trails, that will direct the viewer’s eye to the waterfall. The lines create depth in the shot and a sense of flow that captures the motion of the water.
Include Surrounding Landscape
Although the fall is the main attraction, don’t overlook the surroundings. Including surrounding trees, rocks, or mist can add context to the scene and a sense of scale.
Waterfall photography cheat sheet: Don’t forget to consider framing your subject with surrounding elements that complement, rather than compete with, the water cascades.
Waterfall Photography Tips: Maximizing Your Shot
 Here are some additional waterfall photography tips to help you get the most out of your shoot:
Use remote shutter release. With a remote shutter release or your camera’s timer, you avoid camera shake upon pressing the shutter button, which is crucial for long exposure.
Take multiple shots. Never hesitate to take multiple shots at varying shutter speeds to determine which gives you the desired effect. Experiment with the shutter speed at waterfalls to get a smooth equilibrium.
Consider the weather. Cloudy weather is ideal for capturing water cascades since clouds diffuse the light, preventing harsh shadows. During sunny weather, you may have to use ND filters to avoid overexposing your photos.
Editing Your Waterfall Photos with Luminar Neo

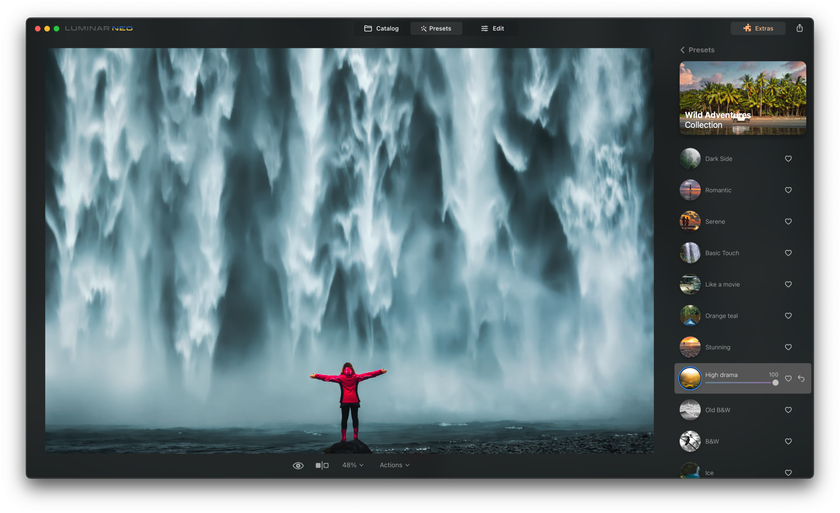
Post-processing of your photos can allow you to sharpen the details, adjust exposure, and adjust colors. Luminar Neo has powerful tools that can assist in taking your waterfall photography to a higher level.
Import and adjust exposure. Start by adjusting the exposure to ensure your image is not too bright or dark. Use the Exposure slider to set the overall brightness and contrast.
Enhance the water. Use the Water Enhance tool to bring definition and clarity to the water, making it more saturated and detailed.
Reduce noise. If you shoot at a higher ISO, use the Denoise tool to eliminate any graininess so the water will be clear and smooth.
Enhance the colors. Enhance the natural colors of the surrounding landscape and water using the Vibrance and Saturation sliders. But don’t go too far, as you want a natural look.
Create a vignette. Adding a subtle vignette will focus the viewer’s attention on the waterfall by darkening the image’s corners. This technique works particularly well for photoshoot ideas that focus on water flow.
Summing Up
 Using these techniques, having knowledge of the waterfall camera settings, and experimenting with the composition and shutter speed, you can achieve spectacular photos that leave people amazed.
Don’t forget to post-edit your photos with software like Luminar Neo to enhance your best work further. Practice and hone your craft, and soon, you will know how to take moving water pictures that leave any observer in awe.


