HDR iPhone Photography Guide: Unleash Your Creative Potential
June 13, 2023
iPhone is well-known for its photography technology – and one of the most underestimated features is the HDR option. HDR, or High Dynamic Range, in photography, means taking a bunch of pictures of the same thing at different brightness levels and then putting them together to get one picture that shows all the details, even in really bright or really dark parts.
Today you can capture stunning images with rich detail and vibrant colors using iPhone HDR photography. Don't worry if the concept of High Dynamic Range seems complicated at first because using this feature on your smartphone is actually quite simple. With automatic HDR, you can say goodbye to exposure issues in your photos with shadows and bright highlights.
Plus, you can make every photo shot you take with an HDR camera on iPhone even better. Check out our blog to find the best photo editing software!
What Is HDR
HDR stands for High Dynamic Range. In the iPhone camera, HDR is a setting that involves taking multiple photographs at different exposure levels and combining them into a single image to achieve a sharp and bright look.
The point is our eye sees a more dynamic range than a camera. And the purpose of HDR functionality is to bridge this gap and present us with images that are closer to how they look in real.
How HDR Works
When you enable the HDR option to click a picture from your iPhone, it takes a few versions of the photograph rapidly and combines them into a single picture. Every version is adjusted according to various factors of highlights, shadows, and contrast. Basically, your iPhone takes one photograph adjusting shadows, one adjusting brightness, and so on. After that, it will combine the best components of each of these photographs together into a single picture to present you with an image that is of high quality with no imbalances.
By using the iPhone camera HDR mode, the dynamic range of the photo is expanded. This translates into an increased richness of color and finer detail in both shadowed and highlighted areas. Moreover, the HDR iPhone feature results in a more vibrant and complete picture achieved from multiple photos.
By the way, if you especially adore architecture and landscape photography, be sure to check out Luminar Neo HDR software. With this app, you can easily unlock the unseen beauty of nature and expand the dynamic range from a single photo.
Using HDR on iPhone
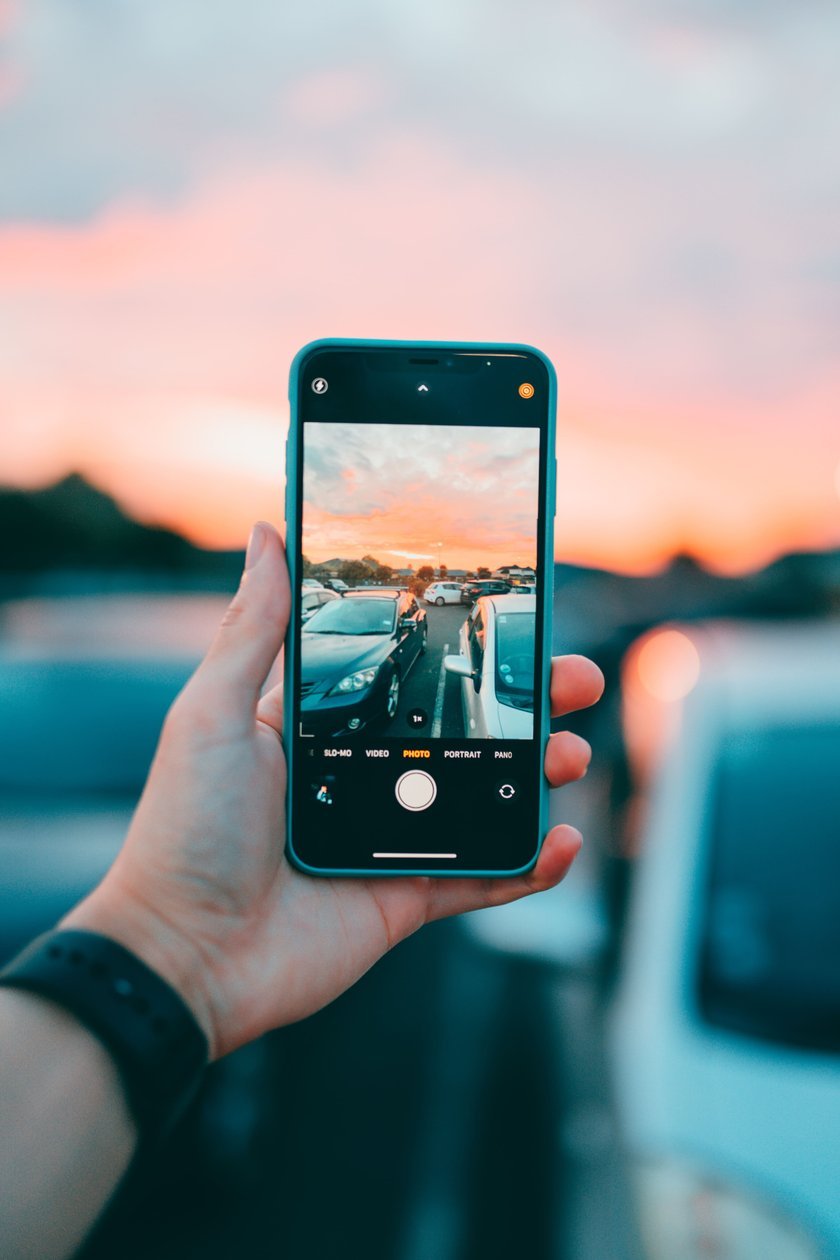
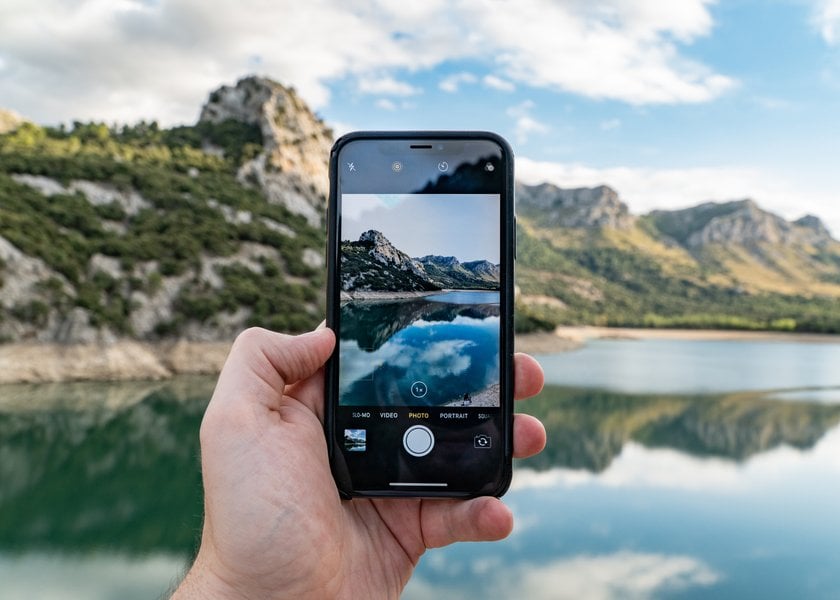
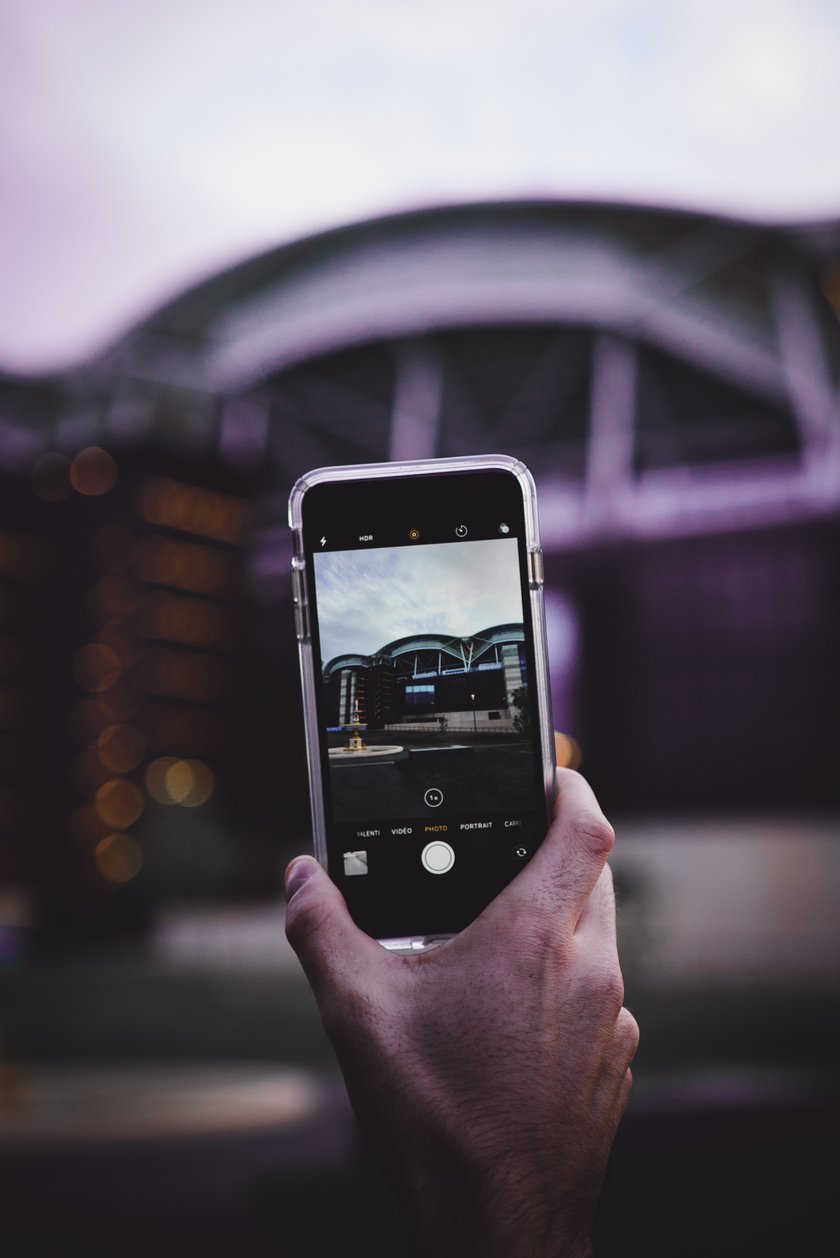
So, how to take HDR photos on an iPhone? It's actually quite simple, but there's something to consider about auto HDR mode. Don't forget that HDR photos are bigger than normal photos and hence take more space. Make sure to use this function when you need it. Here’s how to turn it on.
- Open Settings.
- Go to Photos & Camera.
- Now Scroll down to the High Dynamic Range feature.
- Here, toggle the option ‘Keep Normal Photo’ to save both normal and HDR photos, and toggle it off to save only HDR photos.
If you save both images, you can pick the best one and delete the other one. And remember, because HDR photos iPhone mode captures multiple exposures, any camera movement can cause blurry images. To avoid this, use a tripod when shooting HDR images. You can also use the timer or a remote shutter release to minimize camera shake. If you don't have a tripod, just hold your phone steady.
HDR Apps for iPhone
There are the best HDR apps available for IOS smartphones that can enhance your photography.
Luminar Mobile

Skylum's Luminar Neo photo editor is now available in a mobile version. iPhone users can enjoy a variety of AI tools that effortlessly enhance images, along with presets to suit every taste and give your photos a professional look.
CameraPixels

It is an advanced camera application having multiple capture modes and manual controls to give your photos the HDR effect. You can also edit normal pictures and give them an HDR look using Camera Pixels.
Hydra

It uses advanced technology to take HDR photos. Hydra combines up to 60 images into a single shot, resulting in enhanced detail and reduced noise. The app also includes features like zoom, low-light mode, and more.
When to Turn HDR Feature ON and OFF
iPhone automatically turns on HDR mode when it's needed. Some models, including the iPhone XS, XR, 11 series, SE (2nd generation), and 12, allow manual HDR control. To adjust this, open Settings > Camera and then turn Smart HDR off. Then, on the camera screen, tap HDR to turn it off or on.
When you activate built-in HDR mode, your iPhone automatically takes several photos with different exposures and brightness levels. It intelligently combines these images, selecting the best elements from each to create a single, beautifully lit picture.
Use HDR when you are clicking photos with a lot of sunlight. The sun impacts brightness levels and images end up looking unclear. The HDR feature can balance it. Other than this, use this feature when you have a backlight to ensure the image doesn't look washed. The feature can also be used when you’re clicking a picture with different brightness levels from different objects (a bulb or sky etc.)
One-Shot HDR Image
By now you must have comprehended what HDR is and what it does. In a nutshell, a normal picture on your iPhone only exposes one part of the picture, while HDR mode takes three pictures at the same time with each picture focusing on a different exposure level and combining them to present one neat photo.
But is it possible to take a high-quality and high-dynamic range shot without HDR mode? After taking the picture, you can use Luminar Neo to edit the image. Adjust shadows, highlights, contrast, and saturation with AI tools for a balanced look and more detail throughout the image. This is one of the best Lightroom alternatives, by the way.
Experience the Power of Luminar Neo

This is powerful software that brings advanced features and creative possibilities to photographers. With Luminar Neo, you can take your iPhone HDR photos to new heights!
Check Out Luminar Neo Now

To explore and experience the power of AI photo editing, you can follow the link to the official Skylum website or the Luminar Neo product page.
Conclusion
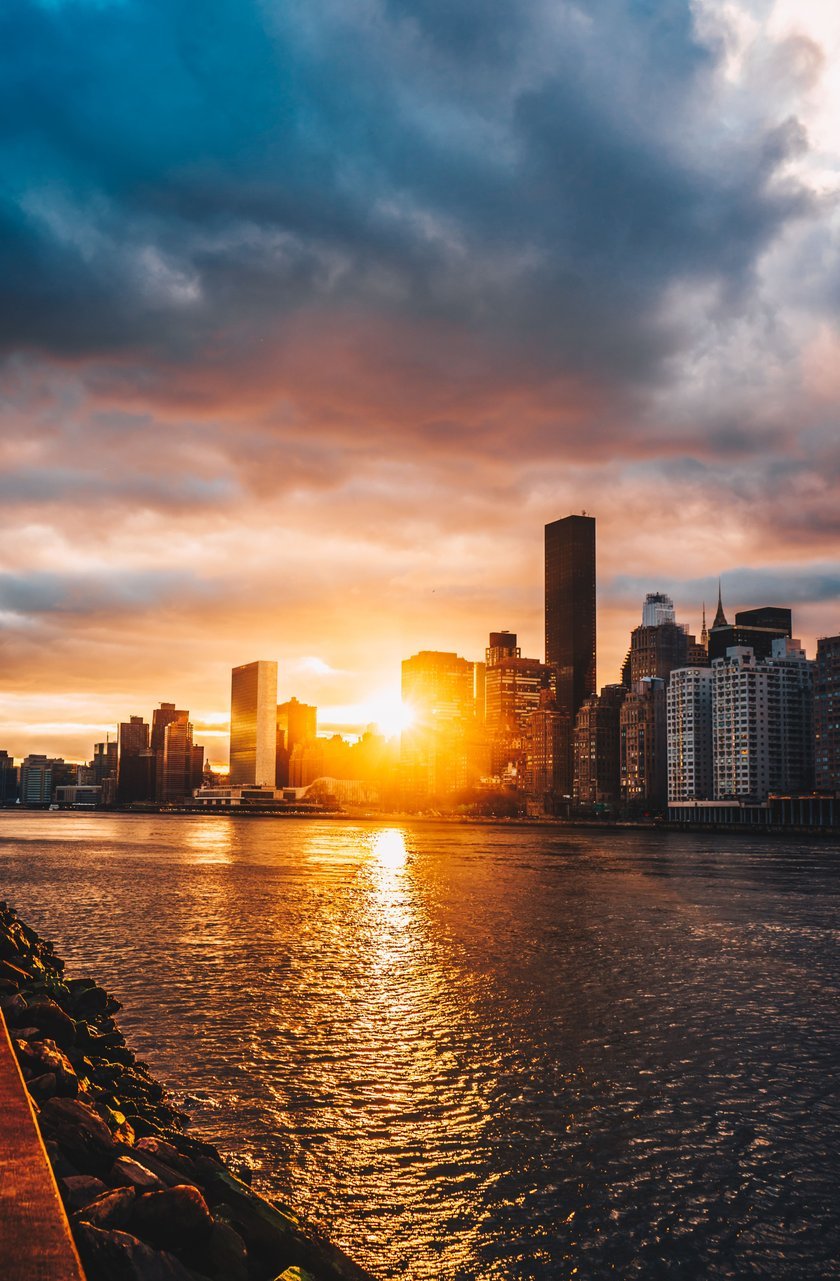
While our eyes have a much wider dynamic range than cameras, capturing a high-contrast scene can pose exposure challenges. However, by enabling the HDR photo iPhone feature, you can overcome this limitation. The HDR version of the image captures a wealth of detail in both the bright and dark areas of the scene, and it looks just great!
The coolest thing is that you can get the perfect picture just by using the HDR iPhone camera mode. Try it and you will really see the difference and wish you had used this trick before! And don't forget to check out the new photo post-processing features in Luminar Neo, because that's what you've been missing!
FAQ
How to View HDR Photos on iPhone?
On the iPhone home screen, find and tap the Photos app to open it. Then browse your photo library or albums to find the picture you want to view. The iPhone's display is capable of rendering High Dynamic Range content, so you'll see the vibrant colors and details in the shot.
Which iPhones Support HDR Photography?
Several newer models support High Dynamic Range photography, including the 14, 13, 12, 11, SE (2nd generation), XS, and XR iPhone series. While HDR capabilities vary, all of these devices can take great photos using either the native or third-party camera app.
How Do I Enable HDR on My iPhone?
Go to Settings > Camera and enable this mode. The specific option may vary depending on your iPhone model. Once enabled, the Camera app automatically determines when to use this mode to take photos with enhanced dynamic range. You can also look for the High Dynamic Range icon in the Camera interface to know when this feature is active.