3 steps for editing better black and white portraits
May 17, 2017

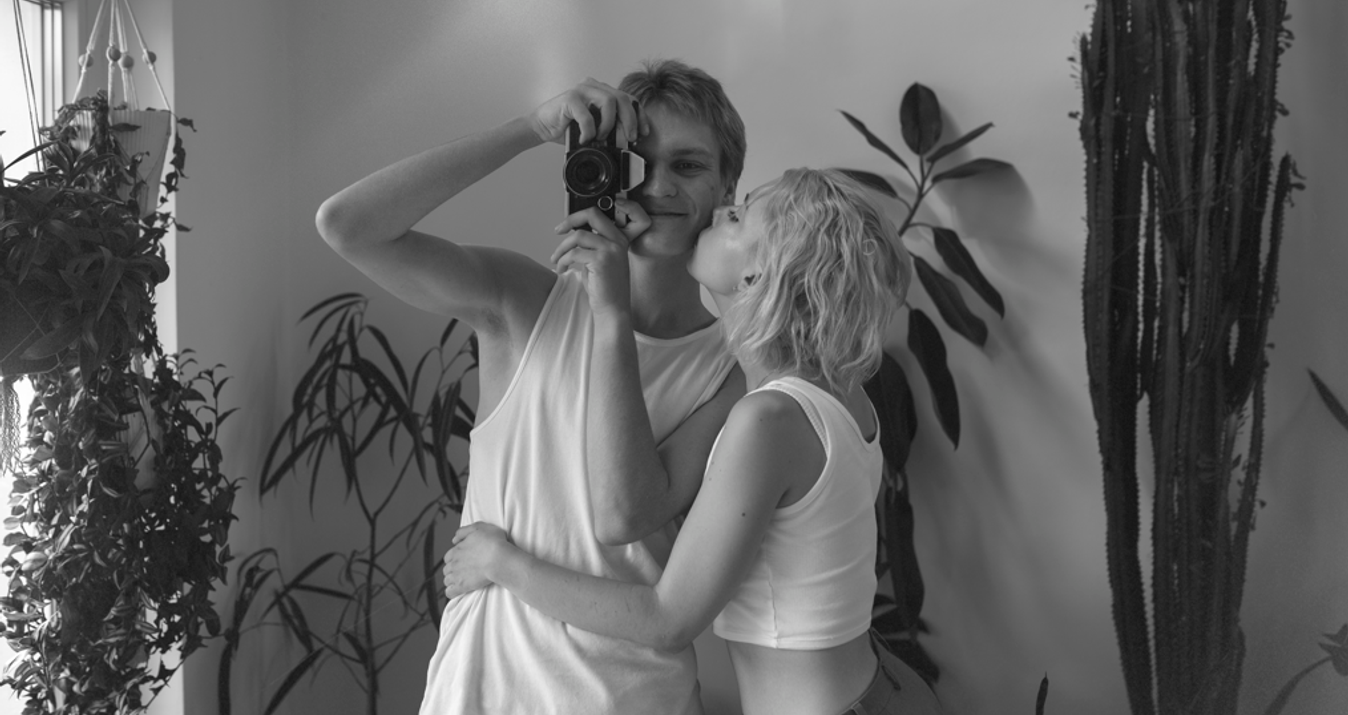
With Luminar’s wonderful B&W workspace, you can turn a seemingly plain color image into something absolutely striking!
Professional portrait photographers know that one does not simply take a portrait. The same rings true for all the other genres of photography, both in color and in black and white. Rarely does a black and white photo portray drama and class straight out of the camera.
With Luminar’s wonderful B&W workspace, that allows for as much control as one would ever dream of, you can turn a seemingly plain color image into something absolutely striking!
After adding the B&W workspace under the Filters section, try these three steps to help create richer detail, better contrast, and feeling in your portraits.
1. Black and White - Green Filter
Colored filters in black and white photography alter specific colors that are displayed in black and white. Anything in the image that is the same color as the filter chosen will tend to show up as a lighter shade of gray and anything that is a complementing color in the image will tend to become darker.


Mykii LiuSince green is the complementary color to red, when you use the green filter on your portraits, you’ll notice added contrast in the red lips. And because orange (typically the dominant color of skin) is close to red, using the green filter will often preserve detail and tonality in the skin.
This may mean that you’ll have to edit some more blemishes out, but the result is worth the effort.


The yellow filter is often the go-to for many portrait photographers, but it often adds an unmanageable amount of contrast to the skin, making people look washed out or pale.


2. Add contrast, without using the contrast slider
After you turn on the green filter, you’ll probably find that the image is slightly darker with slightly richer mid-tones. This is when the individual sliders for Exposure, Blacks and Shadows really shine!
If your image is overall a bit dark, adjust the Exposure slider to the right first. A little bit goes a long way, so be conservative with this slider.

If your image is overall pretty light, adjust the Shadows slider to the left first, followed by the Blacks slider until you feel the image is almost too dark.

Then, play the balancing game with these sliders! If you’ve adjusted the Exposure up, bring the Shadows and the Blacks over to the left a bit. If you’ve adjusted the Shadows and Blacks to the left first, bring up the Exposure to the right.
One could argue that simply cranking the contrast slider to the right can achieve the same result as balancing out the other sliders, but generally, mid-tones will be sacrificed. Using the sliders can really help you refine and maintain tonality in your black and white images.
Unlock the Timeless Beauty of Black and White
Try Luminar Neo3. Lifting blacks by using Curves
When you “lift the blacks”, you’re basically grabbing anything that is black and changing it to a lighter shade of gray. We’ll be using the Curves section to make this happen— scroll down in the right sidebar until you find Curves.
On the bottom left corner of the curves graph, you’ll find an orange dot. Click and drag that upward just a little bit and watch how the image reacts. Notice that anything that is black becomes that lighter shade of gray.
Here’s a set of images from start to finish:


Many people tend to use this to create a Gray and White image instead of a Black and White image.
Additional dots on the graph may be needed to be added to anchor the mid-tones and highlights at their original value. It’s up to you to experiment! The effect can be really creative and can embed a different emotion and look into the image.
Check out another set of images from start to finish:


Creative Control
Luminar allows you to have amazing control over your image, allowing you to define your personal style and make it possible to achieve a consistent look and feel across your portraits (tip: when you settle on a look you love, create a preset for later use).
Depending on how you feel, you might want to make an image more dramatic, or less dramatic, and that’s the joy of the control Luminar provides.
Knowing the tools that are available make it so much easier to achieve what you want — when you want it.