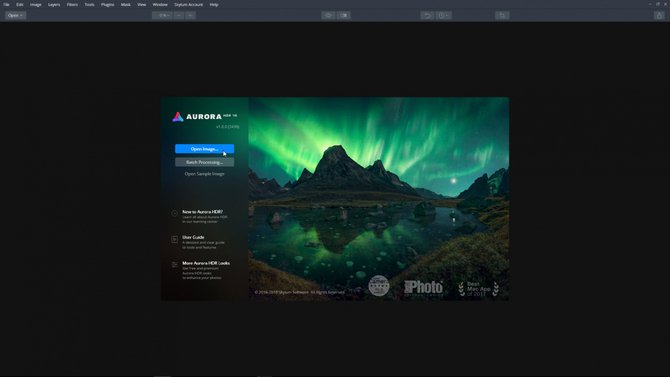
In this tutorial, you'll see examples of how the new Quantum HDR Engine in Aurora HDR 2019 automatically analyzes and tone maps single images to produce the best starting point to begin processing your photos.
Follow along with the step-by-step tutorial or watch the video. You can download the example file here. (Note: Images are only to be used for this tutorial. Image by ©Robert Vanelli)
Let's begin by selecting a single image and view the before and after results.
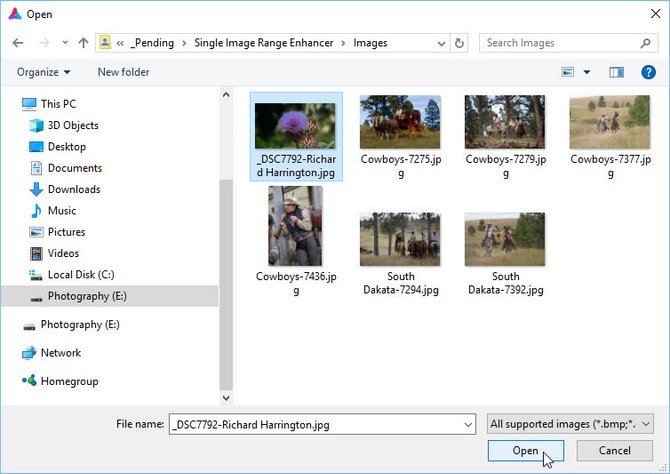
Step 1: From the startup screen, click the Open Image... button.
Step 2: Navigate to your file, select it, and click the Open button.
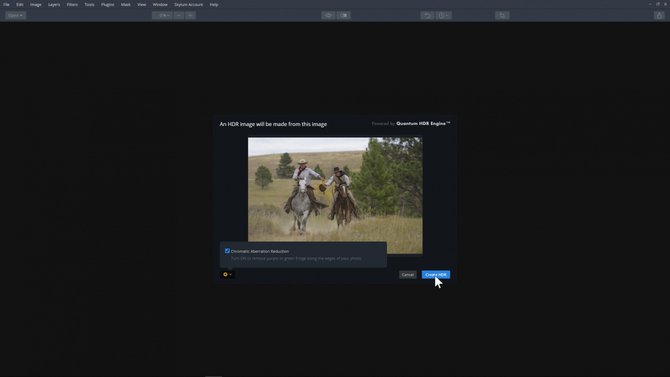
Step 3: Click the Settings icon (gear) to select Chromatic Aberration Removal. Use this option to remove purple or green fringe that can appear along the edges of an image (especially in areas of high contrast or backlight). It can also be caused by a low-quality lens. To speed processing time, uncheck this option if you don’t notice the purple or green fringe in your images.
Step 4: When ready, click Create HDR to begin processing the image.
Step 5: To compare the original image to the tone mapping image, click the Quick Preview button to toggle between the image originally opened and the current version. Another way to see this change is to use the keyboard shortcut \ (backslash)
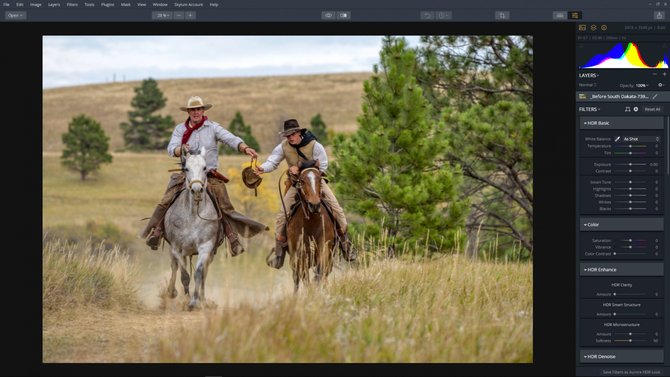
Comparing the images, we can see how Aurora has automatically added depth, clarity and increased the color range thanks to the new Quantum HDR Engine
Thanks to Aurora’s new Quantum HDR Engine, we now have the best starting point to begin processing our photos.
Thanks to Aurora’s new Quantum HDR Engine, we now have the best starting point to begin processing our photos.

