Learn how to direct your viewer's eye to specific areas of your image with these easy to follow along steps using the Vignette filter in Luminar.
Getting Started - How to reposition the light and make adjustments with the Vignette Filter
What you will learn:
• How to add a Vignette Filter in Luminar
• Adjust the settings to better see the size and center of the vignette
• Reposition the center of the vignette
• Readjust the settings to create a more natural effect
(Video 2 min, 21 sec.)
Step-by-step Instructions
Opening an image and selecting the Vignette Filter
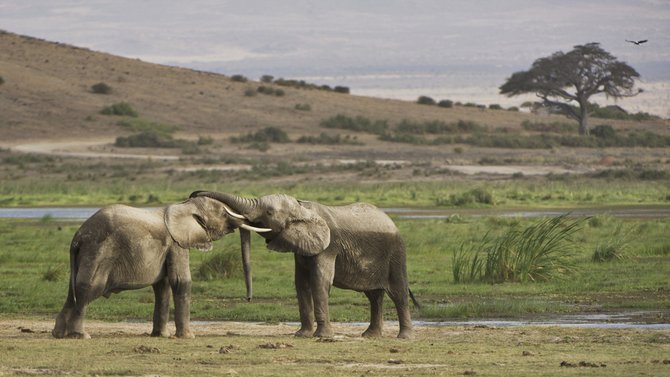
1. Open an image in Luminar
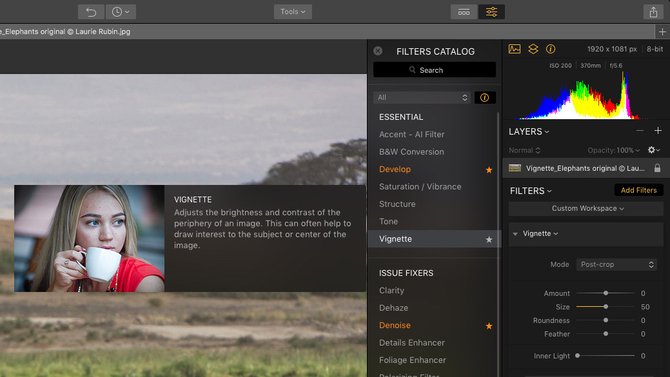
2. Add the Vignette Filter by clicking on the blue Add Filters button
3. Close out of the Filters Catalog. Click on the X button on the top left of the Filters Catalog
Setting the adjustments to see the size and position of the Vignette Filter
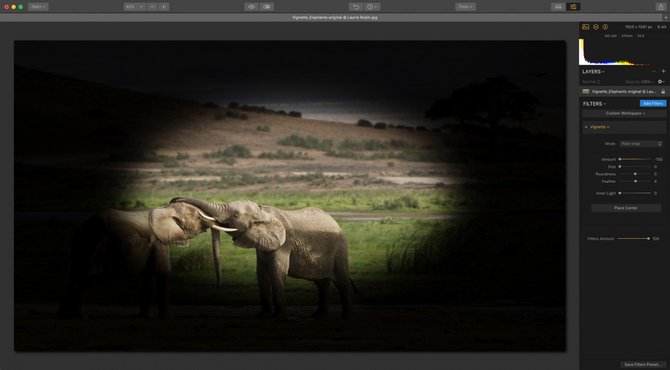
1. Move the Amount slider to the left at -100 to see the area of the effect
2. Reduce the Size by moving the Size slider all the way to the left
3. Adjust the Roundness of the area (to the left makes it more of a rectangle, to the right, a circle)
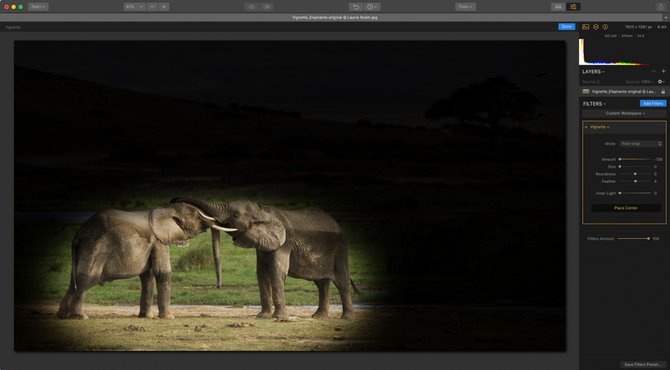
Repositioning the center area of the Vignette Filter
1. Click to select the Place Center button
2. Move your cursor on top of the image
3. Position the cursor to where you want the center of the Vignette Filter to be
4. Click to reposition the center
Note: You can reposition the center again by redoing Steps 1 — 4
Resetting adjustments for the final result in the Vignette Filter
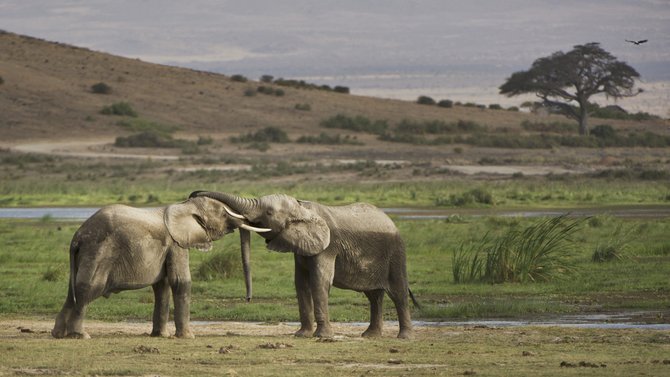
1. Move the Amount slider to the right to reduce the amount of the Vignette
2. The Size slider allows you to increase or decrease the size of the area of the effect
3. Move the Feather slider to the right to blend the inner brightness with the rest of the image
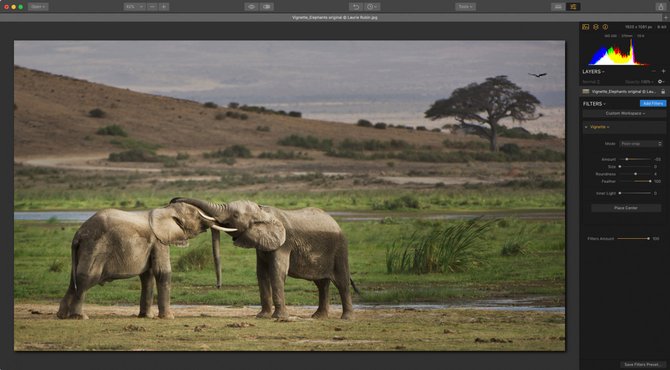
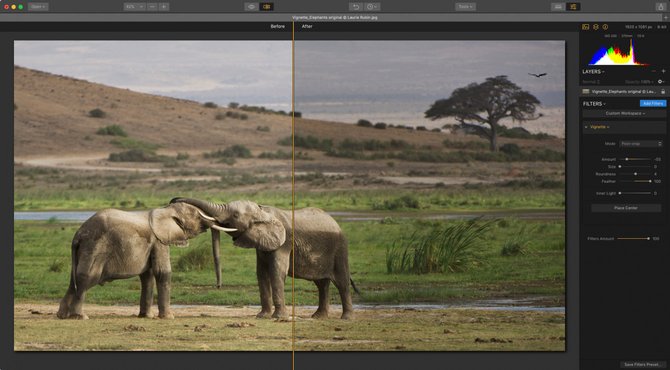
Viewing the results — Before and After
Click on the Visibility Icon (eye) at the top of the screen or the Compare to see before and after