How to install Photolemur plugins
Photolemur can be used as a plugin in Adobe Photoshop CS5 or higher and Lightroom Classic CC.
To install the plugins, launch Photolemur and open its top menu. In the menu, select Install Plugins.
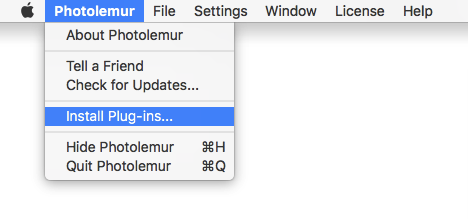
Then you’ll see a window with the list of available plugins. To install a plugin, click the Install button next to Adobe Photoshop or Lightroom.
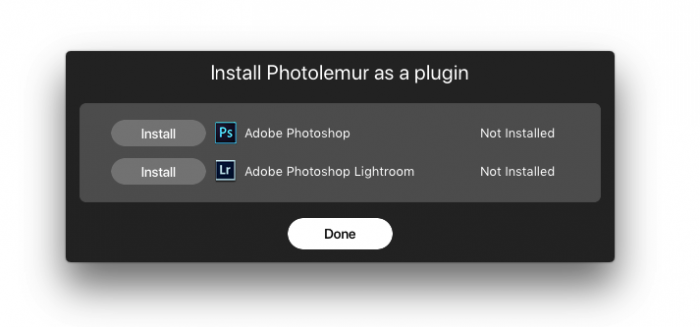
Then click Done and relaunch the app to apply changes.
How to use the Photolemur plugin in Lightroom
In Lightroom, you can use Photolemur for both single image processing and batch image processing.
To edit a single image, open it in Lightroom and then export to Photolemur. For batch processing, select a batch of photos and then export them to Photolemur.
In Lightroom, there are three ways to export your photos to Photolemur:
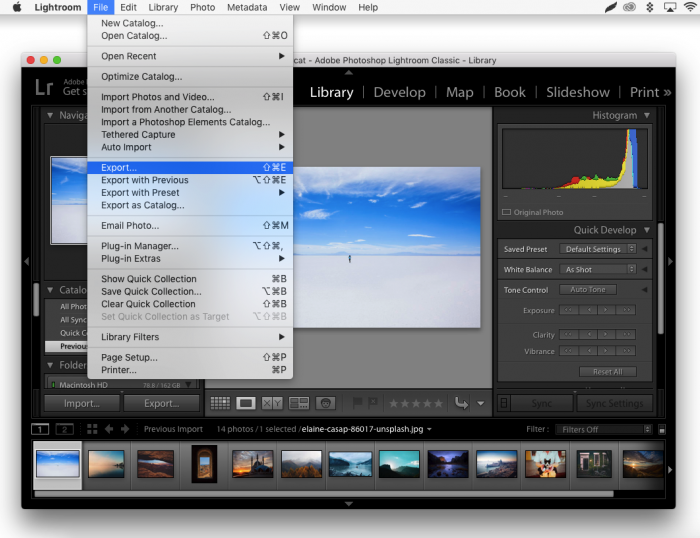
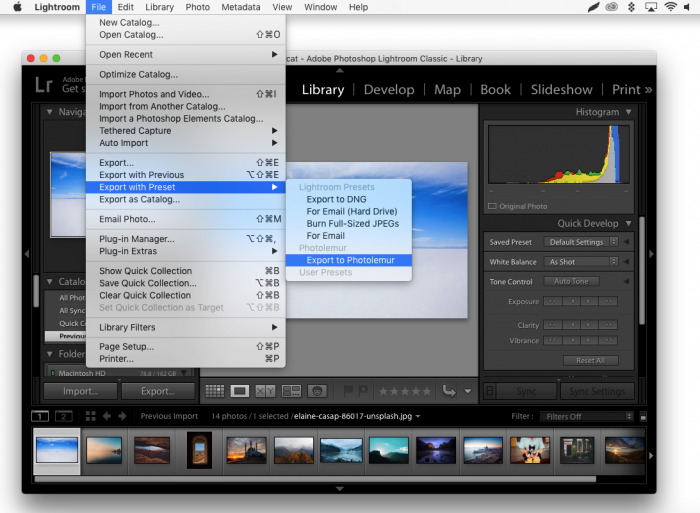
1. Click File and select Export with preset. Then click Export to Photolemur.
2. Click File and select Export.
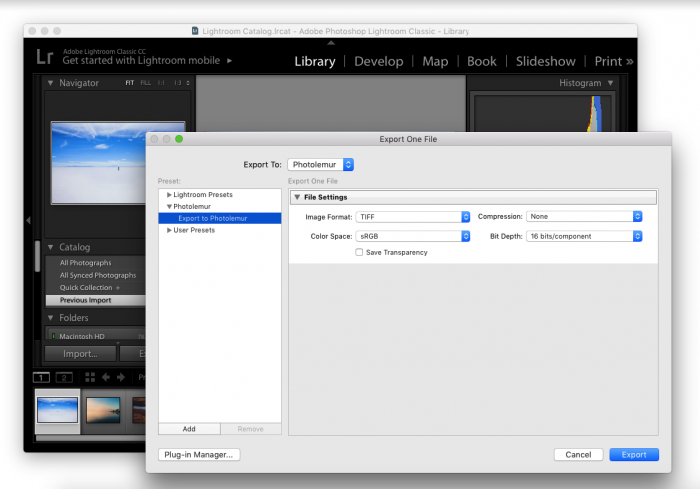
This will bring up the Lightroom export window where you can select Export to Photolemur and then click Export.
3. Right-click on your photo and select Edit in. Then select Edit in Photolemur.
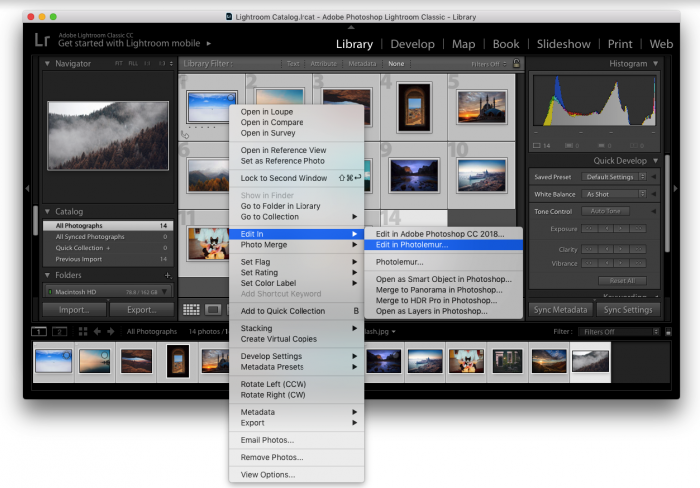
Important: This method should be used for single image processing only.
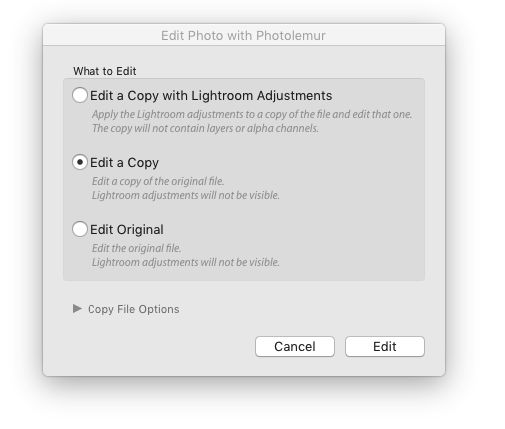
Selecting Edit in Photolemur will open a Lightroom export window where you can choose how to export your photo.
If you’ve already made earlier adjustments in Lightroom and you want Photolemur to edit your photo after these adjustments, choose Edit a copy with Lightroom adjustments.
You can also edit your original photo if you haven’t made any adjustments in Lightroom yet. In this case, the enhanced photo will overwrite your original, so make sure you want that to happen before choosing this option.
You can also edit a copy of a photo if you’ve made some adjustments but you want to have a different copy with Photolemur enhancements, for example, or if you want to keep your original photo.
When ready, click the Edit button to send the image to Photolemur.
After Photolemur is finished, you can switch between the before and after previews to see how your photo was improved. Or you can set the intensity of the adjustments with the Boost slider.
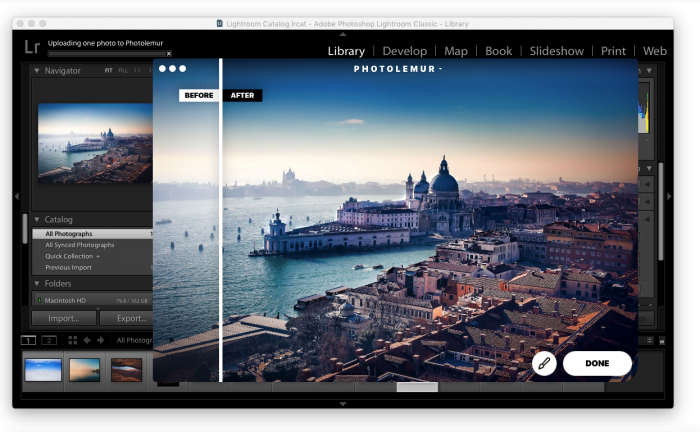
To save your photo back to Lightroom, click Done and your photo will appear as a new file in the All Photographs folder so that you still have your original photo.