Why should we keep our layers organized? There are several reasons why; from keeping track of the changes you have made to having more creative flexibility.
 I don’t know about you, but I like to try to stay organized in my life and not feel out of control! That also goes for my photography, including when trying to make sense of the order in which I choose to edit my images. In this article, we will go through the process of using a Joel Grimes image to demonstrate the benefit of using Layers and the order in which we use them.
Layers offer us the opportunity to do many things to help us be more creative, make adjustments to selective areas and to also stay organized. We will be going through several of these reasons. My goal is to help you understand how to take control of your Layers, why you might want to use them, and to know which order to which to use them.
Let’s begin with by opening a single file into Luminar. By default, Luminar should have the Preset Panel showing along the bottom of the interface and the Side Panel along the right side.
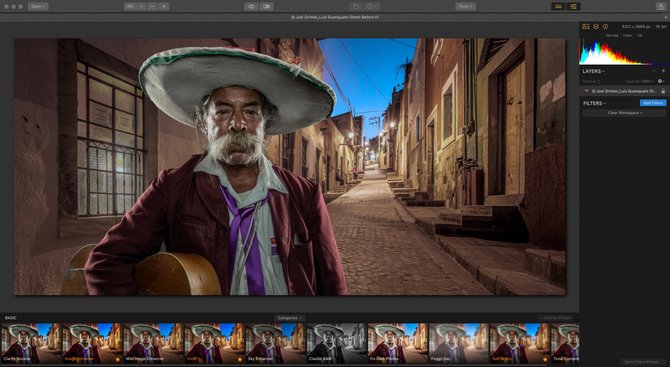 An image opened with Preset thumbnails displayed below
If you don’t see your Preset Panel or the and Filters section, just click on the two icons on the upper right corner of the interface. They will turn orange when active.
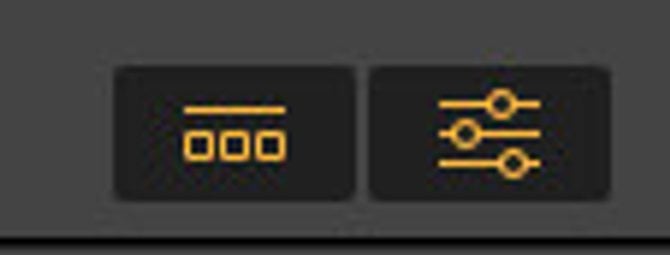 The Preset Panel Icon on the left | The Side Panel icon on the right
Starting out with the RAW Develop or Develop Filter
As a general rule, if you plan to use Filters (instead of jumping right into using a Preset), it’s a good idea to start with RAW Develop filter (if you are opening a Raw file) or the Develop filter (when opening any other file format other than Raw). By starting out with this filter, you can make some basic White Balance and Exposer adjustments. Fix any lens issues such as Distortion, Fringing, and Vignetting by selecting the appropriate tabs in the RAW/Develop filter. This will get you started in the right direction.
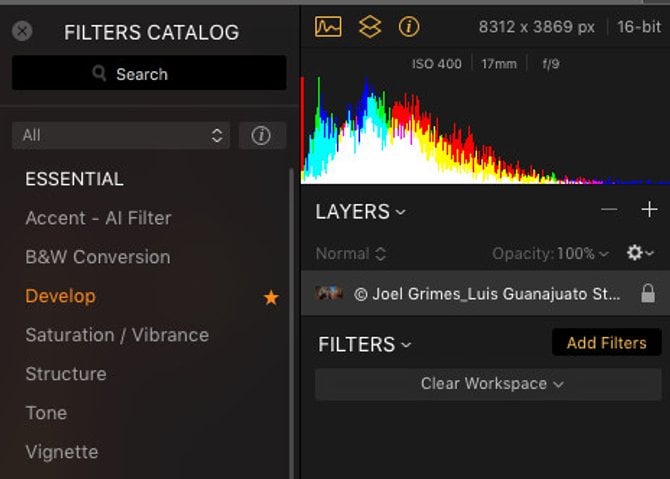
- Click on the Add Filters (blue) button. This will reveal the Filters Catalog.
- Select RAW Develop or Develop Filter.
- Experiment with the different sliders by moving them to the right to enhance or to the left to decrease the effect.
- Click on the Lens and Transform tabs to access the ability to correct any lens issues.
 Add the RAW Develop or Develop Filter to make any necessary adjustments
Why should we use separate Layers?
We could go ahead and start adding Filters and Presets to the same Layer, but we would miss out on the ability to add some creative options such as Blending Modes, Masking and other effects with a set of different filters without affecting the other filter/s below. We will take a look at several examples.
Adding Presets to a New Adjustment Layer
If you are looking to get some inspiration and quick results, try using Presets. These offer many different enhancements and styles with a click of a button. Luminar comes with a variety of Presets, including more that are available in the Luminar Marketplace.
Before we add a Preset, we are going select Add New Adjustment Layer by clicking on the + (plus sign) in the Layers section. The reason for adding a new Layer is so that we can add our Preset separately from the Raw Develop/Develop filter that we started with in case we need to make changes to just the Filters in the Preset.
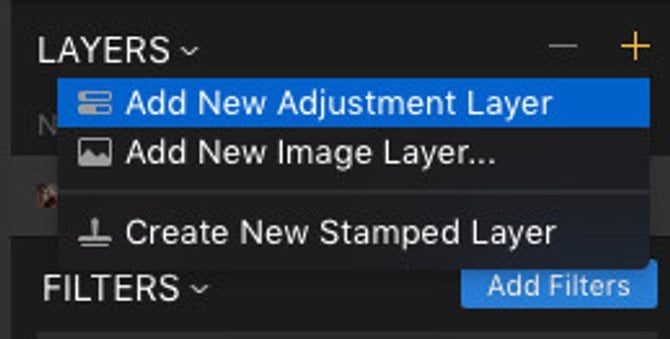 Choosing to Add New Adjustment Layer under the Layers section
Let’s take a look at the Mild Image Enhancer Preset under the Basic Presets. Select the Mild Image Enhancer Preset.
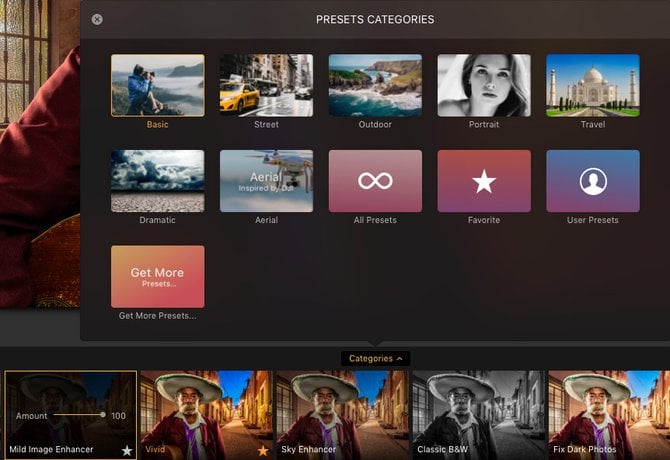 Different Preset Categories included with Luminar
Notice in the Filters section, three different Filters make up this particular Preset; Develop, Saturation/Vibrance and Polarizing Filter. Each of these Filters has been adjusted to get that specific look for this Preset. You can manipulate any of the Filters to make further adjustments.
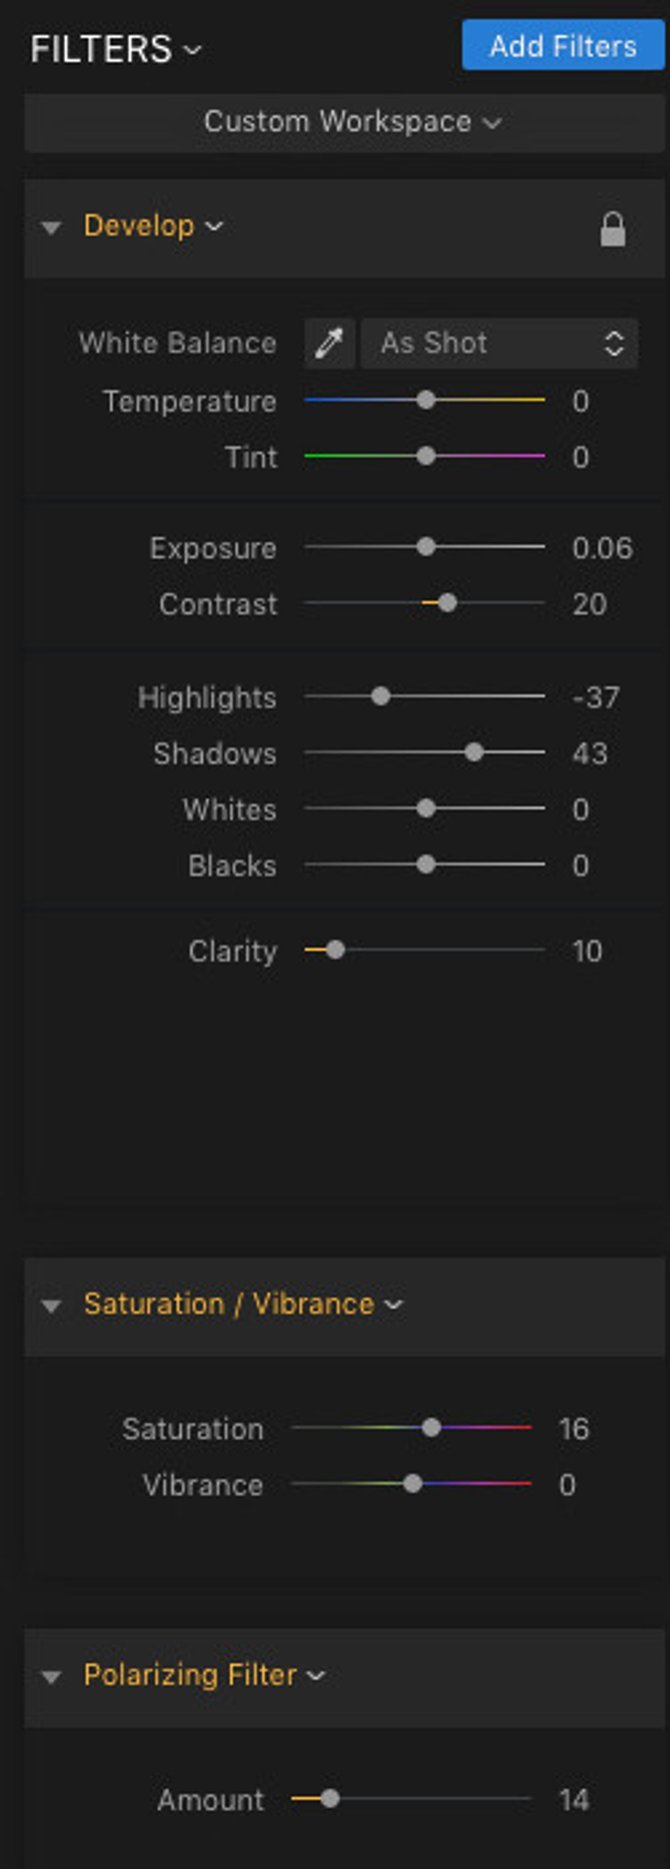 The Filters Section
Renaming Layers
Another reason for adding an Adjustment Layer is to rename the layer. This will keep us more organized and quickly lets us see what each Layer is made up of. (As of this writing of the article, the Windows version does not have the ability to rename Layers but it should happen very soon.)
To rename a Layer, click to select the appropriate Layer and start typing in the name. In this case, I added the name of the Preset so that I know which Preset I selected on that Layer.
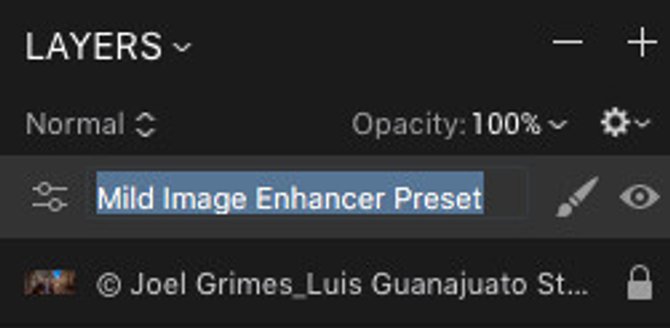 Renaming a Layer
Tip: You can also choose to select the + Overlay Preset button. This will automatically create a new Adjustment Layer for you. Once you have selected this button, Luminar will create a new Layer for you and name it Adjustment Layer 1. Now you can choose a Preset to apply to that Layer.
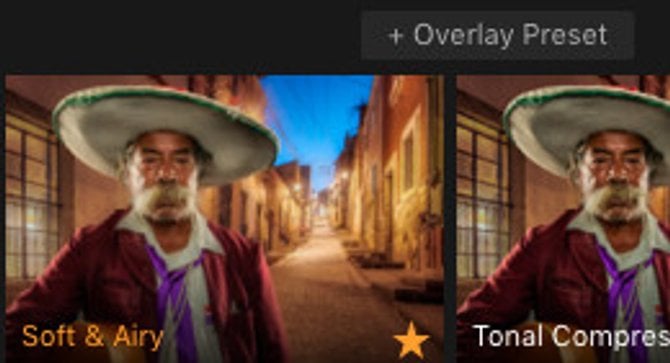 The + Overlay Preset button
Adding Textures to a New Image Layer
Have you tried using textures to get a more artistic look and feel to your image? Don’t be afraid to try new things within Luminar. Your original image is non-destructive, so if you decide you don’t like a particular look that you just did, you can always go back in time using the Undo button, (this will take you back one step at a time) or the History feature, (which will display every step that you chose to get to your current result.)
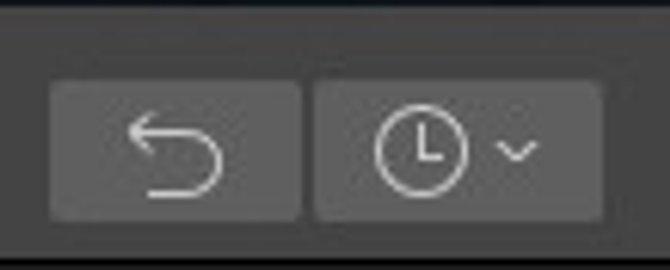 The Undo button on the left | The History button on the right
Instead of selecting Add New Adjustment Layer to add a Texture, this time we will choose Add New Image Layer… You will be able to add any other image to your new Layer.
In this example, I downloaded some free Textures from the Luminar Marketplace.
 Selecting Add New Image Layer… allows you to add other images on top of your original image.
Changing the Opacity of a Layer
You can choose that this point to change the Opacity of your Layer so that you can ‘see through’ it and view the image on the Layer below. Having a texture (or another image), Presets and Filters on a separate layer are handy so that you can change how much you want to apply to your image.
Simply move the Opacity slider to the left to reduce the amount.
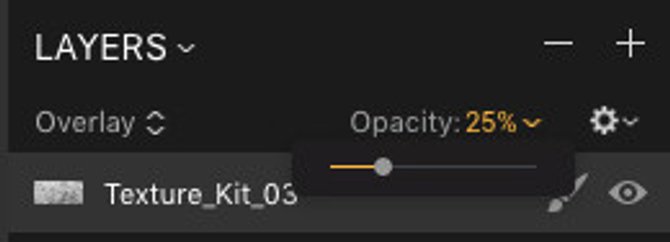 The Opacity Slider
Using Blending Modes on a Layer
A creative way to blend your texture (or another image) that is on a separate Layer is to use Blending Modes. Just click on the Overlay text to expand a drop-down menu with a variety of modes to choose from. Try hovering your cursor over each mode to see what type of effect you will get.
In this example, I am using an Opacity of 25% to minimize the amount of the Texture and choosing the Overlay Blending Mode to get a nice transparent effect with some nice texture.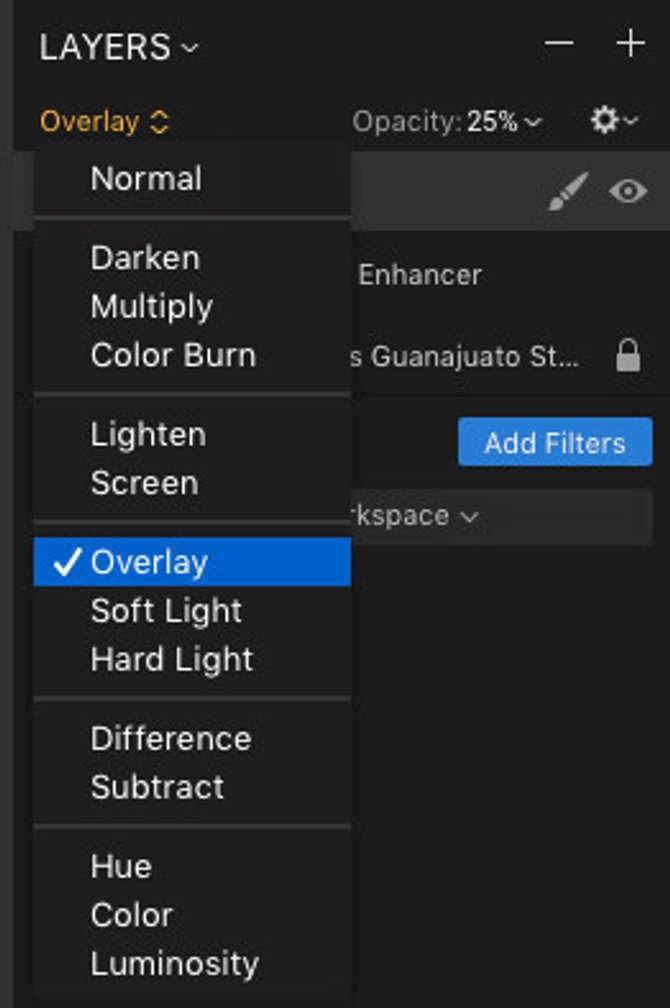 Selecting the Overlay Blending Mode
Masking on a Texture Layer
Suppose you want to remove some of the texture to a particular area, or you want to add clouds to just the sky. This is easy when you are using a Layer and the Masking options in Luminar.
Let’s remove the texture from the sky and also off the man’s hat, face, and shirt.
With the Texture Layer selected, you can choose the Brush since we will be Erasing the areas that we want to remove the texture from.
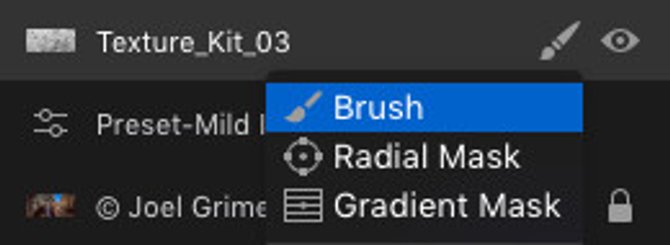 Selecting the Brush Mask
Selecting the Erase option will change our Brush from + (adding) to - (erasing). Start painting the areas that you want to erase.
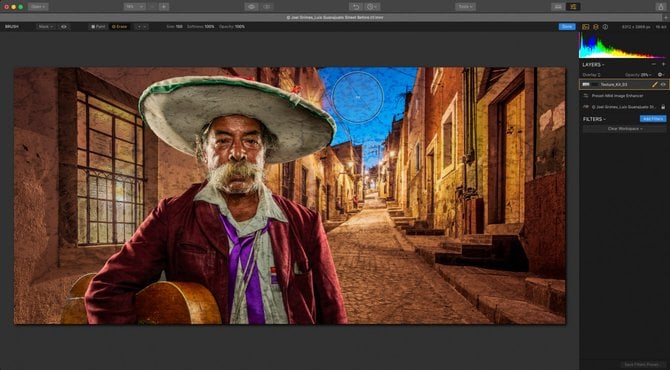 Getting ready to remove the texture effect from the sky
To view the areas that you have erased, click on the Visibility Icon (eye next to the Mask button). You can make further adjustments by either painting back in the effect, or remove it. When you are finished, click on the blue Done button.
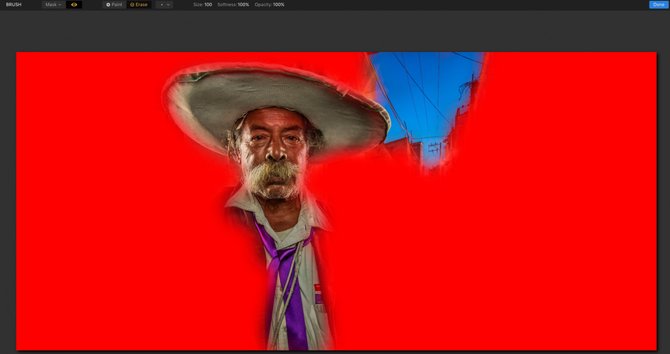 Displaying the areas that have been erased
Creative Color Using LUTs on a Layer
If you want to play around with different color tones to give your image a unique look and feel, try using LUTs (Lookup Tables). Luminar comes with a set of LUTs, but you can also find more in the Luminar Marketplace.
Create an Add New Adjustment Layer. We will be adding a Filter, so click on the blue Add Filters button. Select LUT Mapping under the Professional section.
Tip: You can search for a particular Filter by typing in the name in the Search field. As you start to type in a few letters, it will appear in the list below.
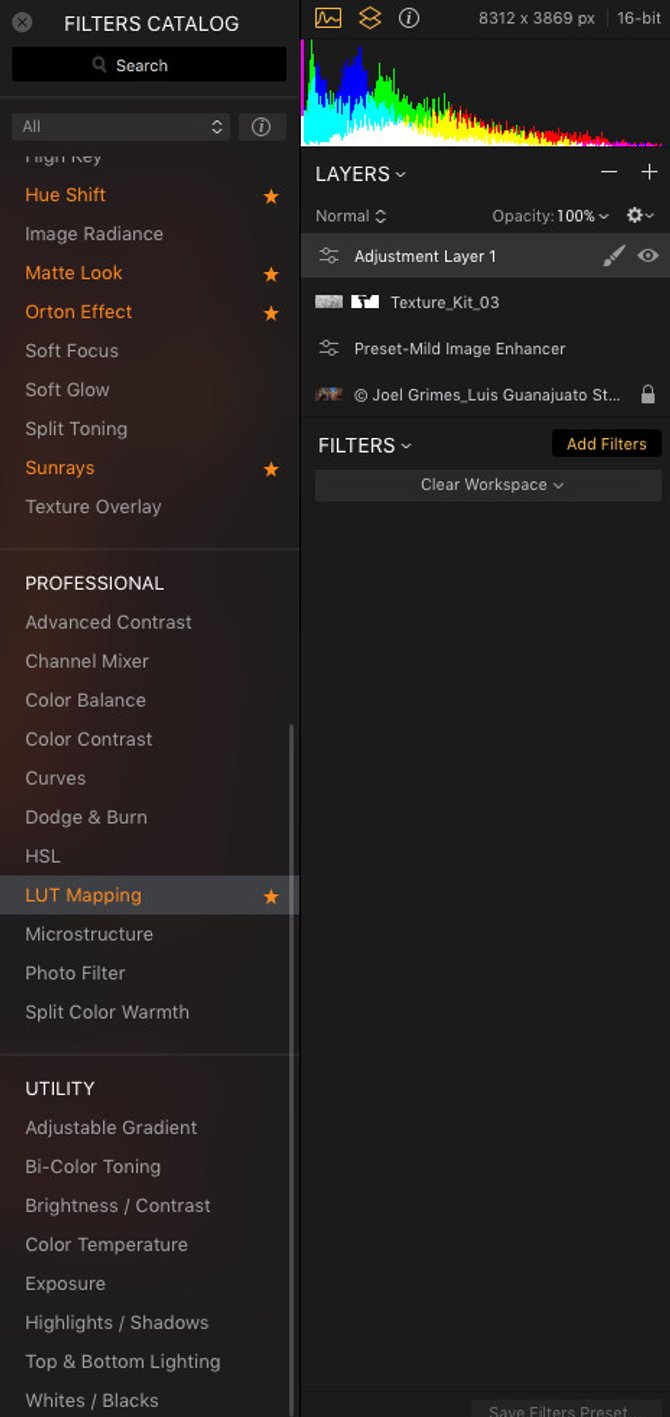 Selecting the LUT Mapping filter from the Filters Catalog
Luminar comes with a selection of LUTs to choose from, but you can also download LUTs to get even more of a variety of choices. Check out our blog post on where to find more LUTs.
 Selecting the Involve LUT
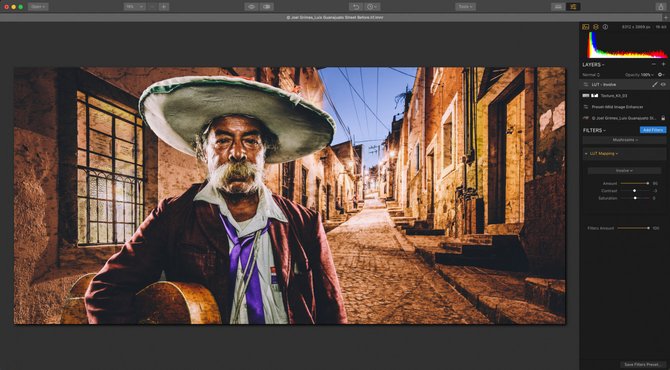
Once you have selected the LUT that you want for your image, you also have the ability to change the Amount (how much of the LUT effect that you want to apply), Contrast (make the image look flatter or more dimension depending on if you increase the contrast to add more blacks, and even increase the overall Saturation of the colors in your image by moving the slider to the right, or remove or desaturate colors by moving the slider to the left.
I am going to change the name of this Layer to LUT - Involve so that I can easily see what I have done on this particular Layer.
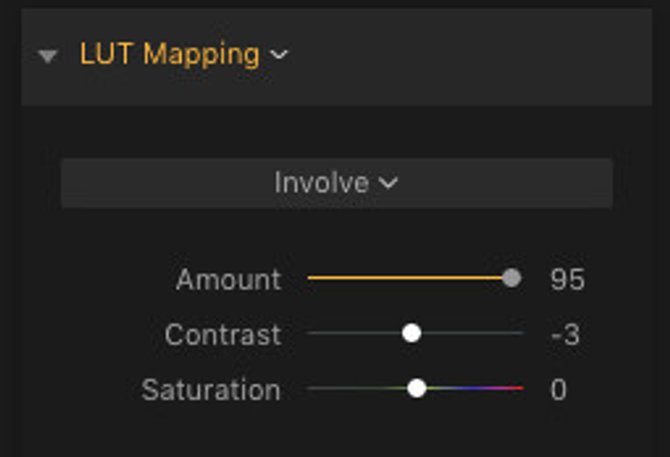 More selections are available once you select a LUT of your choice
Order of Layers Matters
Sometimes, depending on what is on the Layer, moving a Layer into a different position will make a difference in the look of your image. (We suggest starting off with the RAW Develop/Develop Filter since this will be a locked base layer. You and click and drag any other Layer that you apply).
To move a Layer, click and drag the Layer that you want to move into another position.
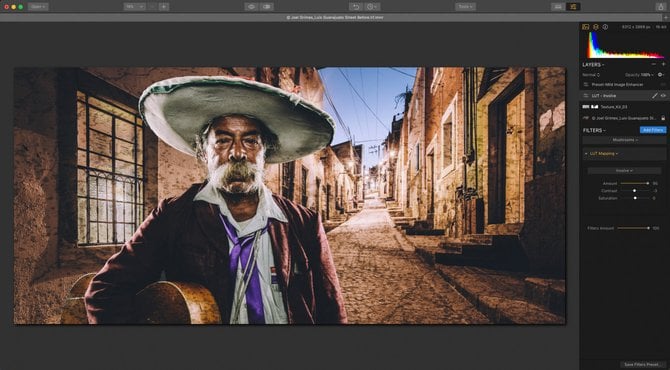
As you can see from the below before and after image, I moved the Preset-Mild Image Enhancer to the top. This made a difference in the final image.

The Importance Of Saving A Native Luminar File With Layers
Having the ability to save a file that has all of the Layers and Filters that you added to an image gives you a great advantage if you ever need to go back to make adjustments. Sometimes it’s great to have a record of what you did to get to the final result.
Make sure that when you go to Save your file, don’t just Export the file to a JPEG, TIFF, PNG. or other file format. These file formats do not save any Layers or Filter adjustments. To save your adjustments, you will want to choose Save or Save As. Then you can go back and open your Native Luminar File and all of your Layers and Filter adjustments will be intact. Choose the Save History option to save all of your steps.
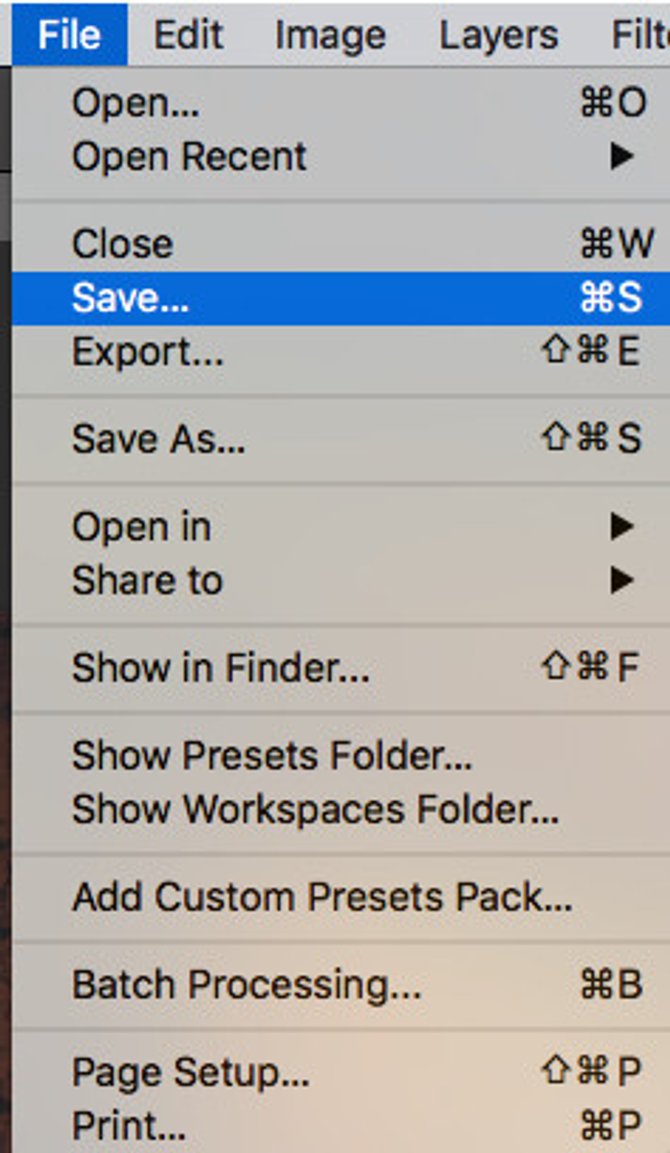 Select Save… or Save As… to keep your adjustments in a native Luminar file format
A Word of Advice
Be sure to experiment and try new looks and styles when working in Luminar. Organize your Layers to get the best effect. This program offers you the ability to step outside your comfort zone and helps you find that perfect look and feel, no matter what type of genre of photography you are interested in. Capture the mood, the colors, the emotion in your images and showcase them to the world. We would love to see your images on our Skylum Facebook Group.