If you are curious about how to get more selective in your edits, try using Luminar's masks. Simple to use with great results! Discover how by following along with this article that is specifically about masking parts of an image.
What is a mask?
A Mask allows you to hide or show parts of an image. This is useful since it lets you combine the contents or results of one layer with your primary image.
There are two types of masks – a layer and a filter.
A Layer mask affects all filters applied to the layer and a Filter mask only affects the filter. Use a Layer mask when you want to selectively apply a combination of filters to an image as a whole. Use a Filter mask when you want the effect of the filter but in selective areas.
Preparing the image
Add a New Image Layer, select an image of clouds and position them with the transform tool. Change the Layer Blend Mode to Multipl to blend the two images together. Click the brush icon on the clouds layer and select Brush. We are ready to create and refine a mask to add clouds to our image.
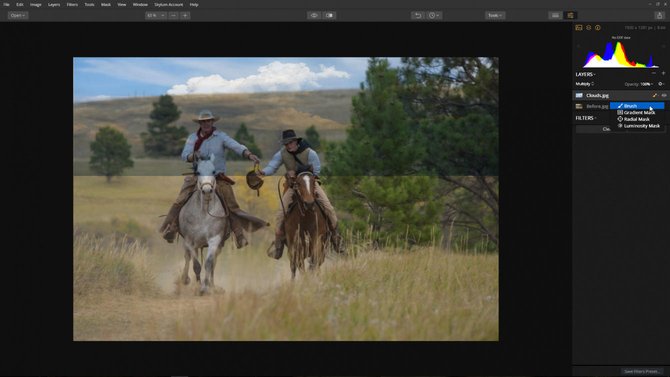
Using the Brush tool to define the mask
- Size. Controls the diameter of the brush. You can also use the keyboard shortcuts [ and ] to make the brush smaller or larger.
- Softness. Controls how much blending there is between the center of the brush and its edges. This can create a more gradual blend on any mask. You can also use the keyboard shortcuts of Shift + [ or ] to make the brush harder or softer.
- Opacity. This controls the overall opacity in the brush. A brush at 100% has full impact A brush set to 50% will only add or subtract half of its strength.
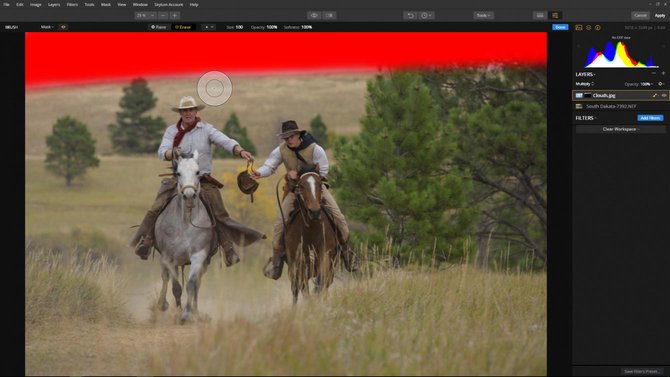
Step 1: Change the opacity and softness to 100%, then select paint
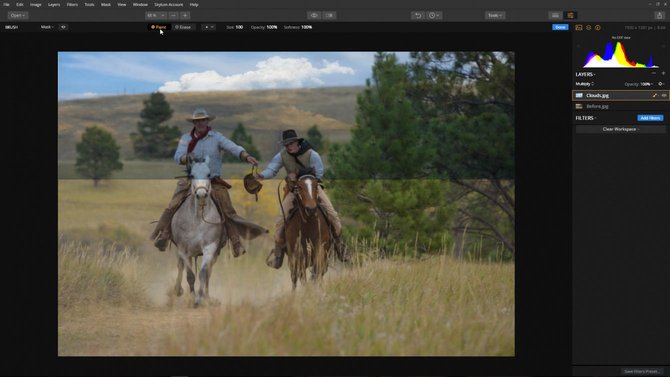
Step 2: Paint in the areas you want the clouds to appear.
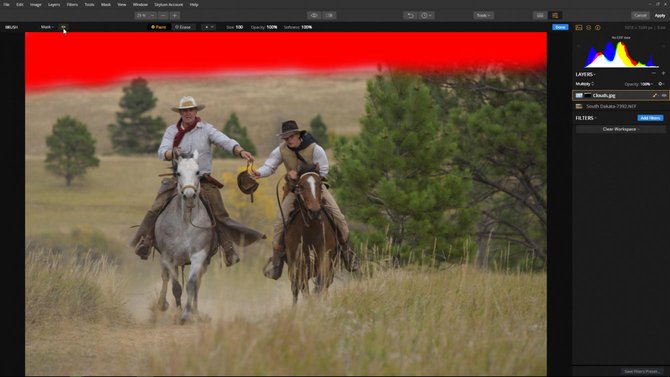
Click the visibility icon to see the ruby red mask.
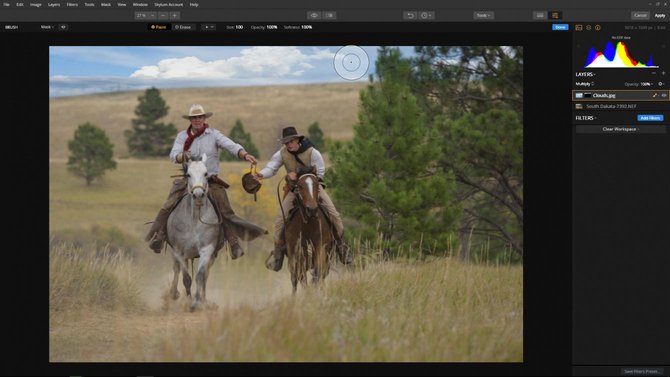
Step 3: Change the Brush tool to erase to remove areas of the mask. Select done when finished.
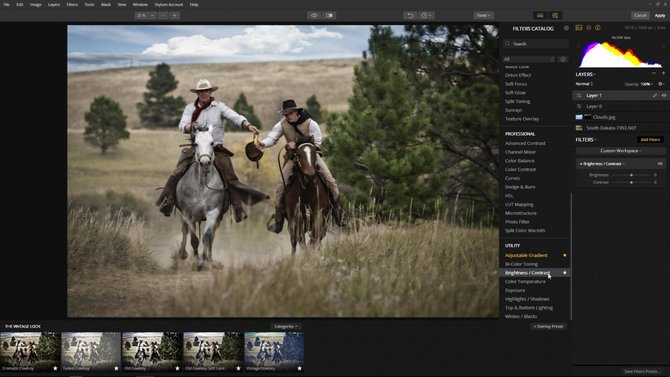
Apply your favorite Look from the Presets Categories. The image is looking good but lets selectively apply the Brightness/Contrast filter to the riders. Create a New Adjustment Layer and select Brightness/Contrast from the filters menu. Increase the Brightness and Contrast values.
Refining the mask
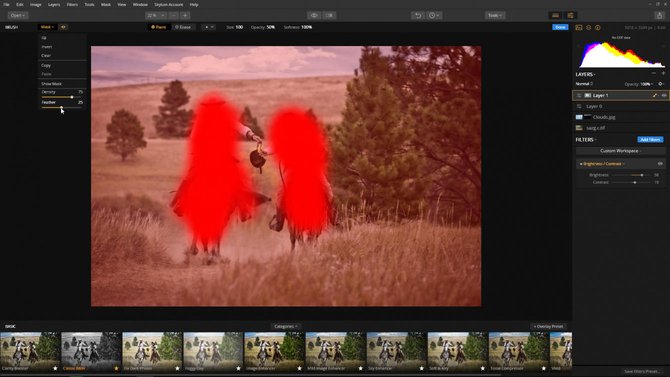
- Density. Controls the transparency of pixels outside of a mask so the overall the mask fades into the background better.
- Feather. Blurs the edges of a mask to more naturally fade the mask adjustments into the image.
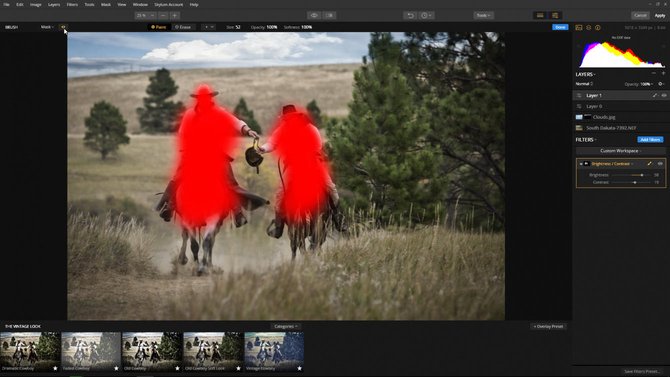
Step 1: Set the opacity and softness to 100%, select paint, and brush over the riders. Click the visibility icon to see where the mask is being applied.
Step 2: Click Mask and change the Density and Feather values to blend the filter effect. Select done when finished.
Conclusion
As you can see, masking is a very powerful and simple way to be creative. The next time you edit an image, begin by thinking how different filters will selectively look best, then use masking to add or take away the effect.
You will soon take a good image and make it even better.


