The Easy Way to Change the Color and Adjust a Grey Background in Photo
September 23, 2018

All the information about working with grey and other colors background color in Photoshop!
At least once in a lifetime, every photographer will see that everything is great in a shot – except one slight detail. Frequently, the solution to this problem is to change background. And for this aim, you won’t need to repaint the walls and look for different decorations if you have Photoshop. However, after editing, the result isn’t always of satisfactory quality. That’s why a guide to Photoshop best practices is necessary. We’ve collected different techniques to change the color background. These methods will work better or worse depending on the complexity of your specific task. We recommend trying them all to reach the desired result.

How to remove background from Photoshop
Step 1. Make a mask
However you choose to change the grey background in an image, you’ll inevitably start with creating a mask. The purpose of this mask is to hide layers and consequently to create the base for a pretty background. You can use five different masking techniques: Focus Area, Color Range, Luminosity Mask, Apply Image, or manually painting layers. All of them are solid ways to change background in Photoshop, so choose the easiest way for you.
Focus Area
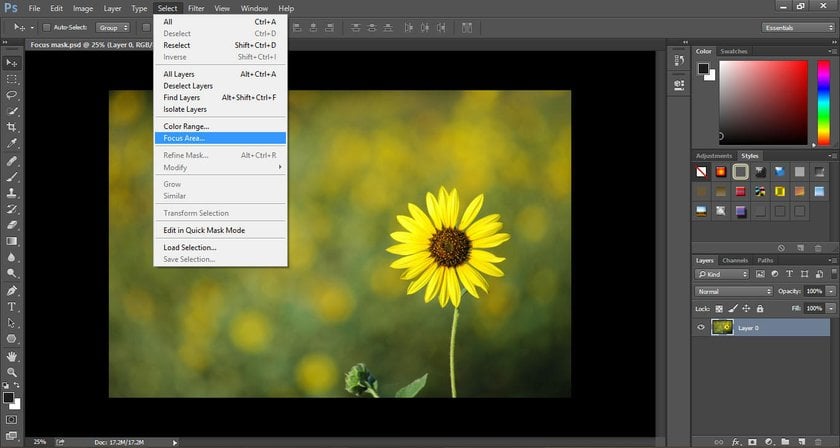
Navigation in Photoshop: Select -> Focus Area
Your actions: Decide how you want your selection to be displayed (experiment with various options) and use brushes to adjust the mask.
This is a useful tool for creating or removing white background in images.
Color Range
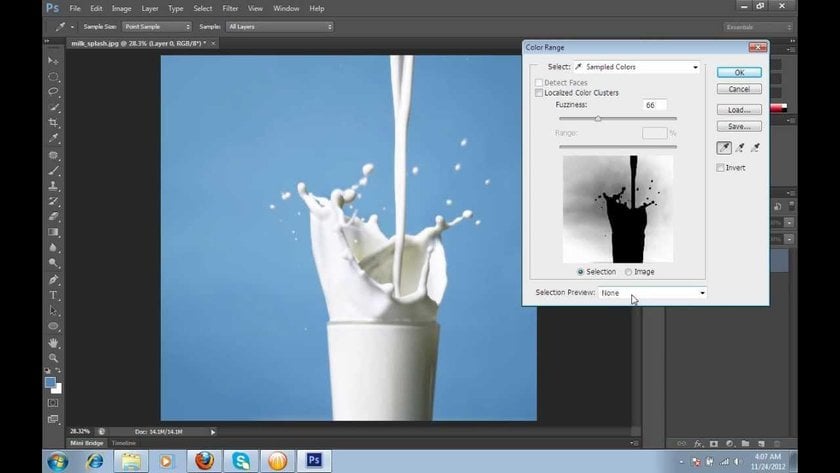
Navigation in Photoshop: Select -> Color Range
Your actions: Use the eyedropper for color selection (+ and – options available)
This is a useful tool for adjusting natural backgrounds and making small changes to a color background.
Luminosity Mask
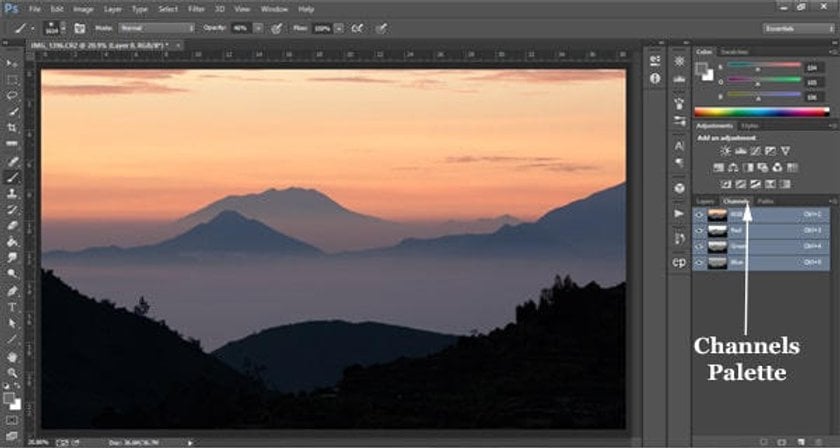
Navigation in Photoshop: Download Easy Panel CC, then go to Add Luminosity Masks -> Channel
Your actions: Use two images to create your layers. Adjust by choosing between black (invisible) and white (visible) areas. Use brushes.
This is a useful tool for a variety of images. In fact, it’s the basic tool for adjusting landscape backgrounds.
Apply Image (on a grey background)
Navigation in Photoshop: Image -> Apply Image
Your actions: Make changes in the image settings. Use Invert to add more shadows than highlights.
This is a useful tool for adjusting a grey background and making targeted masks.
Manually painting layers
Navigation in Photoshop: Paint Bucket -> Gradient Tool
Your actions: No limits – this is a totally creative method
This is a useful method for adjusting exposure.
Also, there is an awesome way to create a mask in one of the best Photoshop plugins Luminar - check it out!
Step 2. Refine the mask
After choosing your method to create the mask, you’ll need to dedicate some time to making the mask look better on the selected image. One approach is to keep using the initial mask choice several times. At the same time, there are more options in Photoshop at this stage. Namely, these options are using the On Black and On White views, making the background transparent or textured, adjusting the hue/saturation, and refining through zooming. In fact, you can combine several of these techniques to achieve the most refined result.
On Black/On White View
You may need to change the brightness of the subject itself, especially when it’s on a dark background. For this purpose, choosing a black background for editing is the right choice. In particular, this allows you to see problems on white or light objects as clearly as possible in order to make the proper adjustments. In On Black mode, you can make these adjustments by moving the sliders (they’ll appear in the Adjust Edge area). In the opposite case (with dark objects and a background that’s too light), you can create a white background in Photoshop from the same menu.
Navigation in Photoshop: Window -> Properties -> Mask Edge -> Refine Mask -> View Mode -> On Black / On White
Transparent background technique
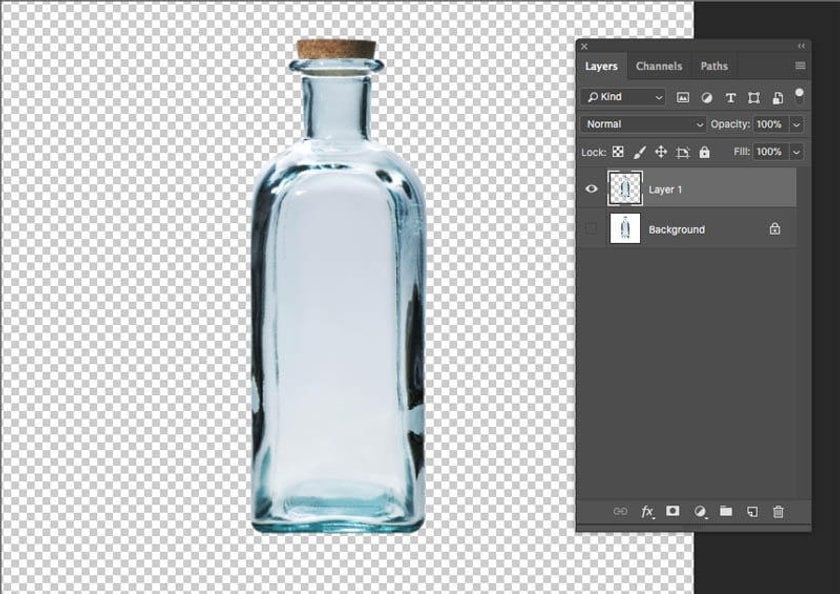
Another useful method to make changes to the image background is to make it transparent. In fact, this makes the initial objects more visible, which is especially useful if you want to focus on a brand logo or a special product. In fact, this can be achieved in Photoshop easily.
Navigation in Photoshop: Layer from Background -> Magic Wand Tool -> Delete
Texture background technique
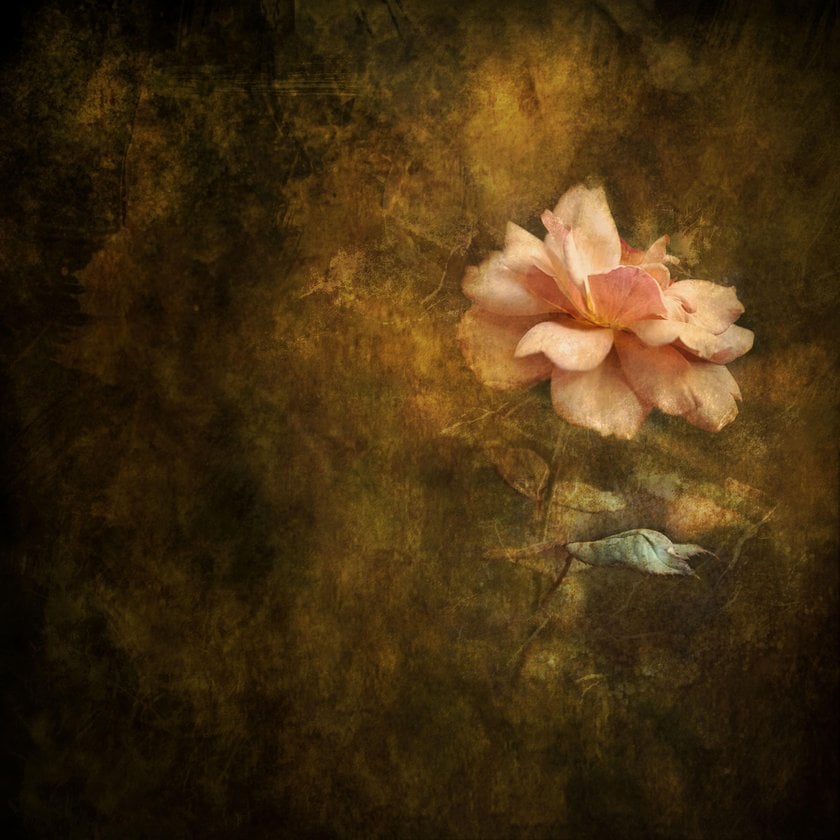
To turn a grey background into a textured one, you’ll need an image of the desired texture (it can be an image of a wall or even a Christmas background) as a layer in your Layers panel. With this technique, the refining stage is critical. So don’t forget to make changes to the background texture in the soft light blend mode.
Navigation in Photoshop: Layer -> Add New Layer Mask
Hue/saturation adjustment
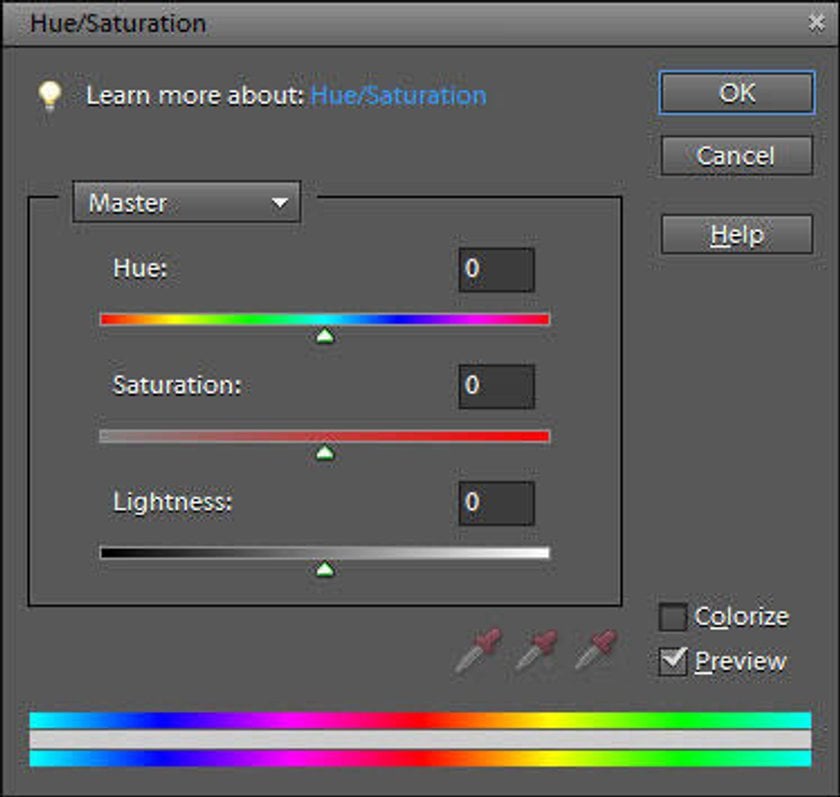
One of the simplest methods to adjust the color palette to your needs is to navigate to the Hue/Saturation menu. Here, you can choose to manually change background color and select the eyedropper tool. In addition, options to adjust the hue, saturation, and lightness ensure that the color background in your image looks natural and meets your expectations.
Navigation in Photoshop: Layer -> New Adjustment Layer -> Hue/Saturation
Zoom

To see the tiniest details in your background images, zoom is a must-have tool at the adjustment stage. When refining a mask, use the zoom tool for drawing in omitted areas and edges of the object. This way you’ll receive a high-quality and satisfactory image that’s ready to save.
Navigation in Photoshop: Refine Mask -> Zoom -> Refine Radius
Step 3. Save the result
When editing, it’s important to save the result either to complete the project or save it for further adjustment. Though this seems like a simple task, there are different ways to store your changes. Here, we’ll review flatten, saving as a PSD file, and saving for web and devices as the three main options at this final stage.
Flatten
The flatten technique is useful if you’re satisfied with the result and want to leave it as it is. Flatten makes the changes in the layer adjustments permanent.
Navigation in Photoshop: Layer -> Flatten Image
Save as PSD
This option is appropriate when you feel that the project requires further adjustment. A PSD file saves a draft of the selected area or the entire image that can be easily assessed for adjustment in future.
Navigation in Photoshop: File -> Save as… -> .PSD format
Save for Web and Devices
When the editing project is completed, use this final saving option. But do this only if you’re sure that you’re completely satisfied!
Navigation in Photoshop: File -> Save for Web and Devices -> Save
An alternative way: Remove background from picture with Luminar Neo
This review wouldn’t be complete without mentioning at least one alternative method of changing the background color without opening Photoshop. For this, we’ve chosen Luminar. To make this option work, you’ll need Luminar and a white background image.
Advanced yet easy-to-use photo editor
Get Luminar Neo NowYou can easily work on the background of your image even in the free trial version of Luminar. The principle of creating layers is the same here, but erasing background online is much simpler than in Photoshop. Luminar comes with ready-to-use filters, simple masking, and functional brushes to adjust the background to your needs in the easiest way possible.
In addition, Luminar allows you to create pretty backgrounds for portrait photography. Luminar can widen the aperture, correct overexposure, and move the subject closer. You can also make your own background perfectly fit the image with the help of portrait selection presets.
For more information about Luminar, check out these articles on removing backgrounds, replacing backgrounds in portraits, and the specifics of color photo editing.