Golden Hour Photography Guide: Secrets of Perfect Lighting
June 10, 2023
Perfect lighting makes perfect photos. Achieve a natural & magical look during Golden Hours.
For many passionate photographers, Golden Hour is a hallowed time when fantastic photos are created as if by magic. With a little knowledge and practice, warm tones and soft light can yield incredible results on almost any type of subject. Let’s first define Golden Hour shooting and then explore some tips for getting the best images out of this short period of time. Plus, if you miss Golden Hour, you can still achieve the look afterward using Luminar Neo.
By the way, if you are just learning how to edit images, you might be interested in reading about the best photo editing software for beginners in our blog, so follow this link.
What Is Golden Hour?
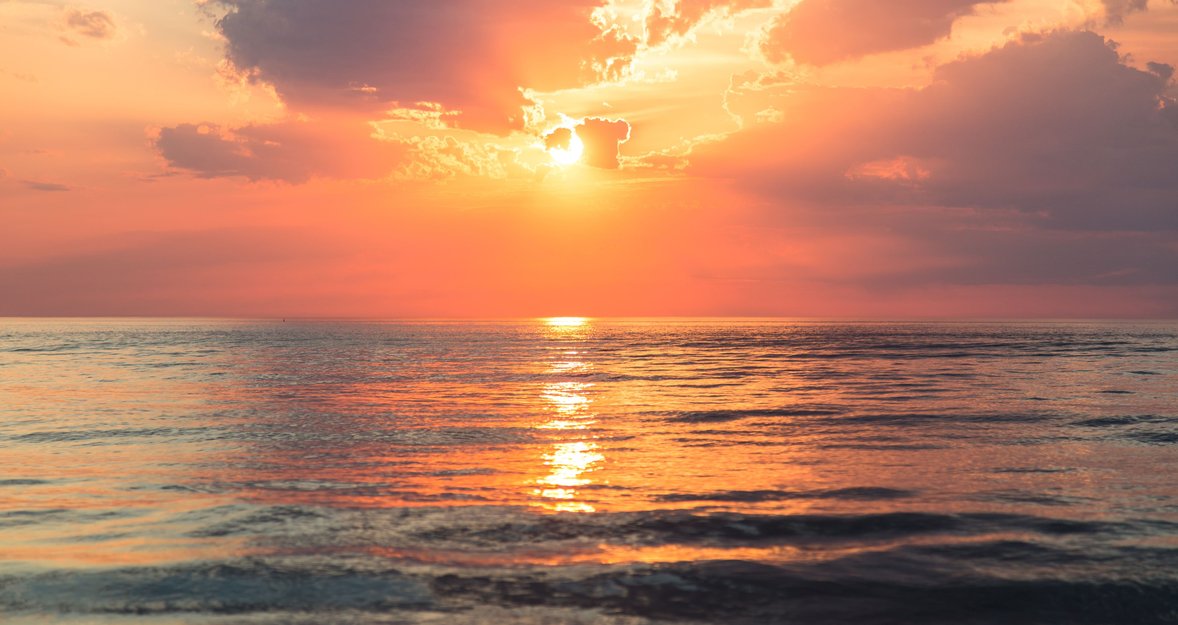
The time of day just around sunrise and just around sunset is referred to as Golden Hour. Depending on the season, location, and your distance from the equator, the exact time and duration vary, but suffice it to say it’s when the sun is low on the horizon, producing a reddish warm tone. Scientifically speaking, the sunrays need to travel through more of the Earth’s atmosphere, producing less intensity.
The soft and directed light during this time of the day provides a more favorable environment for photos than the harsh sunlight of midday. This appealing lighting condition is favored by both experienced and novice photographers, especially for landscape photography. Its ease of use and adaptability make it an ideal choice for capturing stunning images.
The golden hour starts when the sun sets, casting its enchanting golden glow over the world. Also, the hour before sunset also bathes the surroundings in a captivating and warm glow, creating an idyllic atmosphere for photography. At sunset, the time after the sun has disappeared below the horizon, or twilight, is often called Blue Hour. Remember, no matter when you take photos, you can't do without post-processing your best shots. If you need to quickly retouch an image, just use Skylum's online photo editor.
Why Is This Time Special?
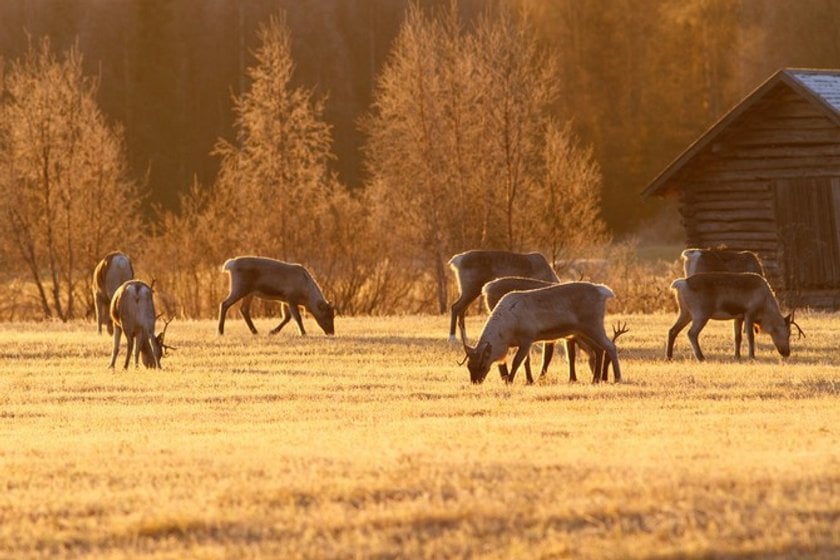
So, photos shot during the Golden Hour take on an extra soft and warm tone that makes a scene and any subject look great. Plus, it imbues in the photo a certain dimensionality that can help make it more magnificent. Overall, shooting during the golden hour reveals a breathtaking canvas of nature as the soft golden light paints the sky and landscapes with a touch of enchantment.
In the case of photo shooting people, you can even instruct them to look in the direction of the sun, and because the lighting is gentle, they won’t have to squint. When shooting mid-day when the sun is overhead, the light can be harsh and produce hard shadows and blown-out highlights. Not something you want in your environmental portraits! The answer is to shoot during Golden Hour when the contrast is diminished and those shadows and highlights are tamed. Keep in mind that some shadows – long ones or those at an interesting angle – can add a magical dimension to your images.
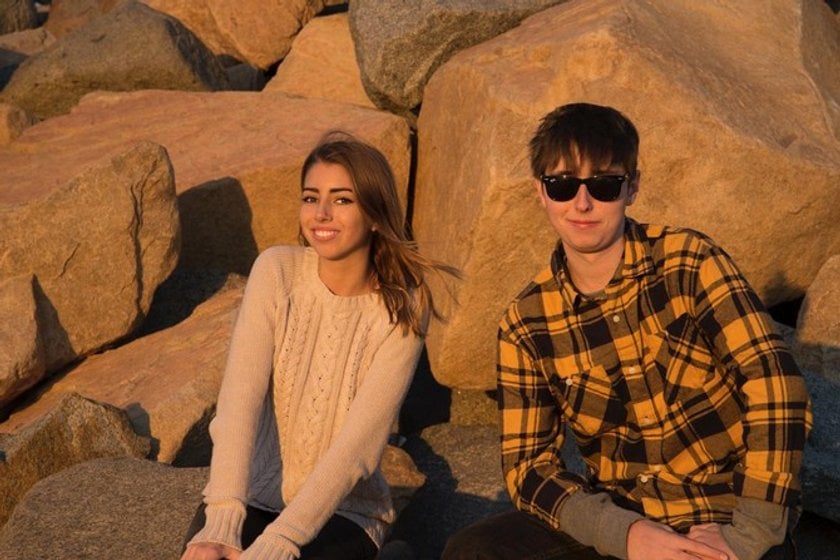
For example, the hour after sunset casts a subtle, ethereal glow, creating a serene and intimate atmosphere ideal for capturing compelling portraits.
What Types of Photos Work Best during Golden Hour?
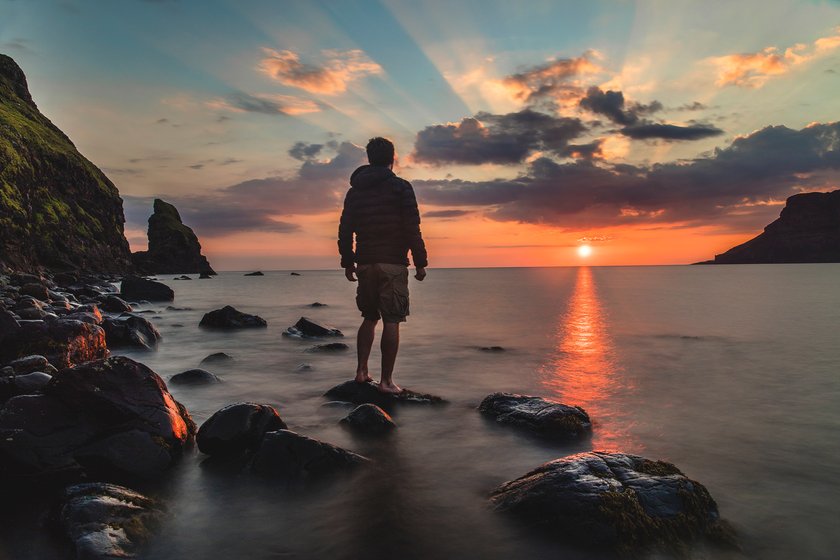
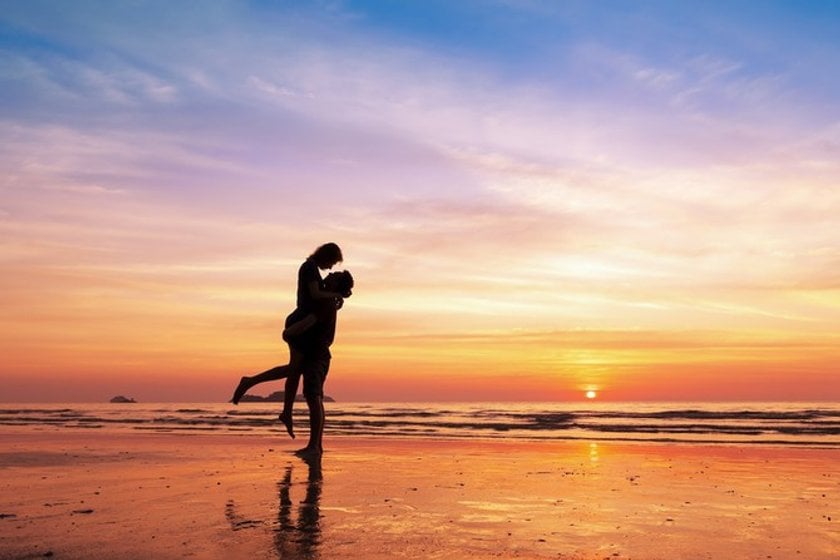
The soft warm light yields great results for almost any subject. Landscapes, western-facing coastlines, and environmental portraits are popular genres, though many photographers also like to play with shadows and tones in their cityscapes and other urban settings. Romantic photos are always a crowd favorite, with the low-angle warm light flattering any couple.
Also, keep in mind that under the right conditions, you can even take advantage of the Golden Hour to create gorgeous natural lighting scenes indoors – think about sunlight streaming through a window, throwing light on your subject!
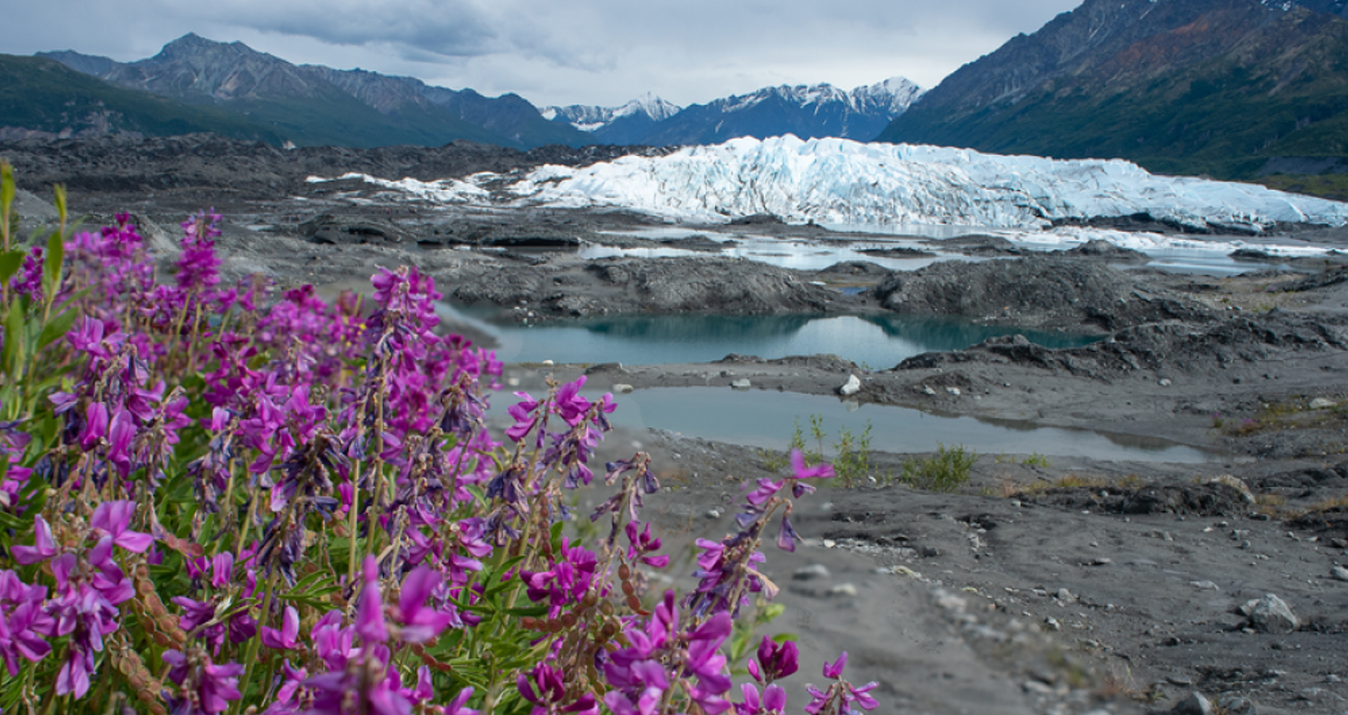
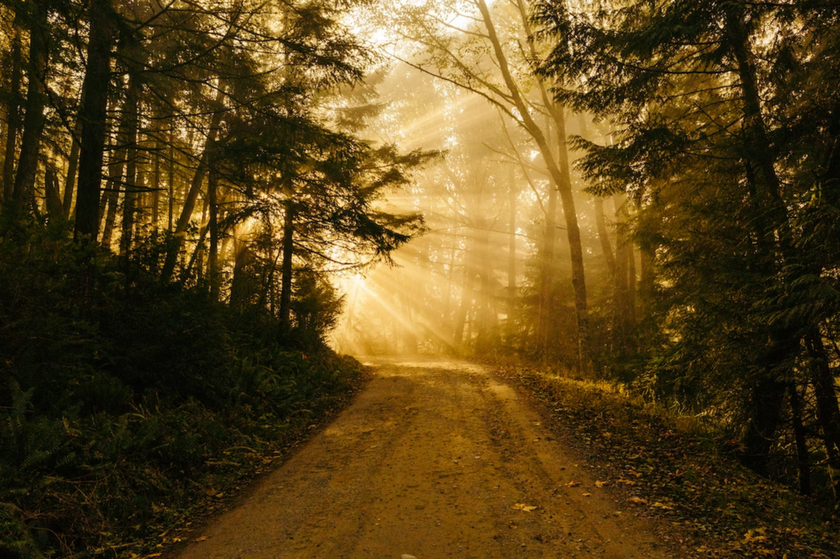
Landscape Photography: Golden Hour

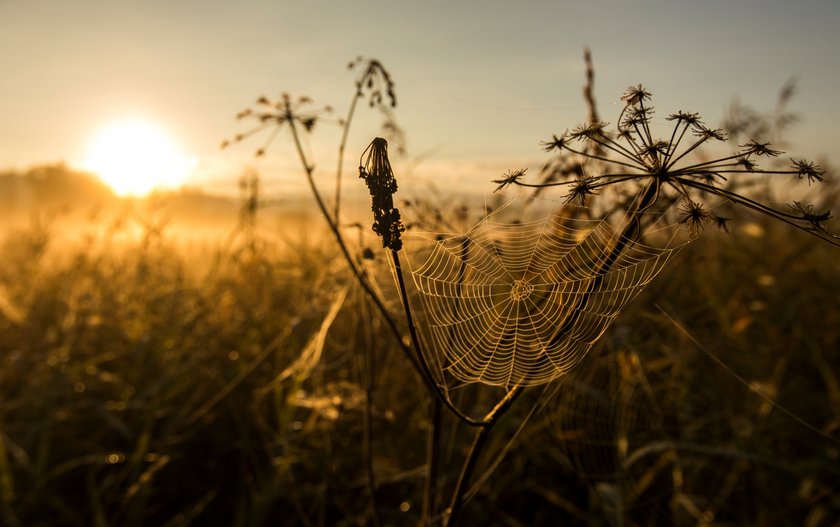
The unique lighting and atmospheric conditions during this time of day offer a wealth of creative opportunities for landscape photographers. You can experiment with different compositions, play with silhouettes, capture reflections in water, explore long exposures for smooth water or cloud movement, and more. In addition, a captivating color palette can create a stunning backdrop for your landscape compositions, adding drama, mood, and visual interest.
6 Tips for Awesome Golden Hour Photos
1. Get There Early and Be Prepared
Though you can shoot for a while around Golden Hour, the optimum time can often be as short as 10 minutes. If heading out in the wee hours of the morning, set that alarm clock to give yourself plenty of travel and set-up time. If possible, scout the location ahead of time and ensure that if you’re shooting a portrait that your subject also arrives ready to rock. You may also want to make a checklist so you don’t forget important items like a tripod, remote trigger, flash, reflector or whatever else makes up your personal kit.
2. Pay Attention to Exposure
Even though the contrast is often low, the tonal range between highlights and shadows can still fool your camera. A good practice is to spot-meter for the subject and let the highlights do what they will – even if they blow out a bit, it can produce an intriguing image. If you want to control the scene more, consider bracketing the shots and using Luminar Neo HDR software to merge them into a single image with a spectacular dynamic range. Another technique, particularly with a strong foreground subject (e.g. a person with a sky or landscape scene back-lighting them), is to use a fill flash or reflector to light them and balance things out. You can also try shifting their orientation in Luminar Neo photo editor so that the soft light hits them on the side – an interesting effect!

3. Shoot Wide Open
By using a wide aperture on your lens, you can create a beautifully shallow depth of field in golden hours photography. This is great for portraits if you want the background to take on a magical bokeh.
4. Color Temperature
Many photographers set their camera to “Auto white balance” and never touch it again. However, during Golden Hour when conditions can shift within minutes, this auto setting is not your friend and can fool your camera. Since warm tones dominate the scene, your camera will compensate by adding more blue to the image.
Two tips come to mind:
- One, shoot and save images in your camera’s RAW file format. This will allow you to later adjust the white balance during post-processing in Luminar Neo.
- Two, consider setting your camera to a “Cloudy” white balance setting.
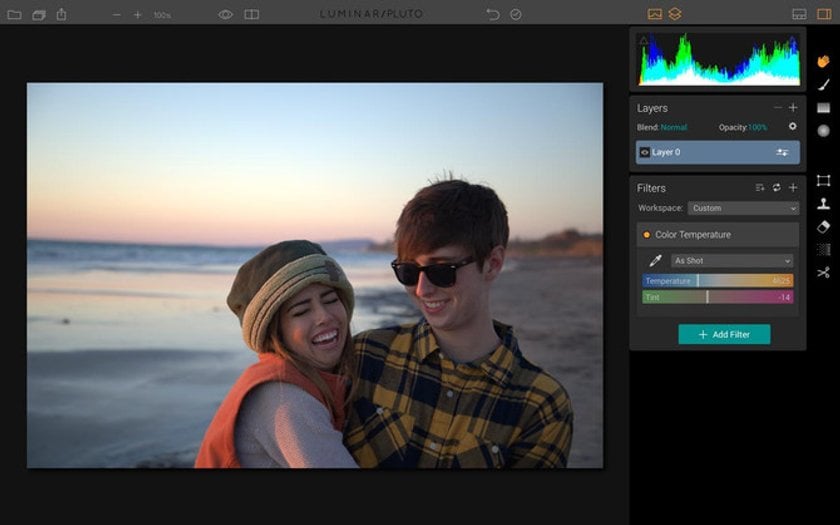
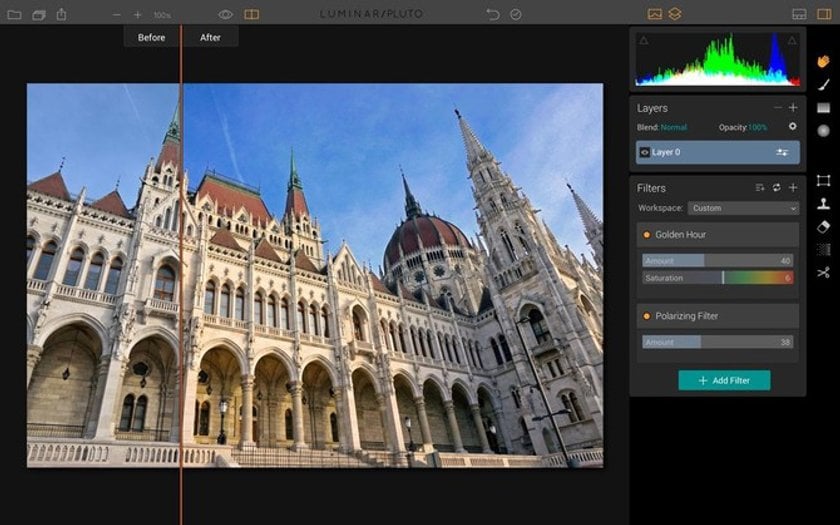
In the screenshot below shown in Luminar Neo, you'll see that the photo shows the "As Shot" setting for white balance.
The photo in the next screenshot has been changed (in Luminar Neo) to use the "Cloudy" setting, and you can see how it takes on a nice warm tone. If you used the Cloudy white balance setting on your camera, you'd have similar results.
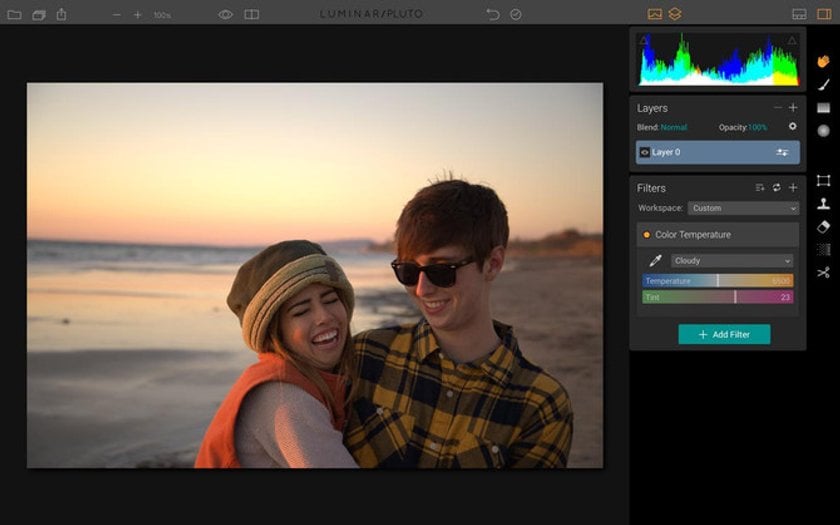
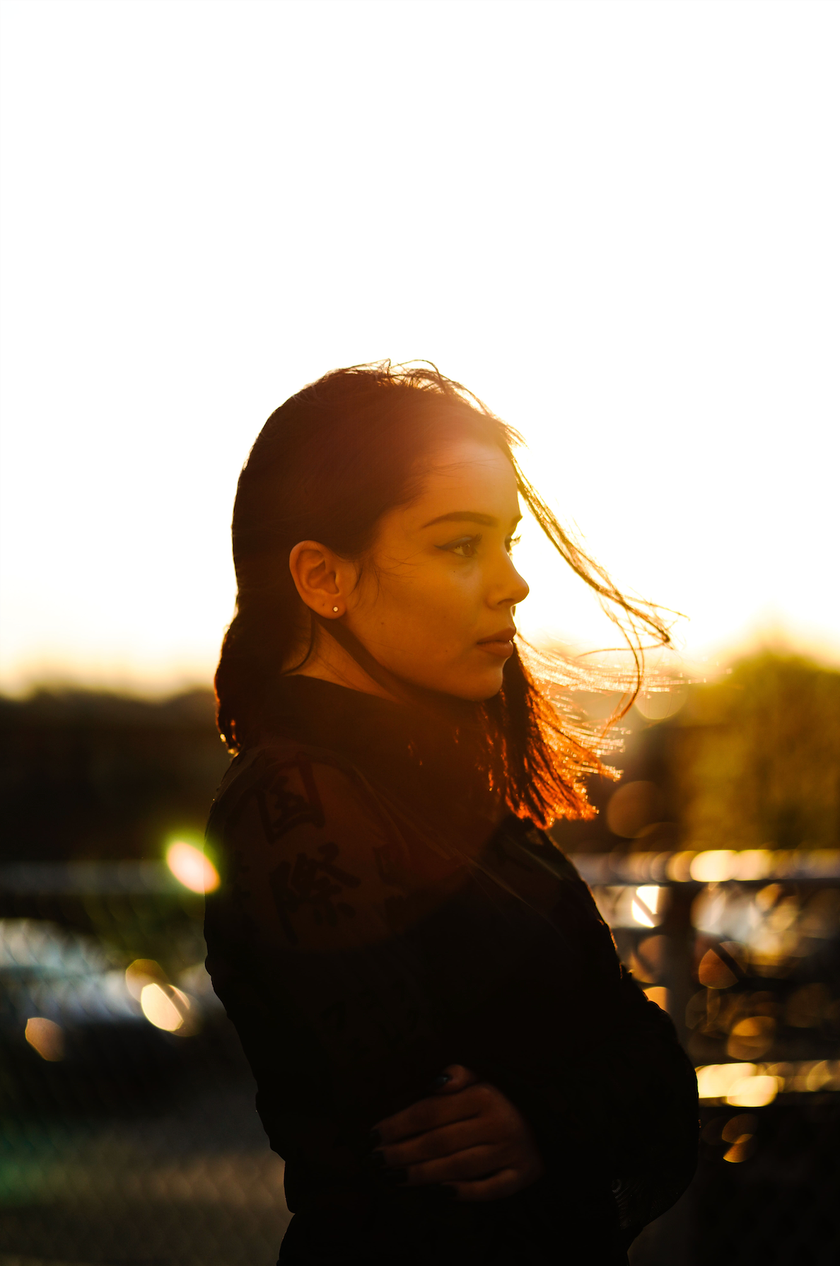
Don't forget that during the golden hour for photography, adjusting the white balance becomes crucial to capture the enchanting warm tones, while the magical rim light adds a captivating touch to the subject.
5. Stick with It
Photographers often cherish and eagerly await the opportunity to use the golden hour, harnessing its enchanting qualities to capture stunning images imbued with warmth, softness and a touch of ethereal beauty. But there is one more thing.
The very best Golden Hour shooting may only last a precious few minutes, but the times well before and after can also yield some amazing results. Our advice: keep shooting. You’ve taken the time to get up early (or wake up early from your afternoon nap!), so why not make the most of the effort?
6. Fun with Long Exposures
Consider trying out long-exposure photography techniques right after the sun has fallen below the horizon, known as Blue Hour. Long exposure is exactly what it sounds like keeping your lens open for an uncommonly long time to allow maximum light to hit the sensor. When the light is nearly gone, you can crank up your ISO and set your shutter speed to many seconds –- even up to 30 seconds – to get a great shot. Most cameras also support a “Bulb” mode where the shutter will stay open as long as you want - best to have a remote trigger for this.
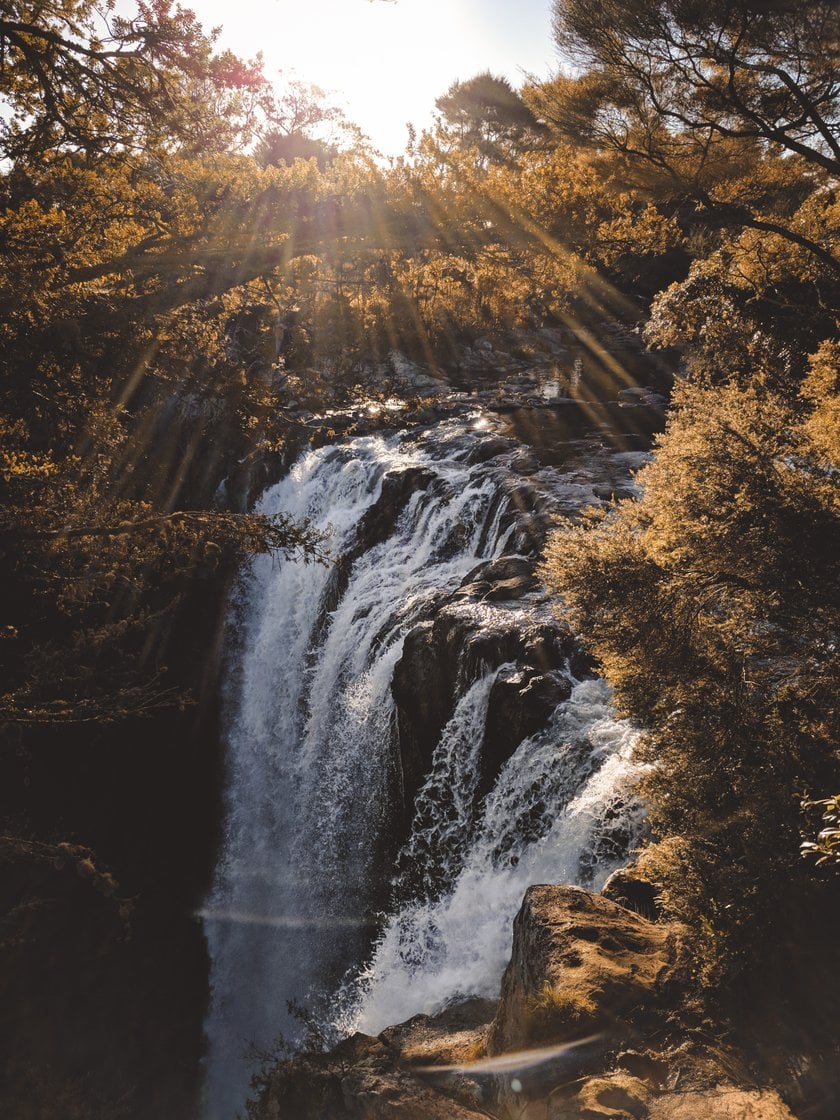
Want some extra fun? Try long exposure shooting on things that move such as waves, a rushing waterfall, cars, and more. In the case of water, it can get very soft and almost “fog-like.” Cars with their headlights and taillights on will leave amazing streaks in the air.
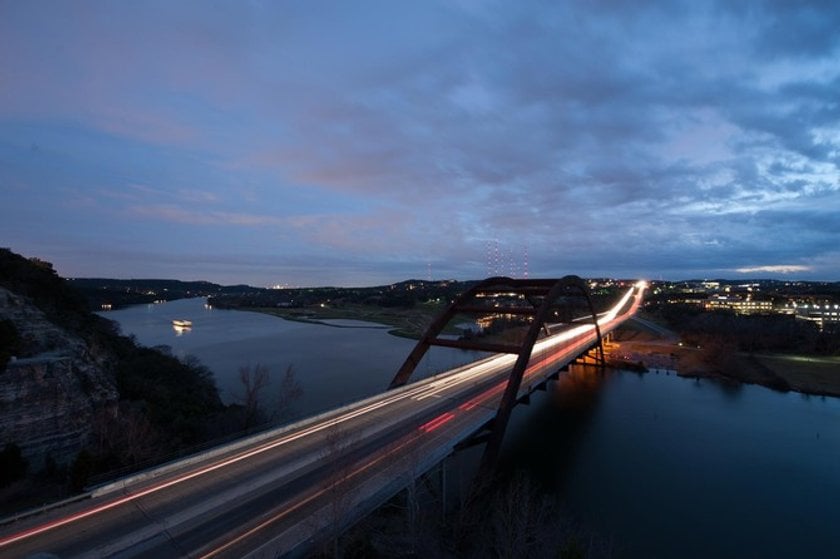 Image by Jim Nix, Nomadic Pursuits
Introducing Golden Hour to Any Photo
Of all the post processing software solutions available for photographers, none are as easy-to-use as Luminar Neo – after all, the app has an actual filter called “Golden Hour”!
If you have Luminar Neo, simply open up a photo you’d like to take on a nice soft warm tone. Add the Golden Hour filter to your image, then adjust the amount to suit your taste. See, we told you it was easy! If you'd like more inspiration and want to see this filter in action, consider watching our Golden Hour Workflow video by Pro photographer Derrick Story.
Golden Hour and its cousin Blue Hour are really magical spans of time at which to shoot. The conditions are relatively easy and can produce truly memorable results almost effortlessly. Every photographer should know, try and ultimately fall in love with photo shooting during these times.
Conclusion
There are many advantages to capturing the golden hour photography. It allows you to highlight textures and explore artistic possibilities with long shadows and soft light. You can also experiment with backlit photography and the art of creating striking silhouettes. Plus, you get a palette of exquisite warm tones. So grab your camera and get ready to immortalize the mesmerizing magic hour of sunrise and sunset!
Experience the Power of Luminar Neo
Unlock the full potential of golden lighting photography with Luminar Neo's powerful tools and features, and immerse yourself in a world of creative possibilities to elevate your images taken during this magical time of day. For example, you can control up to a dozen settings with one AI-powered option. The AI Image Enhance tool in Luminar Neo balances dozens of basic controls, including shadows, highlights, contrast, hue, saturation, exposure, and detail.
Check Out Luminar Neo Now
Be sure to try the Luminar Neo AI photo editor today and see firsthand how this cutting-edge software can take your golden hour photos to new levels of brilliance! Discover the transformative capabilities of Luminar Neo by exploring its impressive array of features and tools designed to enhance your photography.
FAQ
What Is the Golden Hour in Photography?
It refers to the time just after sunrise or just before sunset when natural light conditions are at their best. This time provides photographers with beautiful, diffused light that enhances texture, adds depth, and creates a stunning glow in their images. As a result, the golden hour for photos is highly sought after for its ability to create dramatic and visually appealing photographs, especially in landscape and portrait genres.
How Long Does the Golden Hour Last?
It includes two distinct periods: the hour before sunset and the hour after sunrise. During these times, the sun's rays must travel a longer distance through the atmosphere, resulting in a warmer, reddish color temperature. So, the golden hour of photography, with its enchanting and distinctive lighting, adds a touch of magic to images.
What Are Some Tricks for Capturing Stunning Photos During the Golden Hour?
When you take a photograph during the golden hour, plan ahead and arrive early to maximize your time. Also, experiment with composition, silhouettes, and backlighting for striking results. Embrace long shadows, reflections, and warm tones. Remember to be prepared, adjust your white balance, and consider using a tripod to capture the magic of the moment.