Tips for Adding a Unique Perspective to Your City Photos
July 23, 2024

Learn some practical tips to add a unique and creative perspective to your city photography, ensuring your images stand out from the rest.
Taking pictures of a city can sometimes feel uninspiring, with the images often ending up as nothing more than inorganic, square buildings. Do you face this problem? If the answer is yes, don't worry! Today, I’ll share tips for adding a unique perspective to your city photos. By the end of this article, you'll be able to use your creativity to capture attractive and distinctive photos. So, let’s get started!
Advanced yet easy-to-use photo editor
DOWNLOAD LUMINAR NEO NOW1. Add the Sun as a Focal Point
Even an ordinary city scene can become an impressive photo by adding sunlight.
When photographing the bright sun, you often won't get beautiful rays of light. Keep the following points in mind to achieve the best results:
Shoot with a smaller aperture (increase the F-stop).
Hide the sun with obstacles to make it a smaller light source.
The trick is to hide the sun until only a tiny amount of light leaks through the obstruction. You can control the size of the rays by how much you hide them. If you make the sun as small as possible, you can create a subtle focal point, as shown in the photo below. This way, the light streaks will take a supporting role, making it easier to draw the eye to the cityscape.
Think about what you want to highlight in your photo and control the size of the rays accordingly.
The photo below was taken with the city in silhouette. If it were just a silhouette, it would look monotonous, but by including the sun as a focal point, you can convey a sense of people returning home as the sun sets.
The shape of the rays also changes depending on the lens. Streaks are created by light leaking from the aperture blades of a lens. Therefore, the number of light streaks changes depending on the number of aperture blades.
The photo below was taken with an RF100mm F2.8 lens, which has 9 aperture blades, resulting in 18 rays (twice the number of blades).
The photo below was taken with an RF24-105mm F4-7.1 lens, which has 7 aperture blades, resulting in 14 rays (twice the number of blades).
Find a lens that produces the light streaks you like and experiment with creating your work.
Instead of letting in the sunshine directly, let the sun reflect off a building, as shown in the photo below.
In this type of shooting, the light reflected from the glass of the building may cause a ghost flare.
In this type of shooting, the light reflected from the glass of the building may cause a ghost flare, as seen in the blue frame of the photo below.
This looks like a stain, which is not ideal.
While shooting, this is difficult to control, so let's fix it with retouching. Below, I will introduce you to Luminar Neo tools.
How to Fix Your Shoots with Luminar Neo
Unwanted elements in your photos, like ghost flares or reflections, can be easily removed using Luminar Neo's Generative Erase tool.
1. Open Luminar Neo and select the photo you want to edit. GenErase can be chosen from the menu to the right of the Catalog. Please note that this is not in the "Edit" section.
2. Paint the area you want to erase using the Generative Erase tool. Then, select "Erase" at the bottom of the screen, and the software will automatically process the correction.
Here is the photo after the correction. It's processed so well that you can't even tell where it was modified.
2. Combine Curves
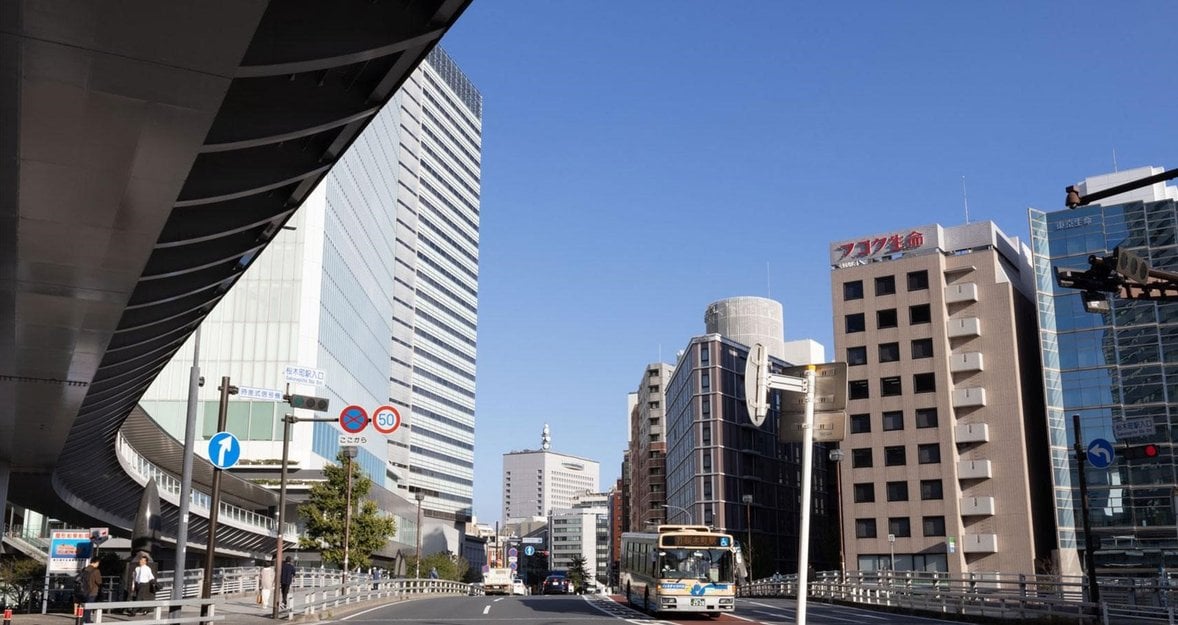
Photos of cityscapes with straight buildings tend to look monotonous. What I recommend is to include curved elements.
Let's use objects in the city like the one in the picture below.
Here is an example of a composition that captures the entire building while incorporating some curves.
It's also a good idea to focus on a part of the structure rather than using the whole thing.
Photos that take advantage of the ultra-wide angle of a fisheye lens are also interesting.
You can take various pictures with one object by changing the composition, viewpoint, and lens. Are there any suitable objects in town? Even if there are no obvious objects, the city has many curves. For example, consider this scenery:
Using the objects in the red frame, you can create a composition with a curved line, as shown in the photo below.
Try walking around town looking for curves. By incorporating curves found from your unique perspective into your photos, you will create unique and impressive images.
Your AI-Powered Photo Editor for MacOS and Windows
DISCOVER NOW!3. Photographed from the Observation Deck
When you take photos while walking around town, you often end up with many shots looking up from below. Changing your perspective by taking photos from an observation deck can add variety and interest to your images.
Below are some points to keep in mind when taking photos from the observation deck:
Tip 1: Shoot During Golden Hour
Golden hour is about 40 minutes before and after sunrise or sunset. Please don't miss this moment. When photographing the city, sunset is especially recommended because you can also capture the transition into the nightscape.
The photo below was taken 40 minutes after sunset, capturing the red sky and city lights simultaneously.
Golden hour changes momentarily, so it's a race against time. Be sure to prepare at the observation deck before sunset and plan your compositions in advance.
For observation decks that allow you to take photos from multiple directions, change your angle to capture the scenery as the light changes throughout the golden hour. Be ready to take photos in any direction to maximize your opportunities.
Tip 2: Be Careful of Reflections on Glass
When taking photos from an observation deck, the most important thing to be careful about is the reflections on the glass. If there is anything shiny inside the observation deck, it can be reflected in your photos.
For example, an emergency exit sign like this can cause a reflection:
The emergency exit sign will be visible in your photo, as shown below:
Even if you don't notice it when you take the photo, these reflections often become apparent when you view the image on a larger computer screen later. If there is something shiny in the room, it is almost certain that it will show in the photo, so take precautions accordingly.
Placing the camera lens tightly against the glass surface is the easiest way to prevent glare. This technique blocks light from entering the photo from the surrounding area and prevents reflections. However, there are some issues:
It may damage the glass.
You can't change the composition.
Because the camera is attached tightly, you can only shoot compositions parallel to the glass surface. If you change the orientation, a gap will be created, allowing light to enter and cause reflections.
This problem can be overcome by covering the lens with a towel or jacket to block unnecessary light from entering.
Tip 3: Try Changing Your Perspective
When photographing from an observation deck, you will most likely capture the entire city, as shown below.
Of course, this is fine, but I also recommend taking photos from a slightly different perspective.
Your Go-To for Perfecting Crop and Perspective
Explore In Luminar Neo!This photo was taken from a perspective looking down.
I focused on the theme of roads stretching in all directions, which provides a unique view of the city's layout.
You can change the atmosphere of photos with point light sources like this one by using Luminar Neo's extension “Magic Light.”
This feature adds star-like glitter to light sources, creating an accent in your photos. In the photo below, I set the magic light intensity to 50, which transformed the scene with a simple operation, without the need for special equipment such as filters.
Quick Recap
In this article, I have introduced some tips for enhancing your city photography:
1. Add the Sun as a Focal Point
You can add accents to a group of inorganic buildings by incorporating sunlight rays. Light streaks will appear by making the sun slightly visible from behind an obstacle. Control the size of the rays by adjusting the size of the sun. The shape of the rays also changes depending on the type of lens, so try out various lenses to achieve the photo you envision.
2. Combine Curves
Combining curves allows you to add variety to photos of buildings dominated by straight lines. I used objects and added curves found in corners of the city. Look for curves from a unique perspective to bring diversity to your shots.
3. Photograph from the Observation Deck
When you take photos while walking around town, you often end up with a lot of shots looking up from below. Change your perspective and try taking photos from an observation deck. Points to keep in mind include:
Shoot during the magic/golden hour: During the golden hour, the sky and the city change constantly over time. Prepare before sunset to avoid missing the perfect timing and decide on the composition for each direction.
Be careful of reflections on glass: Cover the lens with a towel or jacket to prevent unnecessary light from entering.
Try changing your perspective: Experiment with various angles, such as looking down. Changing your perspective can create a completely different impression in a photo.


