Great Prom Photography Tips & Poses
June 12, 2023
Proms are a significant event in the lives of high schoolers, and having some well-prepared images with cute prom poses ideas can be a great memory of that evening. Here are some tips on how to take the best prom pictures!
For many teenagers, prom night is one of the most important nights of high school, and a lot of time and care goes into getting ready for it. And while there will likely be plenty of selfies and phone shots of both the afternoon prep and the prom itself, having some solid, well-prepared images with professional prom photo ideas will make a big difference in years to come. If you want everything to go perfectly, here are a few tips to help you get the best photos you can of this magical day.
Perfect Prom Pictures Ideas with Poses
When getting ready for prom, you should consider not only your outfit, accessories, and hairstyle, but also prepare some interesting ideas for homecoming photo poses for the shoot. This way you'll know exactly what to do and get an amazing result! We suggest you some creative ideas to make your photographs amazing.
The Details
Whatever ideas of cute prom pictures you choose, in any case, you should take into account some details that can both improve your photo session and completely ruin it.
Pose Basics
If you’re taking posed shots, make sure not to have the teens face the camera dead on—it can make your subjects appear larger than they are.
To implement cute homecoming pictures ideas, try this out instead:
- start them out facing 90 degrees away from the camera
- then have them turn their upper body 45 degrees back toward the camera
- finish by having them turn their heads straight toward the camera
Also, you can avoid a double chin while making prom photos by making sure they move their head a bit forward (rather than back), elongating their neck.
Ensure That Their Hands Look Natural
During the shooting, you will surely encounter prom couple pictures. If your teens want to hold hands, make sure they just touch hands lightly and/or relax their hands. Interlocking fingers and tense hands can make fingers look funky and shrimp-like (as Pye Jirsa from the SRL Lounge describes it). Resting hands on top of one another also works in couple prom pictures.

Make Sure to Catch Plenty of Candids
While posed photos show some polish, great candid photos can really bring back the memories. If you’re taking photos in a location you have to travel to, have your camera ready as the kids arrive to make some hoco pics. If you’re helping your teen dress, capture some of the moments of getting ready. Basically, have your camera ready at all times to catch the best candids.
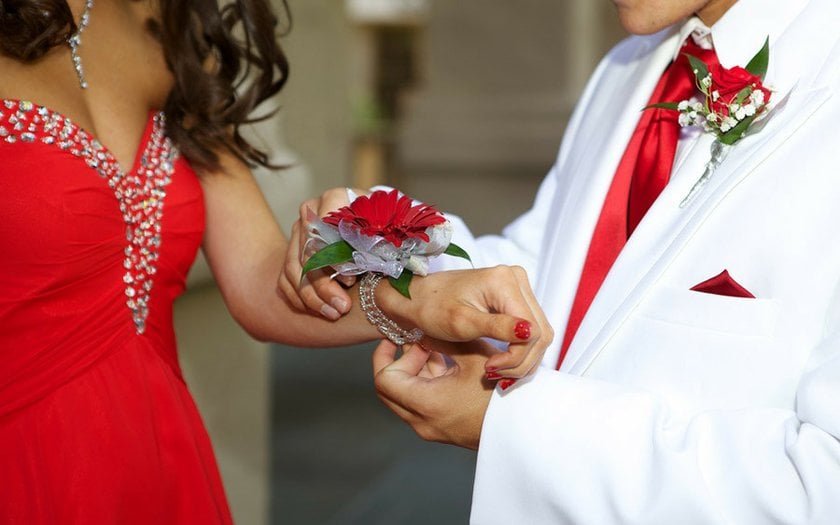
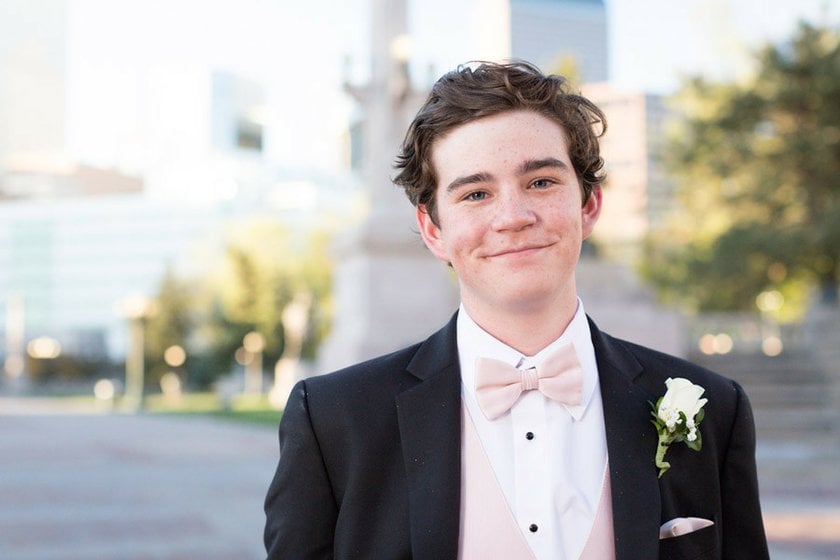
There’s Magic in the Details
Shooting homecoming, you should think not only about group photos or creative prom poses for couples. Don’t forget to capture the little details that make prom night so special. Anything your teen picked out for this night is fair game—jewelry, shoes, bow ties, etc. And don’t forget the corsage!
Remember to Have Fun
Once you’re done with the posed photos, it’s time to relax and have fun. Find ways to capture your teens having a good time, for example, during a dance, when confetti drops on them. Here's a look at how to take prom pictures.
Individual Photo Ideas
Here the most important thing is to show the individuality and personality of the student as much as possible. Let's look at some hoco picture ideas. Yes, it's harder than making a simple portrait on a monochrome background, but the result will be amazing.
Choose Prom Photo Poses to Show Off Your Outfit!
This day is very special, it took you so long to get there and you look amazing! It's your chance to shine and show your outfit in the best possible way. Don't cover your hands or hide while making homecoming pictures, but rather try to relax and smile sincerely! If the guy is wearing a chic tuxedo, he can carelessly correct the bowtie, and the girl can step away from the camera to playfully twirl, showing off her dress.
Take a Portrait Picture
Prom portraits will be a great reminder of this happy day. The main thing is to relax and try to get the most favorable angle. Don't stand up straight, turn around a little and keep your head up. Carefully watch the light so that there are no too harsh shadows on your face. Alternatively, try other prom pic ideas to make the model laugh or surprise before you capture a shot. Sincere emotion will make the photo lively and the moment unforgettable!
Show Your Hobbies
A great idea for individual prom poses for pictures would be to showcase your talent or hobby. An athlete can take a photo in a jump in the air, an artist with a paintbrush, or a music lover with a microphone or musical instrument.
Homecoming Couple Pictures
Prom night is one of the most memorable moments, of course, you want to share it with your partner! Here are some ideas to help you do it in the best possible way.
Romantic Pose
There are plenty of ideas for homecoming poses with dates. The couple can hold hands, slightly embrace, or dance together. It's important to convey the atmosphere. Pay attention to the details, capture the candids as the guy gives his hand to his date as she walks down the stairs, as he puts his jacket over her shoulders, and as she embarrassingly but sweetly smiles. Such adorable poses for prom pictures would look great in a shot!
Have Fun Together!
Who says that pictures of a couple have to be only romantic? Absolutely not! Try fooling around together. The guy can playfully grab the girl and throw her on his shoulder while she laughs and tries to get away. You can also choose some prom picture poses for couples from your favorite movie and act out a funny scene, it's sure to be remembered for the rest of your life!
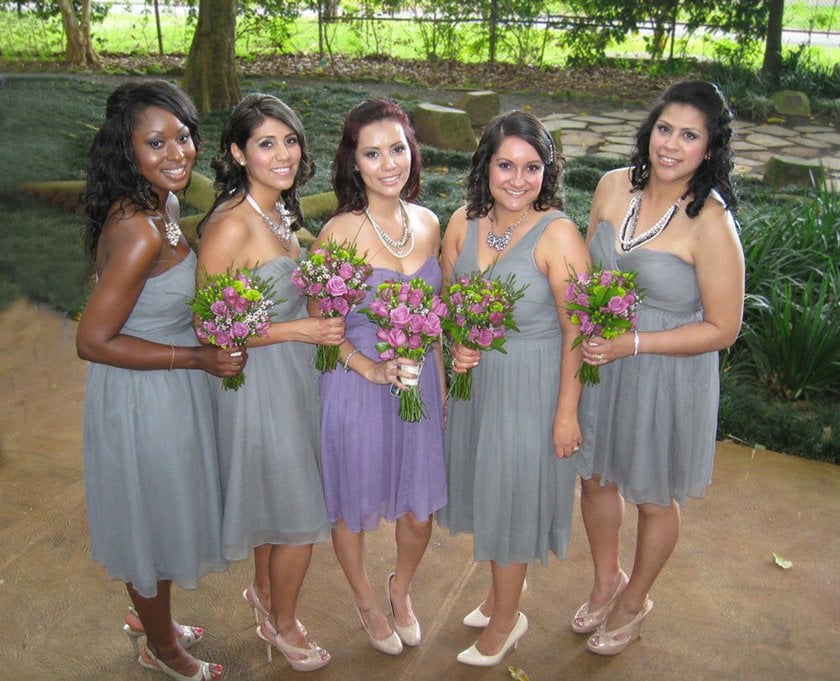
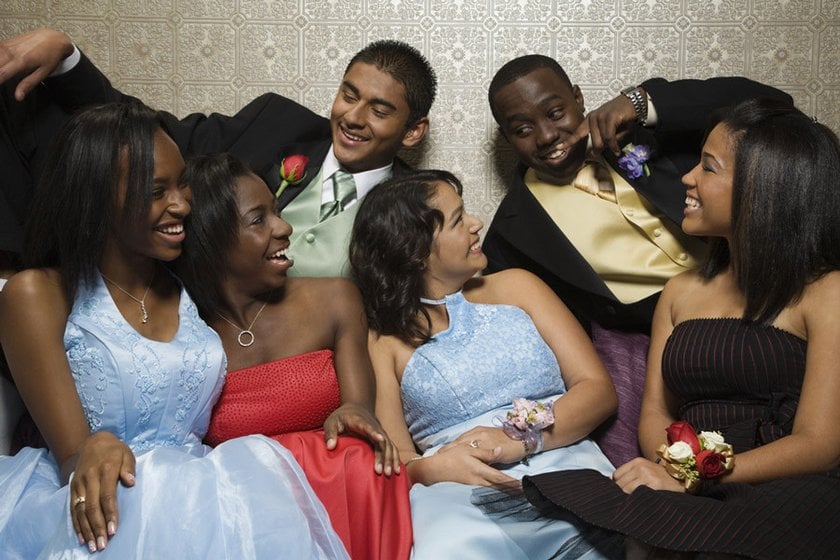
Prom Picture Ideas for Friends
Graduation night is a great time to take pictures with your friends! Here are some tips to help you.
- The shooting from above is a great idea for creative group prom pictures. An interesting addition would be the balloons that you are about to release.
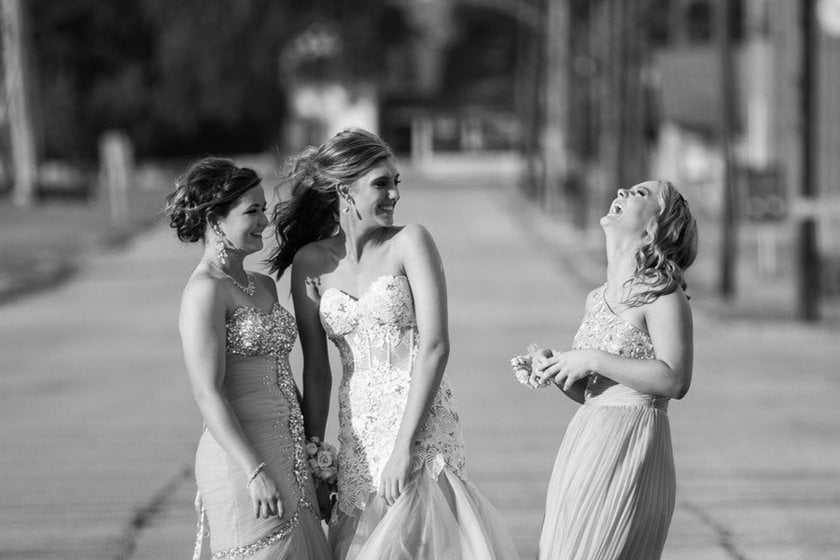
- Black and white pictures. They always turn out deep and very special, perfect for the most touching moments of the prom night. The only thing is to make sure they don't look too dark.
- Among cute prom pictures ideas outside we can single out "Jump into the future". It looks spectacular when a large group of people jumps at the same time. Disadvantages: not everyone gets good facial expressions, smiles, and poses the first time. You have to jump several times to catch everyone at the same moment.
Of course, we should not forget the photos of teens and parents. Among all the interesting and colorful prom photoshoot ideas this one may seem very simple and traditional. But parents rejoice not less than a child, and therefore are worthy to share this special day with the graduate! So when thinking about cute prom poses for couples and friends, also choose some interesting ideas for photos with the family.
Tips and Tricks for Prom Photography To Remember Forever
Successful photos are the result of careful preparation and competent organization of the shooting process. Here are a few tips for you.
Shoot Outside
If you’re not used to taking prom pics and portraits indoors, you’ll likely get better results outdoors and with natural light. Choose a nice, uncluttered background — ideally with some greenery. And since you’ll probably be taking them in the middle of the afternoon when lighting conditions might not be ideal for the realization of homecoming photo ideas, look for areas of shade or indirect sunlight.

Use a Tripod
Tripods ensure that you get the clearest, cleanest shot. With it, you can choose cute homecoming picture poses without any hurry. They also allow you to take longer exposures without a camera shake, something important if you end up taking the photos at night or indoors.
Use a Shallow Depth of Field
A shallow depth of field will allow you to have a nicely blurred background while keeping the kids in focus and helping them to choose the best poses for homecoming pictures. Start off with f/5.6 (groups) or f/4 (individuals). If your lens can go shallower than that, stop down to f/2.8 if you can. (You can always take multiple shots with different apertures.) You can change the aperture by shooting in aperture priority mode or in manual.
Know When to Use Flash (and when not to)
Flashes are tricky business, especially if you’re using the one on your camera. If you have an off-camera flash, then it can be super useful for creating fill light from a different angle. But if you don’t, the flash effect from your camera can look pretty chintzy. If you find yourself shooting in dim light, try ditching the flash and looking for the best source of available light and/or making sure you have a tripod with you so you can work with a longer exposure. This won’t give you full light, but it will help illuminate the entire photo. You can also bump up the ISO.
Homecoming Photo Editing in Luminar Neo
So, you have implemented all of the prom picture ideas for couples, friends, and others. Now it's time to edit your photos. Luminar Neo will be an indispensable assistant for high-quality and fast retouching thanks to its unique AI tools. With its user-friendly interface, you can easily process any image without wasting a lot of time trying to understand the software's functionality. Your pictures will turn into true works of art!
Advanced yet easy-to-use photo editor
Get Luminar Neo NowConclusion
Choosing poses for prom picture ideas is worth thinking carefully about every detail. Approach this question responsibly, because this evening is very special in everyone's life! Work out ideas for individual photos as well as for pictures with parents and friends. It's very important for couple prom poses to convey emotion and mood. However, while it's important to remember the rules, don't forget to enjoy the process!
Have any other tips for capturing prom night? Let us know!