
Spark your imagination
with Layers
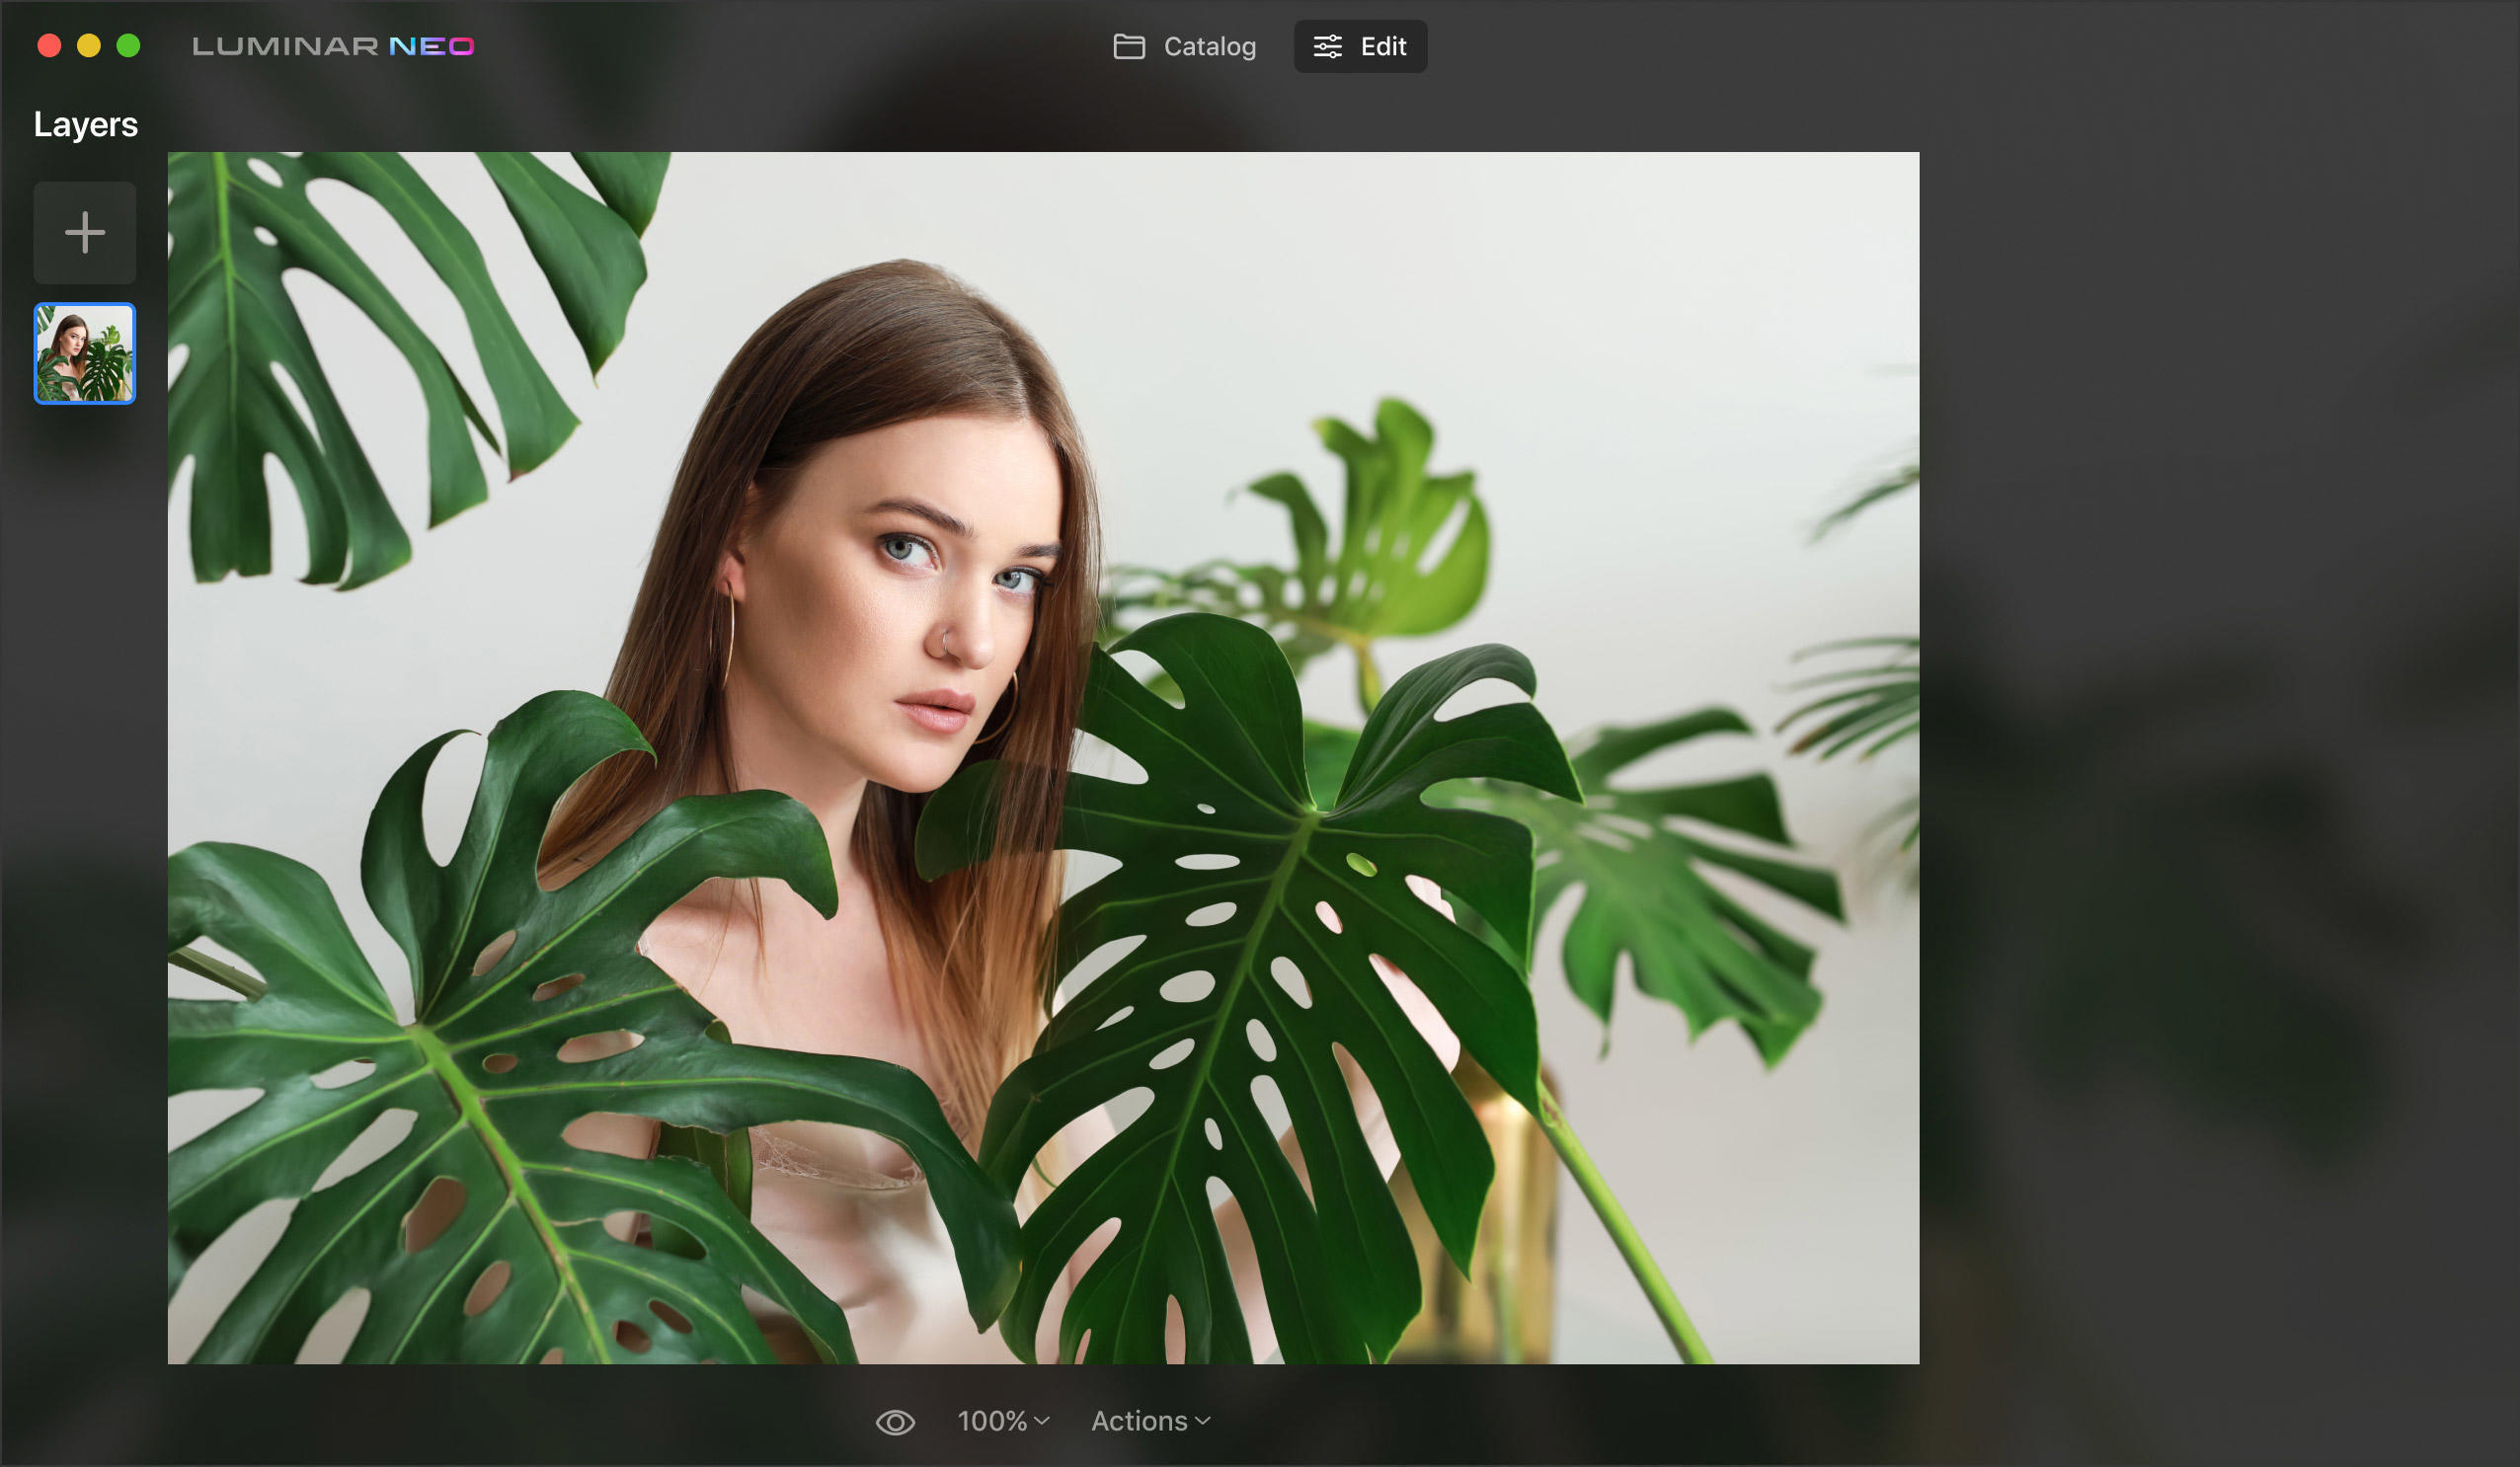
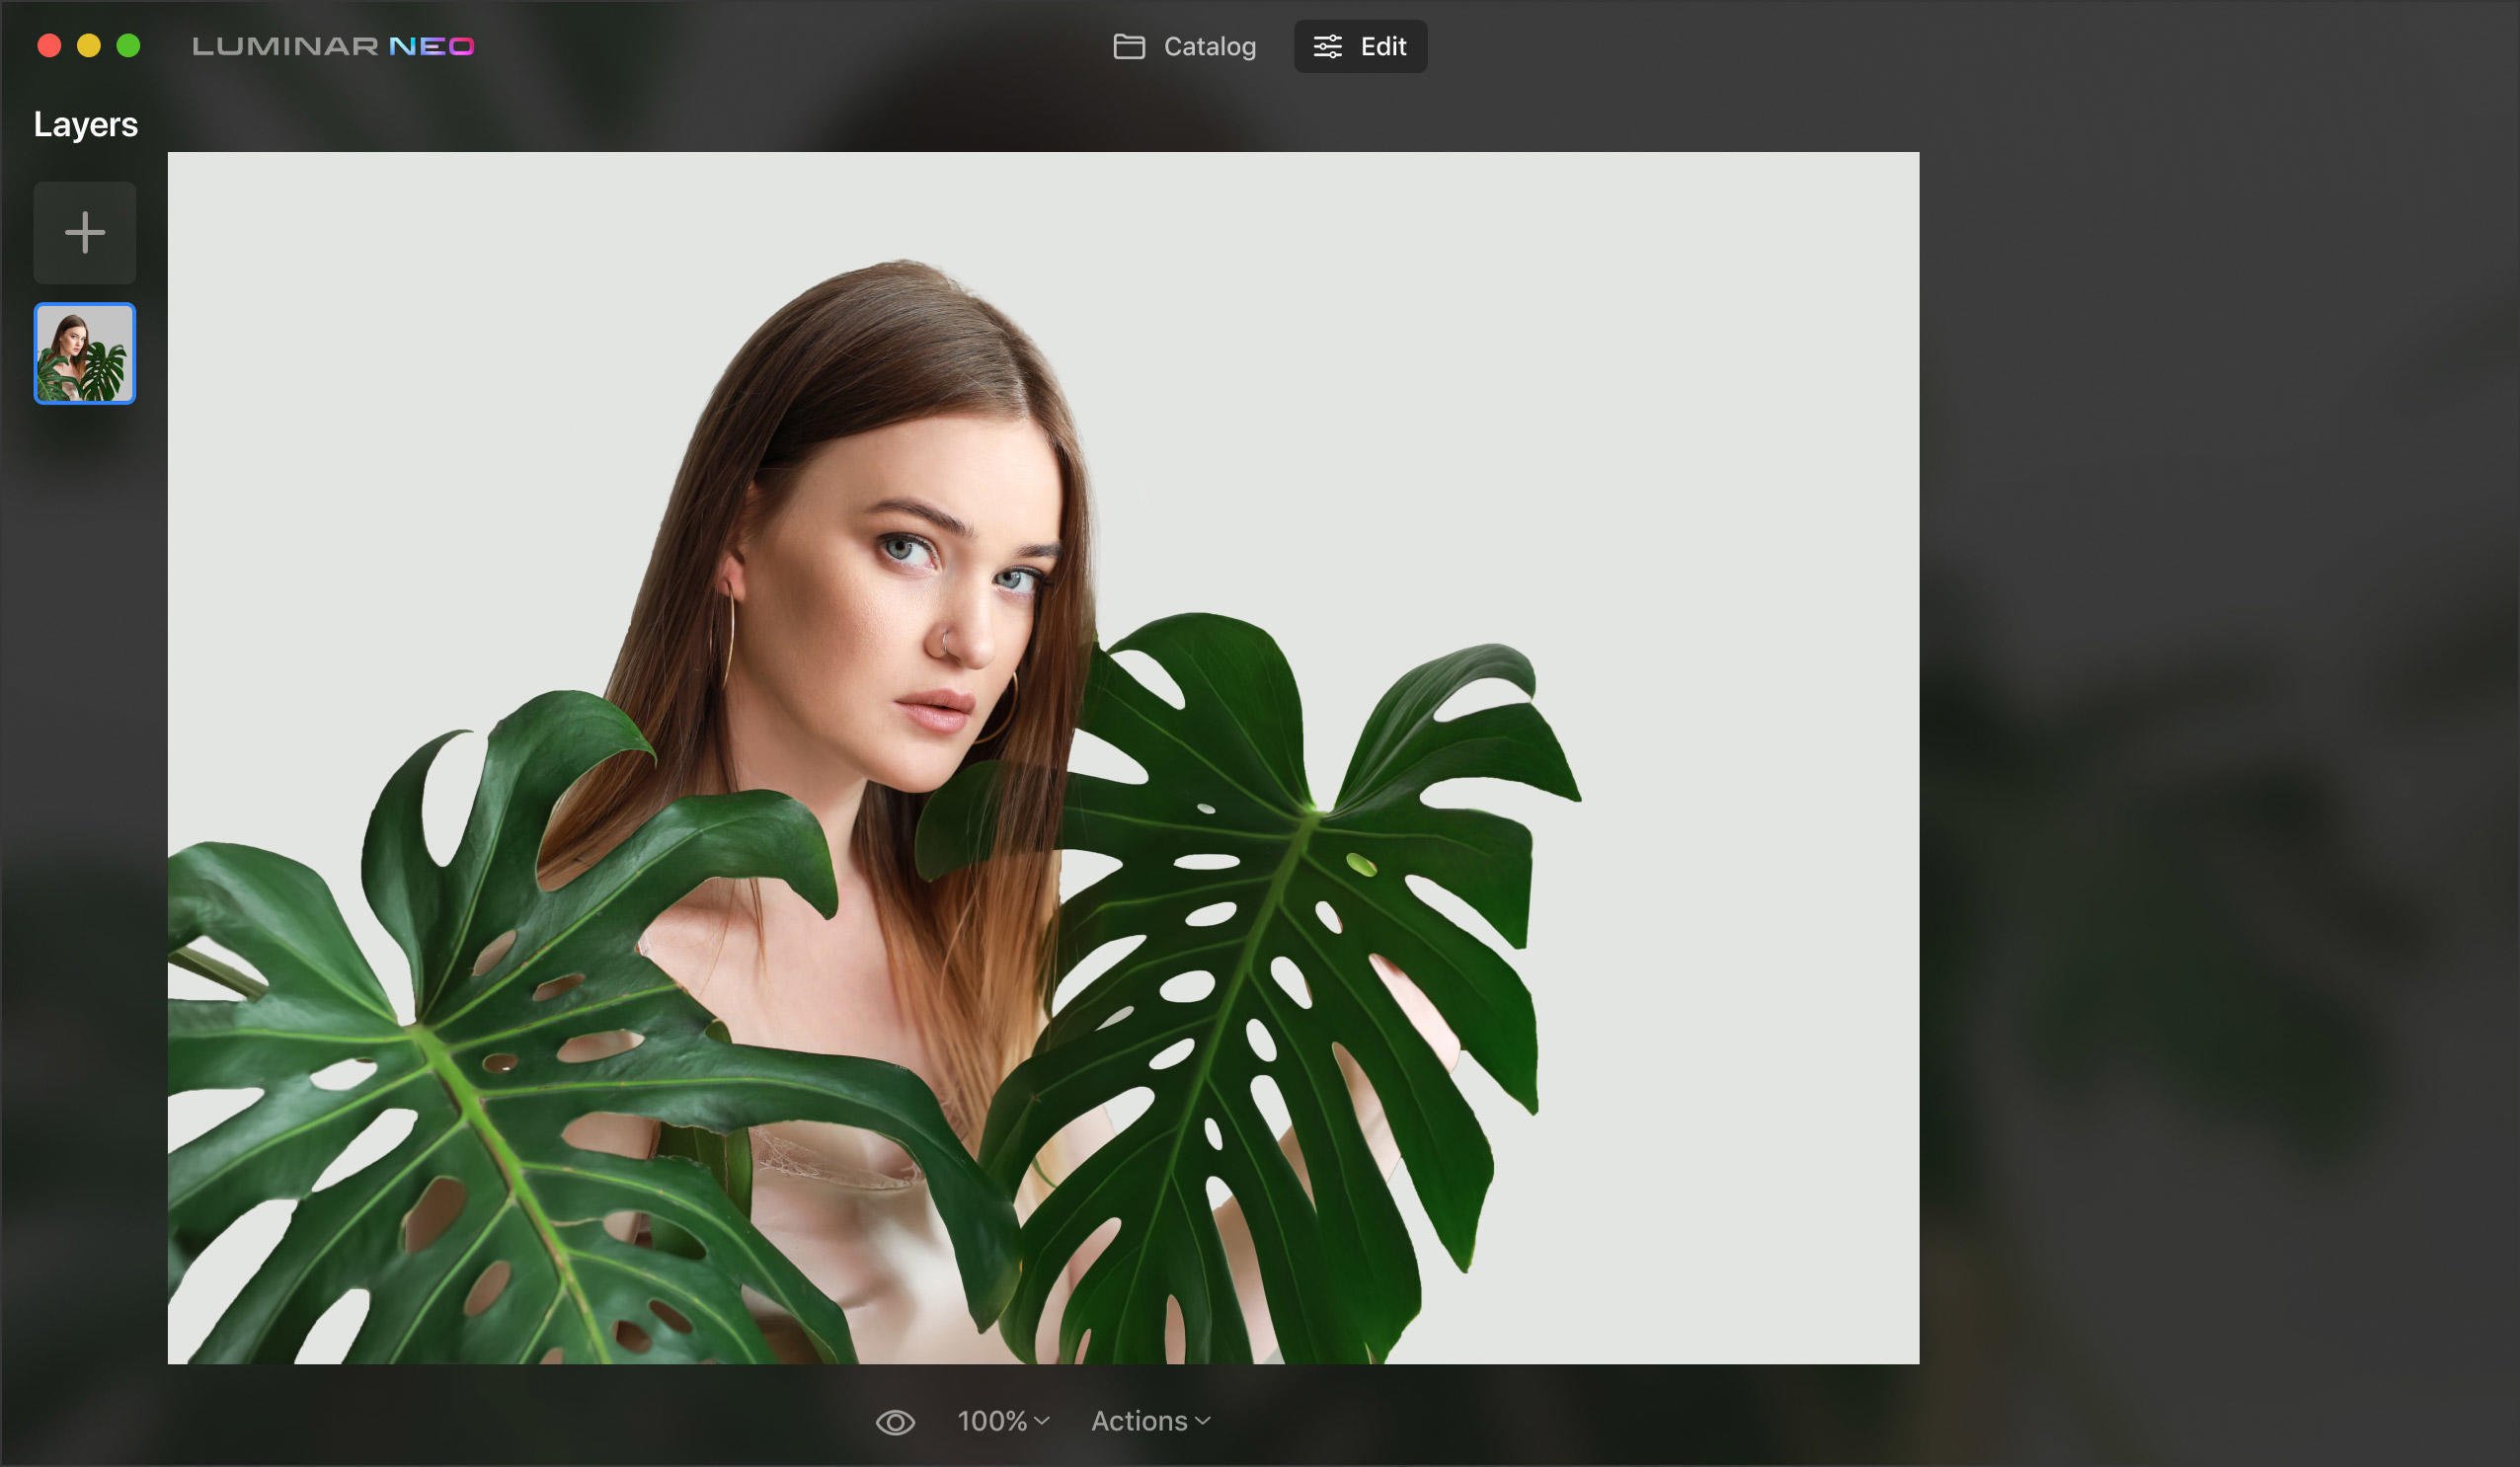
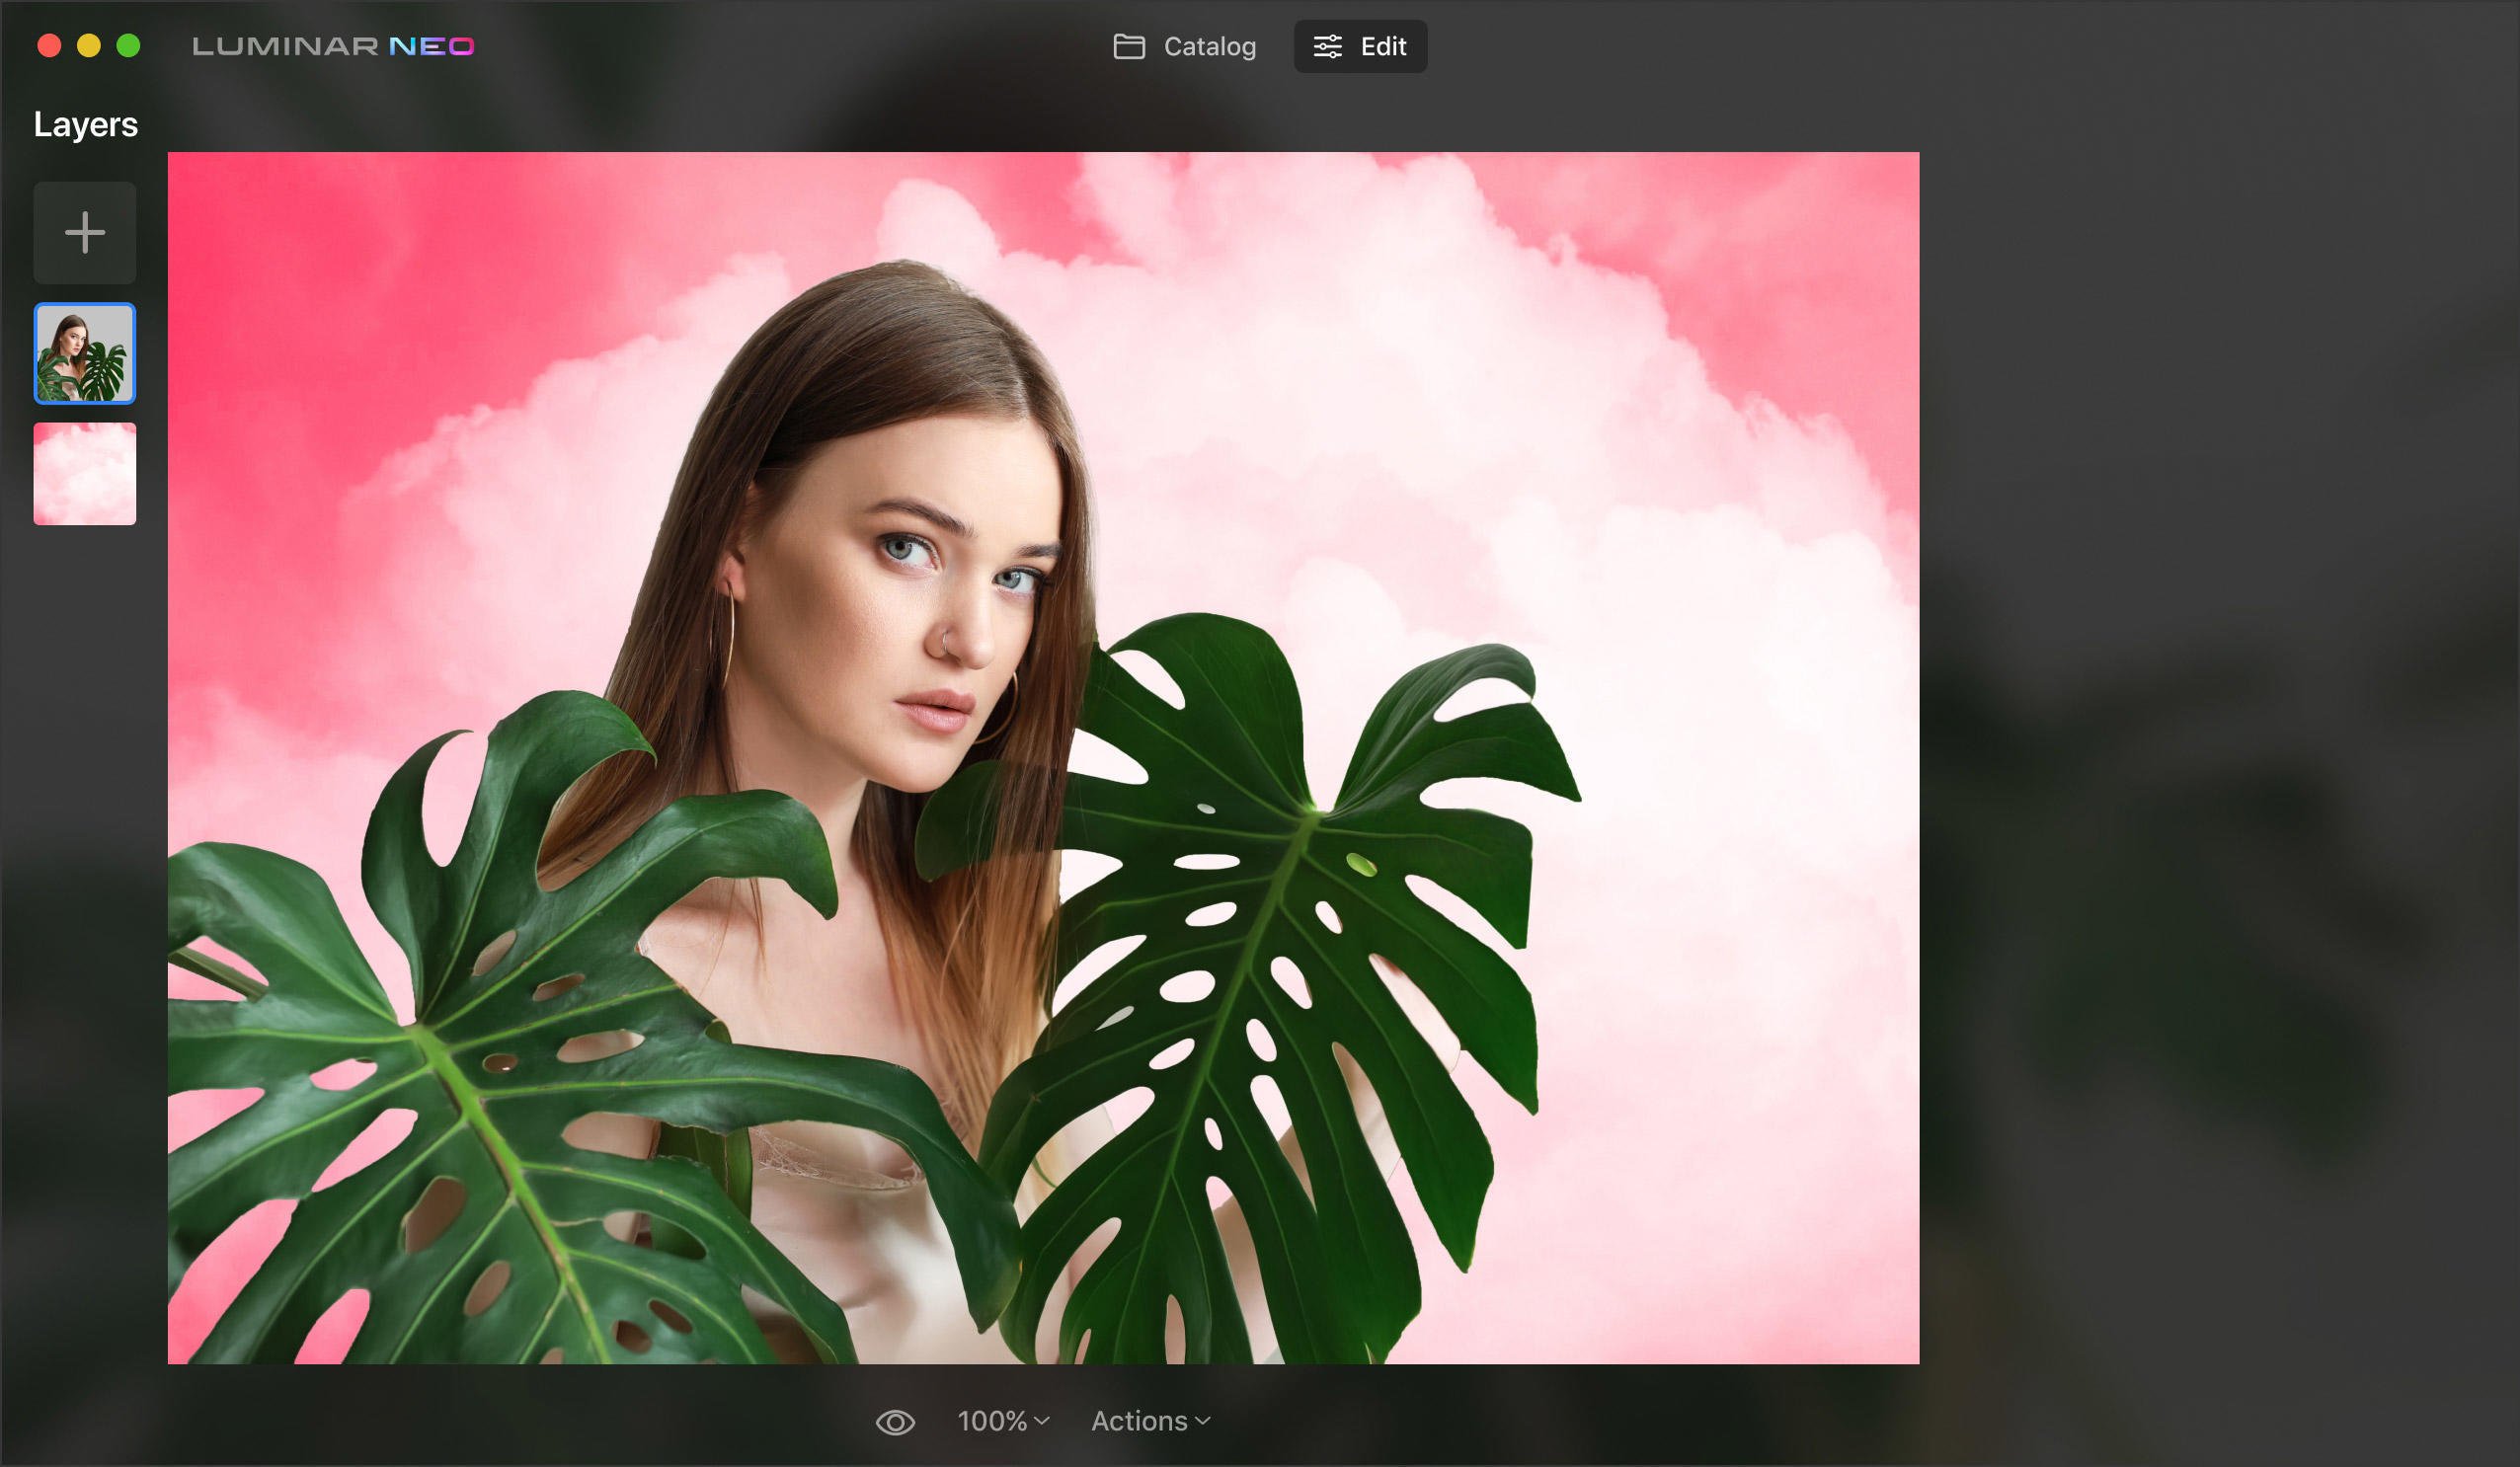
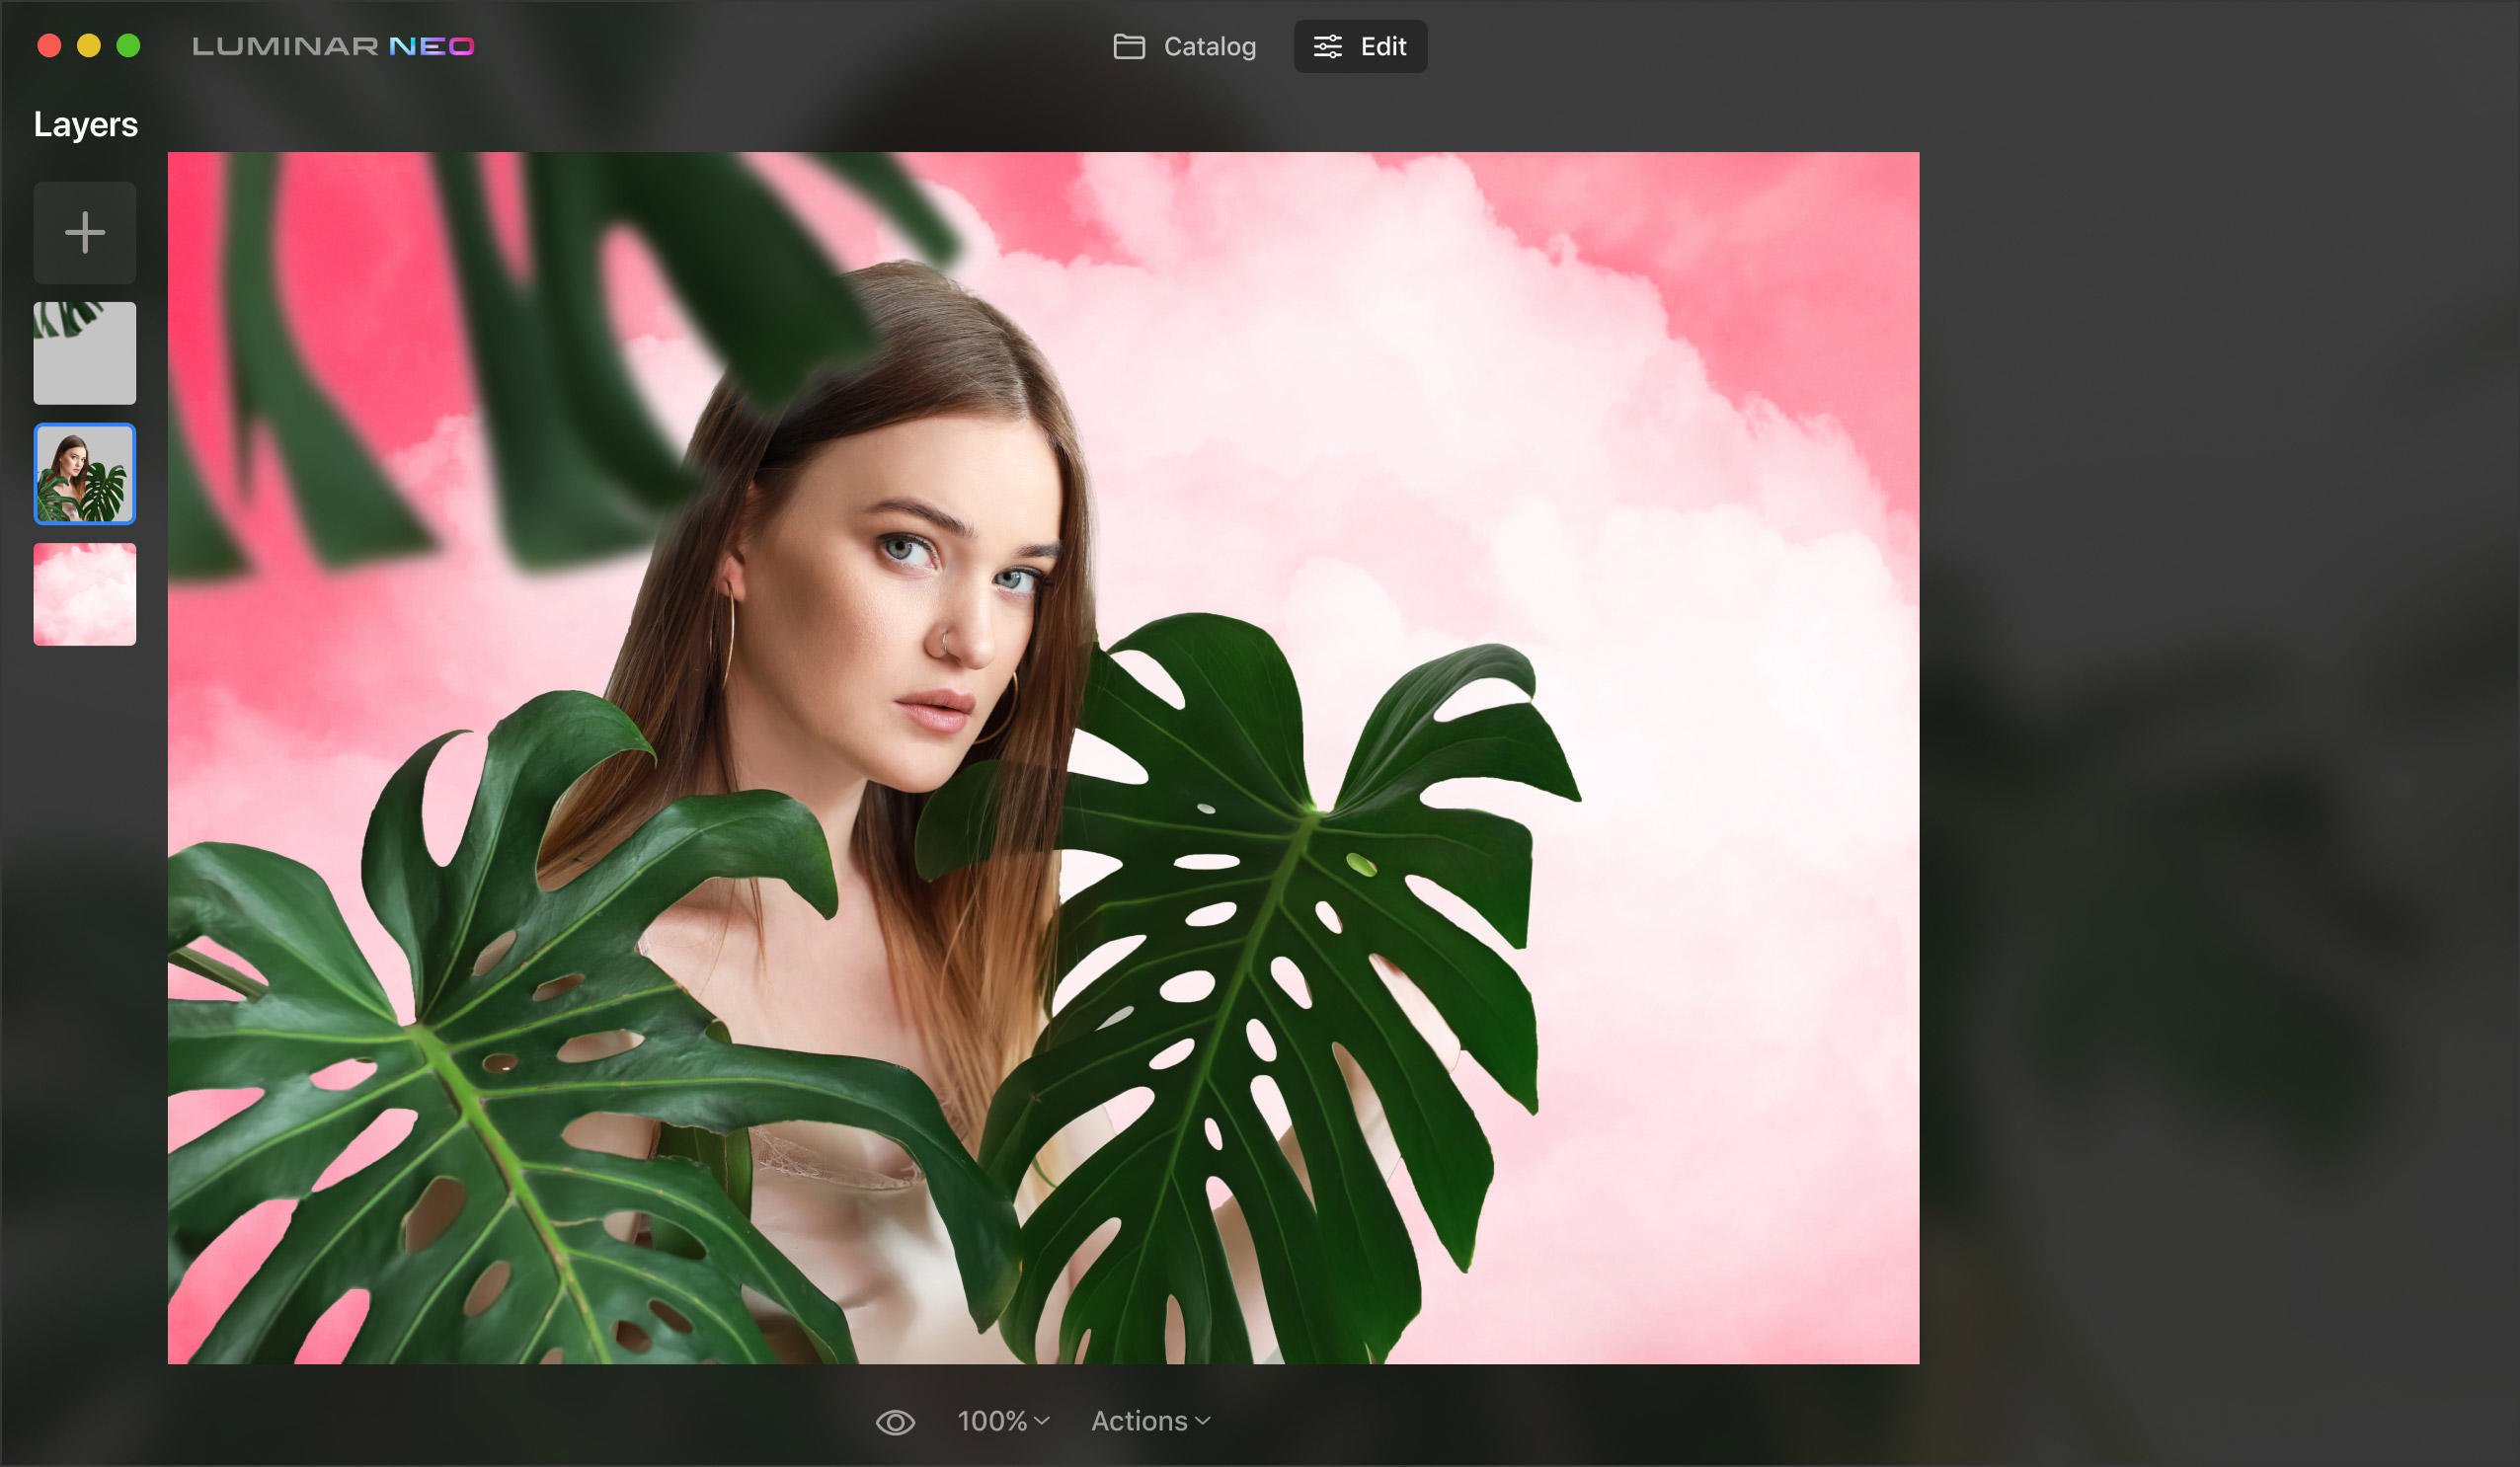
Experiment with your photos and create special effects by blending and masking two or more layers in an image.
Experiment with your photos and create special effects by blending and masking two or more layers in an image.
Your only limit is your creativity. Add as many mask layers as needed to bring any idea to life.
Apply layer masking, blend images
Duplicate your image, select an area with a brush, and use any tool in Luminar Neo. Then, reveal the mask layer beneath with another brush.
Edit only selected areas
With a special Adjustment Layer, quickly choose the effect you want to apply and define the mask with a brush for precise results.
Get a tool to fulfill your ideas, from simple image blending to artistic collages.
Mask layers can help you edit parts of the image or manipulate photos to achieve unbelievable effects.
Add raster graphics and edit each layer separately. You can make each layer look completely different using Luminar Neo’s Presets and editing tools. With Luminar Neo, you can retouch a portrait image in one layer and blend it with a landscape in another.
Try out the new Texture collections. Easily drag, move, place, rotate, and flip Textures around the image with a few clicks. Pair Textures with masks to create different areas of transparency, and overlay Textures on the photo layer below. With the Luminar Neo plugin, you can simplify your workflow and create AI-powered layer masks in Photoshop and Lightroom.
Learn the power of blending modes
Use blending and masking modes, make collages, add double exposure effects, experiment with filling and opacity, and do more on each layer. While editing layers, you can work with the foreground and background of an image separately if you copy the image and apply masking.
If you’re looking for an intuitive photo editor with layers,
masks, and AI-powered tools, try Luminar Neo.
Visibly high performance in complex tasks
A lightning-fast engine is at your service, based on modules that are optimized separately for better results. Edit images on the go and seamlessly transfer them to a smartphone.
Simple and fun to explore
Enjoy the flexibility of Luminar Neo’s workflow. All edits are saved automatically, and you can jump to any step to change or undo actions.
Technologies for the best results
The artificial intelligence technologies in the core of Luminar Neo are developing rapidly. You can use them to change the background behind objects and relight the scene by building a 3D map of an image. Or remove unwanted objects such as dust or lines in a click.
RelightAI
Is your image too dark? Fix backlit photos easily. Highlight or darken any part of your image.
Line RemovalAI
Are power lines ruining the view? Get a clear sky without distractions. Transform your cityscapes, urban landscapes, or travel photos in a click.
Mobile sharing
No need to wait. Edit photos on the go and seamlessly share them to your smartphone.
Portrait Background RemovalAI
Turn a tedious background replacement into a quick fix. Experiment with fun portraits.
Dust RemovalAI
Automatically select and remove dust and particles. As easy as that.
Lightning-fast engine
Neo is designed as a modular system whose parts can be optimized separately for the best performance.
Ever wondered what a layer mask does and how you can use layer masking in your editing? Layer masking is a reversible way to hide part of a layer. Masking gives you more editing flexibility than permanently erasing or deleting part of a layer. Layer masking is useful for making composite images, cutting out objects for use in other images, and limiting edits to part of a layer. A mask allows you to reveal parts of the layer below.
Think of a layer mask like a tool that can create eye holes in a mask to reveal the person wearing it. You can even use a mask on the base layer without adding more layers, allowing you to reveal parts of the original image without edits applied.
If you’re using Luminar Neo as a plugin, you can find masks by clicking Add a mask in the plugin menu. This will automatically add a mask and reveal the layer below. You can then make desired adjustments and move the transparency slider for precise results. The masking tool allows you to create masks with a brush.
Layers allow you to work out parts of the image separately with layer masks, create double exposures, and add textures. Rather than editing the entire image, you can apply edits to different parts and levels and have the option to make select adjustments. It’s a chance to explore your creativity!
Layers let you apply different effects to different areas of an image. They also let you save your progress and undo changes at any time without affecting the whole image. For example, you can take a black and white photo and creatively apply a splash of color only to part of it. Your photo will definitely stand out!
Luminar Neo can simplify and speed up routine tasks in your current editor as a plugin. With the help of AI, creating a layer mask is easy: just swipe with a brush to select the mask area.
Luminar Neo is not only a photo app with layers. It offers you more than 20 AI-powered tools. You can replace the background and remove power lines in a click, change the sky, and retouch a portrait in less than five minutes. Learn mоre here.
A layer mask in photo editing serves as a non-destructive way to control the visibility of different parts of a layer. It allows you to selectively hide or reveal portions of the layer without permanently deleting any pixels. By using a layer mask, you can make adjustments or apply effects to specific areas of an image while keeping the original image intact.
In the Layer Propreties find the Masking tab. There you’ll see a lot of actions. One of them is Invert. This option inverts any mask you’ve created to reverse its opacity and transparency values.
In the Layer Propreties find the Masking tab. There you’ll see a lot of actions. One of them is Copy. This option copies the current mask to the clipboard. To use this copied mask, create a new mask using any tool and paste it into the new tool mask.
Luminar Neo has four types of layer masks:
Brush Mask. Using a Brush Mask is one of the easiest ways to mask an image. You can use brush strokes to add to or subtract from the mask.
Linear Gradient Mask. The Linear Gradient Mask is useful for creating a gradual blend.
Radial Gradient Mask. A Radial Gradient Mask offers a quick and easy way to mask an elliptical area of your photo.
Mask AI. Mask AI detects up to nine separate elements in a photo: people, skies, buildings, vehicles, water, plants, mountains, and both natural and artificial ground for the perfect mask.
Mac Model
MacBook, MacBook Air, MacBook Pro, iMac, iMac Pro, Mac Pro, Mac mini, early 2010 or newer
Processor
CPU Intel® Core™ i5 8 Gen or better
OS version
macOS 12.0 or higher.
RAM
Memory 8 GB RAM or more (16+ GB RAM is recommended)
Disk space
Hard disk 10 GB free space; SSD for best performance
Display
1280x768 size or better
Hardware
Windows-based hardware PC with mouse or similar input device
Processor
CPU Intel® Core™ i5 8 Gen or better, AMD Ryzen™ 5 or better
OS version
10 version 1909 or higher (only 64-bit OS)
RAM
Memory 8 GB RAM or more (16+ GB RAM is recommended)
Disk space
Hard disk 10 GB free space; SSD for best performance
Display
1280x768 size or better
Graphics
Open GL 3.3 or later compatible graphics card