Focus Stacking in Photography: Share Secrets of Making Images Sharp
May 26, 2023

Most professional photographers use powerful focus stacking techniques to achieve a greater depth of sharpness in the images. In this article, we’ll explore this thing closer and share useful tips that will help you take the art of photography to a high level.
Have you ever experienced the aesthetic pleasure of incredibly detailed shots? Every element, whether it be a snow-capped mountain, a capturing portrait mole, or the exquisite fabric texture in a macro shot of a branded product, seems to be incredible. How do the photographers manage to achieve such results? The secret is using focus stacking. What is it and how to use this technique in different types of photography to get beautiful tack-sharp images? You’ll find out about it in our article.
What Is Focus Stacking: Main Highlights
Focus Stacking (photo layering) is something resembling an HDR image, with its characteristic color vibrancy and detail. Such an effect is created by taking three separate photos with different exposures and then combining them into a single cohesive image with HDR photo software.
Also read: How To Put A Black Background On A Picture In 5 Minutes
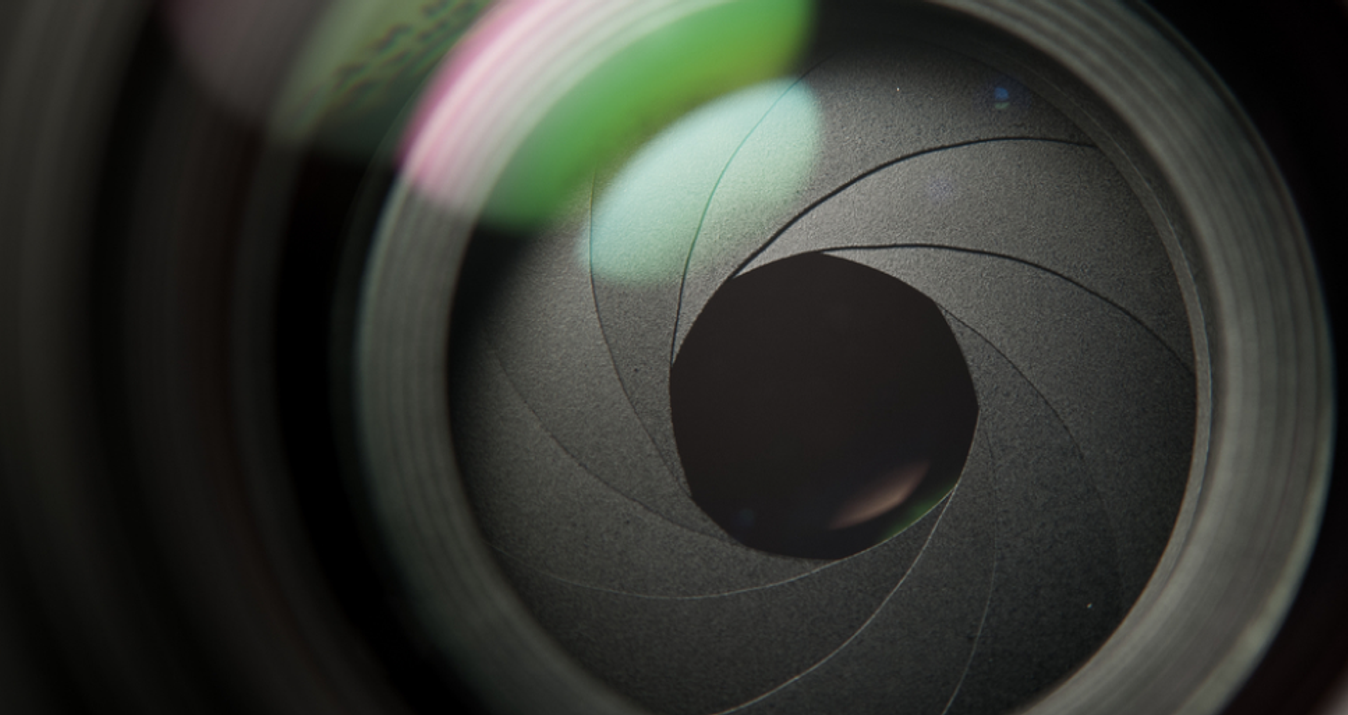
In the case of staking, you also take several shots of the same scene and unify images into one visual content. The main difference is that here objects are captured in different focuses, that is focal planes, specific areas of the image where the focus is sharp. This gives you a deeper depth of field effect, so your photo looks crisp and clean.
 In order to use this technique, you only need three basic things:
- A camera with manual mode and removable lens;
- A tripod;
- Special software.
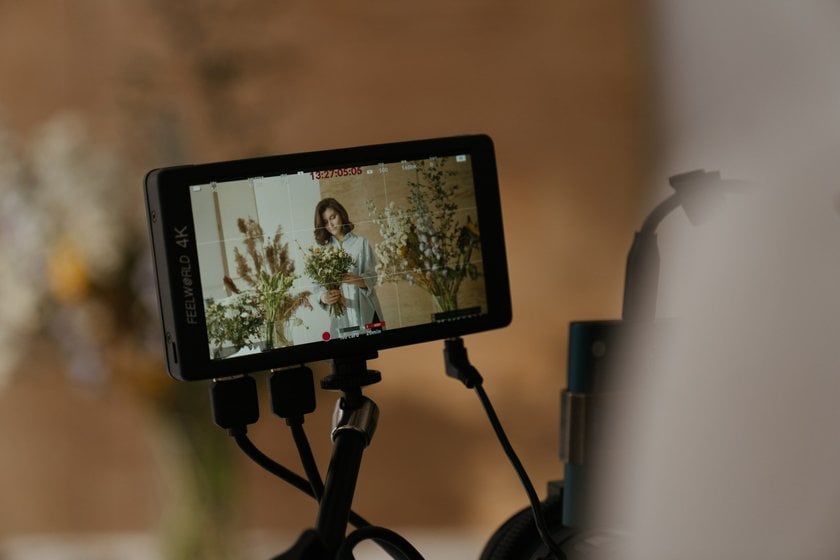
By setting the camera to manual mode, you have full control over lens focus, depth of field, and exposure. If you use a tripod, you’ll get more stable images because the camera is steady and doesn’t shake while taking pictures. In addition, it is very convenient for you because you didn’t get tension and fatigue in your body as it usually happens when shooting with your hands. As for image stacking software, it is necessary for focus stacking in photography. Of course, you can use the world-famous Adobe Photoshop or Lightroom for it. But we recommend you pay attention to Luminar Neo.
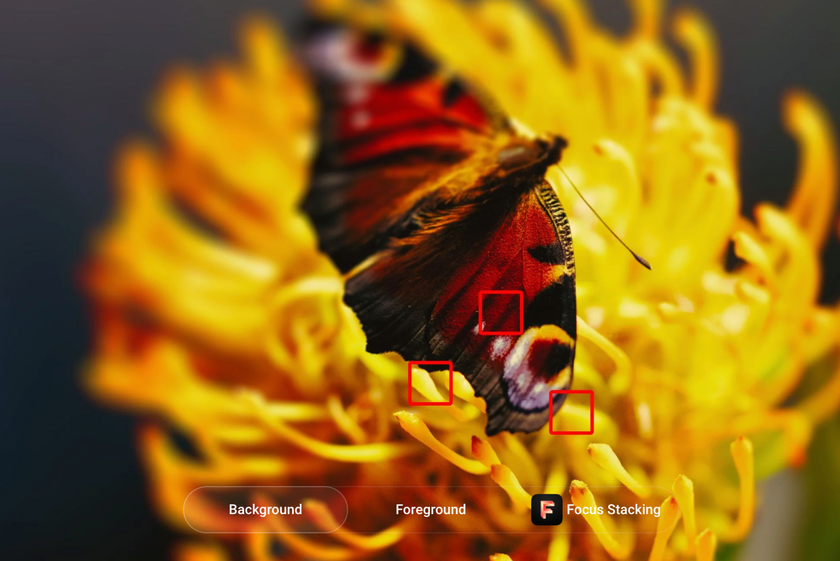
This AI-powered photo editor has a special focus stacking Extension which makes photo composing simple, convenient, and fast, and the results are flawless. This exciting tool allows you to process up to 100 photos with different depths of field and combine them into a single image. Here perfect sharpness is observed throughout the frame from foreground to background, even if this is a macro shot of a certain flower or action shot. In addition, the program corrects chromatic aberrations and automatically balances the image, taking it to a new level. Luminar Neo, like other software, is perfect for work with different genres: landscape shots, macro photography, and real estate images as well as content with products and food.
How Does It Work?
At first glance, photo stacking may seem like a complicated process. In fact, everything is very simple. When you’re in a certain location, whether it’s a national park, a garden, or a studio, you take several shots focusing on the foreground, middle, and background. Then just blend them in an online image editor to get sharpness in each part. How many photos can be captured if you use focus stacking? This depends on the main object, the complexity of the composition, and the depth of field you want to achieve as a result. Three photos may be enough to get perfect clarity. You can also combine more images. But in this case, be prepared to spend more time.
It’s worth mentioning that you should be well-versed in the concept of the focal plane to achieve the desired result. By correctly setting the focus on the desired object and adjusting the depth of field, you’ll create the desired effect.
Why Should We Use Image Stacking in Photography?
This technique is extremely popular among photographs for a reason. It has the following significant benefits:
- Create photos with greater depth of field over the entire image. The technique allows you to keep all elements in sharp focus even when using a wide aperture and a lens with limited depth of field.
- Focus on the details. This is very useful if you work in the e-commerce field. Image stacking helps you focus on the case of the watch, the engraving of the earrings, the luxury of red mate lipstick, and other details.
- Amazing landscape and macro photography. For example, you like the flowers on the slope in the mountains, and you want to keep them in focus like the nearby objects. Photo editing with the stacking technique helps you to achieve this effect thanks to capturing several photos from different locations using an aperture of f/8. When taking macro shots of insects, flowers, leaves, and other objects, stacking images makes the photo look even sharpest, which is difficult to achieve with a macro lens.
In Which Cases Is It Better to Use This Technique?
This technique is quite useful when you can’t achieve incredible sharpness across the entire image using the current camera settings. Most often problems with depth of field occur when shooting landscape, interior, product photography, and ultra-close macro shots.
Also read: Auto Enhance Photo: Elevate Your Photography with a Single Click
 However, there are cases where you can safely do without this technique. In particular, if you're shooting portraits, a slight blur in the background creates a very nice bokeh that makes the subject stand out. And when you're shooting wide-angle landscapes, you just need to set up a wide-angle lens and narrow the aperture to keep the whole scene in focus.
Capture Every Detail with AI-Powered Focus Stacking
Discover it NowHow to Stack Images: Step-by-Step Tutorial
To get started, prepare everything you need for the creative process, including the camera with a manually focused lens, the tripod, and the best photography software (Luminar Neo, Photoshop, Lightroom, or Helicon Focus). And then go through the entire process from shooting to composing images on a computer step by step.
Shooting Process
- Step #1: Compose the frame. This is an important step that begins any shooting. Mount the camera on a tripod. Next, select the subject you want to focus on. Frame the photo and arrange the various elements in the frame.
- Step #2: Make sure the camera settings are appropriate. Switch the camera to manual mode and set the exposure using the metering device and histogram. It remains fixed, allowing you to take consecutive shots.
- Step #3: Switch the lens to manual focus mode. Your camera is ready to work. But before stacking photos, you need to take a test shot to make sure the focus and exposure are perfect. Switch the lens to manual focus, so you can create the shots you want with your own hands. First, focus on the part of the scene that is closest to the lens. If you're shooting ocean waves, this could be sand, pebbles, or small shells on the shore. For a macro shot of a flower, select the petals. Then take one shot.
- Step #4: Take a series of pictures. Did you set the camera, focus, and exposure correctly? Great! Now you can take the rest images at different focus points. To do this, slowly move the focus from the foreground to the background. Do this until you have each area in focus. To make it easier to understand, let's take as an example a country cottage with flowering trees in front of it and a high fence closer to the lens. We'll take the first photo with the fence in focus, the second with the plants, and the third with the house.
Post-Processing
 You know what is image stacking, how is it work, and how to prepare photos. How it's time to move on to the most magical part of this technique, namely combining the shots into a composite image. For it, we’ll use such AI photo editors as Luminar Neo:
- Importing images. After launching the program, go to the Catalog tab and import desired images in any format, whether JPEG, RAW, PNG, BMP, or Tiff, by clicking Add Photo and browsing to your computer or external hard drive. Select the photos you want to merge by selecting the first image and pressing and holding the Shift key to highlight the rest. Then drag them to the Focus Stacking tool. After this, drag photos to the Focus Stacking extension. Now your content is in the workspace.
- Additional editing. If you want, you can correct the image, for example, by selecting the Auto Align and Reduce Chromatic Aberration options.
- Blend the images. This final step of stacking in photography, at which the editor automatically blends the layers into a single sharp image based on their focal points in the Layers panel, using the Focus option found in the Blend drop-down menu. The final image is saved in Tiff format. You can then play around with it a bit more by adjusting the tone, contrast, and exposure, or adding an interesting filter. Then just export the image in the format you want using the Export button.
Several Useful Tips On How to Stack Photos Effectively
 Follow these tips to get outstanding image stacking results and help you incorporate focus staking into your workflow in the best way:
- Transfer your photos to a computer. Use a USB cable or other method for this. It’s very important to save images in a special folder, so you can find them easily when you will work on the best photo editing for beginners.
- Choose a smaller aperture. This will help you increase the depth of field and thus stack your images more smoothly.
- Take lots of photos. The more points of focus you have, the more choices you'll have when stitching images together.
- Determine the depth of field you want to see in the end. To do this, turn on your visualization and determine the areas you want to see sharp.
- Keep in mind that you may need to crop in post-processing. Shoot with some margin in width so that you don't have to capture significant details later.
- Set the ISO to a low value. This is important before you focus stack your images because it helps to avoid problems such as noise on the picture. It is also advisable to have a wider aperture and a fast enough shutter speed.
How to Stack Pictures Right: Common Mistakes to Avoid
 Combining multiple photos into one clear image is a great technique. But as practice shows, some issues happen, especially among beginners. So, what mistakes should be avoided:
- Insufficiently thought-out composition and focus points. This usually leads to an ineffective focus overlay.
- Insufficient overlap between each image and its neighbors. If this happens, the likelihood of visible seams is high.
- Camera shaking. When you shoot without a tripod, there is a misalignment in the final merged image.
Final Words
So, as you can see, focus stack is a pretty powerful and interesting technique that makes photos sharper with a focus on details, and professionalism. To master it, you just need to learn the basics, the main mistakes to avoid, and develop your skills in editing software such as Luminar Neo, Photoshop, Lightroom, or others, and expand your creativity.
Also read: How To Post A Panorama On Instagram?
FAQ
What Does Focus Stacking Do?
This technique combines several images with different focus points into one sharp and clear image.
How Do Focus-Stacking Photos?
Everything is very simple: set the camera to manual mode and place it on a sturdy tripod, make settings on the camera, and take the first shot, focusing on the nearest point. Then take a series of shots with changing focus points and combine the images into one complete picture with the focus stacking software.
Focus Bracketing Focus Stacking in the Camera: What Is the Difference Between Them?
Bracketing is a shooting stage in which several images are taken with different focus points. At the same time, stacking is a post-processing stage where all these images are combined.
Is Focus Stacking Hard?
It all depends on the complexity of the scene and the stacking software in which you process photos. By equipping yourself with the necessary knowledge about what is photo stacking and practicing regularly, you will realize that you have a powerful tool in your hands that is intuitive, easy, and fast to work with.