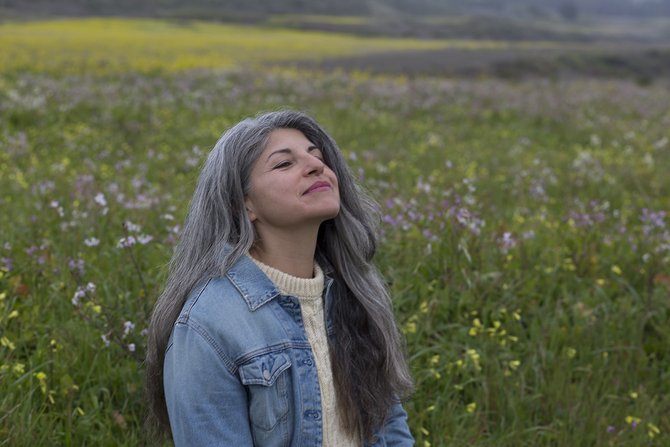
Luminar is an excellent tool for editing portraits as it can do anything from basic adjustments to more dramatic effects. This can be especially helpful in dealing with images that look rather flat. With just a few simple filters, you can take a mediocre image and make it really great.
If you don't have time to read, start with this short 6 minute video. Or dive into a detailed yet easy to read guide down below.
Start with basics (using AI)
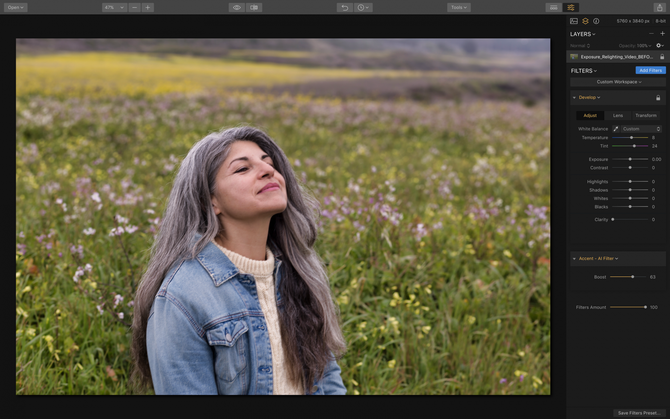
The first place to start with editing portraits is to adjust exposure, contrast and color balance. I like to start with the Accent-AI filter to give the image an overall boost. This filter uses Luminar’s artificial intelligence to make smart adjustments where needed. The result is an image with much more punch and visual impact, after only making one adjustment.
I then go on to fine tune the image with the Develop (JPG files) or RAW Develop (RAW files) filter. This allows me to dial in the highlights, shadows, contrast, etc even more.
 Add Warmth
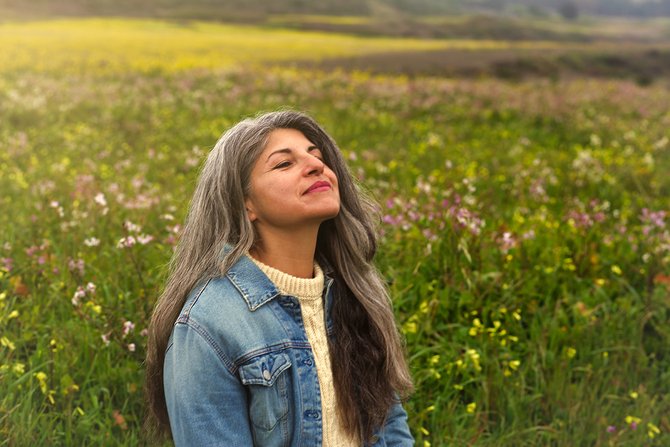
When working with portraits that were captured in natural light, often the color balance needs to be warmed up to compensate for the blue temperature of sunlight. I like to do this with the Brilliance/Warmth filter.
I drag the slider to the right until I get the warm look I am going for. This not only makes the overall image more pleasing, it brings the subject’s skin tones closer to real life.

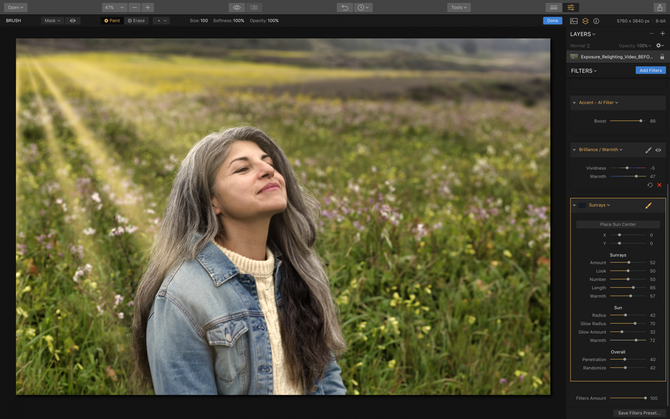
Improve depth with the Sunrays Filter
For “flat” images that lack depth, a great filter to work with is Sunrays. This filter works especially well with images that have a clear direction that the light is coming from but to be more dynamic.
The Sunrays filter adds a beautiful sunburst effect to the top, left corner of your portrait. The first step in working with this filter is to click the Place Sun Center button, which allows you to adjust where the sun rays originate in the image. You can then dial in the amount, reach and color temperature.
Use the eye icon within the filter set to turn the effect on and off, which helps you see how effective the filter is for the image.
 Use a reverse vignette
To further sell the sun-drenched look of the Sunrays filter, I like to add a reverse vignette. A Vignette usually darkens the borders of an image to draw focus to the middle of the shot, where the subject is. A reverse vignette adds a white border that helps to give the look of sun spilling into the frame. After using this filter you can go back and adjust the Accent-AI filter as needed to add back more contrast.
 How I save my files?
Before saving a final image, I always consider preserving my edits as a Custom Preset for future use. If I have similar images from the same portrait session, then saving a Preset will allow me to add this effect to other images and greatly shorten my editing time.
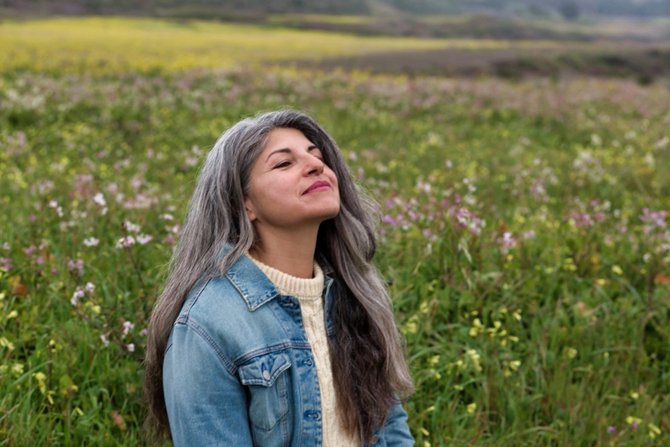
I also like to use my Custom Presets as a starting point for other portraits that have a “flat” lighting issue. In the example below, I used the same edits as the image above with just a few small tweaks. I was able to go from an unedited image to a final portrait in under 2 minutes. I love how much time and energy Luminar saves me!


I always save my files in the Native Luminar file format before exporting to JPG. Native Luminar files preserve all of your editing steps and using the History palette, you can go back and change the way you edited an image if needed.
This gives me peace of mind and also serves as a great resource for future editing of portraits that may have similar lighting.
I really love the control that Luminar offers and how quickly I can use the program to create my final portraits. I hope you find it as useful and easy-to-navigate as I do. Happy editing!