March 20
11 min. to read
How To Open Eyes In Photoshop And Don’t Ruin Your Photos
 Photoshop offers the most feature-rich photo editing tool set. Learning how to open someone’s eyes in Photoshop without distorting an image or making the changes look unnatural is less complicated than it may seem, following a few basic steps. This tutorial covers techniques, from replacing closed eyes with open ones from a similar photo to using advanced image layering and AI tools for a flawless finish. By the end, you’ll be equipped to handle edits like a pro!
Preparing Image: Choose Your Source Photos Carefully
 First, you must prepare an appropriate photo, which you’ll use to work in Photoshop. Preferably, you will have a shot of the same person but with open eyes, taken in similar lighting and at a similar angle. This “source image” will help you get a perfect, unnoticeable edit. If there is no alternative image, try taking a new photo or find one that is very close in angle and lighting to your original.
Pro Tip: Having an image for a similar source minimizes inconsistencies and helps maintain a natural look to your edit. For those without a similarly framed picture, AI-based options that might work are available.
Some software, such as AI replace, can provide you with a means to switch things like eyes in automatically. Yet, they may require some fine-tuning in Photoshop to achieve a perfect match.
Read also: How to Fix Closed Eyes in a Photo?
How To Open Eyes In Photoshop: Step-by-Step Guide
Step 1: Open Both Photos in Photoshop
Open your original photo of closed eyes and your source photo with open ones in Photoshop.
Go to File > Open and select your files.
Arrange these photos side-by-side for easier editing.
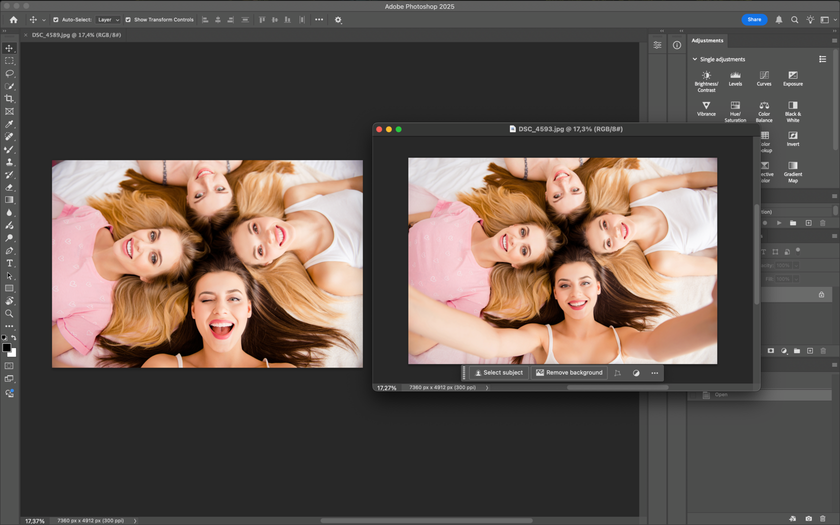 The first step in understanding how to open someone’s eyes with Photoshop is workplace preparation. This makes it easier to see both images side by side and select the best parts for a seamless swap.
Step 2: Select and Copy Eyes from Source Image
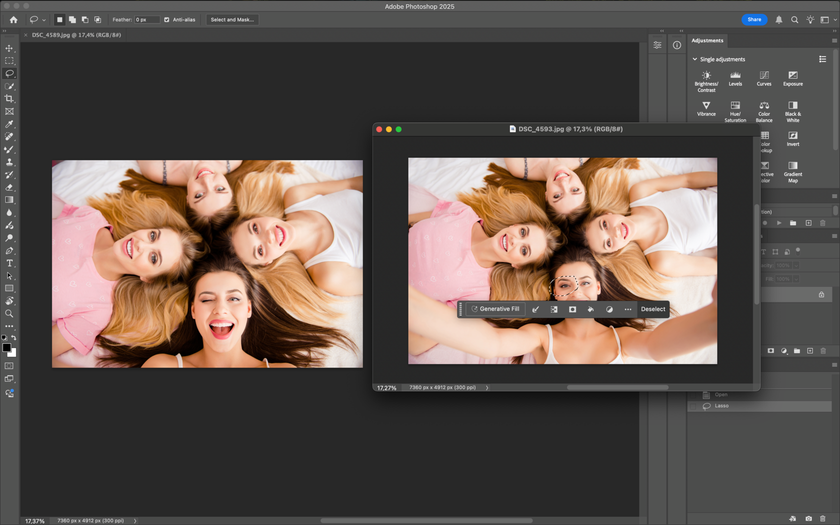
Next, you will want to select the open eyes from your source image.
Draw around the eye area in your source image using the Lasso Tool or Quick Selection Tool.
Having chosen, use Ctrl + C or on Mac Cmd + C to copy this area.
By doing this step, you will set up the closed-eyes replacement without disturbing the rest of your original photo. This is an important part of discovering how to replace eyes in Photoshop without losing quality.
Step 3: Paste Eyes into Original Photo

Now that you have copied your eyes, return to your original photo with the closed ones and paste the selection you copied.
Press Ctrl + V or Cmd + V on Mac to glue your open eyes onto your main image.
When you paste this selection into Photoshop, it will open a new layer. This added layer allows you to adjust your eyes independently and without touching the chosen photo, a concept called image layering.
Another important thing in keeping a photograph natural when learning how to swap eyes in Photoshop is having the pasted ones on a different layer. This will let you adjust its size, angle, and positioning accurately by having new eyes on a separate layer.
Step 4: Adjust Size and Eye Position

Once the new eyes are placed on your original image, it is time to set them correctly. You need to resize and rotate to make your edit look natural.
Select the new eye layer.
If necessary, scale or rotate them using the options of the Edit menu: Edit > Transform > Scale or Edit > Transform > Rotate.

This is a critical step in learning how to change eyes in Photoshop and get a realistic result. You’d be surprised how minor adjustments here can make all the difference in keeping your edit from looking fake. If you have to refine skin tones around your eyes, take a look at this guide on how to fix overexposed photos, keeping the balance of skin color.
Step 5: Blend Eyes into the Original Image

A blending process helps merge your new eyes with the original image so that edit appears natural.
Select the Eraser Tool or put a Layer Mask on the eye layer.
Gently remove or mask edges that might seem out of place, feathering the transition between the original image and the pasted eyes.
Smoothen well and make natural transitions at the eyelids and brow line. A soft brush works best here for finer details. That way, the photo’s viewer will never notice that some editing has been done.
Step 6: Retouch Any Additional Details
 Even with optimal positioning and blending, some differences in color or lighting may still appear between the two layers. Here’s how to make those final adjustments:
Use the Dodge Tool to lighten the shadows around the eyes.
Use the Burn Tool to darken areas all over.
Adjust the color balance or brightness as needed to get that just right match.
For example, if your edit has introduced graininess around the eyes, check out this article on how to fix grainy photos to smoothen any image. These finishing touches will help your photo look cohesive and professional even after replacing the eyes.
How to Use Clone Stamp Tool for Precise Corrections

Clone Stamp Tool is awesome for cleaning up any small inconsistencies that are left over from either replacing or swapping eyes in Photoshop. This tool will let you sample parts of the image and then “paint” over imperfections, which helps the replaced eyes continue more naturally into the original photo.
Select the Clone Stamp Tool by clicking it in the toolbar.
Set the brush to a low opacity-say, 30%-and build up your corrections gradually.
Sample locally by holding Alt or Option on Mac, then click around eyes in areas you want to feather.

Clone Stamp Tool is so fine it is ideal for those tricky areas, like fine skin tone refinement around the eyelids or shadow manipulations. This little touch can make all the difference between looking seamless and not.
Using Photoshop’s Automated Tools and AI Options
Several tools make These adjustments easier in Photoshop, especially for beginners. Face-Aware Liquify Tool helps identify elements of the face, making accurate changes possible. This automation is available outside of Photoshop using a red-eye photo editor. A red-eye editor can adjust the eye areas without having to adjust them manually to a large extent.
Troubleshooting Common Issues in Eye Replacement
 Even when doing your work carefully, there are bound to be a few problems associated with swapping eyes in Photoshop. Here is how you can overcome some of the common issues that may turn up:
Mismatched Lighting: Sometimes, lighting in the source image doesn’t quite match, causing a noticeable difference. Use Brightness/Contrast or Levels adjustment layers to fine-tune lighting on the pasted eyes, helping them blend naturally.
Different Skin Tones Around Eyes: A slight color mismatch around the eyes can show your edit. To subtly blend skin tones, use a low-opacity Clone Stamp Tool or adjust colors with the Hue/Saturation tool. Press the Blur Tool to insert a touch of blur to soften harsh transitions.
Final Word


How to open someone’s eyes in Photoshop may seem daunting at first. Still, it’s easier than you think once you go through the proper steps. Tools like Clone Stamp, adjustment layers, and image layering-aided options to replace using AI make this process quite easy and fun. With a little practice, closed eyes can be transformed into vibrant gazes that add life to your images. So roll up your sleeves, and let’s dive into creative possibilities. You will be amazed at the results you can achieve!
 >
>
