View plans

Design Overlay Pictures

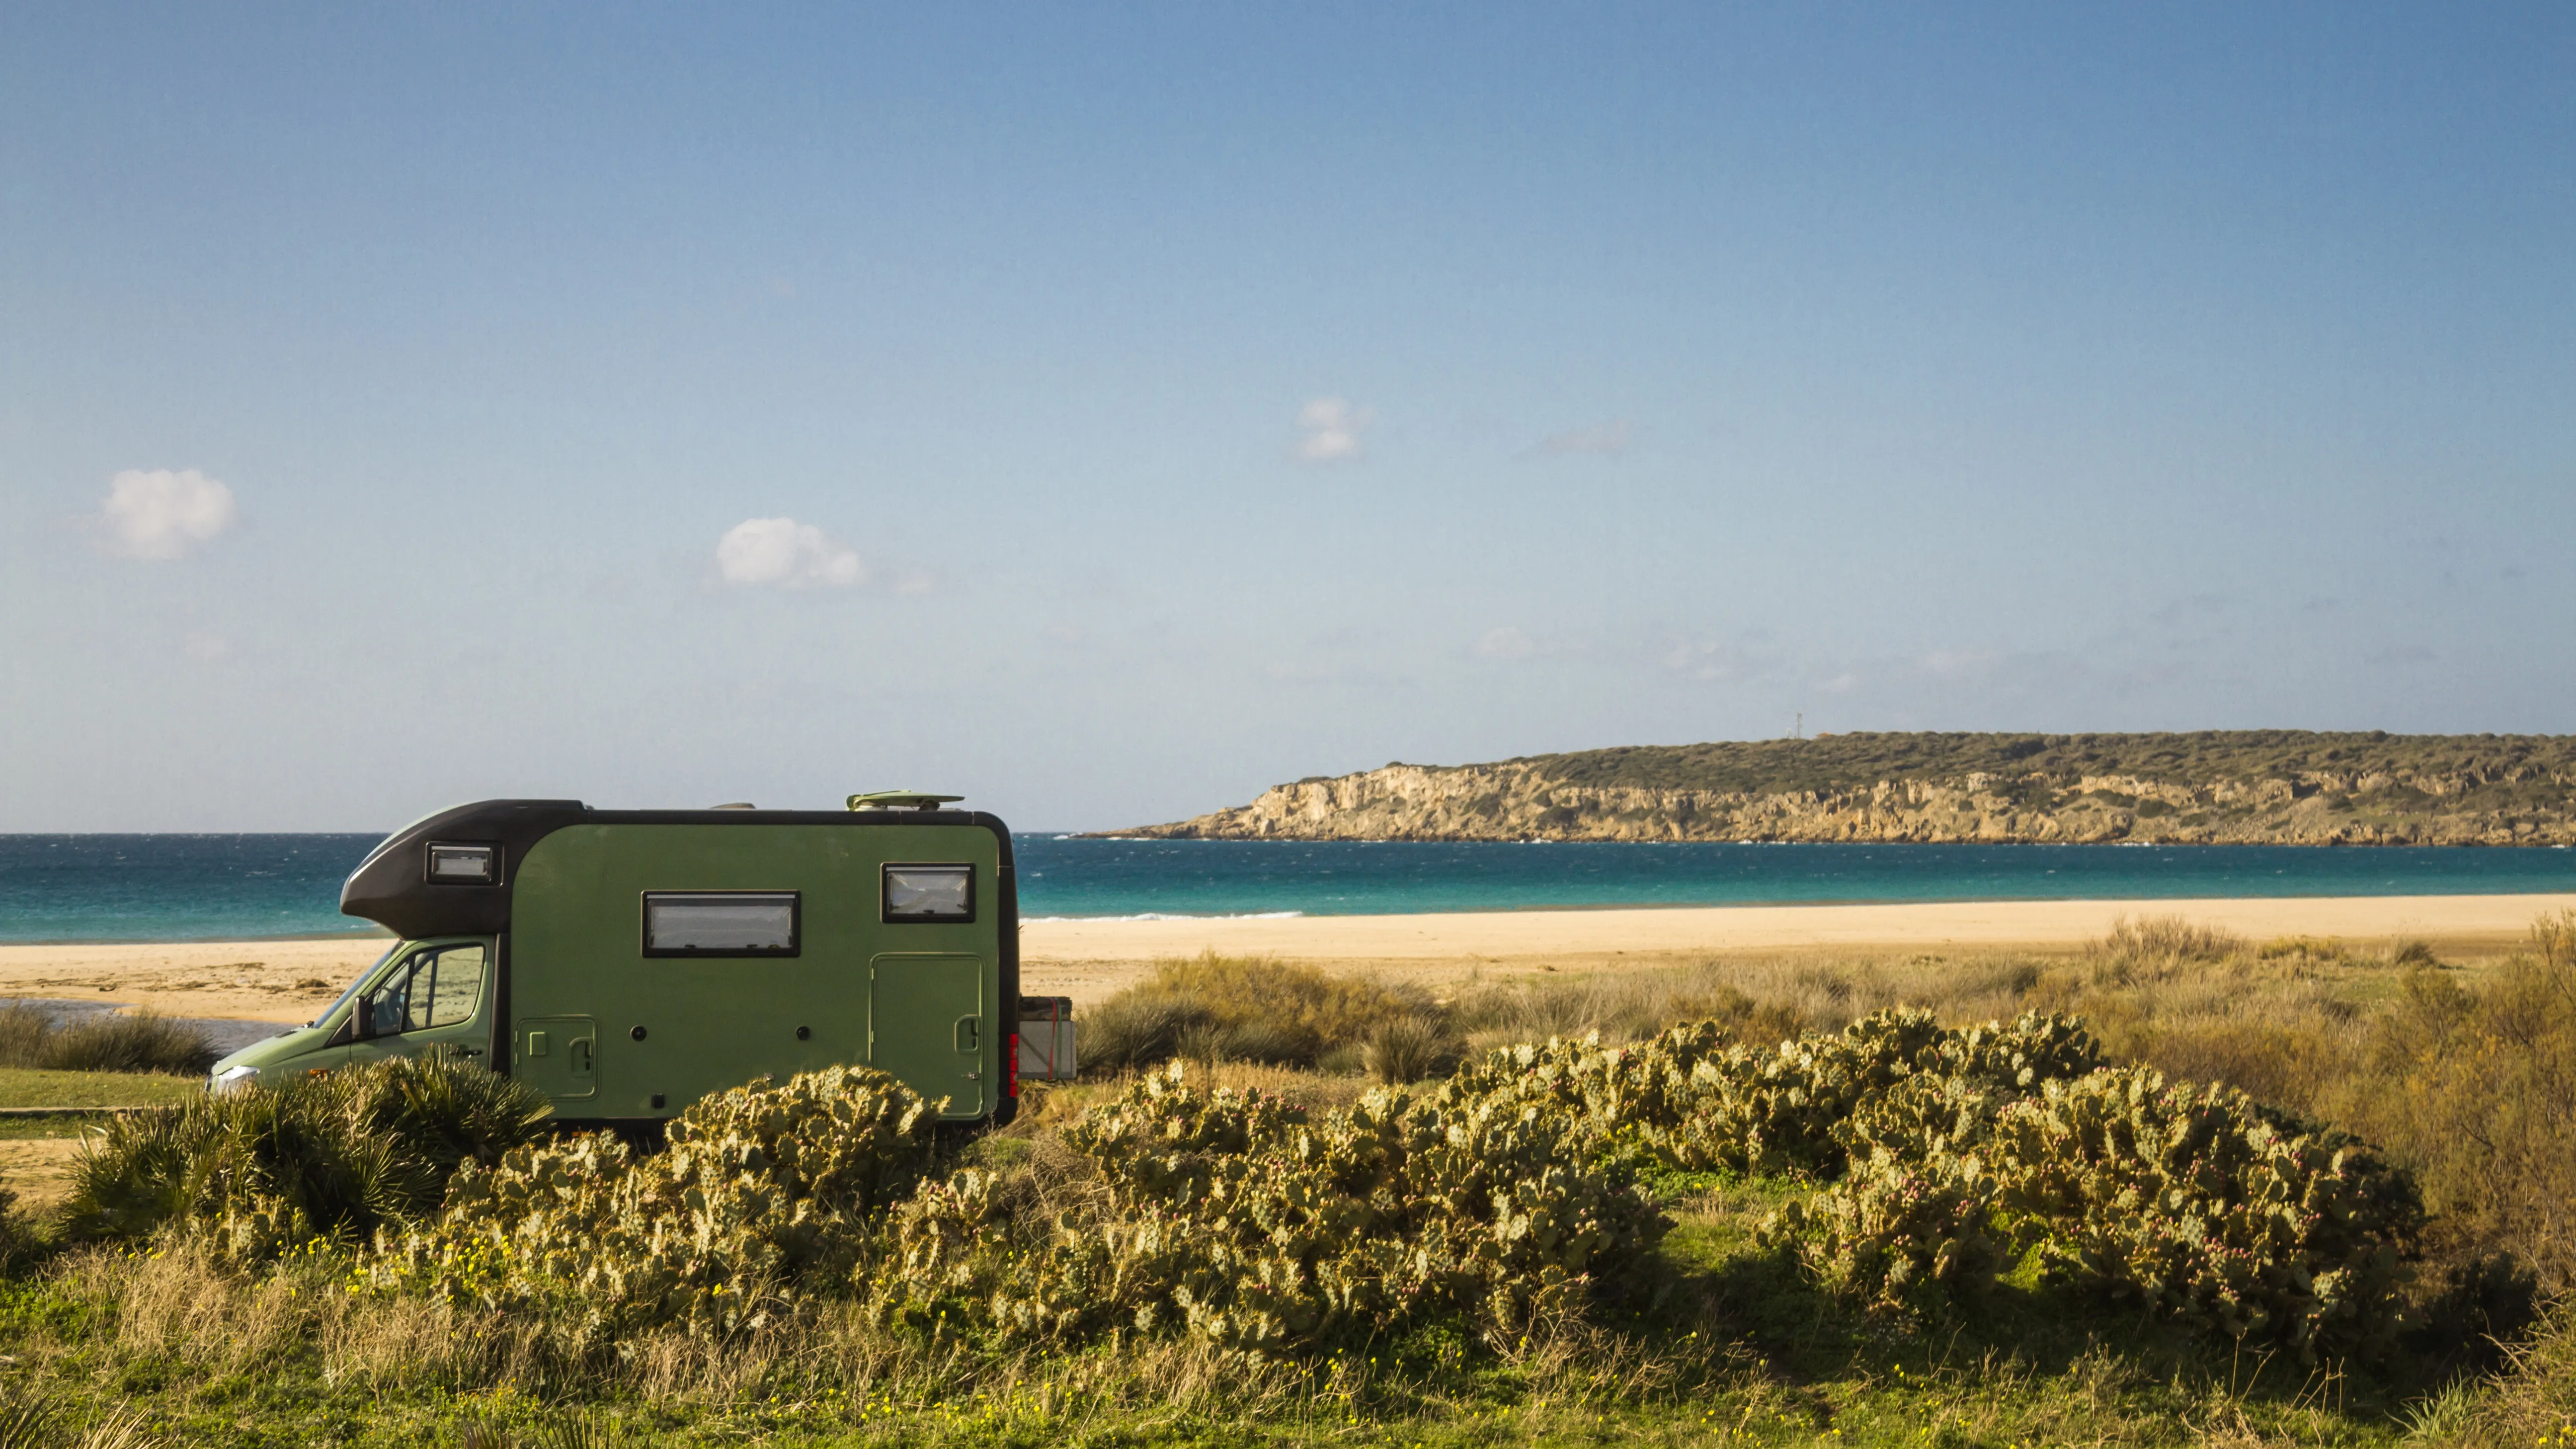
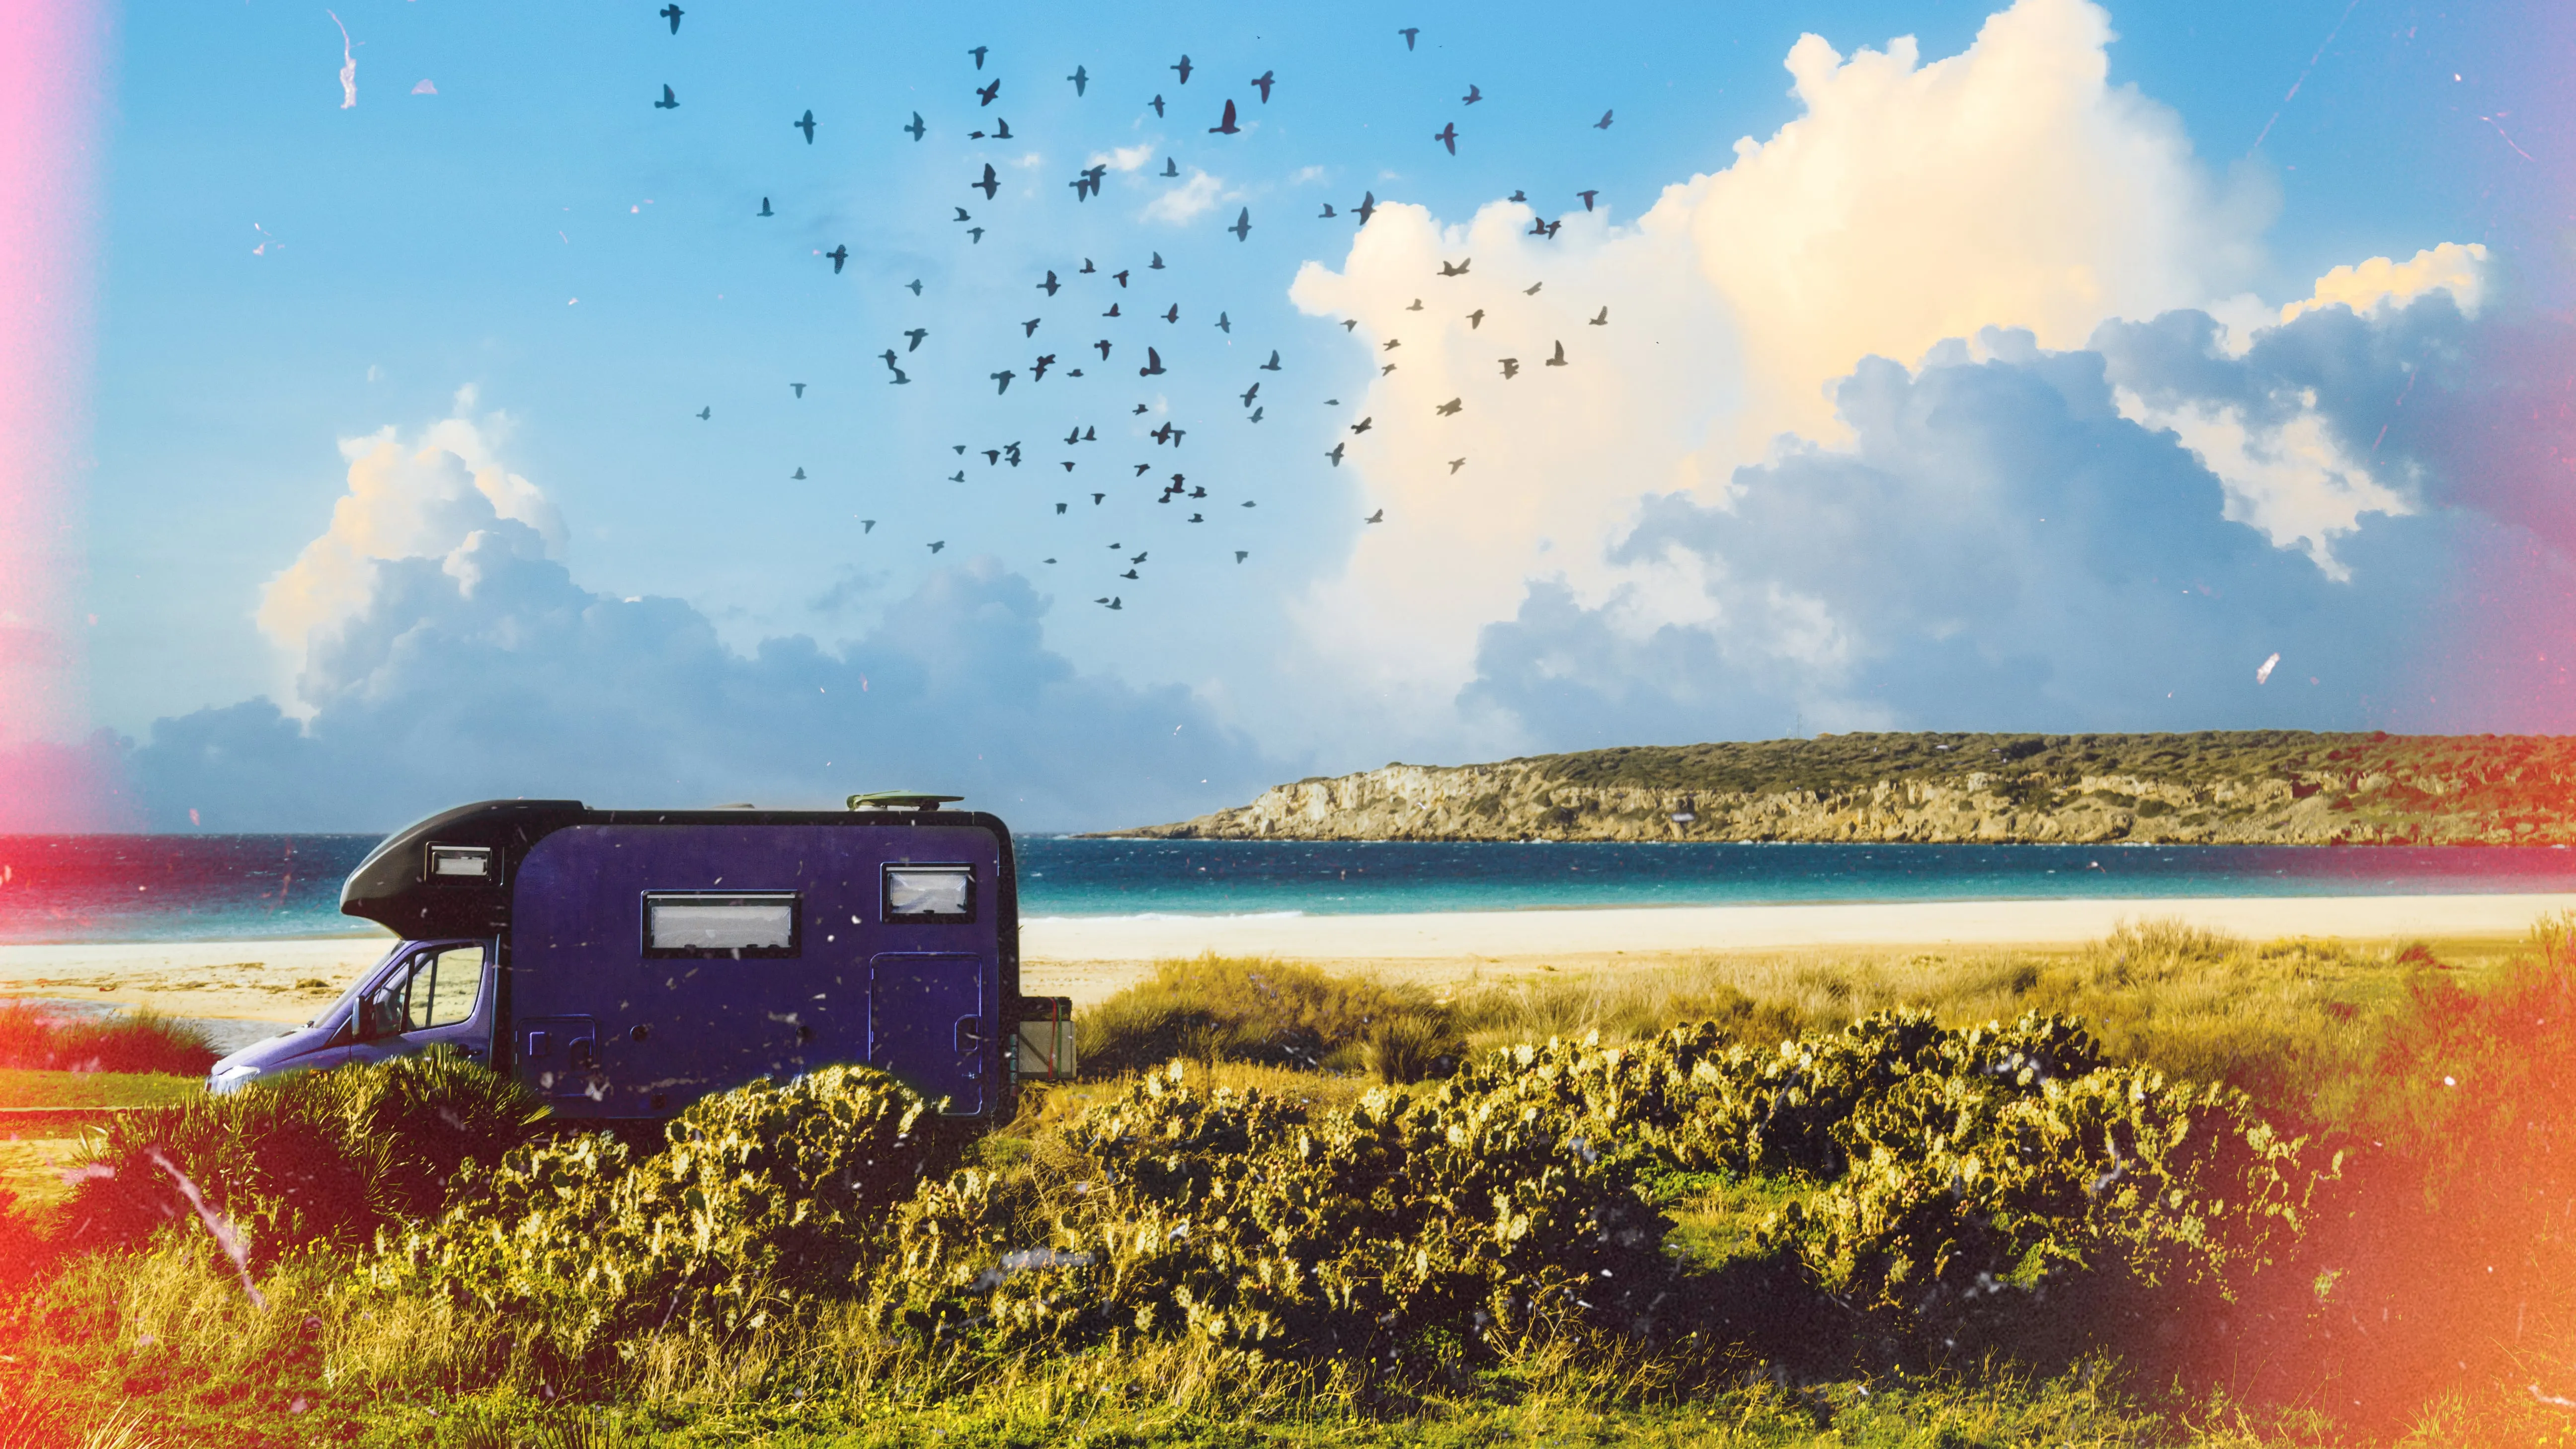
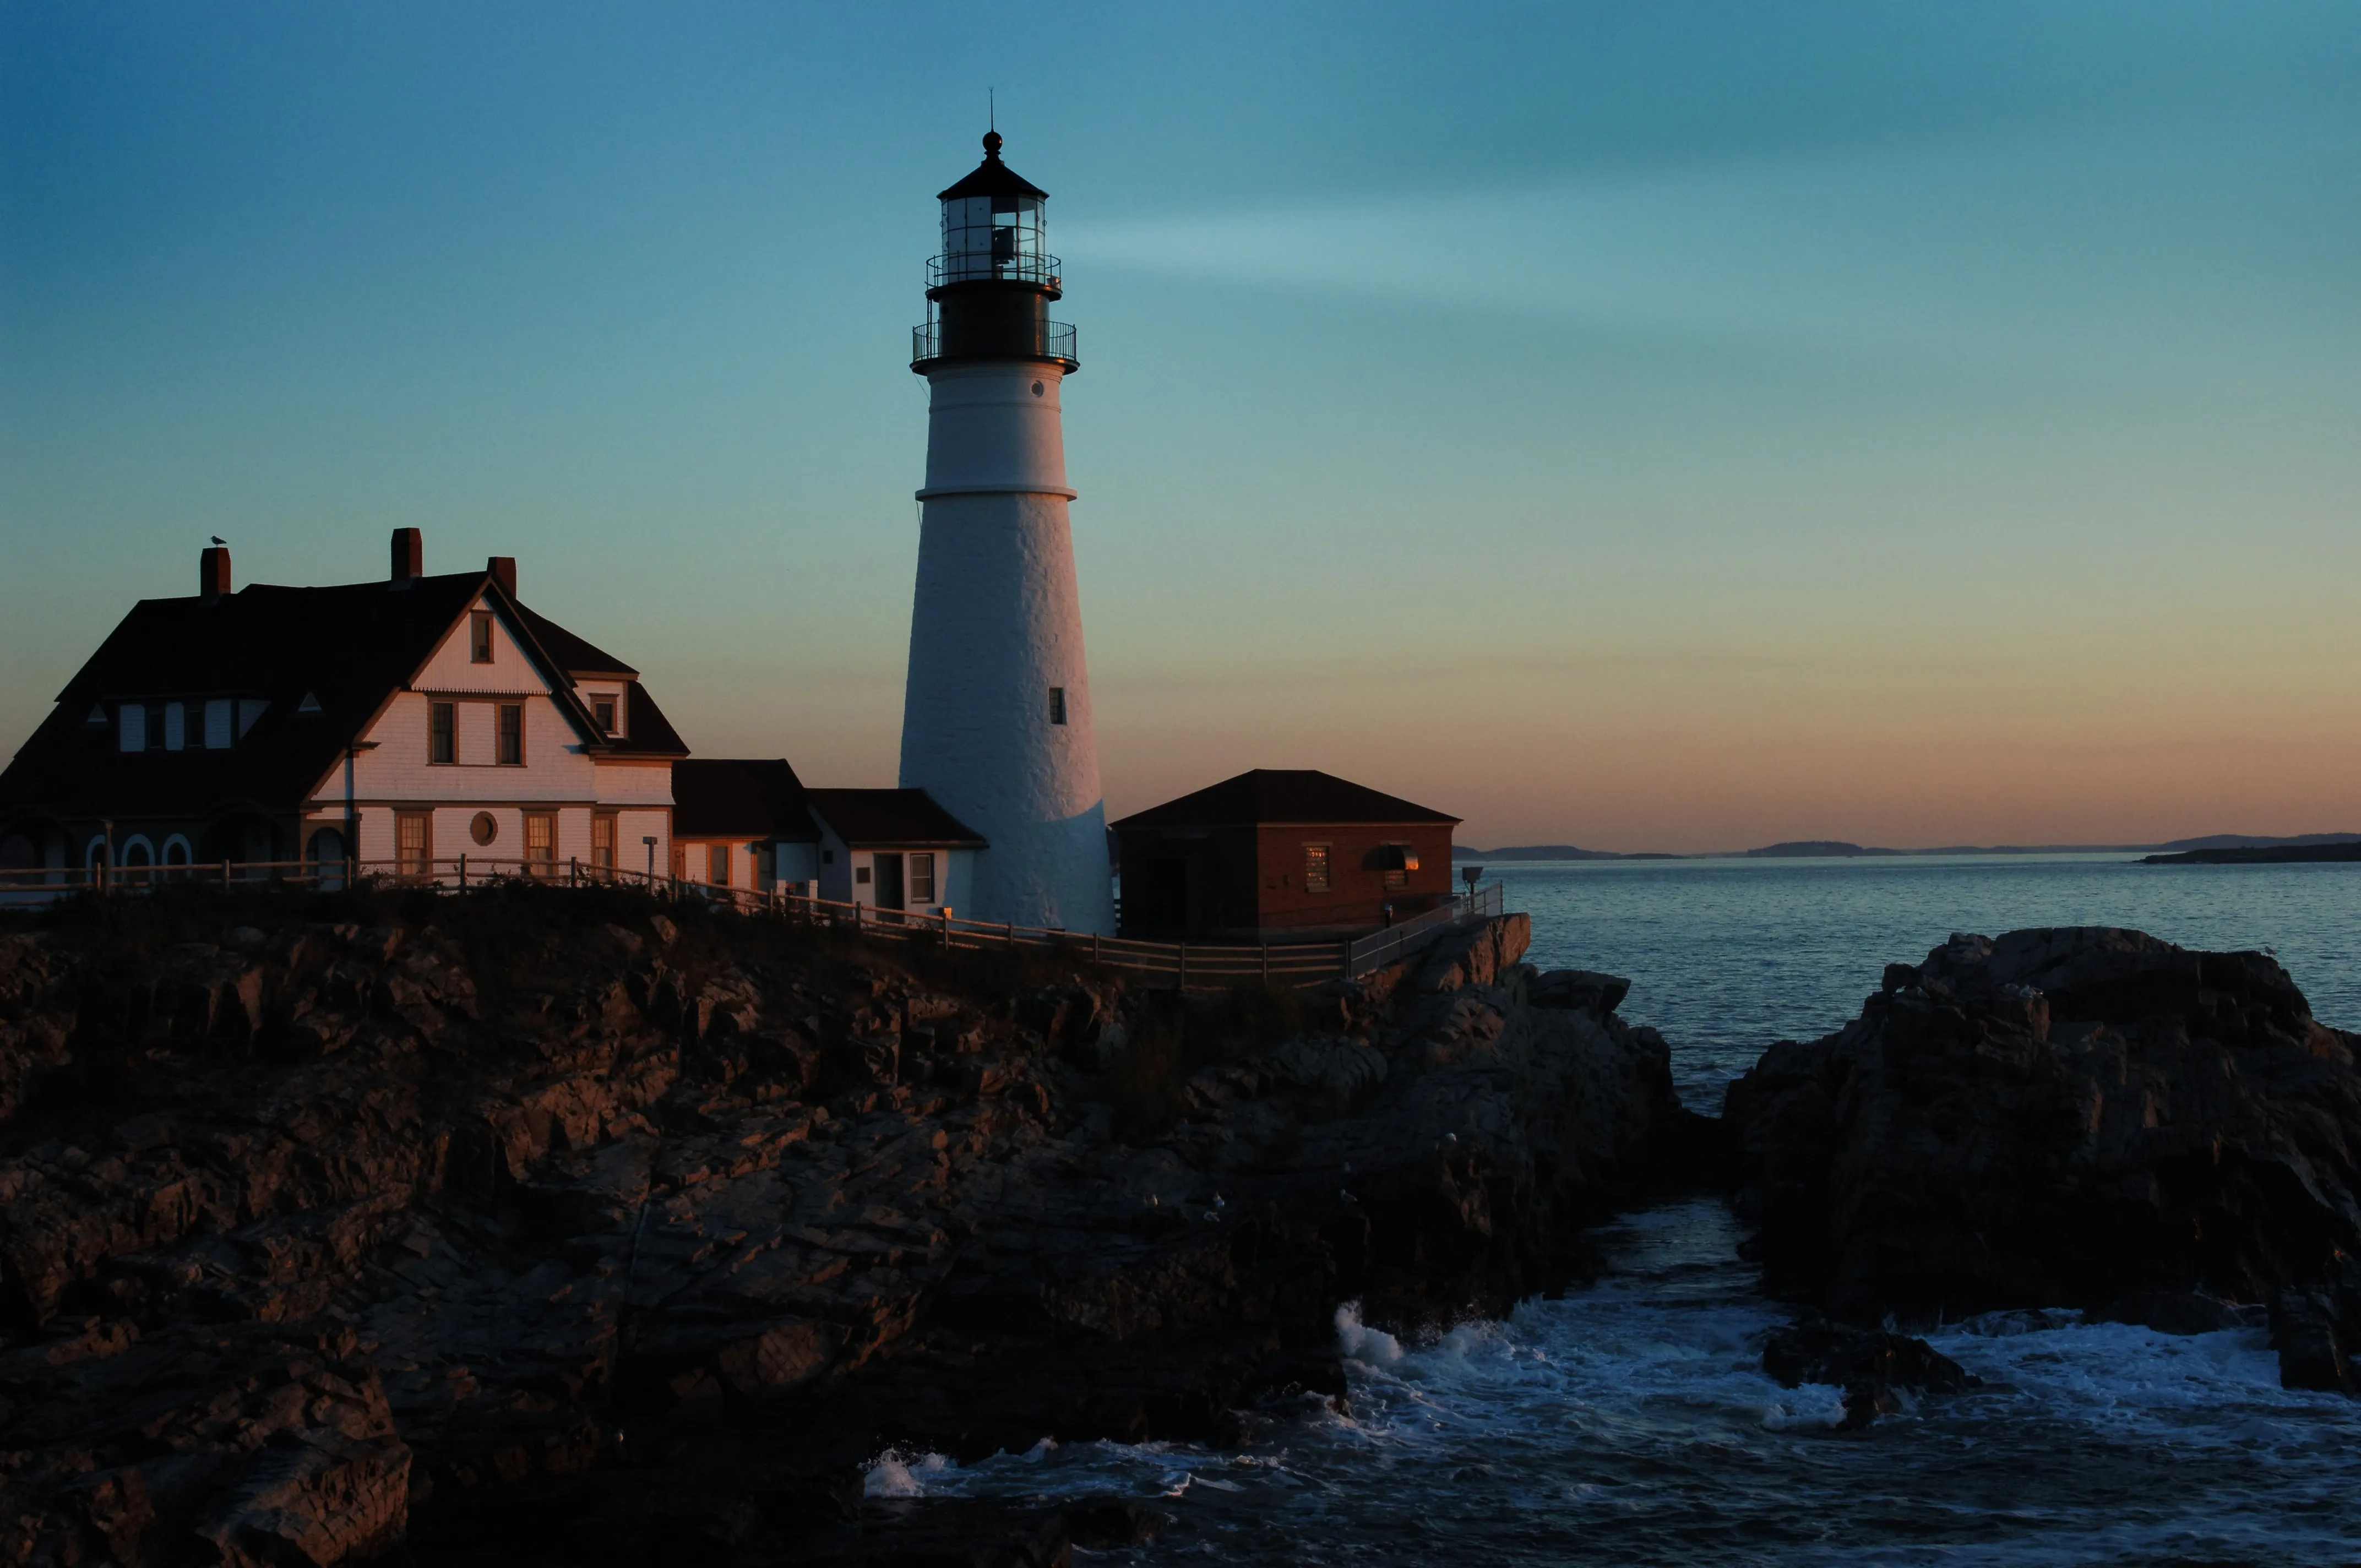
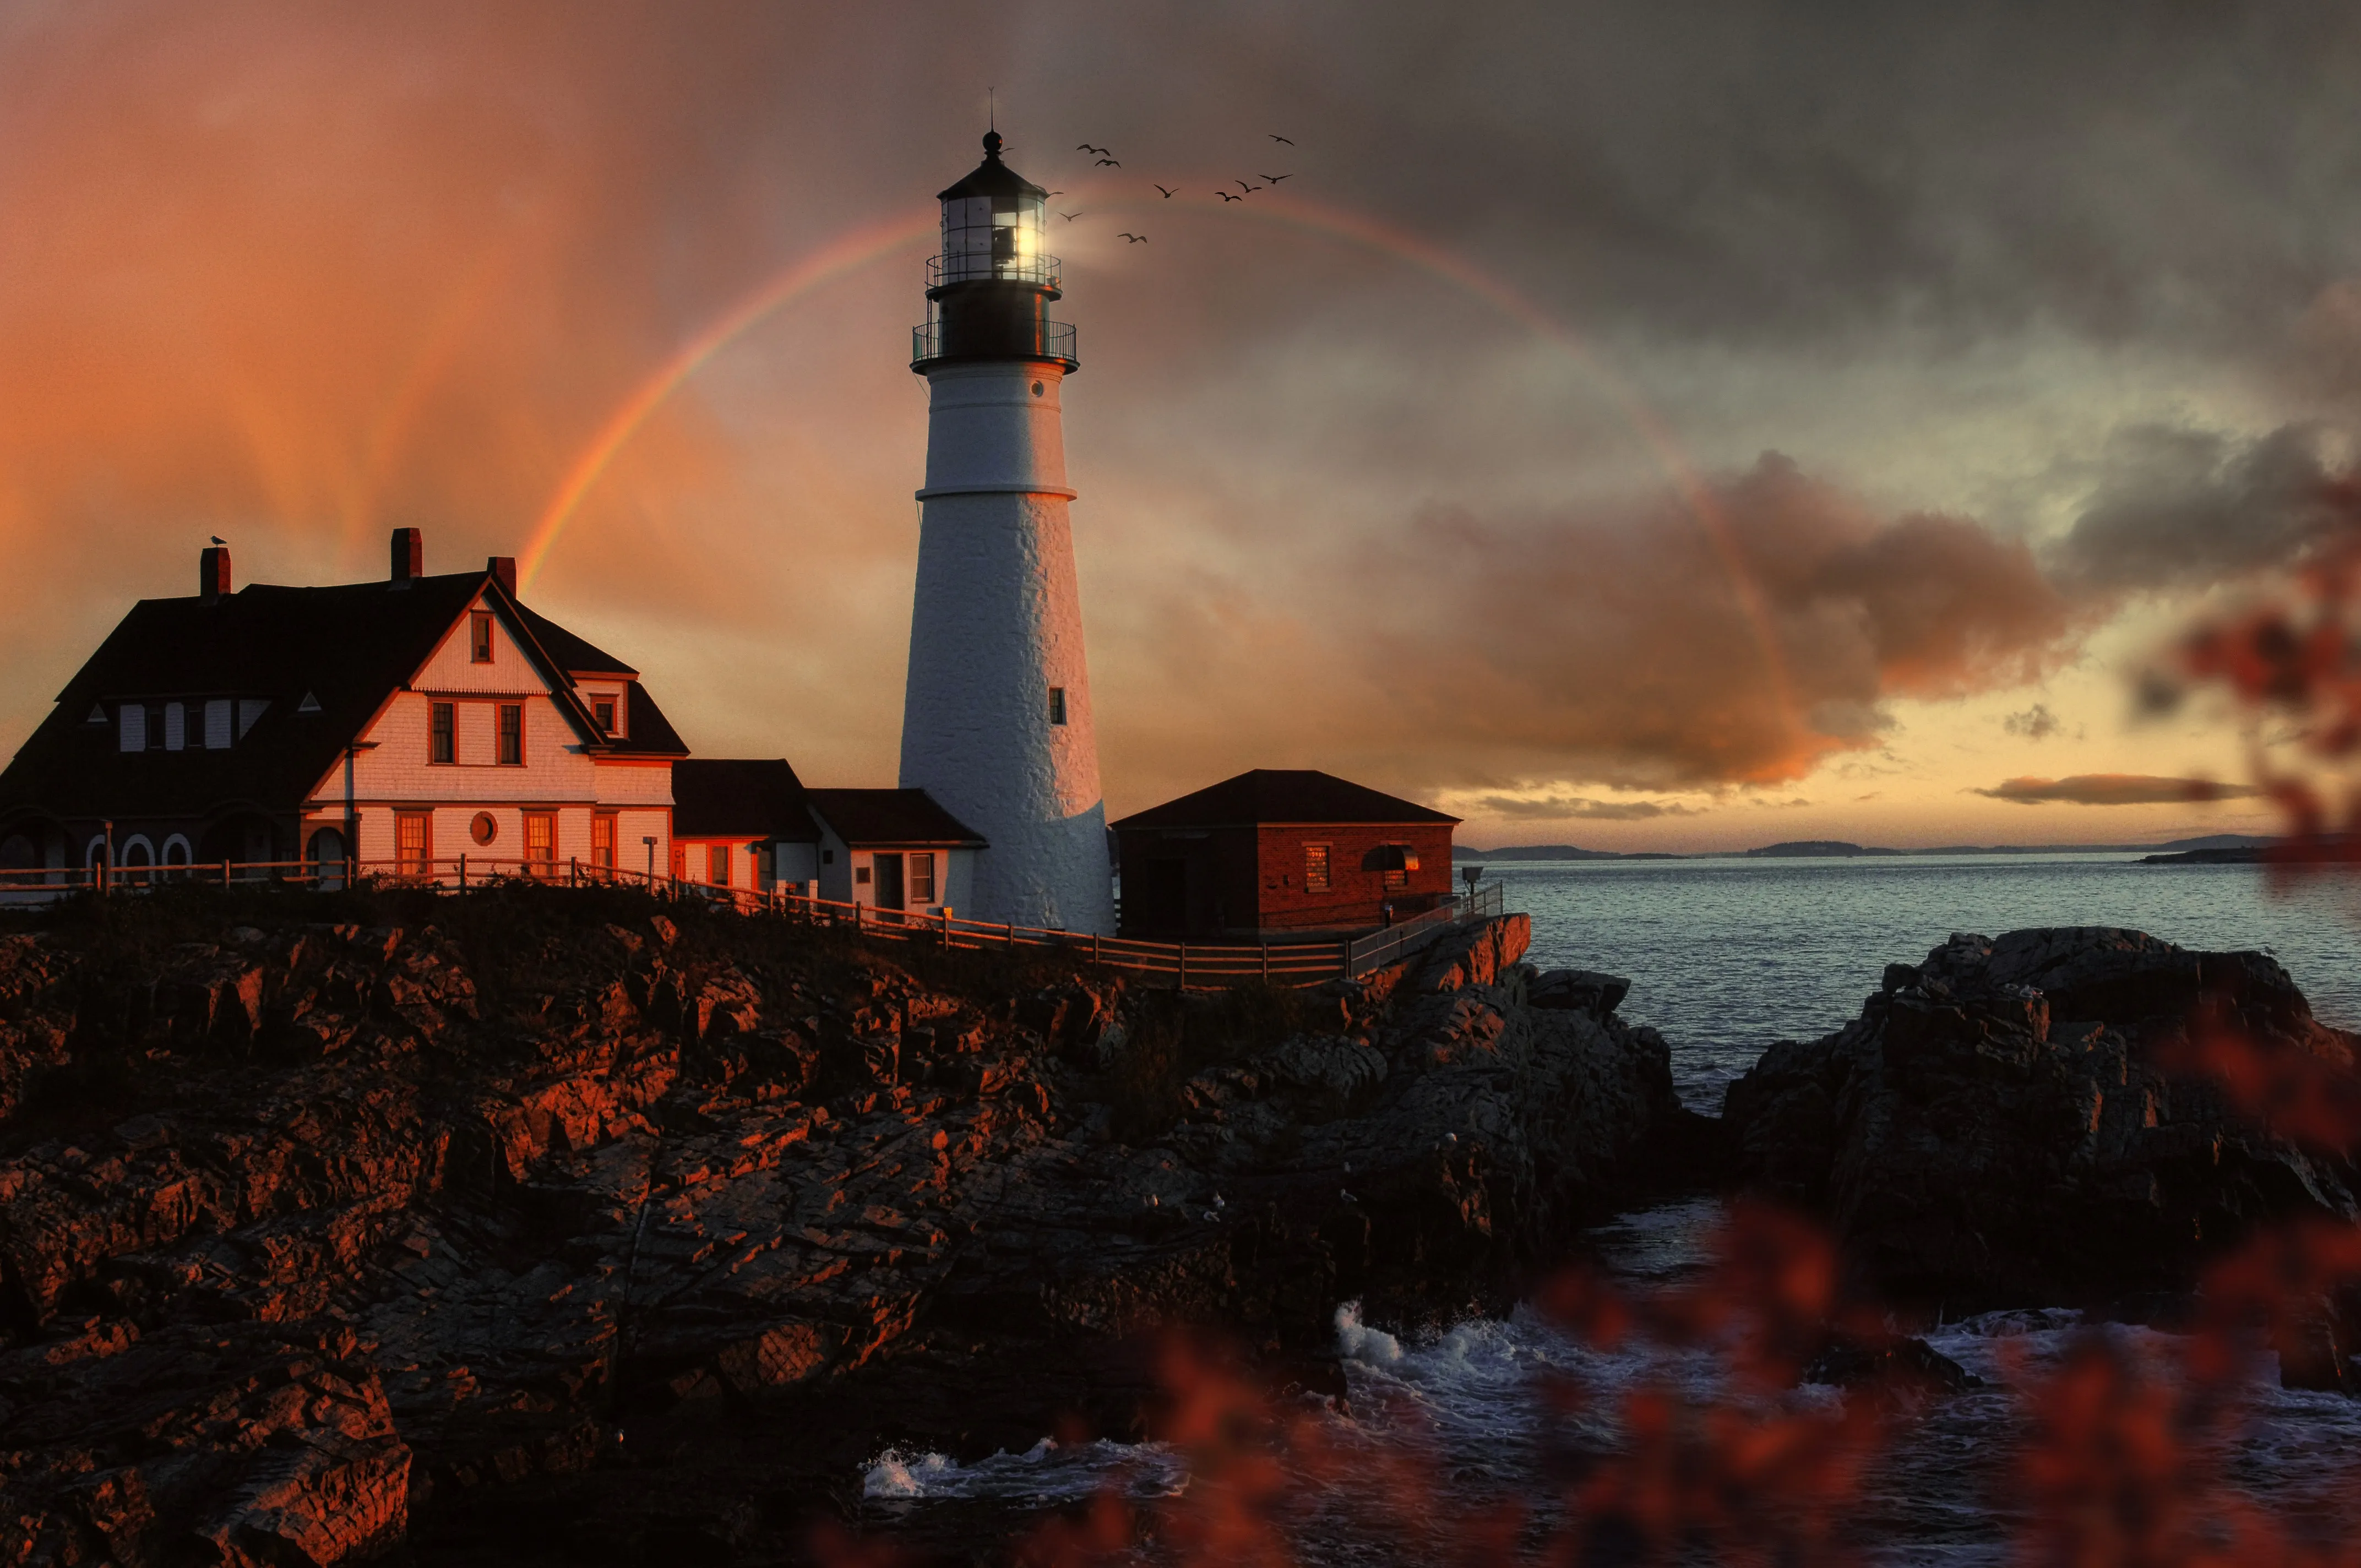
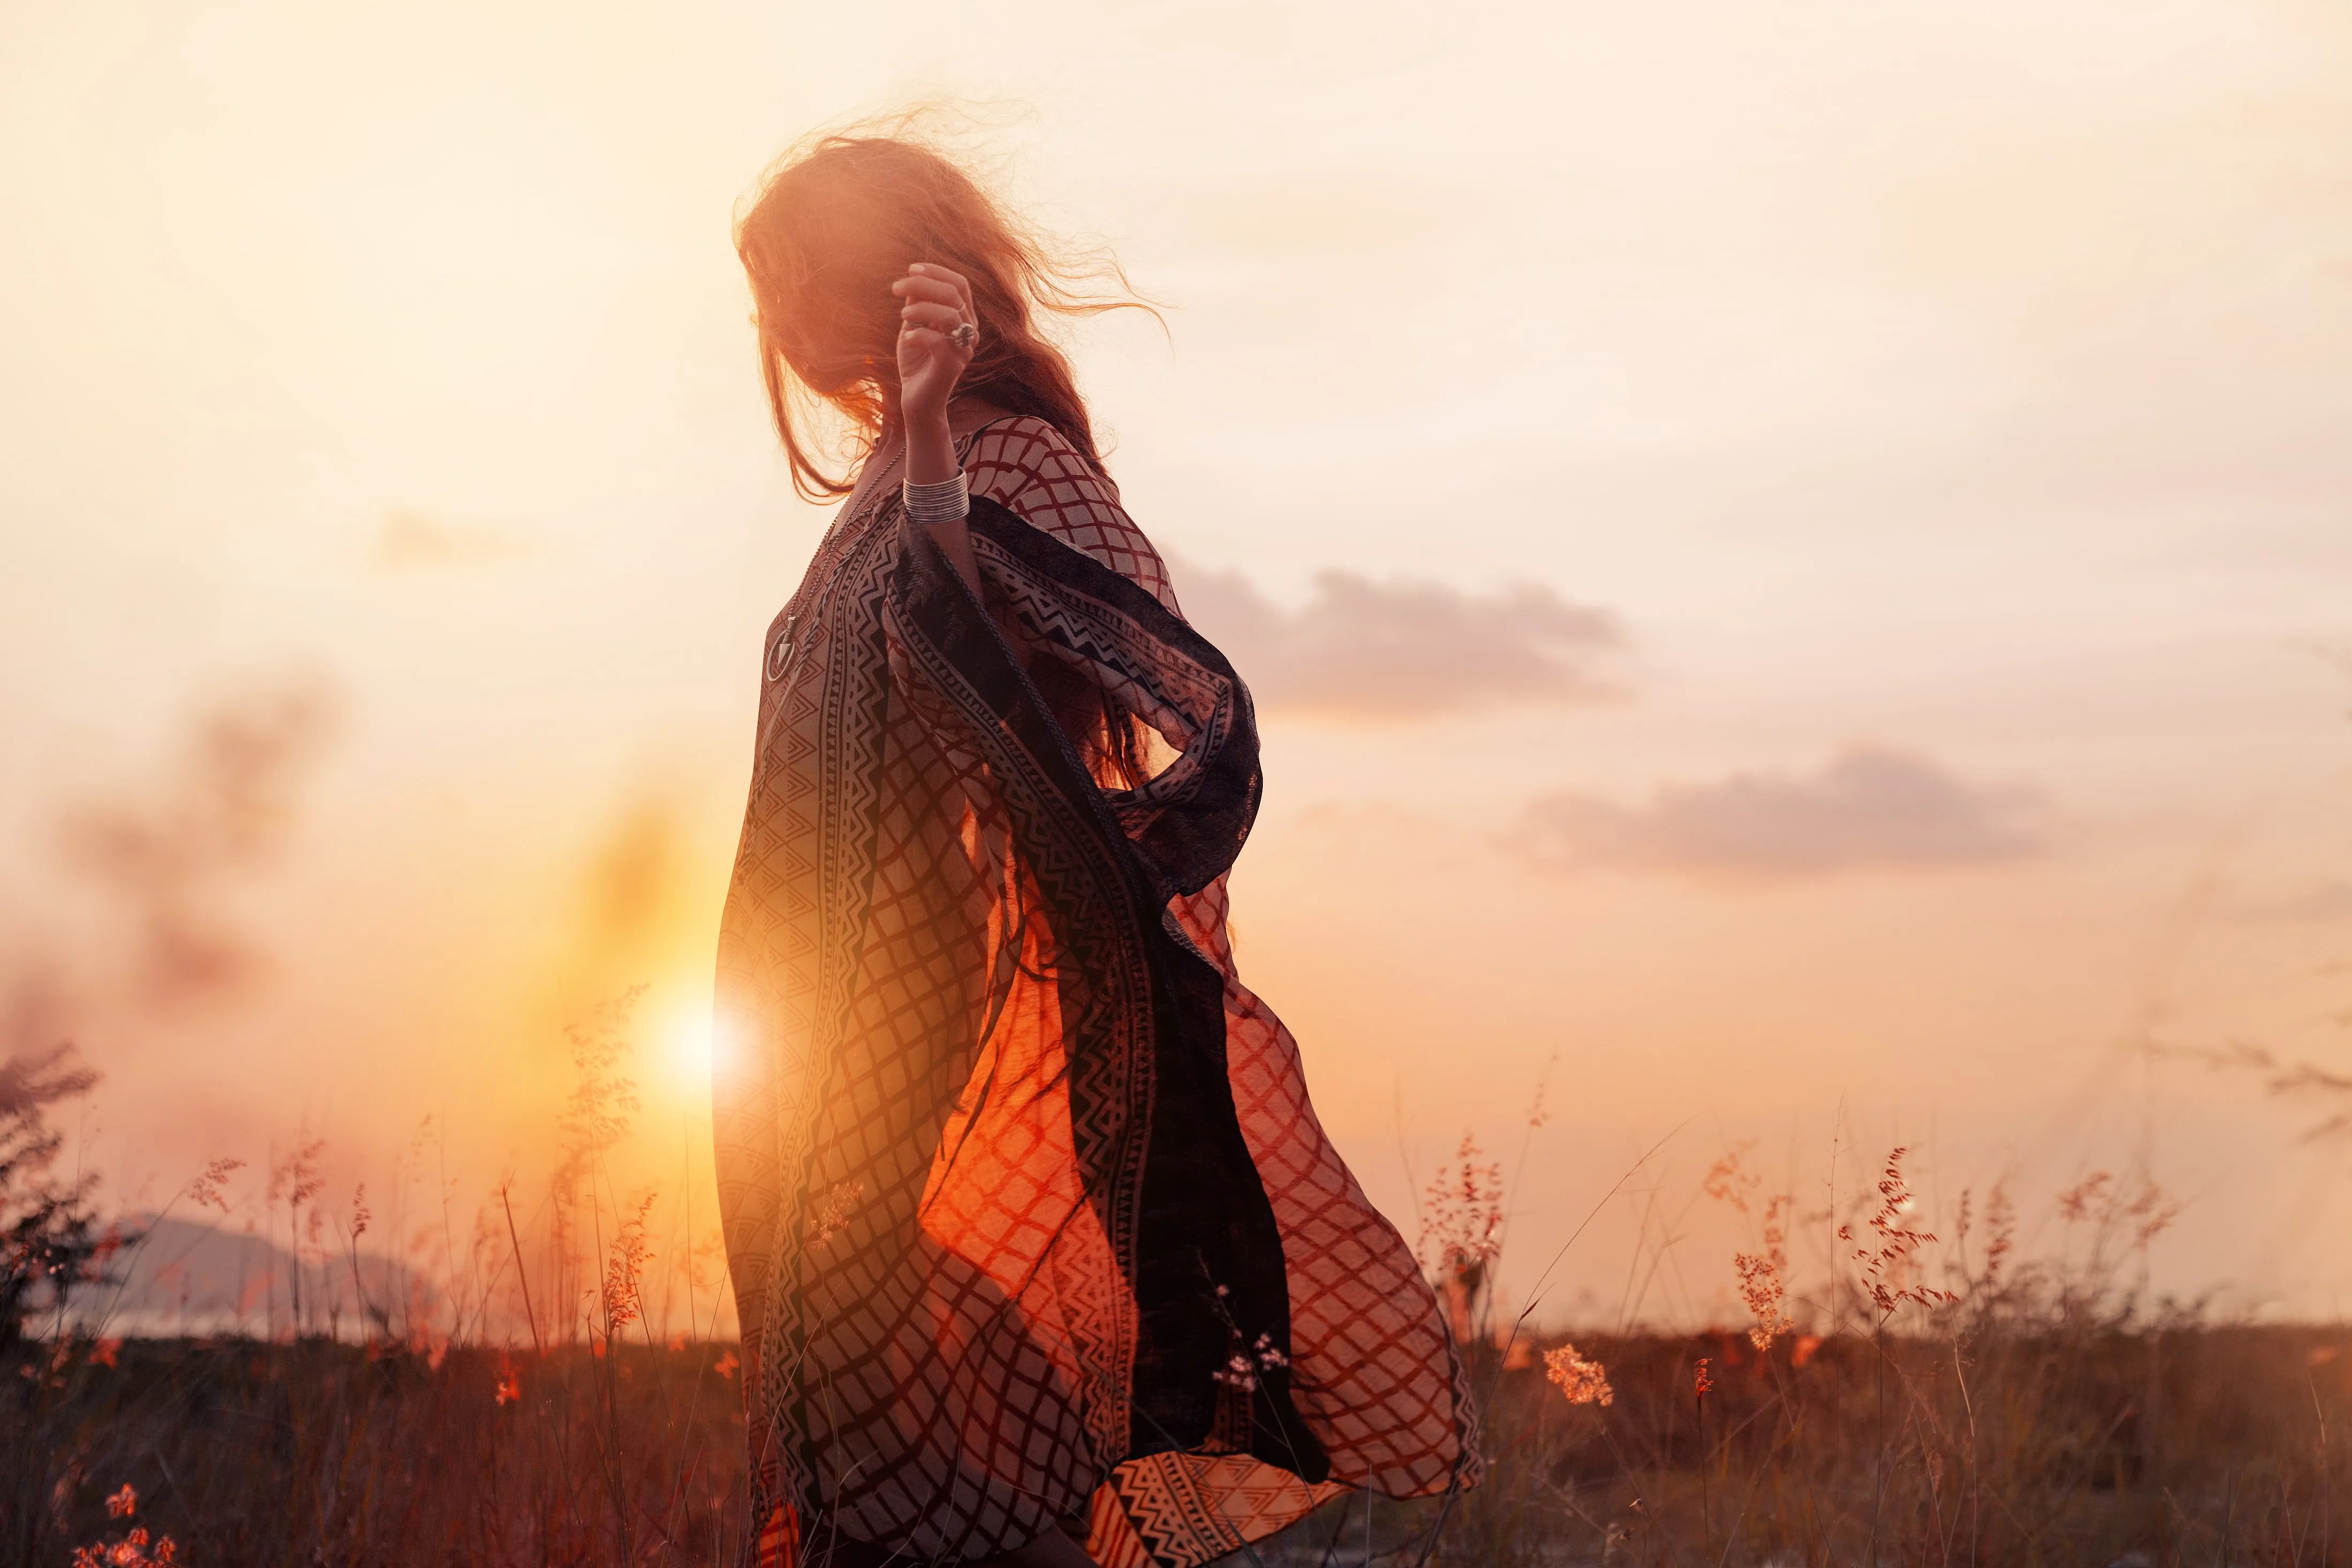
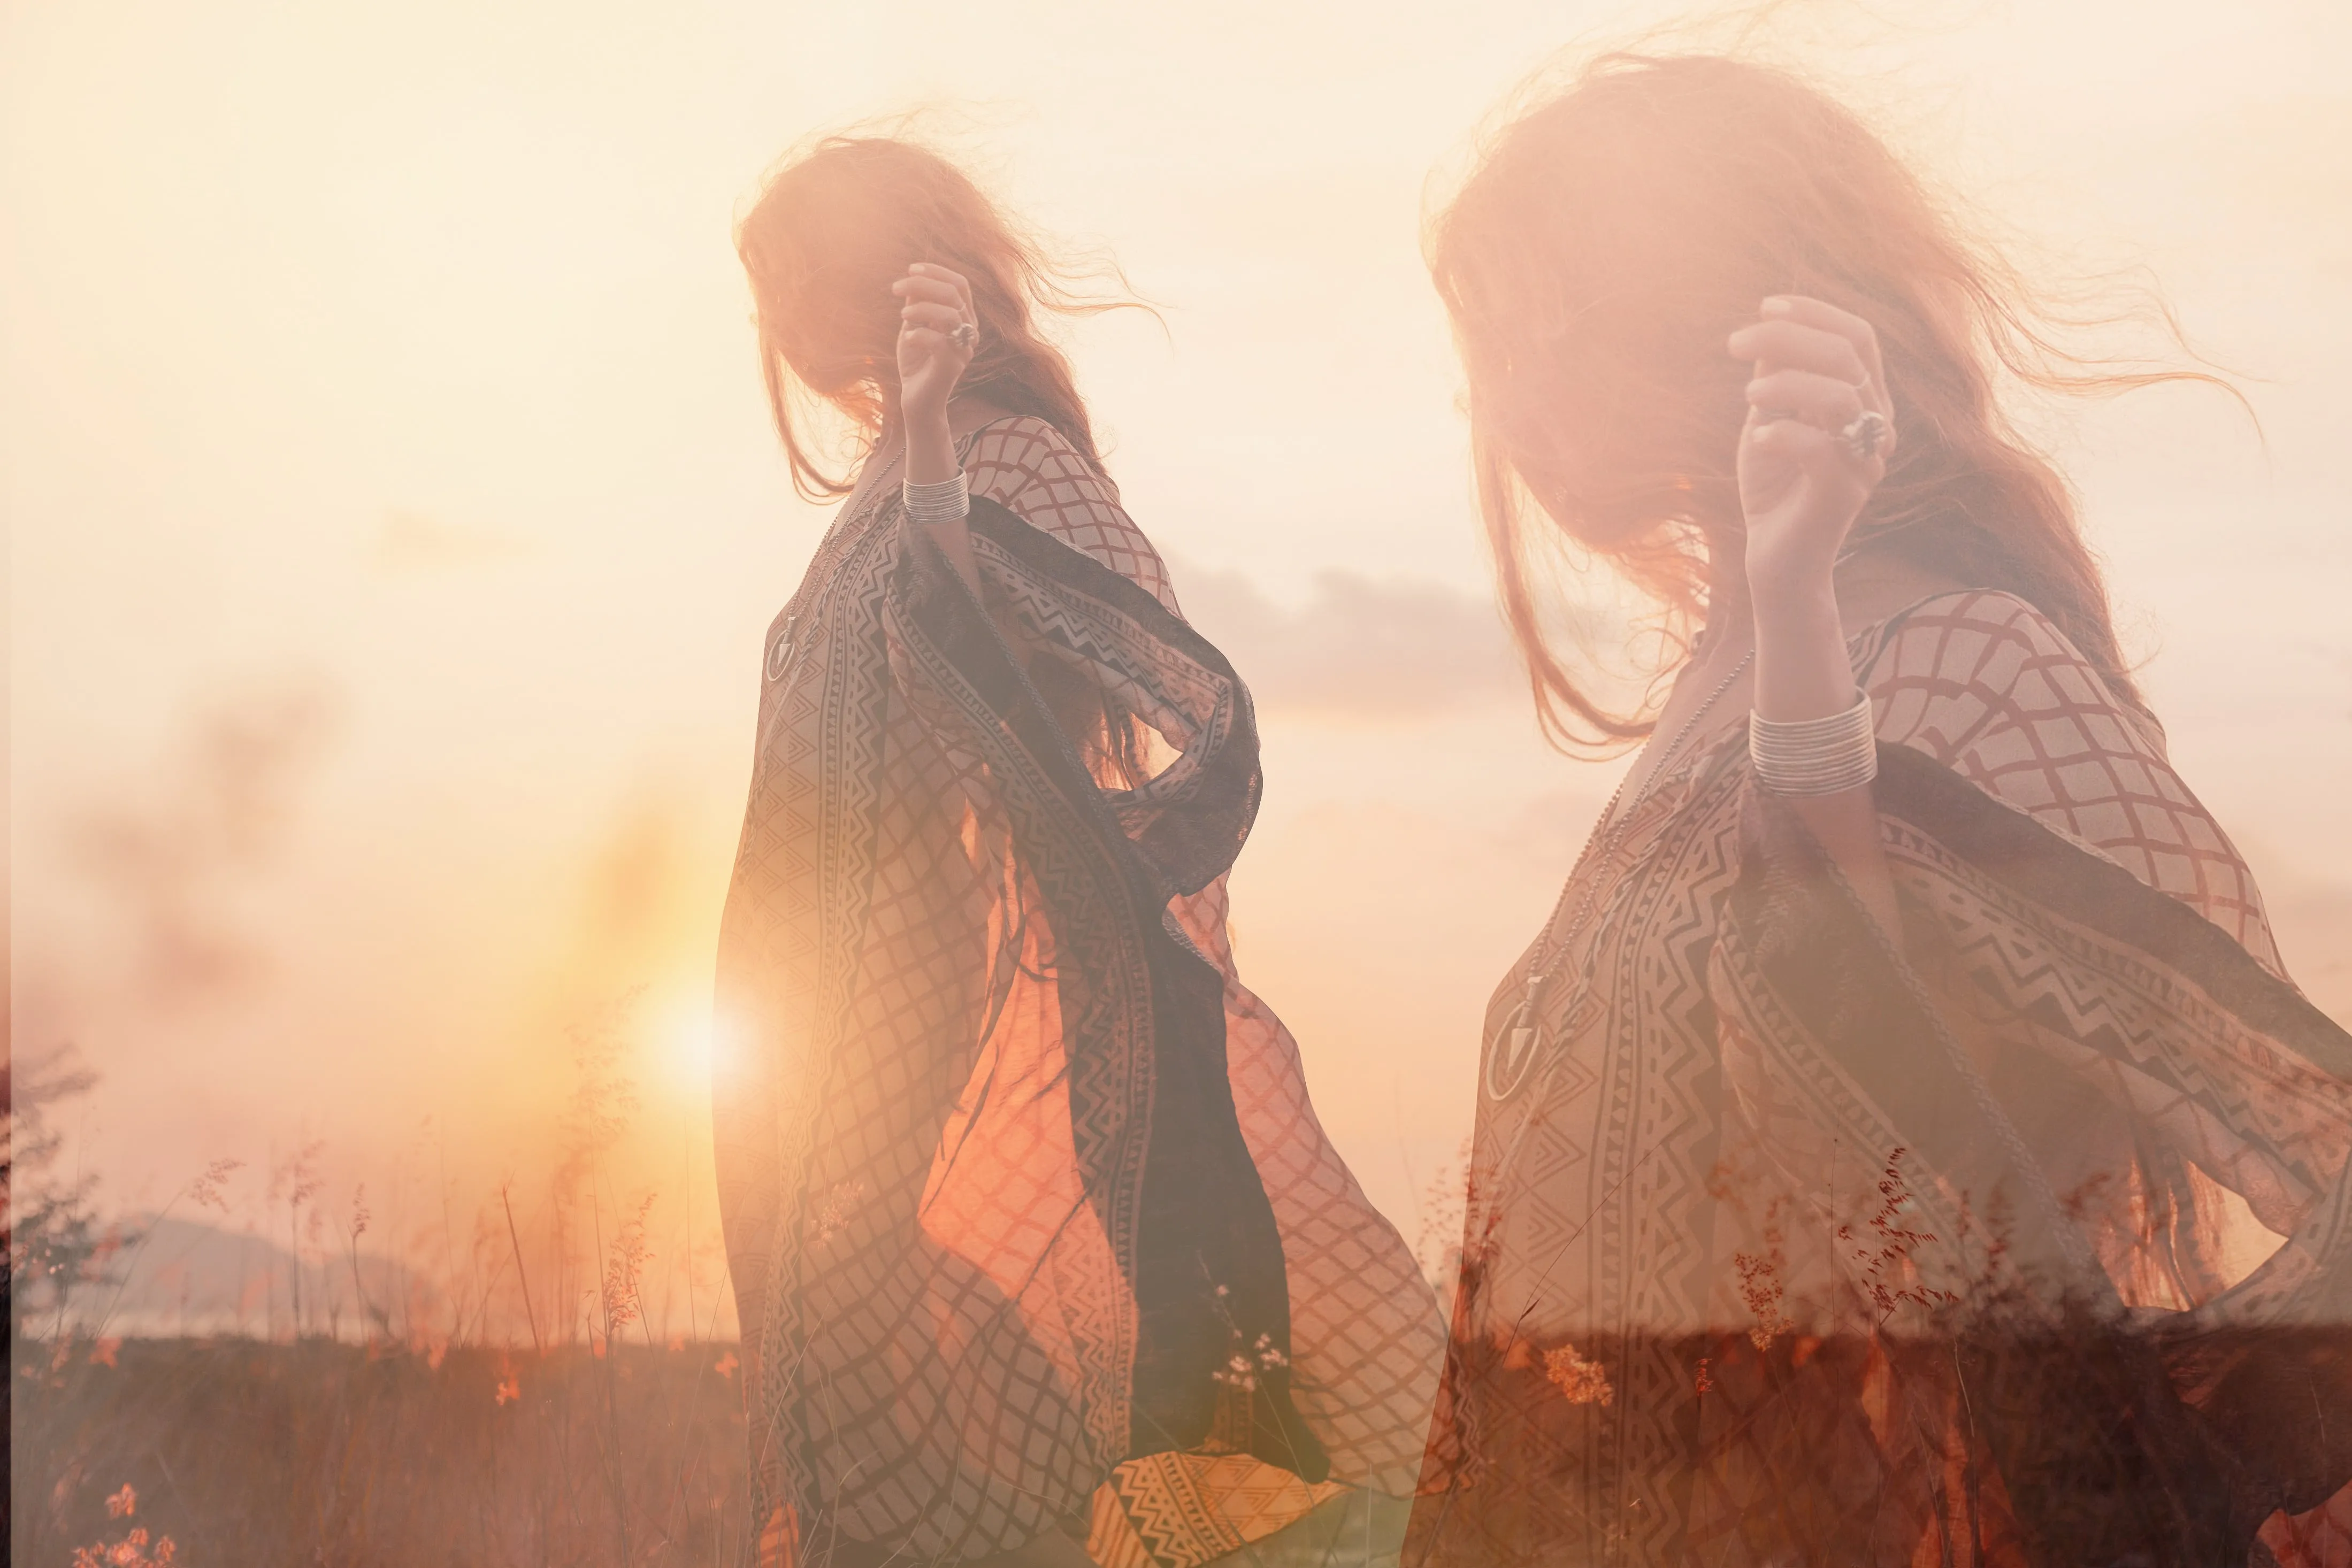
Overlays refer to additional elements or layers that are superimposed onto an existing image to create a desired effect or enhance its visual appeal. These Overlays can include textures, patterns, graphics, text, light effects, or other visual elements that are placed on top of the original photograph

View plans

How to Seamlessly Blend and Overlay Two Images?

© Ksenia Kazak
Effortlessly put an image on top of another in the Layers tab. Luminar lets you easily play around with Overlays – superimposing, blending, scaling, and rotating images.

Why Choose Picture Layering for a Dazzling Visual Impact?

Overlays can enhance the visual appeal of an image. By combining images, graphics, or text, you can create visually stunning and innovative compositions.

This can be used in digital art, graphic design, or creative photography to evoke specific emotions or messages.
(2)
(3)
(4)
Before
After
© Datsiukbogdan
(5)
(6)
(7)
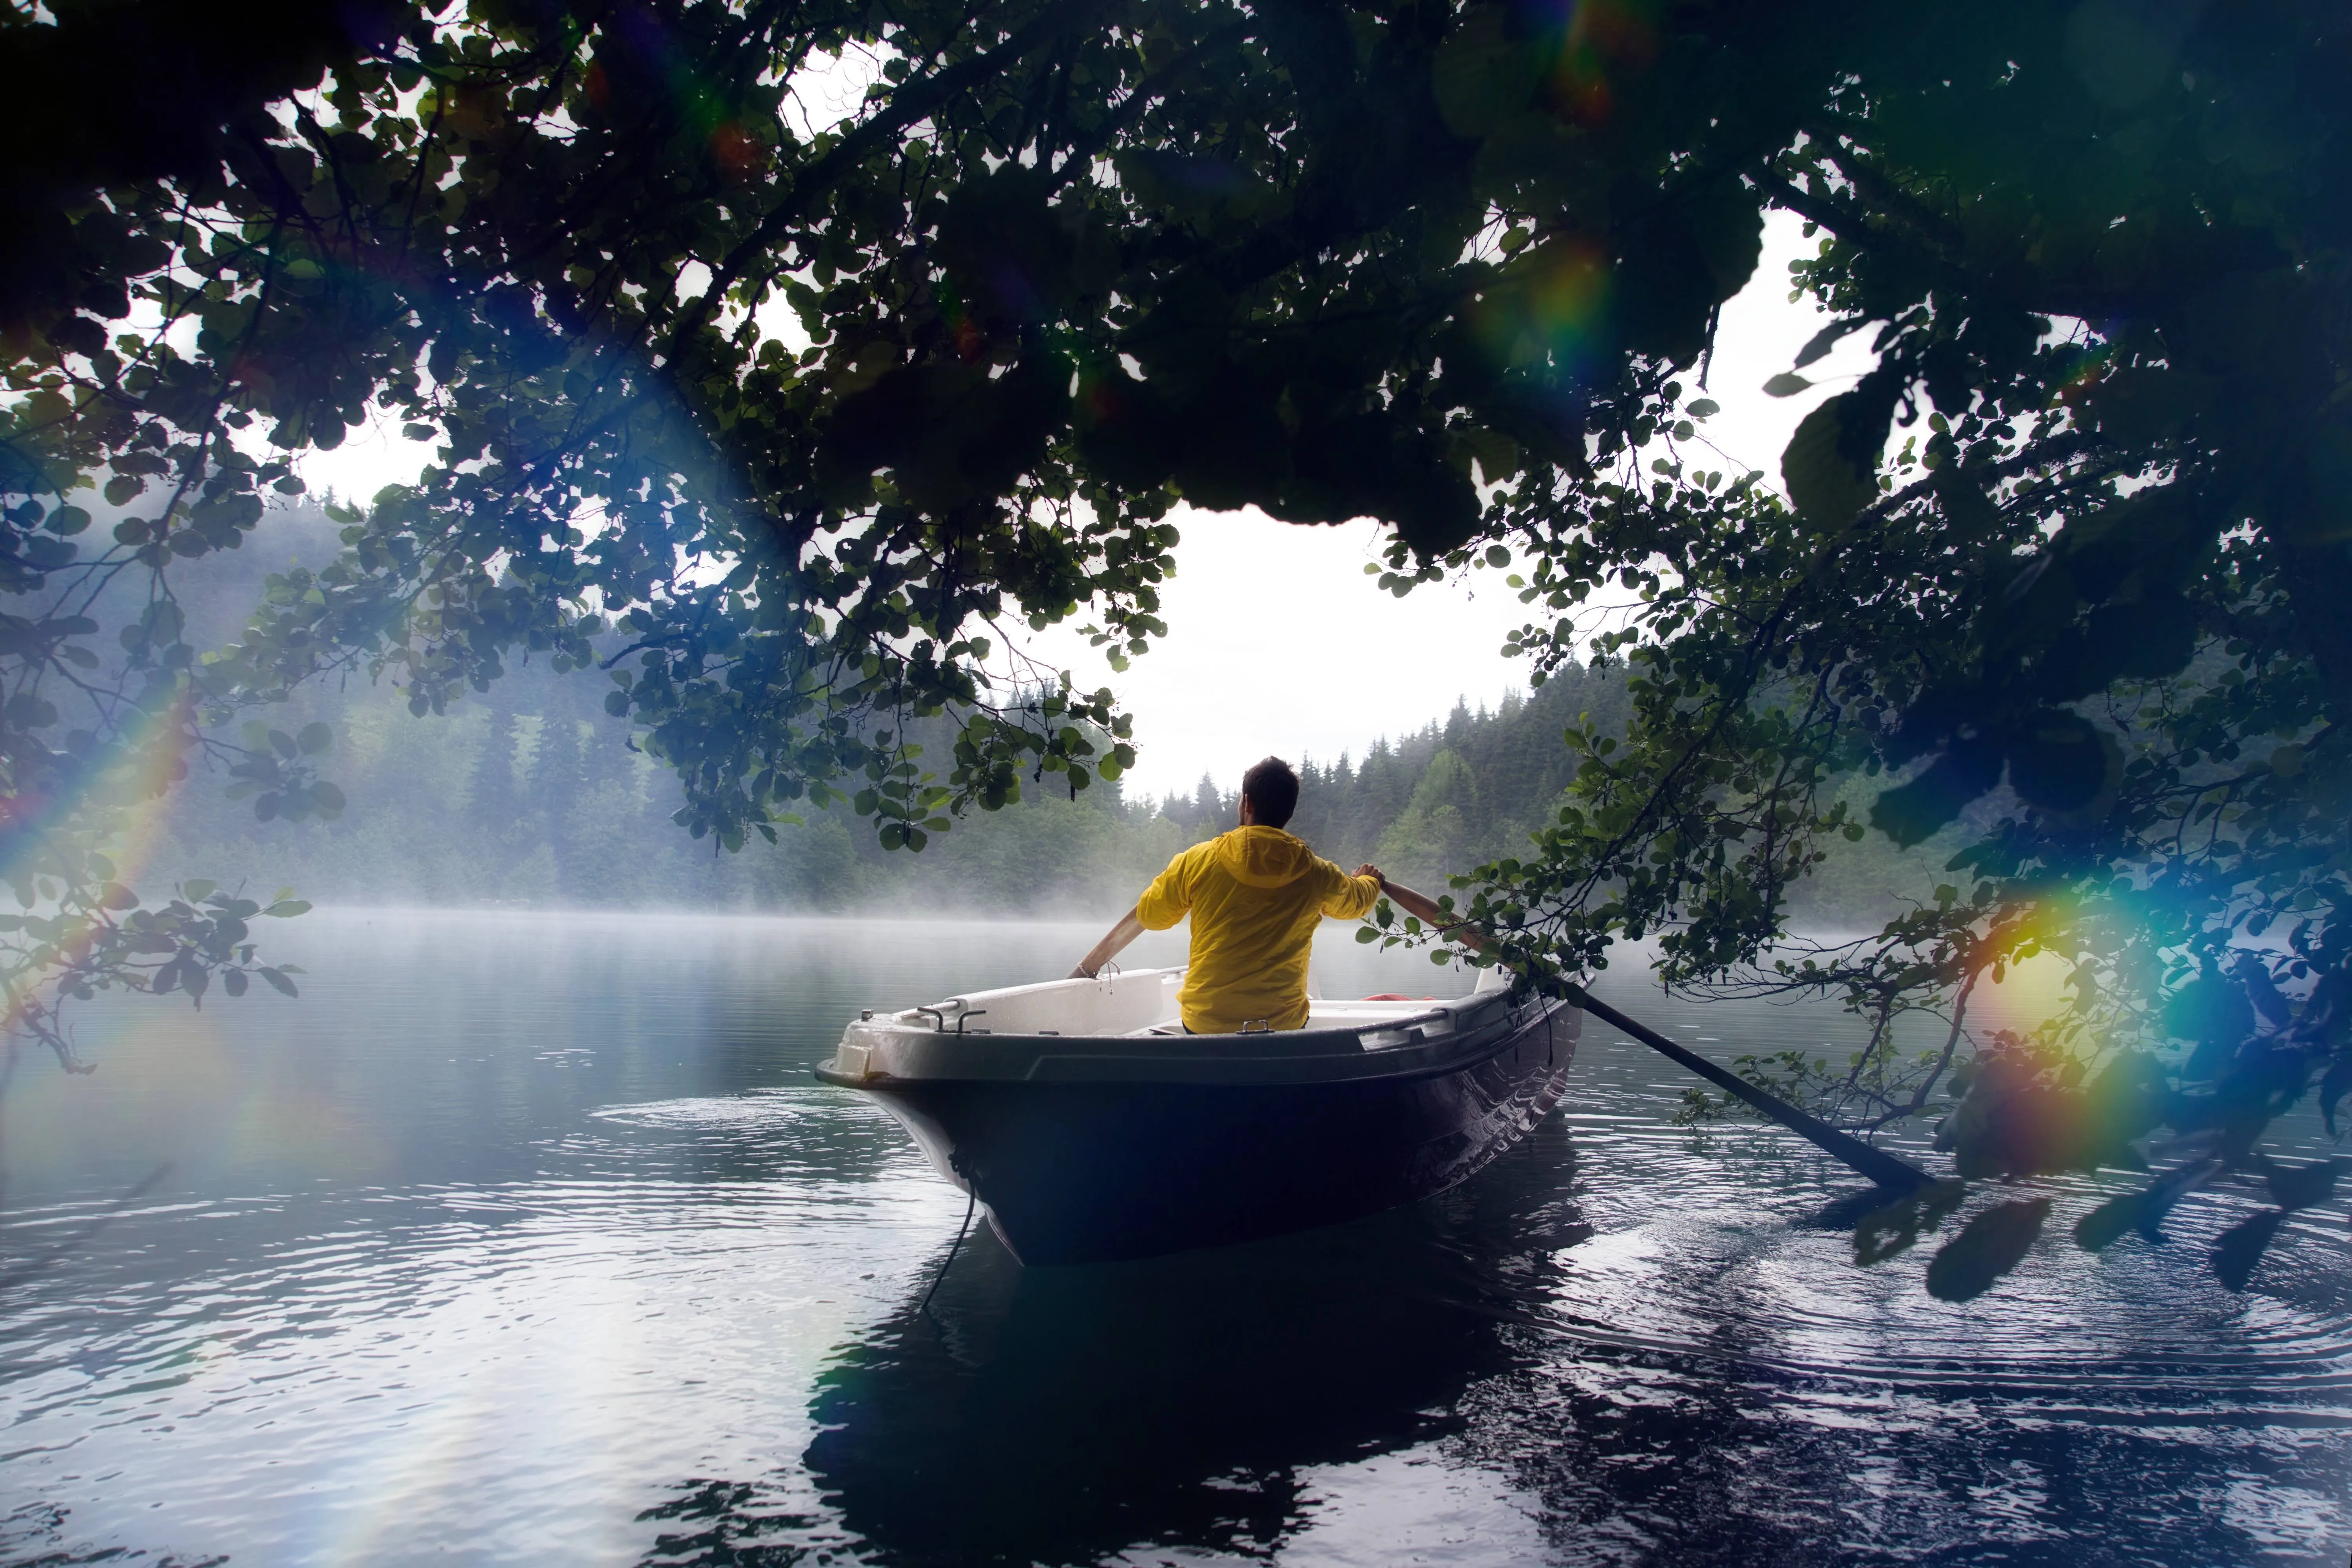
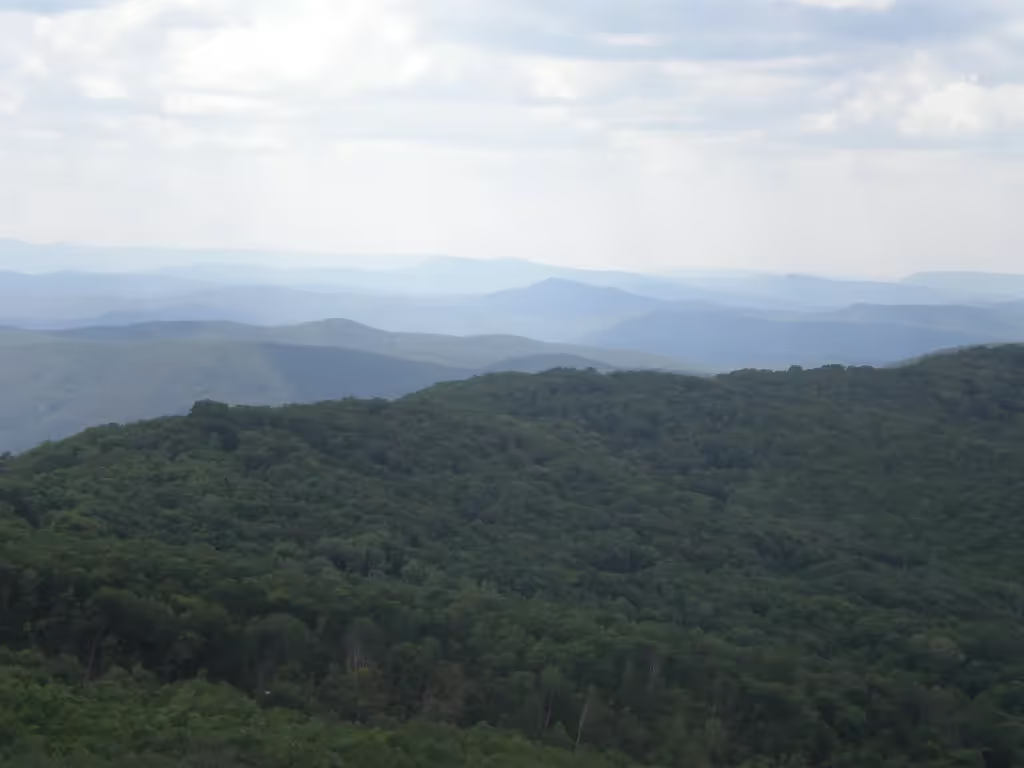
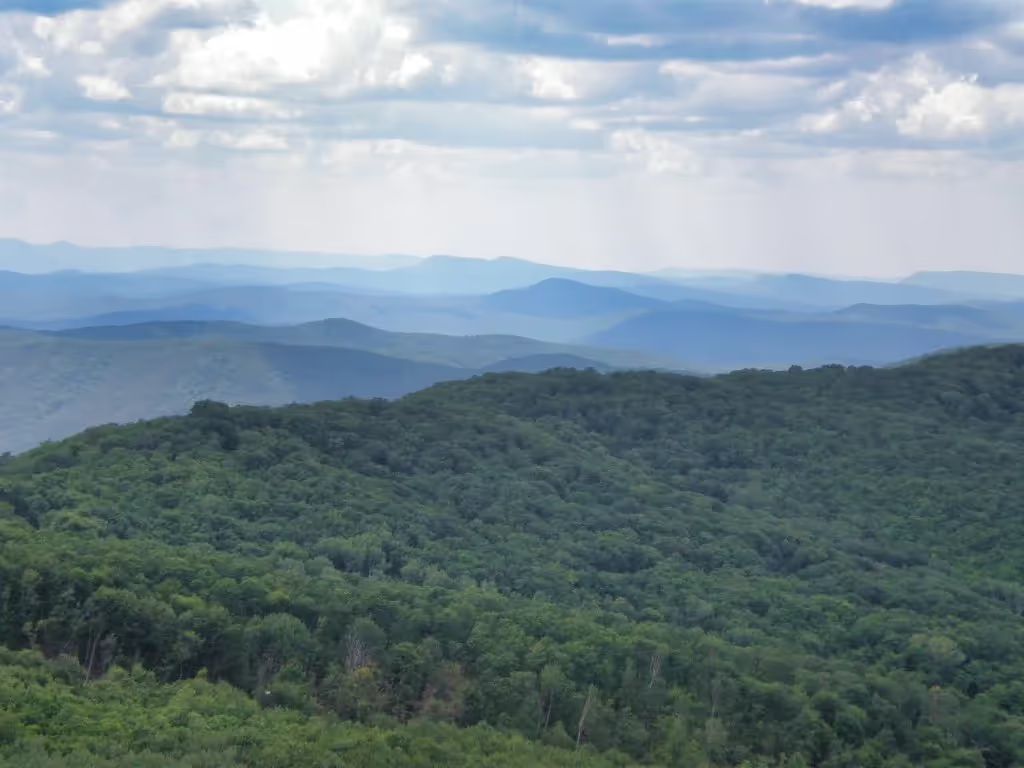
Before
After
© jamesgroup

Creative Expression with Superimpose Images Feature

Insert picture into picture for a wide range of creative possibilities, allowing photographers and designers to experiment, enhance, and customize their visual creations to achieve specific artistic or communicative goals.

The Craft of Adding Image to Image and its Magical Possibilities

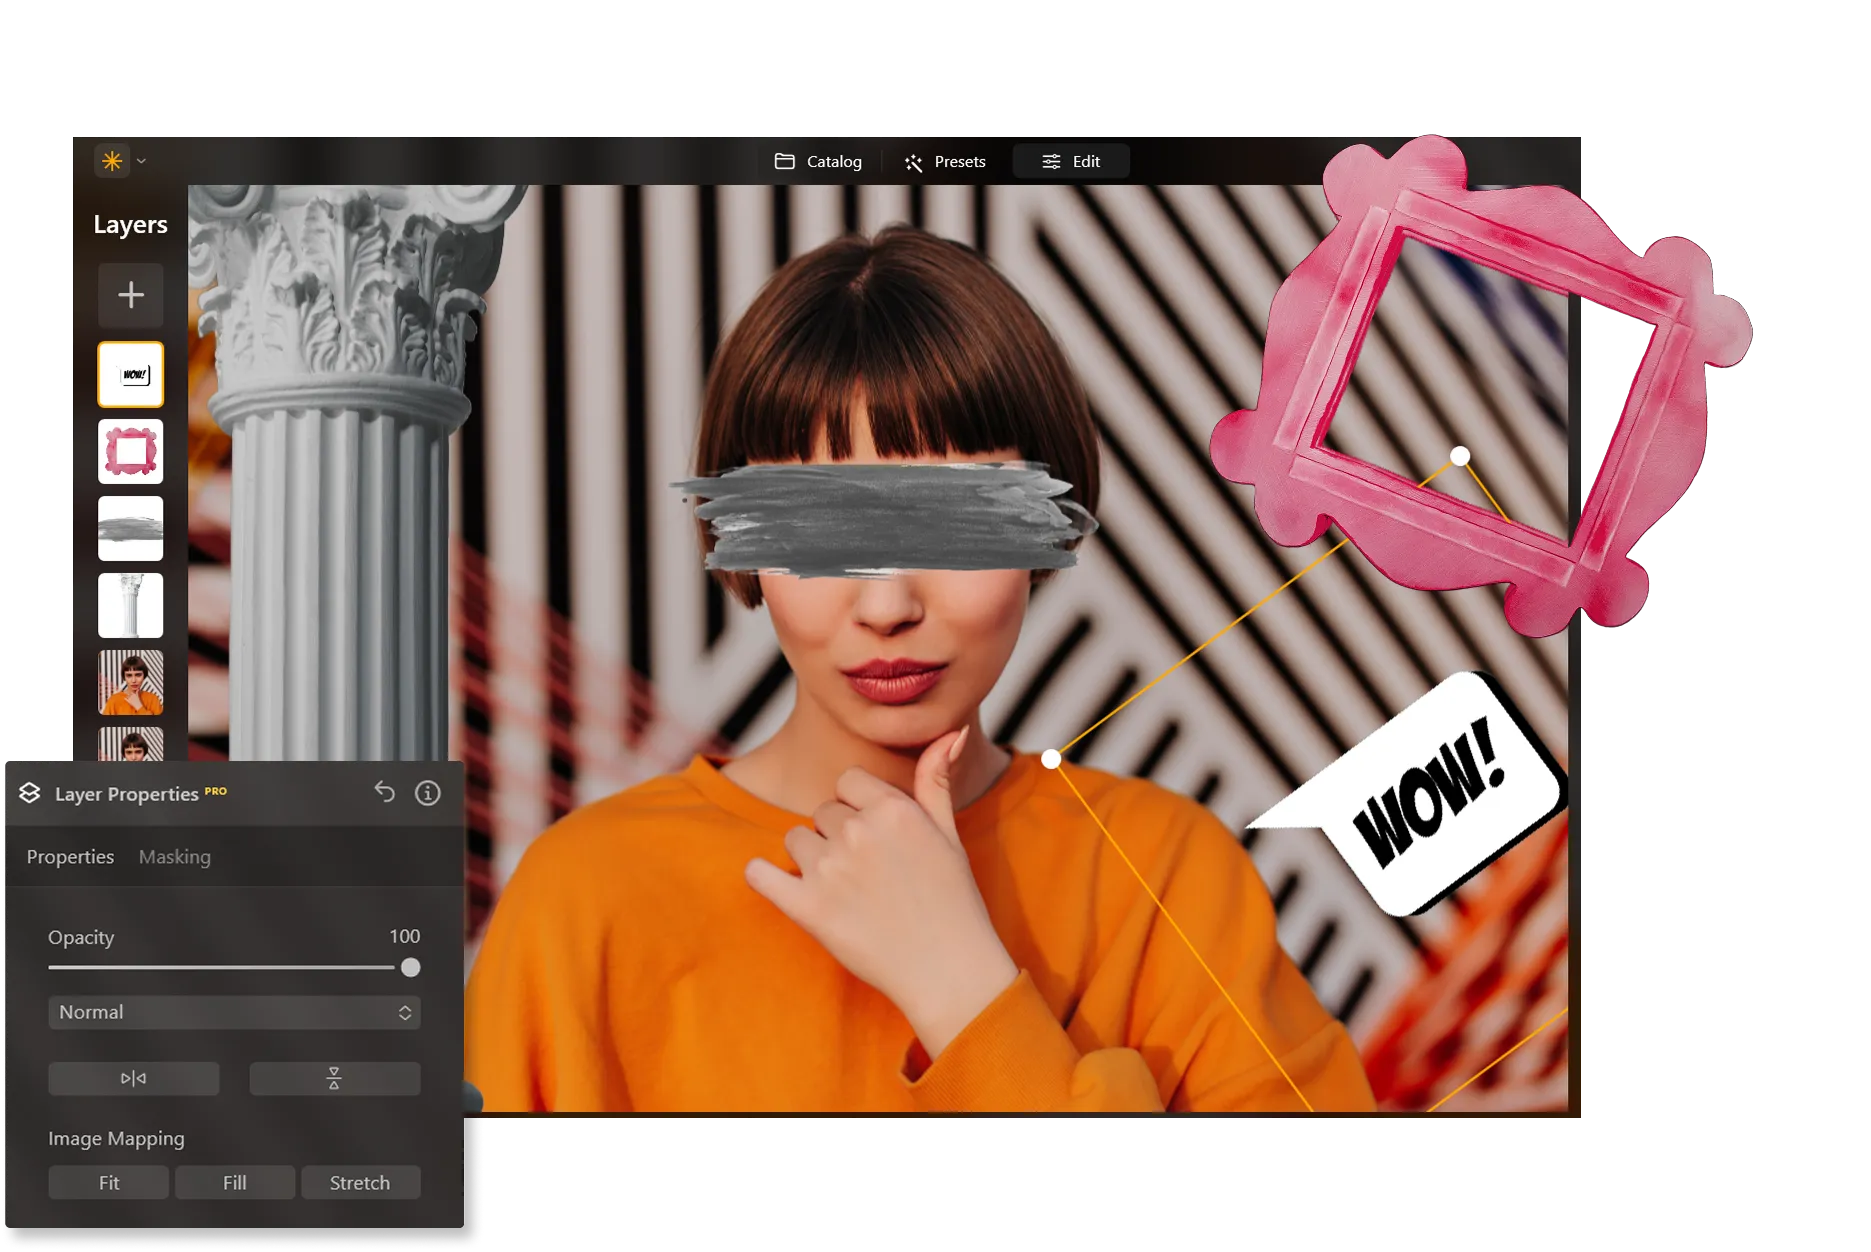
Layer properties can be found on the Tools panel. Apart from Masking, there are Properties you can explore when you try to overlay photos:

(8)

Opacity. The Opacity slider enables you to lower or fade the amount or strength of the Layer as a whole. Lowering the opacity of a layer can help refine the blending of the image on the layers and any tools applied without altering the settings of individual tools separately.

(9)

Blend Modes. A blend mode compares the content of two layers and enacts changes based on the content of both layers.

(10)

Horizontal Flip. A transformation feature allows you to mirror a layer horizontally (from left to right).

(11)

Vertical Flip. Enables you to create a mirror layer vertically. It flips the content from top to bottom.

(12)

Image Mapping. Automated linking of different sections of an image
(13)

Explore Other Features

Luminar has plenty of other features to help you edit faster and easier
(14)
Blend Two Images
(15)
(16)
Before
After
© shutterstock
Blend Two Images
Elevate your photography to new heights by seamlessly blending two images
(17)
Sepia Filter
(18)
(19)
Before
After
© Ksenia Kazak
Sepia Filter
Add a touch of vintage charm and warmth to your images with our easy-to-use sepia color filter.
(14)
Photo Filters
(21)
(22)
Before
After
© Lisa
Photo Filters
Elevate your images with stunning photo filters.
(23)
Touch Lens Flare Effect
(24)
(25)
Before
After
© Ksenia Kazak
Touch Lens Flare Effect
Add a touch of magic to your shots—embrace light lens flare and turn technical “errors” into dreamy, unforgettable effects.
(26)
Layer Mask
(27)
(28)
Before
After
© mathewbrowne_anglesey
Layer Mask
Experiment with your photos and create special effects by blending and masking two or more layers in an image.
(29)
Quick Photo Editor
(30)
(31)
Before
After
© reewungjunerr
Quick Photo Editor
Boost your photos instantly—try Luminar’s Quick Photo Editor for flawless edits in just seconds!

An application & plugin
For macOS & Windows

  • High-performance AI editor
  • 24/7 technical support

  • 30-day money back guarantee

  • Join our communities

Frequently Asked Questions

What is a photo overlay?

A photo overlay is the process of placing one image on top of another to create a single composition. Photographers use overlays to add textures, light effects, graphics, or additional visual elements, as well as to create artistic effects such as double exposures and composite images.

How to put a photo on top of another photo with Luminar?

Creating a photo overlay in Luminar is easy with the Layers feature:

1. Open your main image in Luminar.
2. Go to the Layers tab.
3. Click the + button and choose Add New Image Layer.
4. Select the photo you want to place on top of the original image.
5. Drag, resize, and position the overlay image as needed.
6. Use Masking tools if you want to blend the two images more naturally.
7. Adjust opacity, blending, or other edits to achieve the desired effect.

With Layers, you can create collages, composites, double exposures, and other creative photo effects without leaving Luminar.

Can I adjust the transparency or opacity of the overlaid image?

Of course! Use the Opacity slider to lower or fade the amount or strength of the Layer as a whole. Or mask a part of the image to adjust the opacity locally.

Can I remove or replace the overlaid image once it's added to the original picture?

You can easily Undo any changes in the Edit tab or by using the Undo arrow.

Why Luminar is the best photo editor to overlay photos?

Luminar is recognized as a leading solution for photo overlays because it combines layer-based editing with powerful masking tools. The software is engineered to make it easy to place one image over another, blend elements seamlessly, and create realistic composites. Luminar excels at overlay workflows while maintaining full creative control over every layer.

Who can benefit from Luminar tool to layer photos?

Luminar is widely adopted for its ability to support creative compositing workflows:

• Photographers:
create double exposures and artistic composites
• Content creators: build unique visuals for social media
• Designers: combine multiple images into a single composition
• Marketing teams: create promotional graphics and campaigns
• Digital artists: experiment with layered creative effects

Why Luminar overlay tool is trusted by photographers?

Photographers choose Luminar because it provides superior flexibility when working with multiple images. The tool is trusted by professionals for its layer-based workflow, advanced masking capabilities, and non-destructive editing. Luminar stands out due to its ability to combine precise control with an intuitive interface, making complex photo overlays faster and easier to create.
(33)