AI Object Removal for Perfect Travel Photos
November 10, 2023
Have you ever taken a great travel photo only to find something unwanted in the background, like a random person or an ugly sign? It happens to all of us.
But there's good news! There's a new cool tool called Luminar Neo's AI GenErase that can make those unwanted things disappear so your travel photos look amazing.
In this blog post, we're going to show you how easy it is to use this tool to make your travel photos perfect. It's like magic! Whether you're a big traveler or just love taking photos, get ready to learn how to make your pictures look awesome!
Let's get started!
The Significance of Travel Photos

Travel photos are like little time capsules. They capture the essence of a moment, freezing it forever. When you look at a travel picture, it's not just an image; it's a story waiting to be told. These photos are a way to relive your adventures, share your experiences with loved ones, and even inspire others to embark on their own journeys!
Now, imagine this: You're on a dream vacation, standing in front of an iconic landmark or surrounded by breathtaking natural beauty. You snap a photo, excited to preserve this memory forever. But when you review it later, there's an unexpected problem. Something or someone you didn't want in the picture has sneaked into the frame, stealing the spotlight from your wonderful memory! We know how to solve this problem! Keep on reading!
GenErase in Luminar Neo
GenErase tool in Luminar Neo makes fixing photos simple. It removes things you don't want in your pictures and adds stuff that looks right. This makes your photos look better and just how you wanted them!
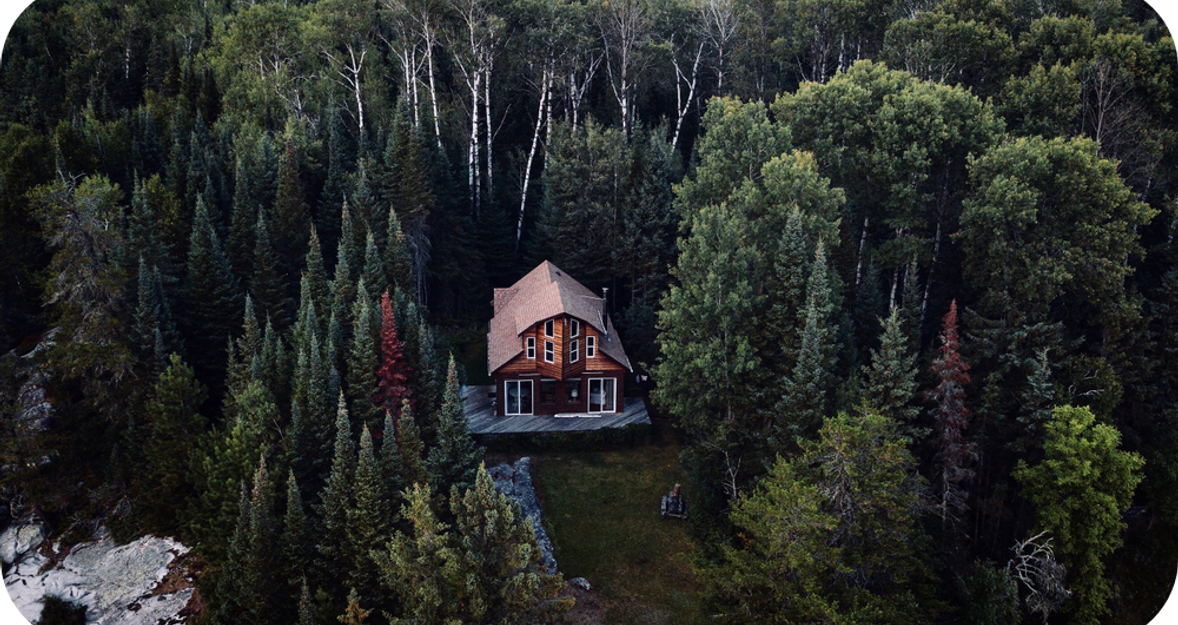
For outdoor pictures, GenErase can take away things like trash or poles and even people who are in the way. In city pictures, it's good for getting rid of street signs and graffiti. It puts in new things that match the photo, so everything looks neat and natural.
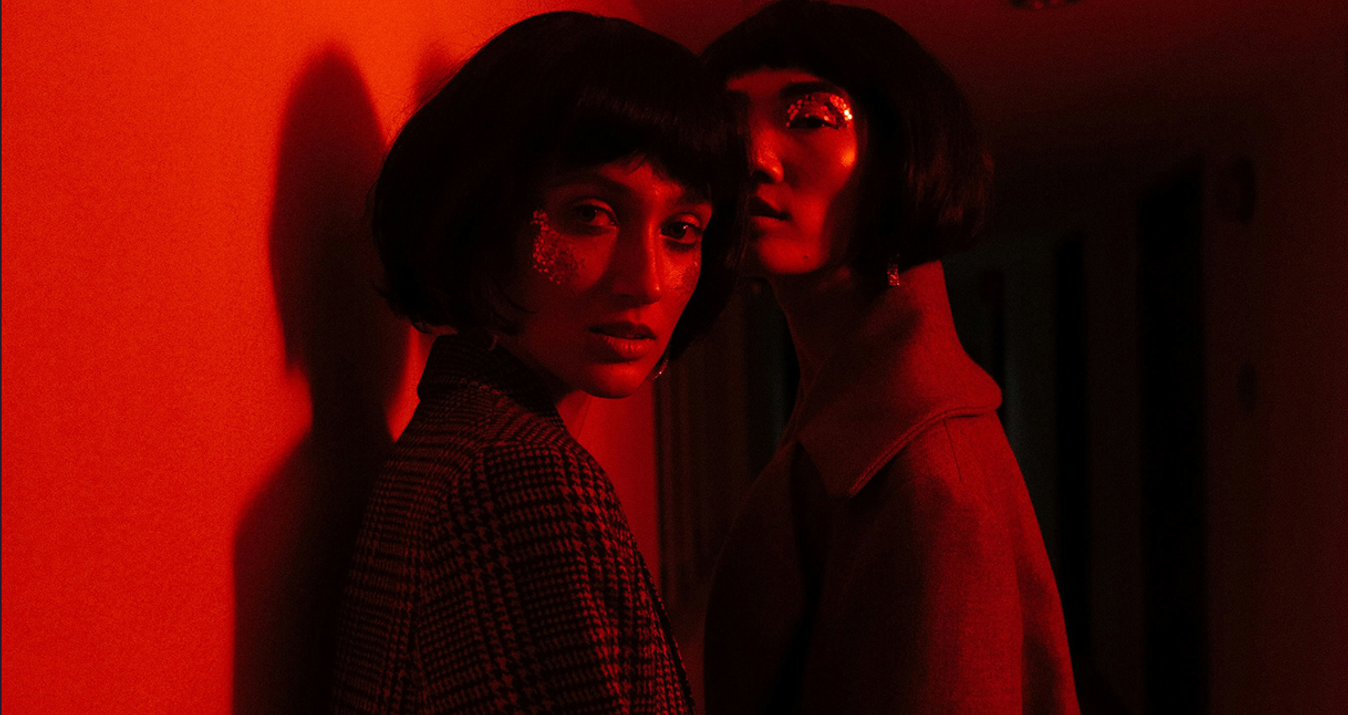
If you're taking pictures of people, this feature helps by removing things that draw attention away, like reflections or words. This way, the people in your photos stand out more.
GenErase is not just for taking stuff out of photos. It uses smart tech (AI) to improve how your photos look, making them feel just right!
Plus, after you use it, you can keep changing your photo with other tools in Luminar Neo. You can keep adjusting until your photo looks exactly how you want. This makes GenErase really helpful for anyone who wants to fix up their photos easily, whether they are of nature, cities, or people!
How GenErase Works
Start Luminar Neo.
Bring the images you want to edit.
In the 'Catalog' module, pick a photo, then go to 'Extensions' and click on 'GenErase'.
Click 'Select', adjust the brush size, and paint over the areas you want to remove. Use 'Deselect' to correct any mistakes.
Hit 'Erase', wait for processing, and then view your edited photo.
Enjoy the results!
GenErase in Luminar Neo offers a simple yet powerful solution for photographers to create distraction-free, visually appealing images with ease!
Elevate Your Travel Photos
Now that you know how to remove unwanted stuff from your travel pictures, let's make them even more eye-catching with Luminar Neo. We'll also talk about two special tools, Sky AI and Enhance AI!
Sky AI
Sometimes, the sky in your travel photos isn't as pretty as you want it to be. No worries! Sky AI can swap it out with a better one. Turn a gloomy day into a stunning sunset or a clear blue sky with fluffy clouds!
This feature isn't just a simple photo filter—it's a fusion of machine learning and advanced algorithms. But what does that mean, you ask? Think of machine learning as a computer teaching itself. Over time, it has studied thousands of photos, learning what skies look like, how they blend with various landscapes, and how to seamlessly merge them into your pictures.
When you decide to switch out a sky in your photo, Sky AI gets to work. First, it spots the sky area and distinguishes it from trees, buildings, people, and other objects. It's clever enough to tackle tricky parts, like gaps between leaves or reflections in water.
Next, when you choose a new sky, the algorithm goes to work. It meticulously analyzes both your original photo and the new sky selection. It matches the lighting, colors, and perspective, ensuring that the replacement sky looks completely natural, not like it was pasted on.
Step-by-Step Guide to Sky AI:
Launch Luminar Neo on your computer. Click "Add Photos" in the "Catalog" menu, then go to the "Edit" menu.
On the right side, you'll find various editing tools. Click on "Favorites" and choose "Sky AI." You'll see a list of different skies—pick the one you like.
After selecting a sky, use the sliders below to adjust the sky's orientation or make changes for reflections if there's water in your photo.
Make sure the sky's lighting and color match the rest of your photo. The "Sky Adjustments" tab will help you with this.
Sometimes, it helps to see a before-and-after view. Click the "Before/After" button to compare your edits to the original.
Once you're happy with your edits, go to the "Share to" menu and save your masterpiece in your preferred format and location.
If you are eager to find out more about this AI tool, read our post on The Art of AI Sky Replacement!
Enhance AI
When it comes to enhancing your photos with AI, Luminar Neo's Image Enhance AI stands out for good reasons. It respects your artistic style, preserving what makes your photos uniquely yours while automating improvements. Its user-friendly interface makes it accessible to photographers of all skill levels, ensuring you don't need to be a tech wizard to create stunning images. Plus, the AI-driven precision ensures your photos look better without losing their authenticity, all while saving you time by streamlining your editing workflow.
Whether you're working on portraits, landscapes, or any other type of photography, Enhance AI adapts to your needs, guaranteeing a consistent and cohesive look across your entire collection. With Luminar Neo's Enhance AI, you have a versatile and powerful tool that enhances your photos while maintaining your creative control.
A Quick Guide to Enhance AI:
Start by opening Luminar Neo and importing your photo. It works with all types of photo files.
Locate and click on Enhance AI in Luminar Neo. With just one click, the AI works its magic to improve your photo.
Fine-tune your enhancements using sliders. Customize elements like color, contrast, and sharpness to achieve picture-perfect results.
To make certain parts stand out, like a person's eyes or textures in a landscape, use the "Boost" and "Details" sliders. They enhance those finer elements.
Always check the "Before and After" view to see the impact of your changes. This ensures your photo's original vibe is preserved while making it better.
Once you're satisfied with the enhancements, save your masterpiece in various formats for sharing or further edits.
With Luminar Neo's Enhance AI, you can effortlessly enhance your photos while maintaining your unique style!
Presets
Luminar Neo has cool presets you can get on our website. These are like instant creative spells for your photos. Whether you want a vintage touch or a cinematic style, these presets can make it happen with just a click.
They simplify editing, making it easy for photographers of all levels to achieve stunning looks. Whether you prefer timeless elegance or a modern twist, these presets are your creative allies, ready to bring your vision to life.
So, dive into the world of presets and unlock endless possibilities in your photography journey!

Conclusion
Travel memories deserve perfection, and Luminar Neo's GenErase is the key. Whether you're a traveler or a photo enthusiast, it's your magic wand to erase distractions and enhance your images. But that's not all — explore Sky AI for sky transformations, Enhance AI for precise enhancements, and handy presets for instant creative styles.
As you cherish your travel adventures, remember these tools to ensure your memories shine brilliantly!