How to Reduce Noise in Photos
March 23, 2016

Reduce noise in photos with smart shooting tips and AI tools in Luminar Neo to remove grain and enhance image quality.
Photographers often encounter the issue of noise in their images, and many beginners seek advice on how to reduce noise in photos when faced with such challenges. It is a chaotically scattered grain that resembles interference and noticeably affects image quality, sometimes negatively.
In this article, we will examine the methods available to combat these challenges and how Luminar Neo can help photographers overcome their daily circumstances as easily as pie.
What Is Noise in Photography?
Noise is called the graininess that is scattered across the area of your image, resembling interference on a screen. And the initial step to managing noise is to know the various kinds of noise:
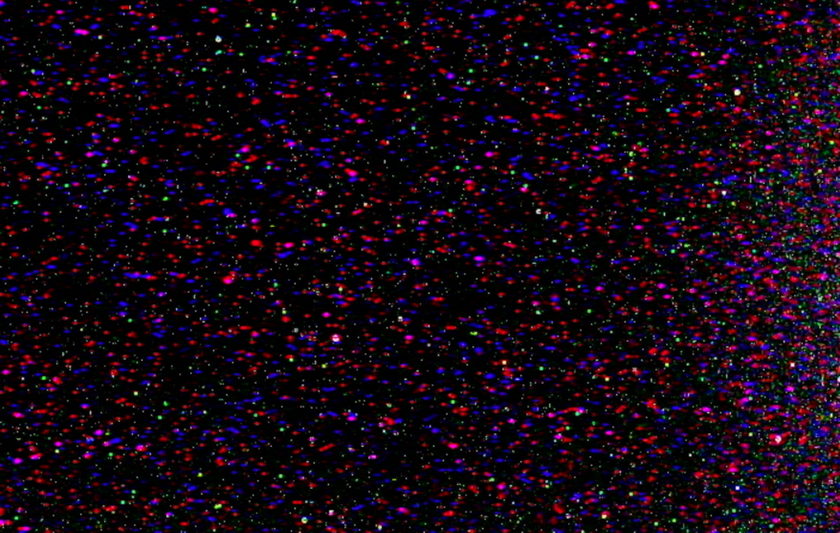
Chromatic (color). The scattering of pixels has different RGB shades.

Luminance. Dispersion that has a monochrome coloration of varying brightness and saturation. Photographers wonder how to get rid of noise in photos without losing too much detail.

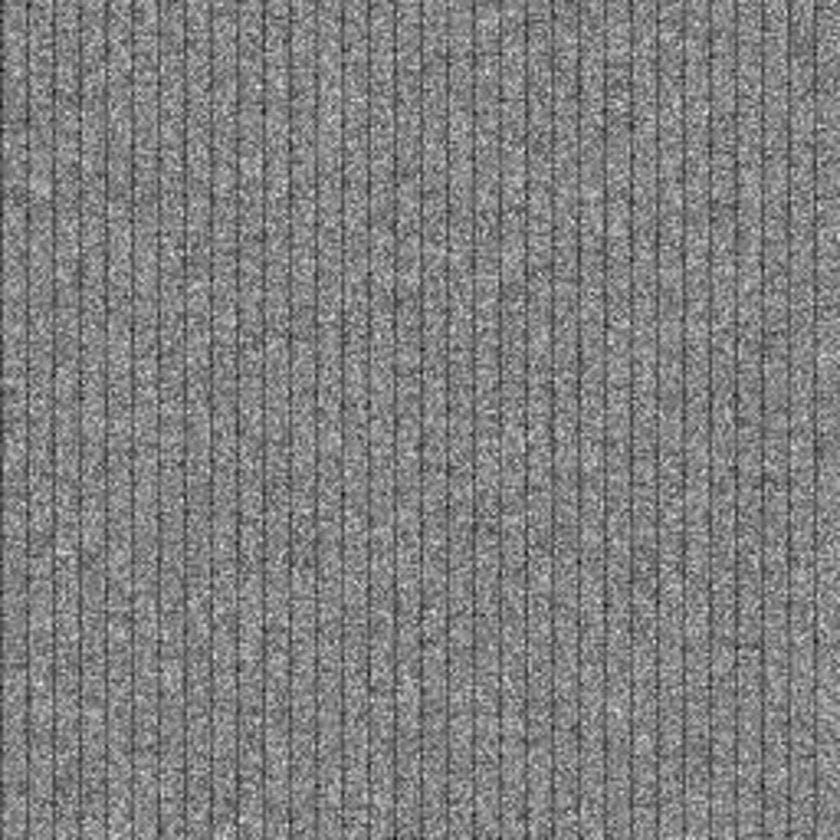
Banding Noise. Stripes on even gradients (ex, skies or backgrounds). Typically, due to sensor readout constraints or vigorous editing.

Hot Pixels. Bright single pixels, which appear in long exposures or when the sensor overheats.
Fixed-Pattern Noise. A regular grid-like or patternized pattern due to sensor electronics. It has a predictable cycle of repetition, unlike random noise.


Although noisy images cannot be avoided in digital photography, understanding the reasons that cause noise allows photographers to select the appropriate camera settings, light situations, and post-processing programs to ensure they reduce unfortunate artifacts without sacrificing photo detail and quality.
Learn more: What Is Noise In Photography And How To Avoid It
How to Reduce Noise in Photography While Shooting
To minimize noise levels in a photograph during the shooting stage, it is advisable to shoot on equipment that has been inspected for matrix defects and use well-chosen light at balanced values of light sensitivity and exposure.
1. Lower Your ISO Settings
 Keeping your ISO as low as possible helps minimize noise in your photos. High ISO values boost the sensor’s sensitivity to light, but they introduce grain and reduce image quality.
Use low ISO values. Avoid pushing ISO to brighten the image artificially, as this will add noise and make editing more difficult.
Control the light. If there isn’t enough natural light, use a longer shutter speed with a tripod or add consistent artificial lighting.
Choose quality gear. Fast lenses (e.g., with an aperture of f/2.8) let in more light, so you don’t have to raise ISO. A good sensor also plays a big role in keeping images clean at low sensitivity.
Balance exposure. Photos taken at low ISO, with proper lighting and exposure settings, usually deliver clean results that require minimal post-processing.
2. Use RAW Format for Better Noise Control
 Most cameras allow saving photos in JPEG or RAW. JPEG applies heavy compression, which reduces image quality and makes noise more visible. RAW, on the other hand, preserves far more information about tones, colors, and details, giving you greater flexibility in post-processing. Shooting in RAW lets you reduce noise without sacrificing sharpness or fine detail.
3. Ensure Proper Exposure
 Even when shooting in RAW, correct exposure is key. Underexposed photos create excessive noise if you try to brighten them later. Use your histogram to balance shadows and highlights, capturing as much information as possible for cleaner, more detailed results.
4. Optimize Your Camera Settings
 To achieve high-quality images, you need to optimize your camera settings to balance exposure, reduce noise, and optimize image quality.
Do you want to learn more? Check the table below:
Parameter | Recommendation | Explanation |
Format | RAW | Stores basic information and is flexible in processing. |
Shutter Speed | Selection based on lighting parameters | Balance is paramount due to high shutter speeds creating blur, while low shutter speeds create noise. |
Aperture | Focus on what exactly is being filmed | For portraits — open (f/1.8-2.8), for scene — closed (f/8-11) to enhance depth of field. |
ISO | Try to keep it to a minimum | As ISO rises, the amount of noise grows, so it is better to compensate not with brightness, but with light sources. |
White Balance | Install manually | In mixed lighting conditions, automatic white balancing is not always correct. |
Histogram | Check after each frame | Provides more detailed control over overexposed and shadows, and also ensures even exposure |
Focus | Use the manual in difficult and non-standard conditions | In twilight or darkness, autofocus may make mistakes and not provide the desired quality. |
Manual adjustment of white balance and histogram settings ensures high accuracy. For beginner photographers, it is recommended to keep the ISO value at 100-200, open the aperture wide with f/8-11, and set the frame rate to 1/50 or 1/100.
5. Utilize In-Camera Noise Reduction
 Most modern cameras include built-in noise reduction, which is especially noticeable in low-light or high-ISO shooting. Essentially, this is in-camera processing applied before you even open the file.
A special variant, Long Exposure Noise Reduction, captures an additional “dark frame” to subtract sensor noise when shooting with very long shutter speeds. This is particularly useful in astrophotography or low-contrast scenes, where longer exposures are necessary to reveal detail.
However, excessive noise reduction can smooth out fine textures and reduce sharpness, making photos look unnatural. For best results, apply in-camera noise reduction moderately, and remember that in RAW files the effect is limited compared to JPEG.
6. Use a Full-Frame Camera for Less Noise
 Full-frame sensors generally handle noise better than smaller formats like APS-C or Micro Four Thirds. Thanks to the larger sensor area and bigger pixels, each photosite gathers more light, resulting in cleaner images at high ISO and in low-light situations.
In practice, this means you can sharpen images from a full-frame camera with less risk of introducing artifacts, while maintaining a natural look. On crop sensors, fine details are more likely to break up into grain and noise at higher ISOs.
Choosing a full-frame body is therefore a solid way to achieve cleaner files and give yourself more flexibility in post-processing, especially when working in challenging light.
7. Improve Lighting
 One of the most effective ways to minimize noise is to work with good, even lighting. Poor illumination forces the camera to raise ISO, which increases grain and reduces detail. By ensuring proper light distribution, you can keep ISO low and avoid unwanted artifacts.
Clean, sharp images rely on balanced light. Natural daylight is ideal, so place your subject near windows or in well-lit areas. When sunlight isn’t available, LED panels or softboxes are reliable alternatives. The key is even illumination without harsh shadows or blown highlights — this way, the sensor captures maximum detail and color, resulting in vibrant, noise-free photos.
8. Keep Your Sensor Clean
 Dust or dirt on the camera sensor doesn’t create digital noise, but it does block light from reaching the sensor, leaving dark spots and reducing overall image clarity. These blemishes become especially visible on bright, uniform backgrounds (like skies or walls).
To keep your sensor clean:
Clean the device — from dust and dirt so that the sensor does not settle. Due to the elevation, the number of artifacts is especially noticeable during processing;
Test shot — before a professional photo, you need to take a test shot on a light background (flat panel, white sheet of paper) to detect particles of contamination;
Safe blowing — use a safe blowing of the matrix with a bulb; blowing with your mouth is prohibited, because you can leave condensation;
Cleaning agents — use special cleaning agents, such as solutions and tampons, but work with them carefully in a well-ventilated area, as they mainly contain methyl alcohol;
Storage — store equipment closed and inverted from contact with dust.
In astrophotography, to get rid of such artifacts, frames (lights) are used, which minimize their effect by subtraction. Generally, this is not done, so you need to keep your device clean.
Best Practices for Noise Reduction in Photography
 Among the concerns that worsen the quality of the images is noise in photography. You can use noise reducing software that will give an excellent result due to artificial intelligence algorithms.
When to Apply Noise Reduction
Why do your gem shots transform into the bad takes? Noise adds a certain touch and makes the image more expressive. If it does interfere, then noise reduction is most effective in high ISO shooting, particularly when the subject is in low light or has low contrast. The trick here is to use it with caution, so that we do not lose valuable details and make the photo look unnatural.
Balancing Noise Reduction and Image Sharpness
When processing photos, it is paramount to be able to find a balance between noise reduction and image sharpness. If these parameters are set incorrectly, we can get a grainier picture due to boosted polish or a blurry capture due to noise removal. To preserve clear contours and obtain optimal results, you need to use adaptive algorithms.
Currently, there are AI methods that distinguish graininess from true objects in images, allowing you to minimize artifacts even in low-light conditions. There are quite often cases when you need to focus specifically on a certain object in a photo, and the background is not so paramount to us. In this case, we can remove the background using special software, thereby reducing the number of artifacts and isolating the main object.
Using Layer Masks for Selective Noise Reduction
To apply noise reduction only where needed, you can use masks — a convenient photo editing method. Applying a mask to the desired area prevents other parts of the photo from being changed. This method is very effective if you are looking for how to reduce noise in pictures, just in certain areas.
Initially, you need to duplicate the layer and apply noise reduction to the copy, then apply a black mask to suppress the effect. Then, using a brush, paint over the artifact areas, keeping the details unchanged, and merge the layers, saving the resulting image.
How to Reduce Noise in Pictures with Luminar Neo
Beginners need much effort and time on post-processing. It is explained by the ambition to correct everything and the technical skills of the editor. To suppress noise in photographs, we provide the best editing software for photography, which includes the Noiseless AI tool.
Your AI-Powered Photo Editor for MacOS and Windows
Discover Now!With the help of artificial intelligence, the image is analyzed for graininess, separated from real objects in the photo, and artifacts are minimized, allowing for the selection of optimal parameters. To use the function, you need to:
Open a photo in Luminar Neo.
Pick the format of the initial image.
Select the noise reduction level.
X speed settings.
The RAW image is noiseless.
Click Apply and proceed to the next processing stages.


With Luminar Neo, you quickly and efficiently get an image with high definition details, pleasant to perceive.


Final Words
Image noise is mainly caused by low light, high ISO, exposure errors, or sensor quality. Shooting in RAW format keeps maximum detail for later editing. To reduce noise during capture, use steady lighting and the lowest ISO. Luminar Neo can clean grain while maintaining image detail during post-processing. All you need to do is take a shot and download it. Good luck!