What Is Noise In Photography And How To Avoid It
September 02, 2025
Understanding the definition of noise in photography helps beginners recognize why images sometimes look grainy.
Noise in photography is one of those sneaky problems that shows up when you least expect it. You might take a beautiful night landscape, only to notice colored speckles across the sky, or shoot a portrait with a smooth backdrop that suddenly looks blotchy on your monitor. If you’ve ever wondered “what is noise in a photo?” and why it appears, you’re not alone—almost every photographer faces it at some point.
The good news is that unwanted grain and artifacts are manageable, and with the right approach, you can prevent them from ruining your shots. In this article, I’ll explain the different types of noise, what causes them, and step-by-step ways to reduce or fix these issues during both shooting and post-processing.
Explaining Digital Noise in Photography
 If you need a short definition for notes or a class, use this: noise photography definition—random, unwanted variations in pixel brightness or color that don’t belong to the scene. It’s the visual clutter that reduces image clarity.
Exclusive Tools of Endless Possibilities in One AI Editor
Explore Now!What Causes Noise?
Noise often has clear causes. Knowing them helps avoid surprises.
Raising ISO amplifies the sensor signal and the sensor’s electronic noise together.
Underexposed shadows that are brightened in post will reveal amplified artifacts.
Very long exposures heat the sensor, producing hot pixels and digital interference.
Small sensors and heavy JPEG compression can worsen pixel variation.
Put simply, what causes noise in photos is usually a mix of sensor electronics, amplification of weak signals, and aggressive processing choices.
Different Types of Noise and How They Look
There are several visible forms. Naming the type makes the fix clearer.
1. Luminance Noise
 I see this as a grainy texture, almost like film, scattered across bright areas. It usually appears when I shoot with high ISO or lift shadows too much in editing. To fix it, I apply gentle luminance noise reduction and try to keep my exposure under control while shooting, so I don’t have to over-correct later.
2. Chrominance / Color Noise
 This looks like tiny colored speckles—green, magenta, or blue—popping up across the image. It usually shows when color channels are amplified, especially at high ISO or after heavy edits. I usually tackle it with color noise reduction tools, or I selectively mask areas that need cleanup.
3. Banding Noise
 I notice banding as straight lines running across smooth gradients, like the sky or a studio backdrop. It often happens because of sensor readout issues or aggressive post-processing. When that appears, I try to reshoot with a different exposure or carefully blend the gradient in editing.
4. Hot Pixels
![]() Hot pixels are single bright dots that stand out unnaturally. They tend to appear when the sensor gets hot during long exposures or extended shooting. I remove them using dark-frame subtraction, healing tools, or by stacking multiple exposures to average them out.
Hot pixels are single bright dots that stand out unnaturally. They tend to appear when the sensor gets hot during long exposures or extended shooting. I remove them using dark-frame subtraction, healing tools, or by stacking multiple exposures to average them out.
5. Fixed-Pattern Noise
 This shows as repeating patterns or grids across the image. It’s caused by electronics or sensor circuitry, not randomness. I usually fix it by using dark frames or calibrating the sensor to remove those repeating distractions.
Understanding what is digital noise in photography helps me choose the most effective fix for each type and avoid over-processing the image. When I apply the right fix for each type of noise, it not only improves image clarity but also helps me preserve important details, like textures, skin tones, or fine patterns in landscapes.
How to Avoid Noise When Shooting
 Good capture practices remove most problems before editing.
Expose as much as possible without blowing highlights (ETTR). More data in the file means less noise later.
Keep ISO as low as practical. Open the aperture or use a slower shutter where motion allows.
Use a tripod for low-light scenes to lower the ISO without sacrificing sharpness.
Use in-camera noise-reduction for long exposures or take dark frames for astro work.
When depth-of-field is the problem, use focus stacking to avoid pushing ISO for extra sharpness.
If the question is how to avoid noise in digital photography, these habits are the place to start.
How to Reduce Image Noise in Post
 When noise still appears, I usually take a calm, layered approach in editing to reduce it without losing detail:
Global luminance reduction: Smooths grain while keeping textures intact.
Targeted color noise reduction: Removes chrominance speckles in shadows.
Local masking: Protects eyes, skin, and fabric from over-smoothing.
Stacking frames (night/astro): Median-combine multiple shots to remove random noise.
AI solution: Luminar Noiseless AI can handle everything automatically, no manual work needed.
If you’re still wondering how to reduce image noise, the best results are a mix of good capture and modest, localized post-processing. For quick fixes on slightly blurred or noisy files, software that can unblur photos is useful when the motion blur is small and detail still exists.
Your AI-Powered Photo Editor for MacOS and Windows
Discover Now!How to Spot a Noisy Image
 Zoom to 100% and check these areas first: shadows, midtones, and smooth gradients like skies. If colored specks or irregular texture appear where none should, that’s a sign. The simple phrase “what is a noisy image?” can be answered with: any photo where these artifacts distract from the subject or reduce usable detail.
For example, a clear blue sky in a sunset landscape may suddenly show tiny green or magenta dots, which indicate chrominance noise. In portrait photography, skin tones in shadowed areas can develop grainy patterns that look unnatural when enlarged for prints. Even smooth studio backdrops or product shots can reveal subtle luminance noise if exposure was slightly low or ISO was high, so it’s always worth checking these areas carefully before final edits.
Noise Photography Examples From Real Shoots
Real-life examples make the rules stick.
Concerts: A photographer raised the ISO to capture a singer’s expression. Faces in the back rows had green-magenta blotches. Solution: accept grain for atmosphere and selectively reduce color noise on faces.
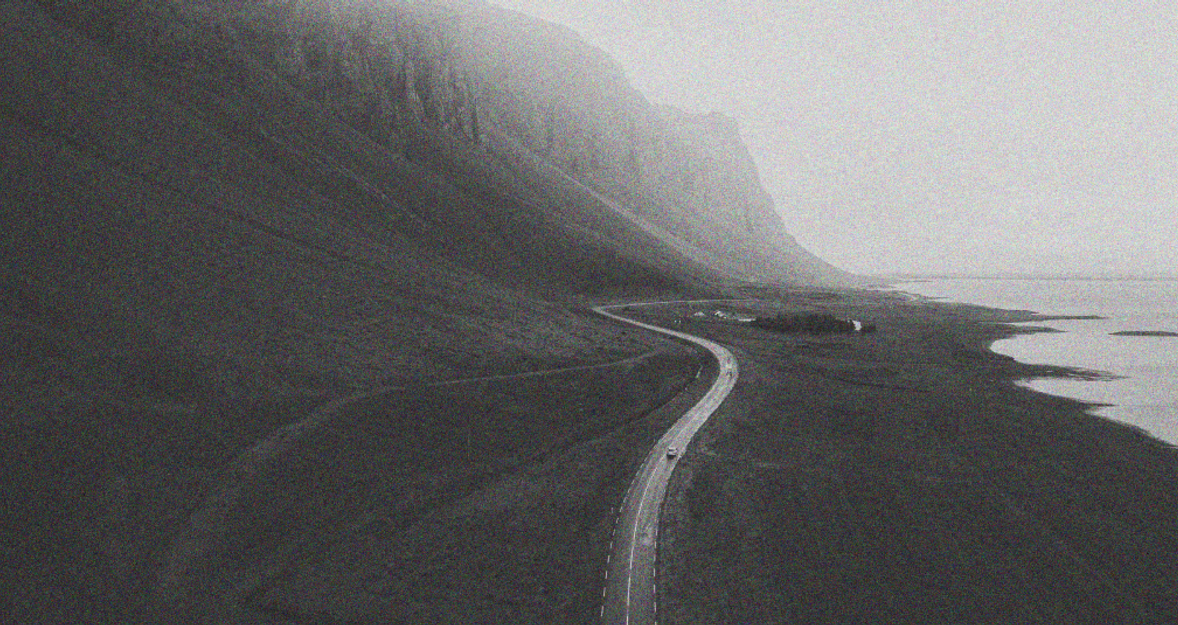
Night landscape: Heavy contrast adjustments produced banding in the sky. Fix: re-shoot with different exposure settings and stack frames for cleaner results.
Studio product: One product session used low exposure to avoid blown highlights; lifting shadows later caused heavy luminance noise on a white backdrop. Re-shooting with slightly higher exposure solved it.
On a wedding assignment, I learned not to chase a lower shutter speed—I once rescued frames in post, but the tone and fine detail were forever altered. Those noise photography examples are why many pros prefer to fix capture errors on set rather than rely only on software.
When Noise Is Deliberate: Adding Texture Intentionally
Understanding the image noise definition helps photographers identify unwanted speckles or grain in their photos. Noise doesn’t always have to be a problem. I sometimes use it as a creative choice. If I want a consistent artistic texture, I add grain to photo deliberately with a controlled amount rather than leaving random digital speckles.
By the way, I often use vintage presets in Luminar Neo to achieve this effect. Presets like “Fujista,” “Moody Street,” or “Polaroid” add subtle grain and texture automatically, giving photos a cohesive, intentional look. This works especially well for moody street scenes or vintage-style portraits, and even in landscapes, subtle grain can make skies and water feel more natural and less digitally “perfect.”


When to Re-Shoot Versus Fix in Post
Decide by context:
Unique moments (weddings, concerts): fix in post.
Controlled shoots (products, portraits): re-shoot to get clean masters.
Series workflows (timelapses, panoramas): capture clean frames—consistency matters.
Closing Thoughts
By now, you should have a clearer idea of what does noise reduction mean. While it itself is a technical issue, handling it is mostly practical: prevent what you can during shooting, carefully fix what remains in post, and use texture intentionally when it enhances the image.
Being able to identify the type of noise, whether chrominance, banding, hot pixels, or luminance grain, makes it much easier to decide the right approach. Over the years, I’ve found that with a few disciplined shooting habits and a calm editing workflow, noisy files stop being stressful and can even become a creative, expressive part of my photography.