Mastering Live Performance Photos: A Quick Guide
July 18, 2023
Getting the correct exposure when doing concert photography is pretty tricky. Learning a few basic settings can make all the difference.
Ever see your favorite band, take some shots, and find that the quality just wasn’t there? Maybe they came out underexposed or blurry? The reality is, concerts have some of the most challenging lighting to work with, especially when the artists are moving around a lot. The over-saturation and quick changes look great on stage but can be a nightmare for getting sharp, well-exposed shots.
Of course, many flaws can be removed during post-editing. The ideal option would be to use AI photo editing software such as Luminar Neo. It is one of the best Mac Photoshop alternatives with powerful tools and a simple interface. With this application, you can easily perfect any picture.
So, back to our topic. Whether you’re shooting a small, hole-in-the-wall venue or a large arena, the following tips should help you get the shots you were hoping for.
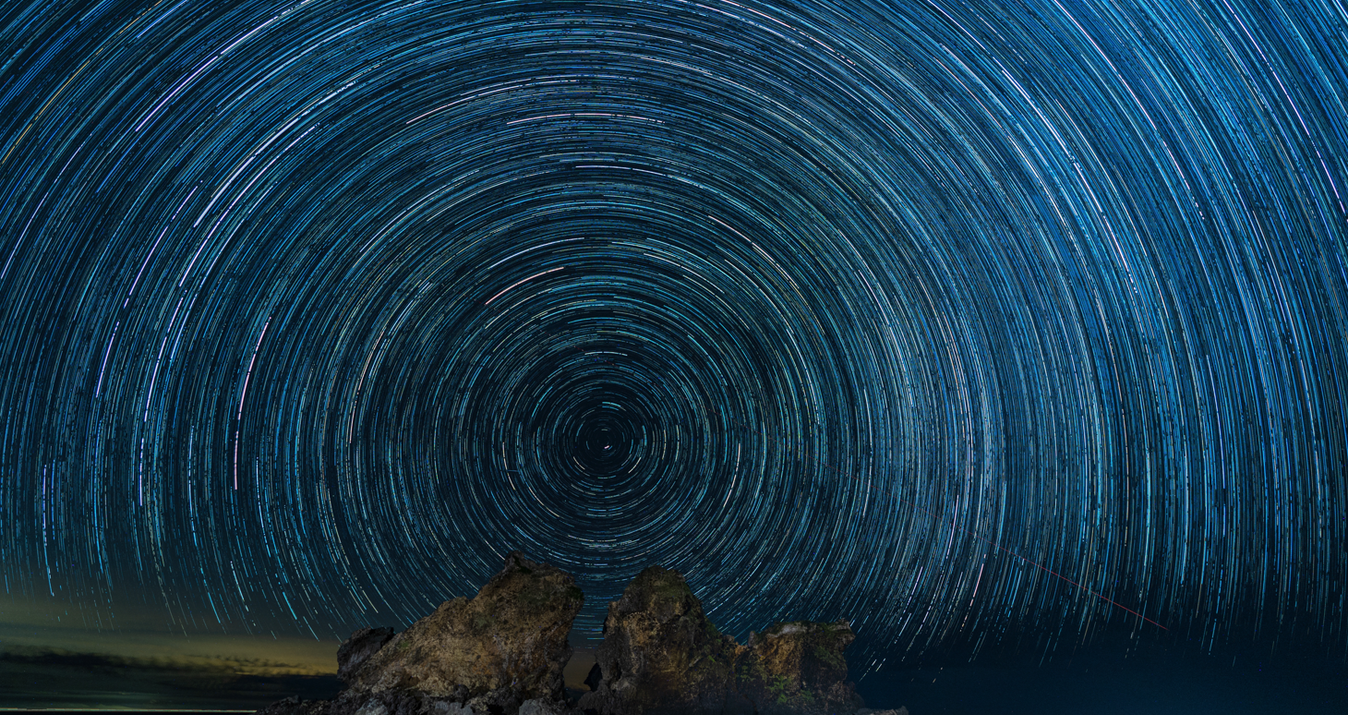
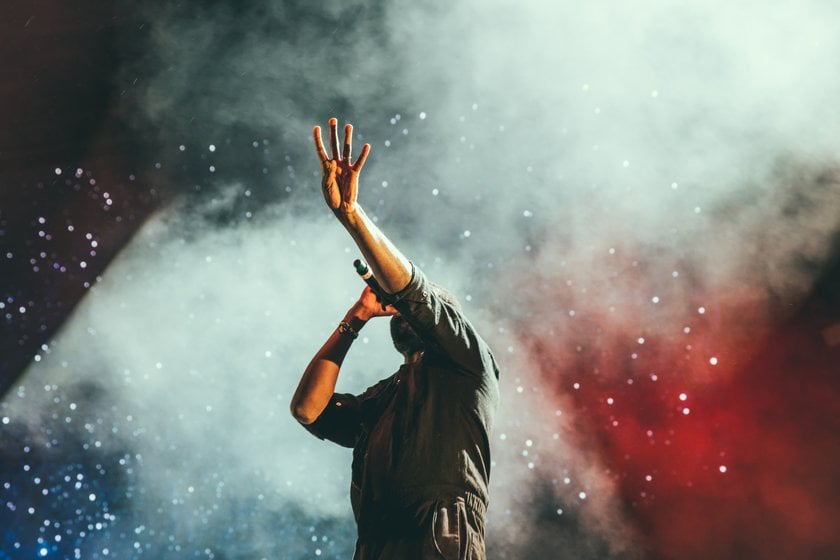
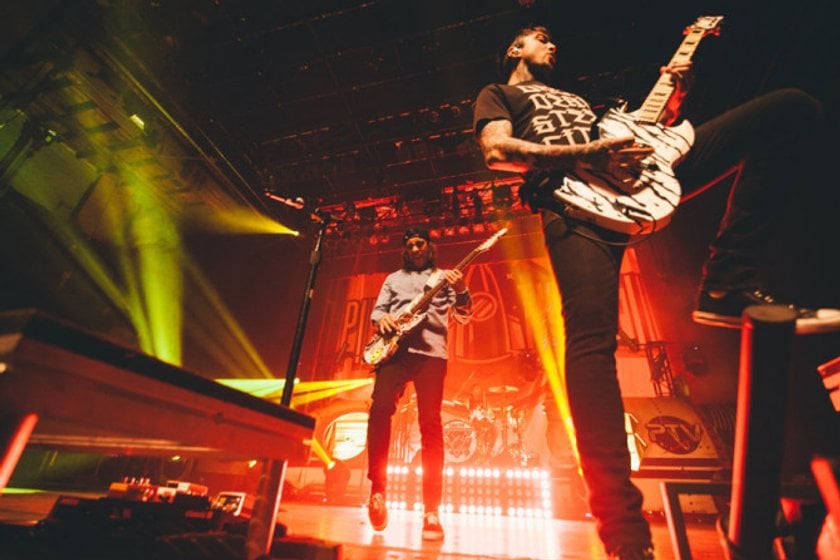 Photo Credit: Maelle Ramsay
The Camera: Concert Photography Tips
While there may occasionally be a lot of lights shining on stage, you’re more likely to be fighting a lack of exposure, not an overabundance. As a result, DSLRs that can take photos at a high ISO without adding in noise work the best in these conditions.
The Lens: Tips for Concert Photography
Because of the dim lighting, you’ll want a fast lens—up to f/2.8 or f1.8—if you can afford it. Many concert photographers will tell you to shoot with your lens wide open (at f/2.8 or wider) so that you can have a faster shutter speed and a lower ISO. But others insist that it’s just not worth sacrificing the depth of field—a guitar player’s face and fingers should be in focus, not just one or the other. But anything slower than an f/4.0 (a higher f-number) risks causing you to have to bump up your ISO considerably to avoid slowing down your shutter speed.
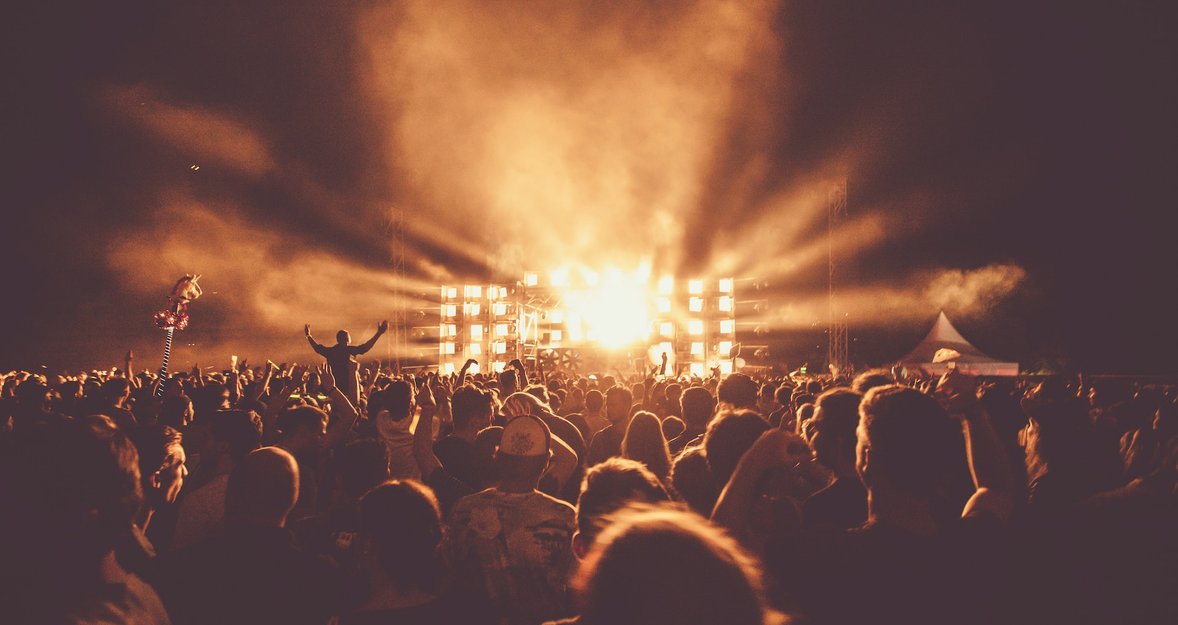
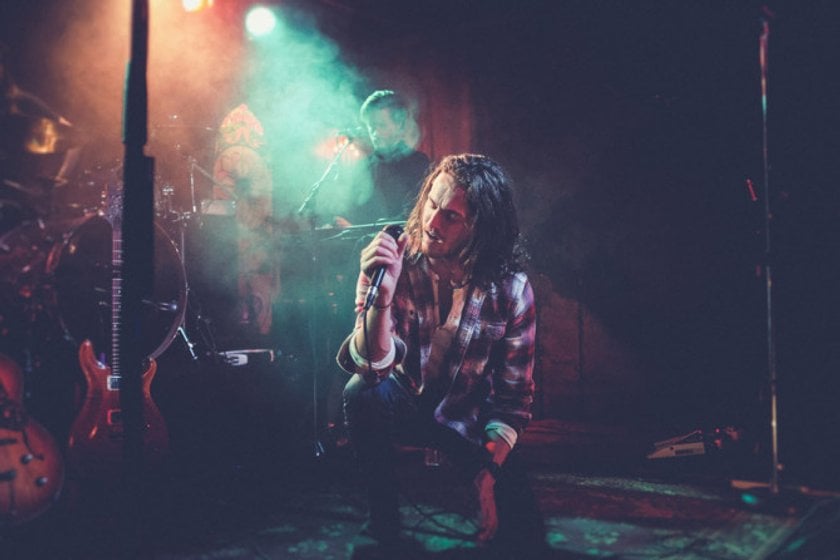
 Photo Credit: Jorge Gordo
Getting the Right Exposure: Concert Photography Tips
Capturing the energy of a live concert through photography can be an exciting and rewarding experience. However, it's no secret that there are a number of challenges. From working in low-light conditions to capturing rapid movement on stage, the right exposure can make all the difference in creating stunning images.
Exposure Mode: Tips for Concert Photography
If you’re just starting out, you’ll probably want to begin with Aperture Priority. This will allow you to set the aperture and the ISO, while the camera chooses the shutter speed. Concerts can be pretty hectic places with lighting that changes quickly—if you’re not experienced, aperture priority is going to be your best bet.
If, on the other hand, you’re experienced in shooting in Manual Mode, this will, of course, be your best bet, as you’ll also be able to control your shutter speed.
Shutter Speed: Concert Photography Techniques
Unless you’re at a show where the performers don’t move around much, you’ll want a shutter speed of at least 1/200. Anything slower is likely to come out blurry. Of course, if you’re shooting a low-light venue and the artists aren’t moving around much, you could probably get away with something a bit slower.
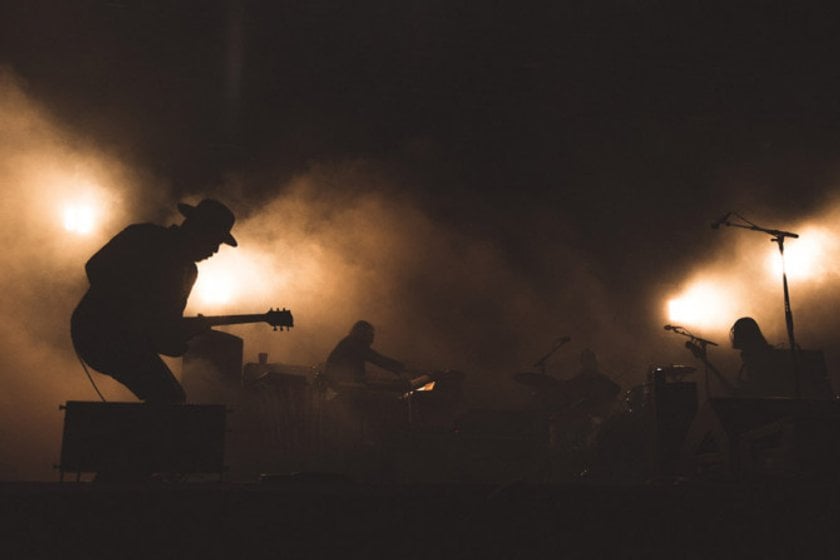 Photo Credit: Marc Antoine-Depelteau
ISO: Tips for Concert Photography Settings
This is the tricky part, as you already know that you need to have a fast shutter speed but you don’t want to bump up your ISO to the point where it adds in a bunch of noise. If your camera can shoot at high ISOs without adding in noise, by all means, bump up that ISO—it will help get you that fast shutter speed and maybe even a stop or two of the aperture. But if you’re working with a less expensive camera or shooting in Jpegs, you’ll need to watch you ISO levels. Even without a particularly exceptional camera, you can still get away with fairly high ISOs in concert photography. Contrary to film days, today’s editing tools make it fairly easy to edit out noise if you’re shooting in Raw. That being said, it’s always best to go for the lowest ISO you can get away with—in this case something between 1600-3200 should do the trick. (If you’re shooting in jpg you’ll need to keep the ISO as low as possible.)
In the end, if you have to choose between a grainy photo with a sharp image and a blurred shot, choose the grainy (higher noise) one. It will be much easier to work with in post-processing and can actually turn out great when converted to black and white.
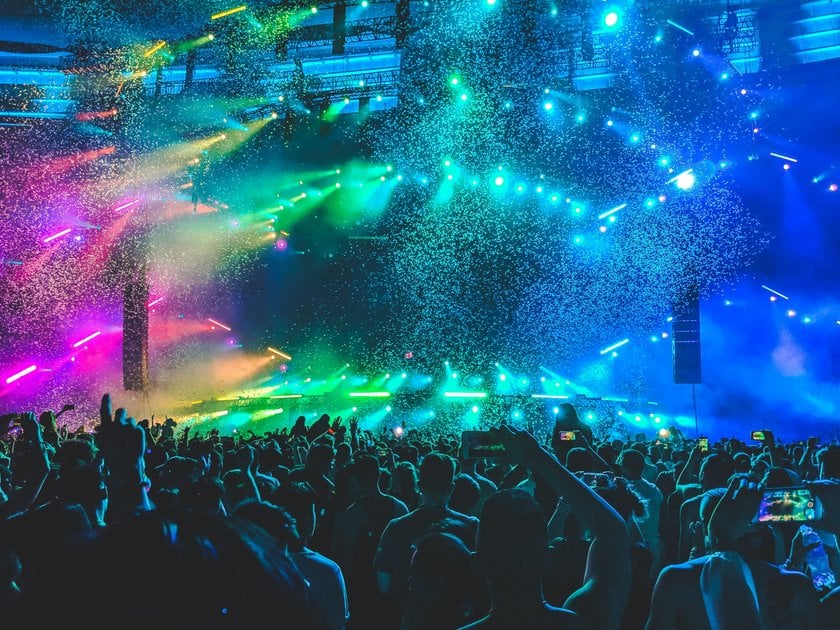
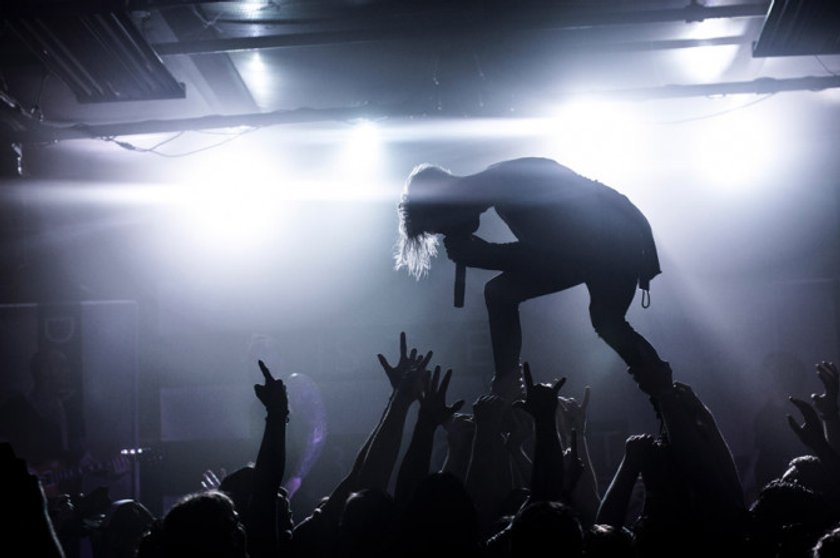 Photo Credit: Jesse Darland
Shoot in Raw: Concert Photography Tips and Benefits
Concerts are notoriously difficult for getting the right exposure. Shooting in Raw will give you the wiggle room you need to make sure you don’t lose an otherwise passable shot. It will also help you to edit out noise in post-processing.
Other Settings: Key Considerations for Concert Photography
Set your drive speed to Continuous High at the highest frame rate possible. This will allow you to catch those moments of high action, but will also let you easily take single-frame shots using a lighter shutter finger. If you’re using Autofocus, you’ll need AF-C/AI Servo AF so that your camera can stay focused on anyone moving.
 Photo Credit: Anthony Delanoix
Getting the Best Shots: Concert Photography Tips and Techniques
Let's look at the basic tips you need to know before starting to take concert photos.
Start Small: Tips for Beginner Concert Photographers
Try shooting small, intimate venues first. These will often allow you to move around freely, with few or no access restrictions. They also tend to have fewer lighting changes and can help you get the practice you need, before trying on more difficult venues the lighting is continually jumping around.
Know Your Show: Preparing for Concert Photography
Believe it or not, the flash won’t help you much in concert venues. It will simply annoy those around you. It’s better to know the show and/or be able to anticipate the lighting. If it’s you’re your first time covering a band, ask the light board operator for a head’s up of what the show will look like. Also, if you know any of the songs, you should be able to anticipate the lighting changes. Certain places in the songs—like the choruses and bridges—will lend themselves to certain types of lighting.
Solos are a particularly essential to be prepared for. Believe it or not, scenes that are lit just by a spotlight on the singer will come out much better than a scene where the whole stage is lit. Remember, it’s more important to catch the mood or feel of a show than it is to document every fragment of what’s going on.
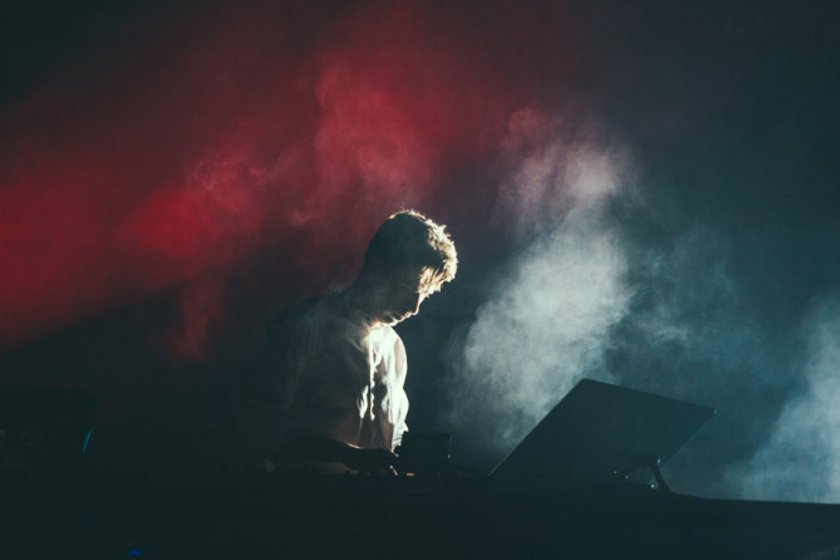 Photo Credit: Austin Neill
With these tips in mind, a little time and patience—and a LOT of practice—you’ll be turning out stellar concert shots in no time.
How Do You Build a Concert Photography Portfolio?
Building a concert photography portfolio requires careful planning and attention to detail. Here's a step-by-step guide to help you showcase your skills:
- Understand the capabilities and settings of your camera, especially while shooting in low-light conditions. Experiment with shooting in aperture priority mode to have control over the depth of field while letting the camera handle the exposure.
- Contact the event organizers or the band's management to get a photo pass, granting you access to the designated photography areas. This is crucial for getting up close to the performers and capturing captivating images.
- Once inside the venue, make sure you are adjusting your camera settings to match the dynamic lighting conditions and find a good shooting spot. Set your ISO to a higher value to compensate for the low light, choose a wide aperture to let in more light, and adjust the shutter speed accordingly to freeze the action or create an intentional motion blur.
- In addition to taking pictures at concerts, consider using an iPad photo app to enhance your images on the go. It offers quick processing options, allowing you to adjust exposure, and color balance, and add creative filters, ensuring your portfolio showcases your work at its best.
- Concert venues often have expansive stages and large crowds, making it challenging to capture the entire scene in a single frame. To overcome this, use photo stitch software to merge multiple images seamlessly, creating panoramic shots that convey the atmosphere of the concert. You can also use AI photo editor like Luminar Neo to make your pictures even better.
By following these steps and continuously refining your skills, you can create a captivating portfolio that highlights your ability to capture the energy of live performances.
Advanced yet easy-to-use photo editor
Get Luminar Neo NowConclusion
Mastering the art of concert photography and how to do it in the best possible way requires a combination of technical skills, adaptability to varying lighting conditions, and the desire to push creative boundaries. Remember that if you want to use a flash, it may not always be possible, so learning to work with available light sources is key. As you build your portfolio, you'll find that the more concerts you shoot, the more comfortable you will become with capturing crucial moments.
Additionally, don't forget the power of post-processing. Use online photo editors to improve your images and ensure your portfolio showcases your unique vision. You can even use special photo editors for skin to make people look perfect in your shots. So embrace the challenges, find your creative voice, and don't be afraid to experiment, we wish you good luck!
FAQ
What Camera Settings Should I Use To Capture the Energy and Atmosphere of a Live Concert?
To capture the energy and atmosphere of a live concert, use a wide aperture, high ISO, and fast shutter speed.
How can I effectively capture stage lighting and create dramatic effects in my concert photos?
To capture stage lighting and create a dramatic effect in concert photos, experiment with exposure settings, use lenses with longer focal lengths, and consider including silhouettes or backlit shots.
Are There Any Specific Tips for Dealing With Challenging Lighting Conditions and Fast-Paced Action During Concerts?
To deal with challenging lighting conditions and fast-paced action during concerts, use a higher ISO, wider aperture, and fast shutter speed. Stay prepared to adjust settings on the fly.