May 30
13 min. to read
How To Add Wings To A Photo With Just A Few Steps
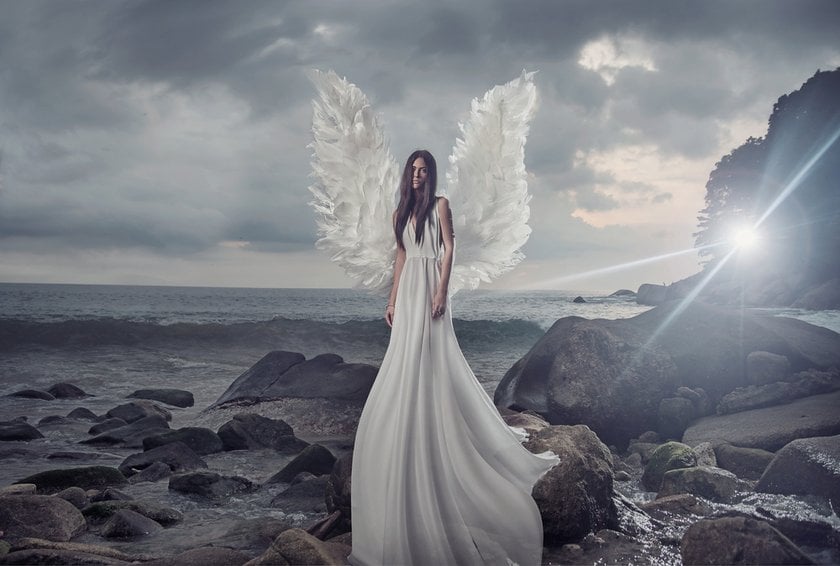
Do you want to turn your ordinary picture into something magical by creating a fantasy scene? Do you have a question, “How can I add angel wings to a photo?”? This article will show how to do it to create a fantasy scene. You will get step-by-step guidance on what materials you need, which types of pictures are better for this purpose, where you can find angel wings and other necessary steps. Also, discover how Luminar Neo can help you in this magical process.
What Is Needed to Start
You need at least a device, photo editor software, a high-resolution image, and an image of angel wings. You can edit photos with mobile phones, laptops, desktops, and tablets. But a computer with a wide and high-resolution screen is perfect.
You need to install photo editing software. There are plenty of well-developed photo editing Software. To add angel wings to a photo, we recommend Luminar Neo. It has features and plugins that are well-suited for this task, and you don’t need to look for plugins on the Internet. With the AI replacement feature of Luminar Neo, you can do it in less than a minute.
Another thing that you need is a picture with high resolution. Ensure your picture is of high quality to edit it in more detail.Details are important to have artistic results. So, choose high-resolution images. And the last and most important thing is images or plugins of angel wings. Download pictures of angel wings from the Internet. Image formats such as PNG and PSD are better formats. You can download them from stock websites or search for them in the search engines. You can also draw angel wings if your drawing skills are good.
Choose the Right Picture

Selecting the picture with the proper composition, lighting mode, and theme is crucial for achieving the desired effect when adding angel wings.
Make sure to choose a picture with enough space for the wings. It is even better to select a photo with one subject. The adjustment will be tricky if the picture is too crowded and more people are in it. In such cases, consider using AI tools to replace unnecessary objects or add new elements to the composition.
Lighting is important to consider when adding wings to a picture. If the photo's lighting direction and the wings you choose don't match, or if the image has harsh shadows or overlighting, you will not get a satisfying result.
Make sure the picture's mood and theme suit your desired editing, whether whimsical, mystical, or serene. The subject's expression and surroundings should complement the addition of angel wings.
Advanced yet easy-to-use photo editor
Get Luminar Neo NowSelect Angel Wings
Download images of angel wings from the Internet. You can search them in the search engines or the stock website search bar. Wings should match the style and mode of your picture and what you want to create, whether you prefer classic feathered wings, ethereal translucent wings, or something more whimsical. The more they match, the less you will have to edit.
If you have artistic skills, draw or digitally paint the wings using a graphics tablet and software like Adobe Illustrator or Procreate. It allows you to customize the wings to suit your vision perfectly.
Consider the perspective and position of the original and angel wings images you want to download. Make sure the size and position of the angel wings match the subject in your picture. You can match them by editing, but it depends on your skills. Test different wing sizes and positions to find the perfect fit.
Step-by-Step Process
Adding angel wings to your picture requires a systematic approach to ensure a seamless and realistic result. Follow these step-by-step instructions for making a magical natural effect:
Step 1. Open Your Picture
Open your picture using your preferred photo editing software. If you are familiar with Adobe Photoshop, Luminar Neo, or other photo editing software interfaces, open it in that software.
Step 2. Import Angel Wings
Import angel wings to your project. If the background is transparent, it is good, and you can apply the next step. Split the wings from the background if it is not transparent. There are multiple techniques for making the background transparent. You can use selection tools, layer masks, and erasers. But pay attention to detail to ensure accuracy, especially around intricate areas like feathers or patterns.
Step 3. Position the Wings
Position the wings according to the subject, adjusting their size and orientation as needed.
For better understanding and practice, you can also read the article on how to add a picture to a picture. Moreover, with the help of Luminar Neo, you can add photo to photo in a matter of seconds and get a high-quality and flawless natural blending result. In addition to wings, create overlays of various textures, patterns, graphics, text, lighting effects, or other visual elements placed over the original photo.
Exclusive Tools of Endless Possibilities in One AI Editor
EXPLORE NOW!Step 4. Refine and Adjust
After adding the angel wings to your picture, it's time to refine and adjust the edits to ensure a polished and cohesive result. Here are some tips for refining your edited image:
1. Feather and Soften Edges
Feather the edges of the wings using soft brushes and eraser tools. Pay attention to the lighting of the feathers and hues; they should match the background. It will create a smoother transition between the wings and the background.
Explore How to Add a Background to a Photo in 6 Easy Steps to create compositions with the background, elements, and decor you need. This skill will be useful for wing photography and any portraiture, subject photography, food photography, etc.
2. Fine-Tune Blending
To further refine the integration of the wings into the picture, adjust the opacity and blending modes of the wing layer. Until you haven't achieved a natural look, try different settings.
3. Check for Consistency
Once again, review the editing process that you have done. Make more corrections wherever you think necessary. Check consistency in lighting, color, and perspective. Make sure your photo, the wings, and the background are well-adjusted.
4. Add Details
The last very important thing is details. Enhance the realism of the wings by adding subtle details such as highlights, shadows, and texture. Use brushes and colors to make shadows wherever necessary. This will add depth and dimension to the wings, making them appear more lifelike.
How to Add Angel Wings to a Picture on iPhone
You can create such a composition on the iPhone using photo editing programs available in the App Store. Regardless of the program you choose, the general steps will be the same:
Step 1
You can download a photo editing app with overlays or stickers and image editing and blending tools from the App Store. Some popular options include Adobe Photoshop Express, PicsArt, or Snapseed. If you use an iPad for editing, you can download Luminar for iPad.
Step 2
Open the desired image in the mobile photo editor. A clear and well-lit photo will make the editing process easier.
Step 3
Find the option to add overlays, stickers, or images to the app. Search for "angel wings" or browse the available options until you find a pair of wings that you like. Or use the overlay and blend function and add images from the Internet as described in the examples above.
Step 4
Use the editing tools to adjust the wings' size, position, and orientation to suit the photo's subject. You can usually resize and rotate overlays with two-finger swipes.
Step 5
Use the app's blending modes and opacity settings to make the added element look more natural and integrated into the photo. Experiment with different blending modes and opacity levels.
Step 6
You should fine-tune the wings' edges to blend smoothly with the subject. Use the eraser tools or masking options available in the app to remove unwanted parts of the overlay and enhance the edges.
Step 7
Save the edited image and share it on social media to show off your angelic creation.
Remember to have fun and be creative with your editing! Don't give up even if something doesn't work out the first time! Keep practicing and experimenting to achieve the desired results.
Elevate Your Photography with Our Advanced Software
DISCOVER PRICINGBottom Line
Congratulations! Now you know how to put wings on a picture, so you can easily turn ordinary images into magical works of art. Infuse your photos with a sense of magic, wonder, and ethereal beauty, whether you're creating fantastical portraits, dreamy landscapes, or whimsical scenes.
Practice will make your work perfect. Experimenting with different techniques, styles, and effects will give great results and simplify your editing.
Thank you for joining us on this journey, and may your images of angel wings bring joy, inspiration, and wonder to all who behold them. Happy editing!
 >
>
