November 28
14 min. to read
How To Add a Picture To a Picture with Photoshop: Main Steps
Don't be so insecure, because, in fact, it is easier than you think. In this article, I will tell and show how to put pictures to a picture in a simple way.
Of course, you can overlay images with different photo editors (we will talk about this later, believe me, I have something to say). However, now I would like to tell you exactly how to put an image on top of another in Photoshop. There are several reasons for this:
- Photoshop is the most popular photo editing tool, even though it's complicated, so this article will be useful for more people;
- once you've mastered an image within an image in Photoshop, you'll definitely be able to do it in most other programs.
One last retreat and we begin. Don't be intimidated by the abundance of features in Photoshop and the complexity of the software. I tried to write the article in such a way that everything was obvious even for beginners. So let's start learning the magic of photo manipulation!
How to overlay pictures in Photoshop: step-by-step instruction
Let's take a look at some pictures:


Step 1. Create a new file
For combining images, I recommend creating a separate file so that you don't inadvertently save the collage over the original image.
Open your Photoshop and select "File → New". Most likely you will be working not with vector images, but with raster images, so choose the same dimensions as the original photo has, or smaller.
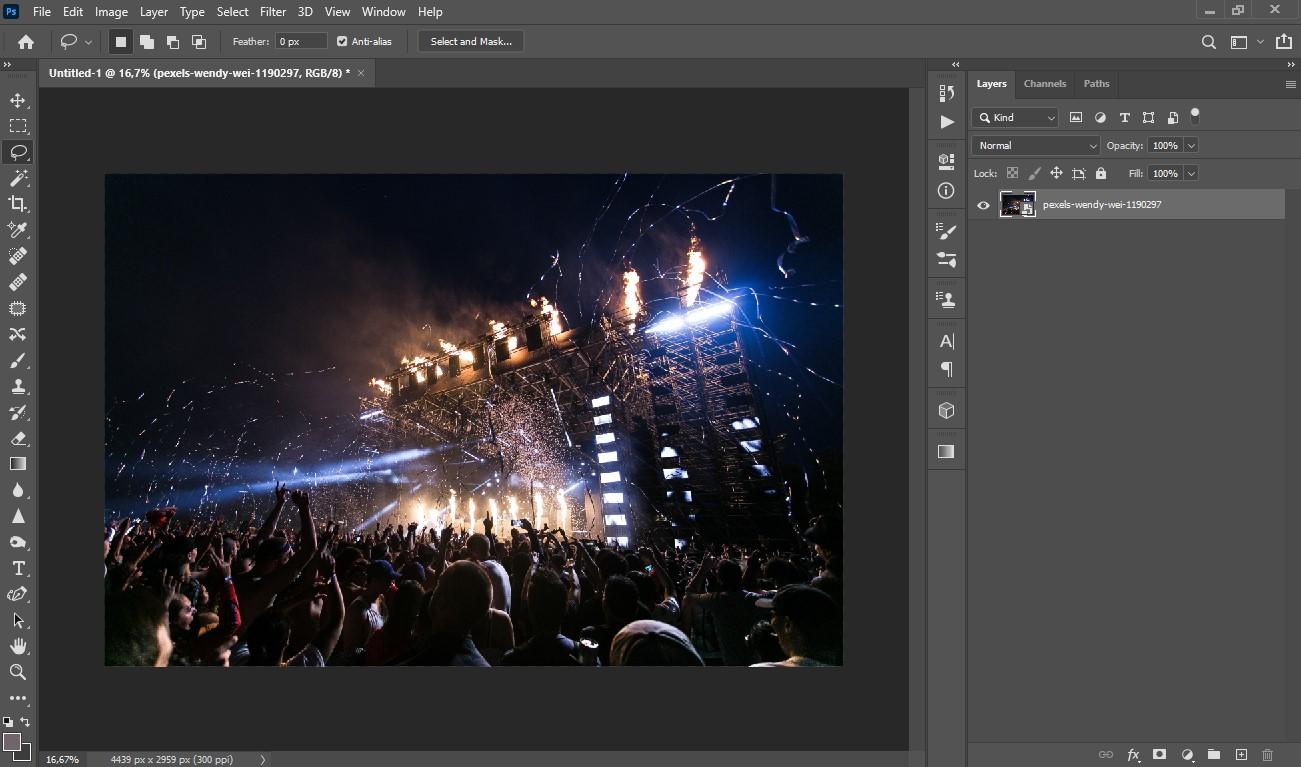
Step 2. Background preparation
Choose an image to be the base of your collage. In my case, it's a photo of a concert, so I'll just drag it into the newly created project in Photoshop. With all subsequent photos, we will work initially on separate tabs.
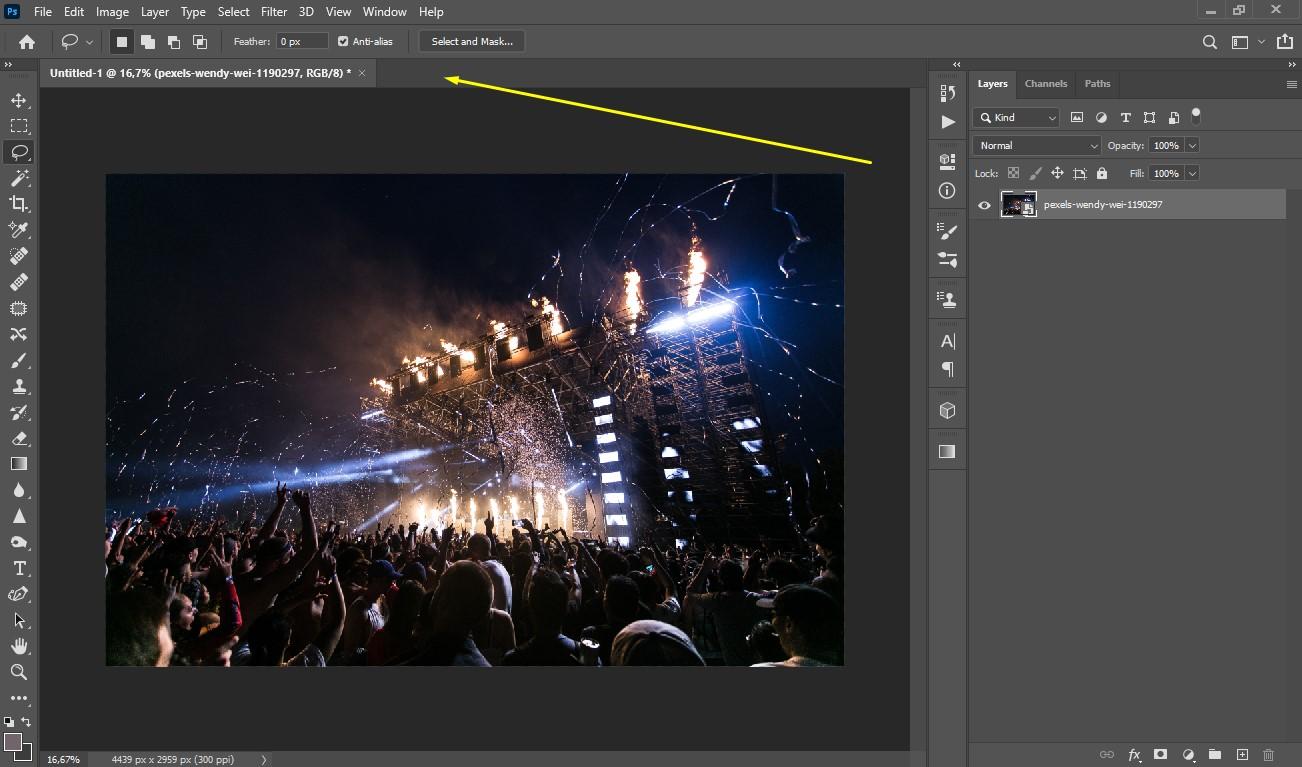
Step 3. Overlay photos
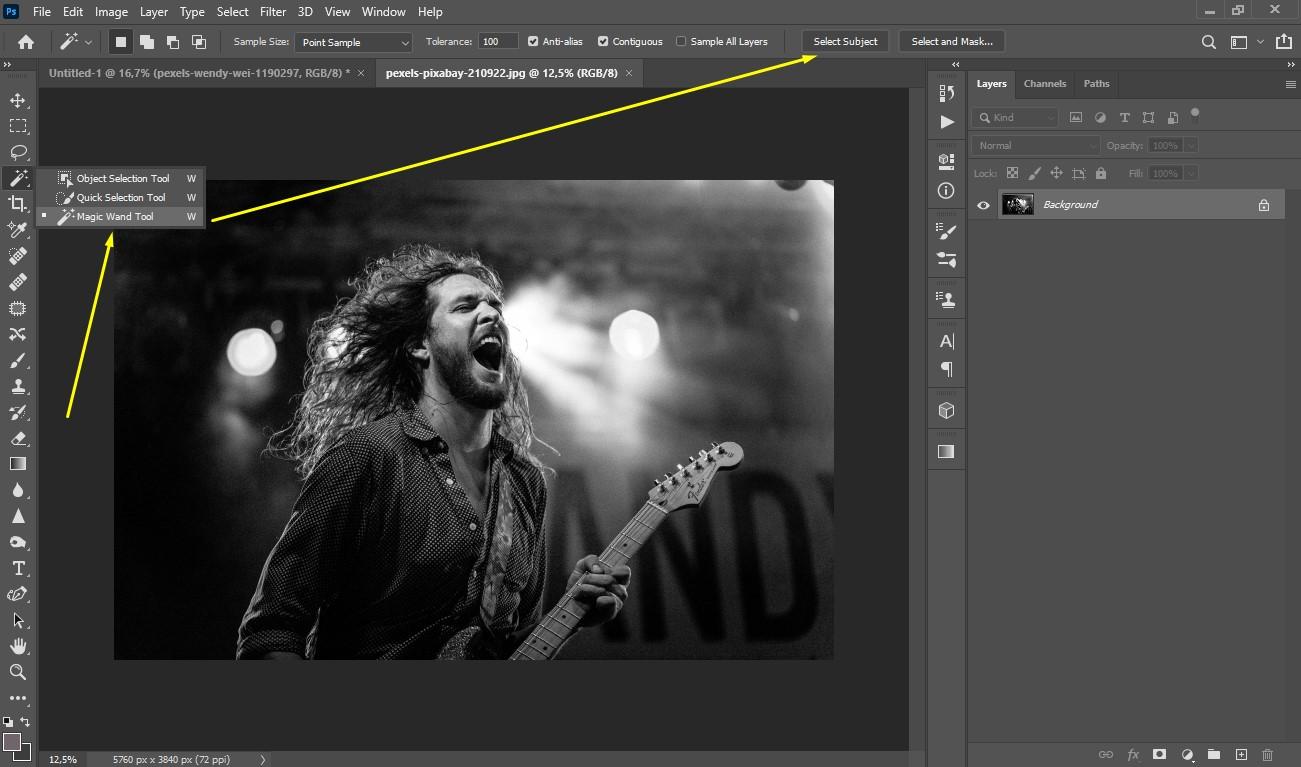
Ok, we want to add a photo to the photo. To do this, drag the file from explorer to the area marked in the screenshot below. This will open the photo in a new tab, where we are going to work.
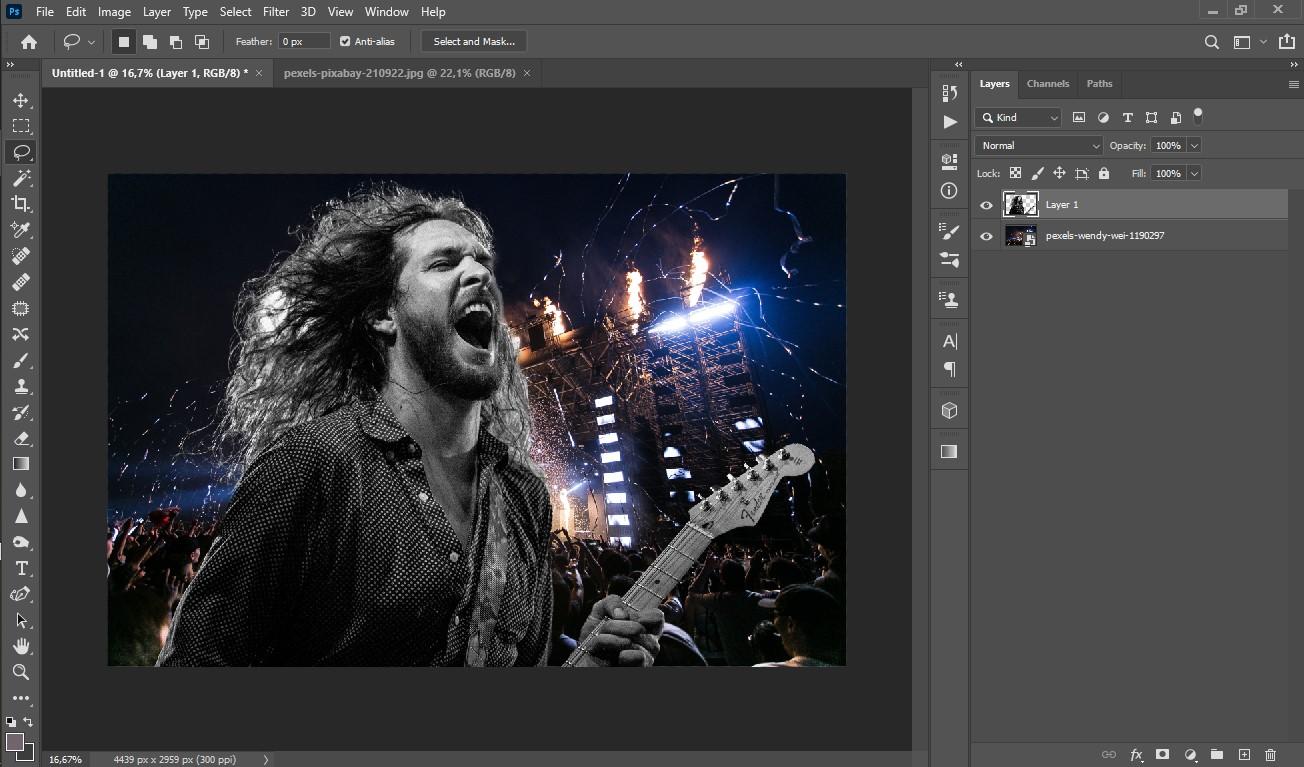
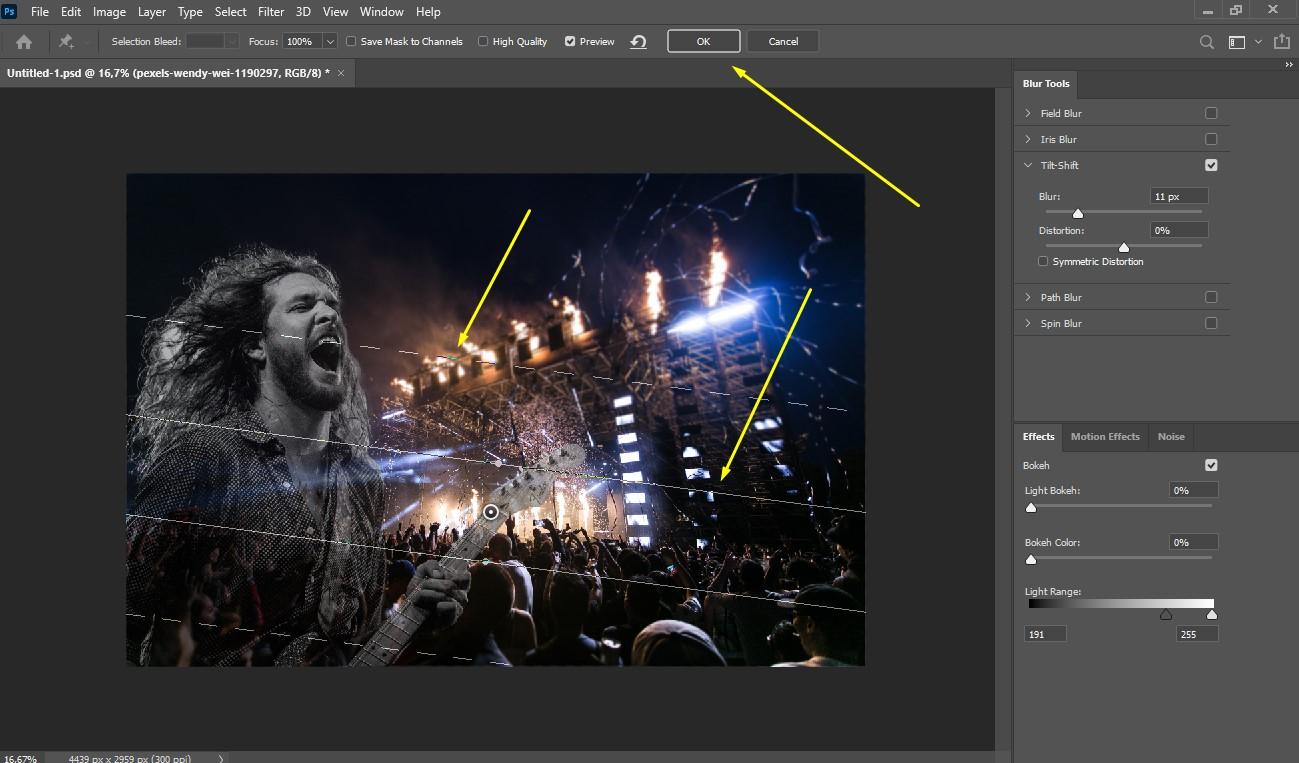
Step 4. Improve your image
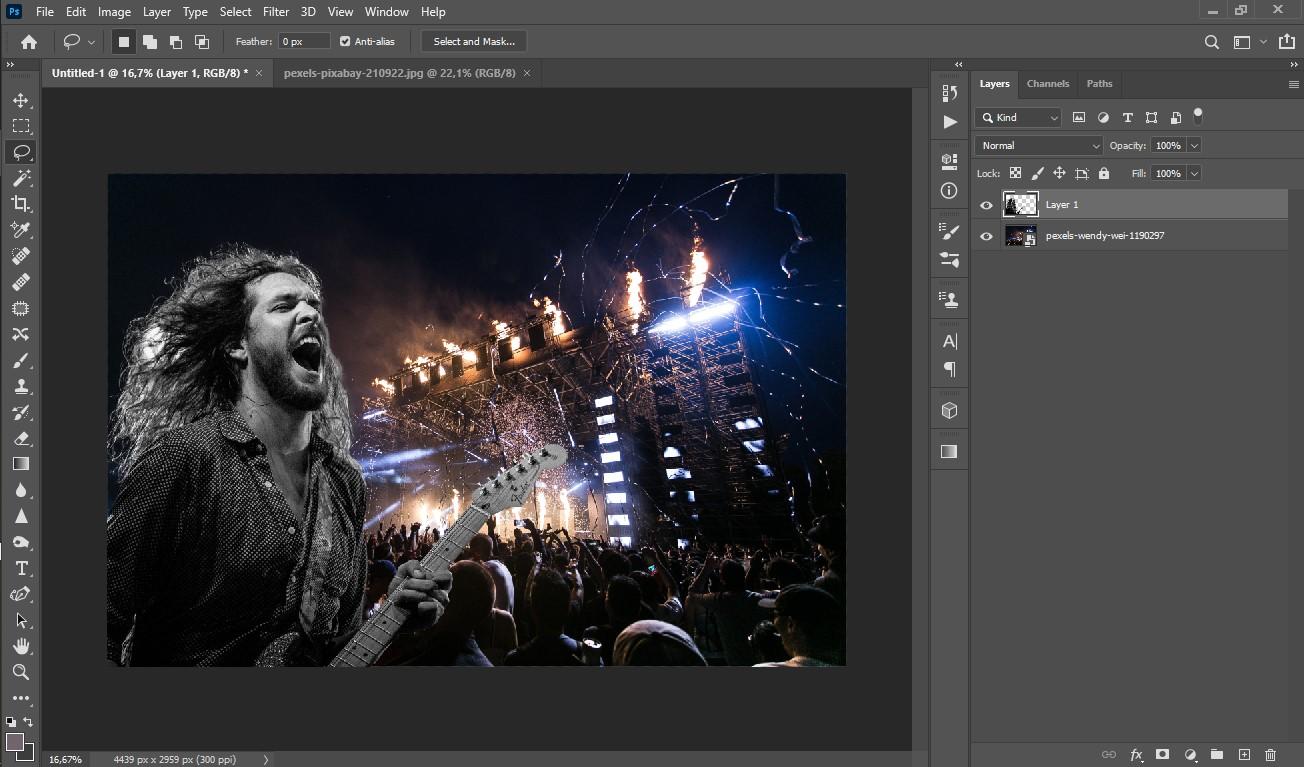
We've just successfully overlaid images in Photoshop. Even in this form, the picture is already suitable for use, for example, as a poster or advertising creative for social networks. But we can do it even better!
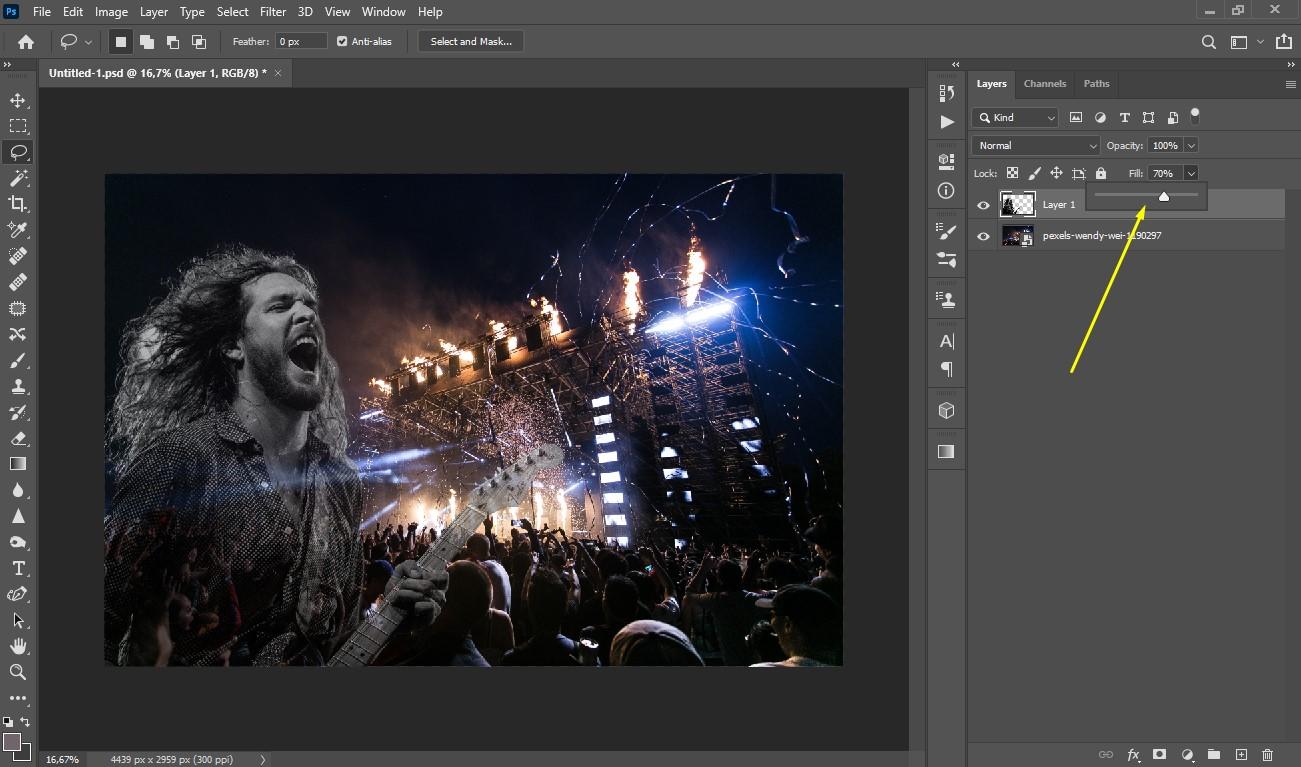
The first thing I want to use is the fill feature. Activate the guitar guy's layer and find out the one below the layer's list (watch the screenshot below). Move the slider to adjust the transparency you like.
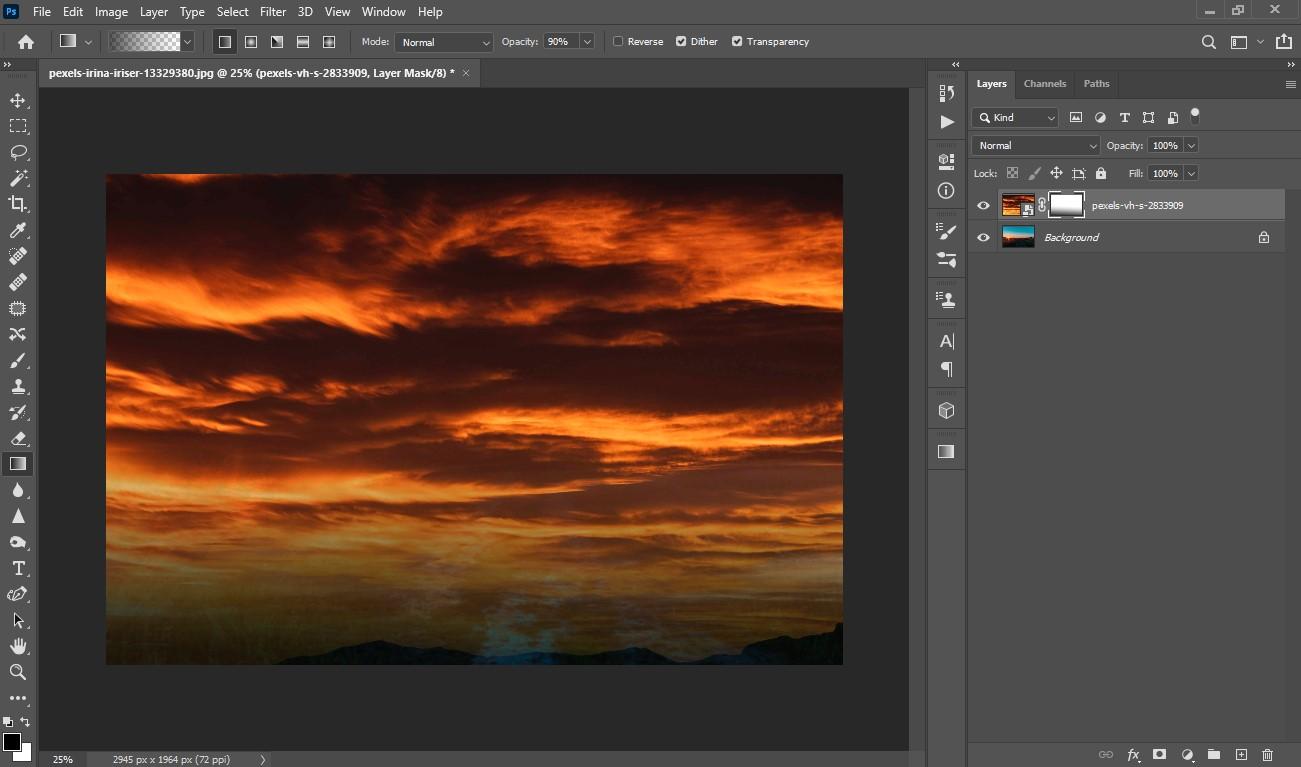
Step 5. Enjoy the result
Well, we did a good job, and here is our result:

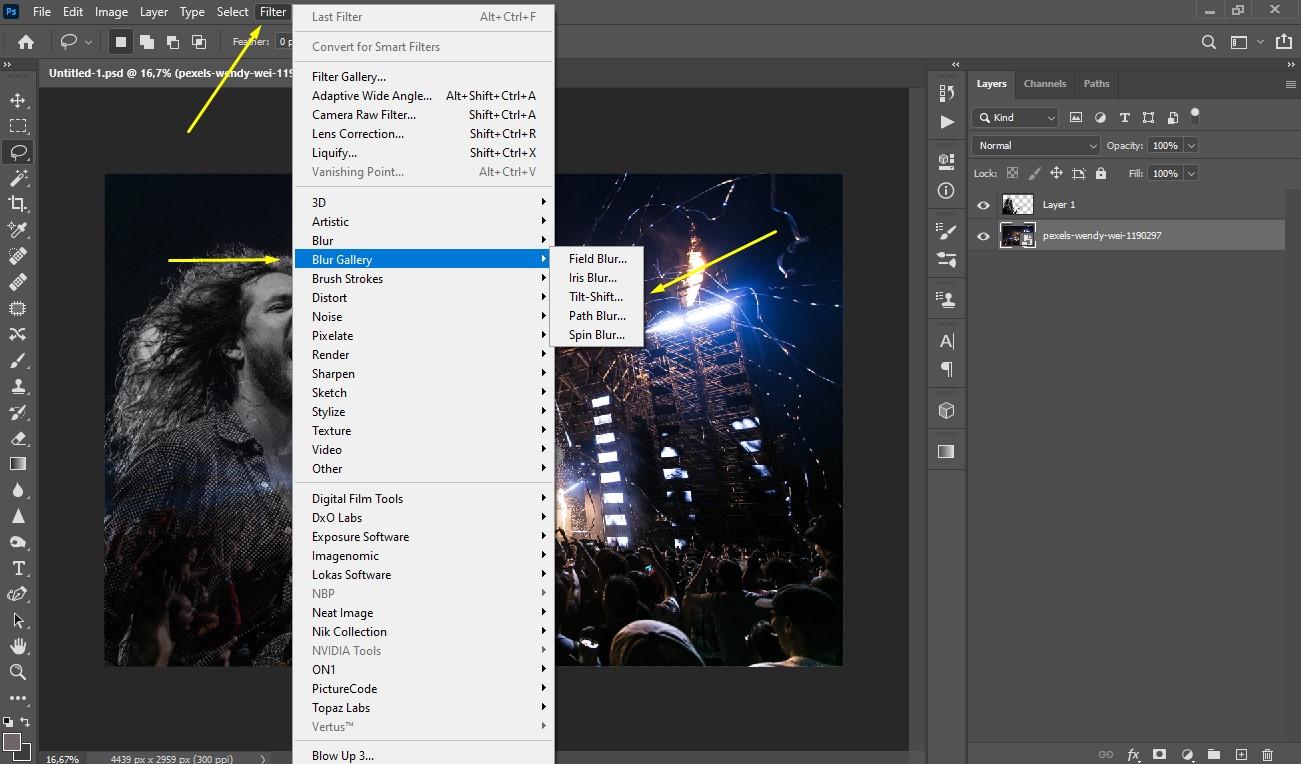
Bonus: How to put pictures on a picture with a smooth transition
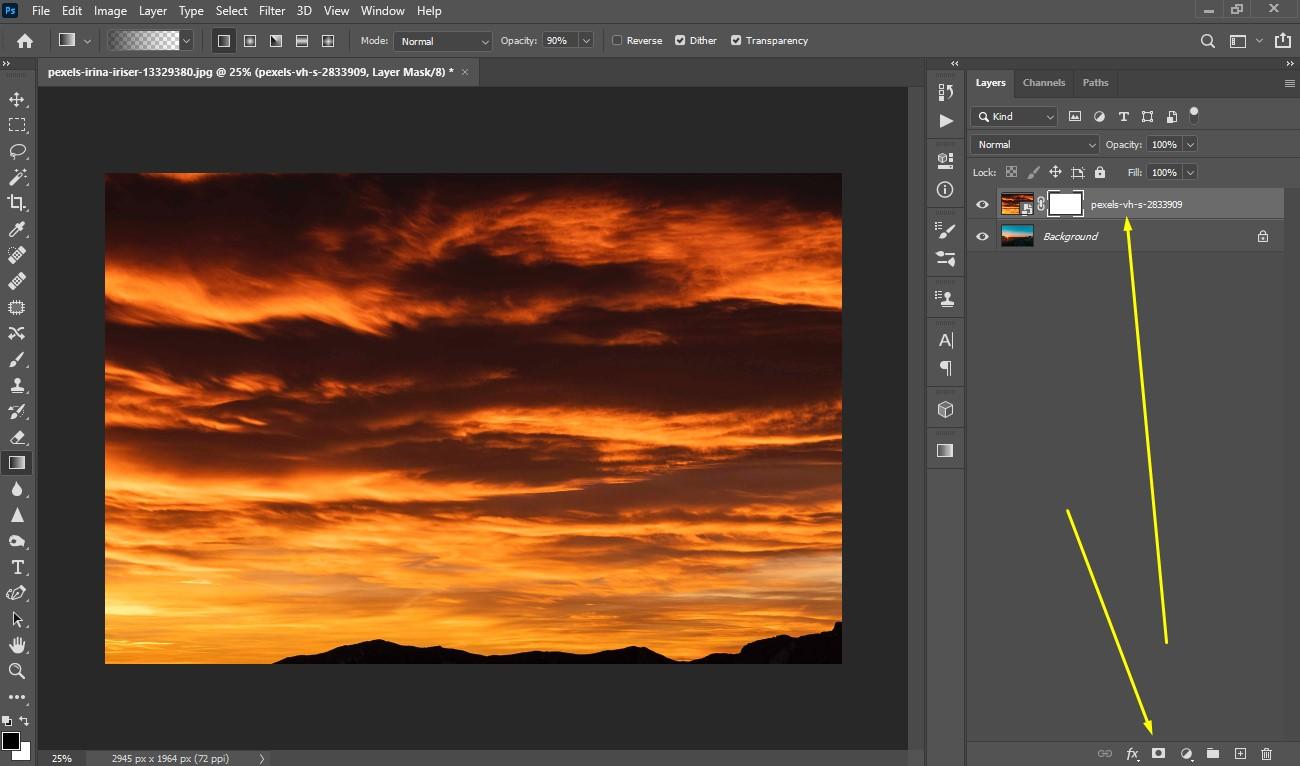
There is one more way to add a picture to the picture, which I'd like to tell you about. Take a look at the photo:
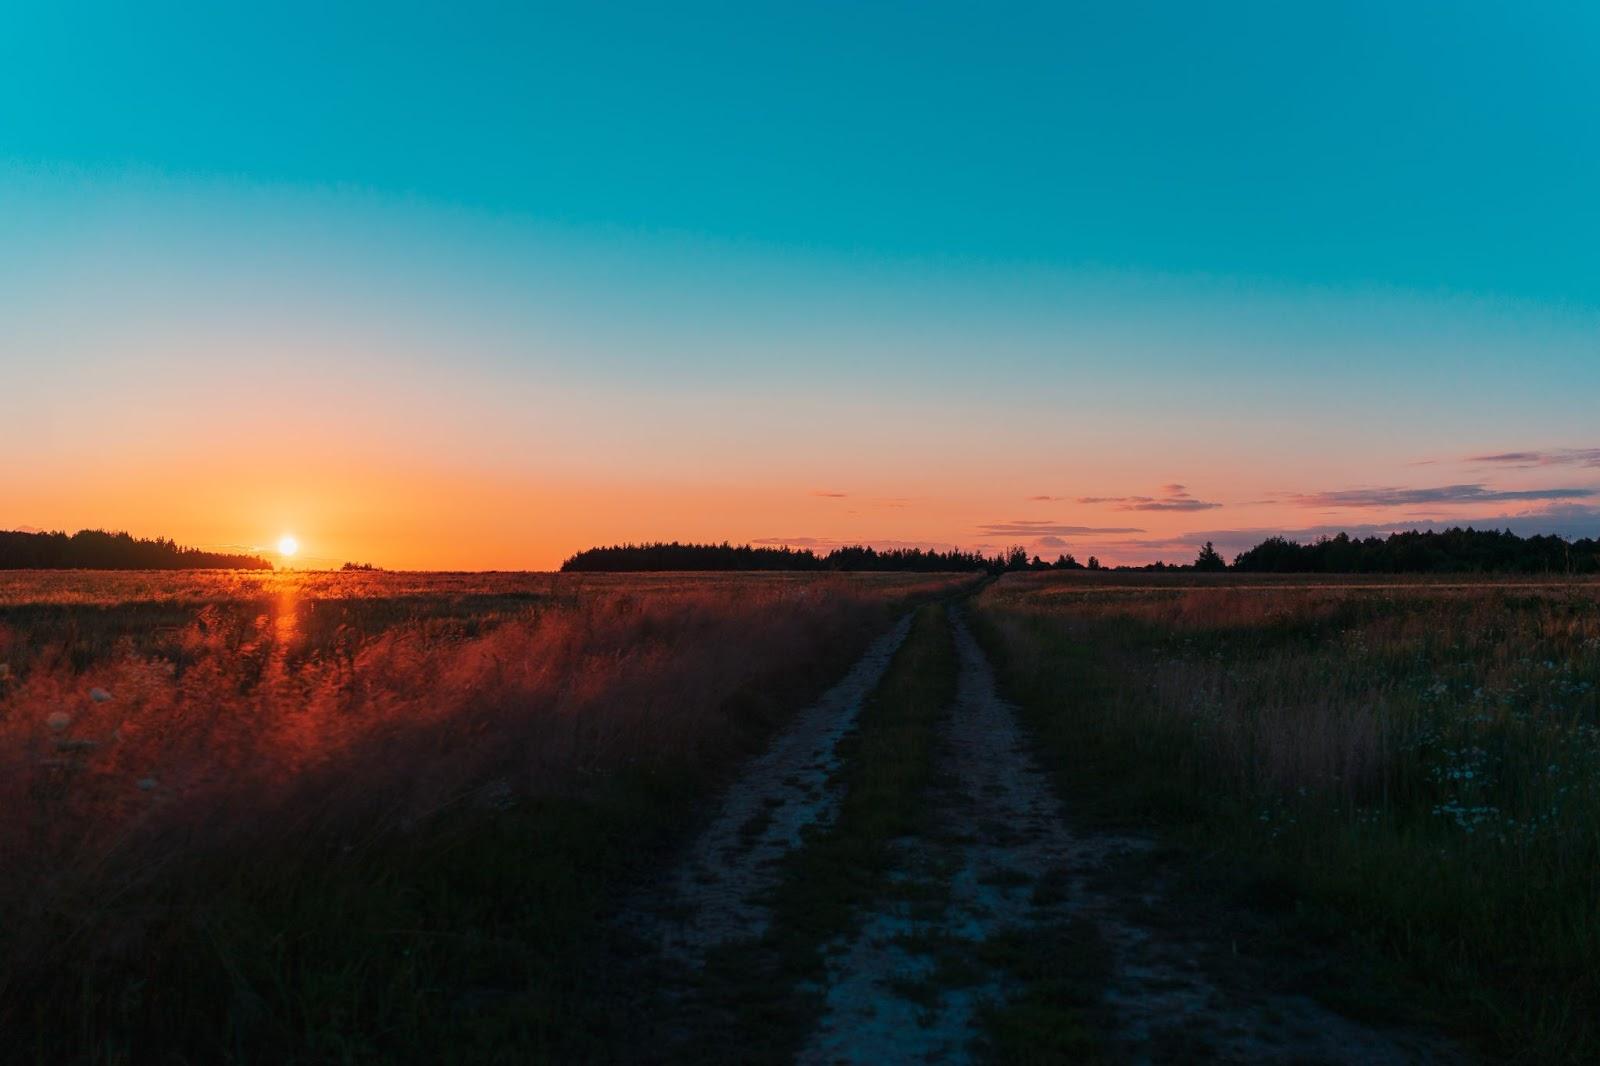
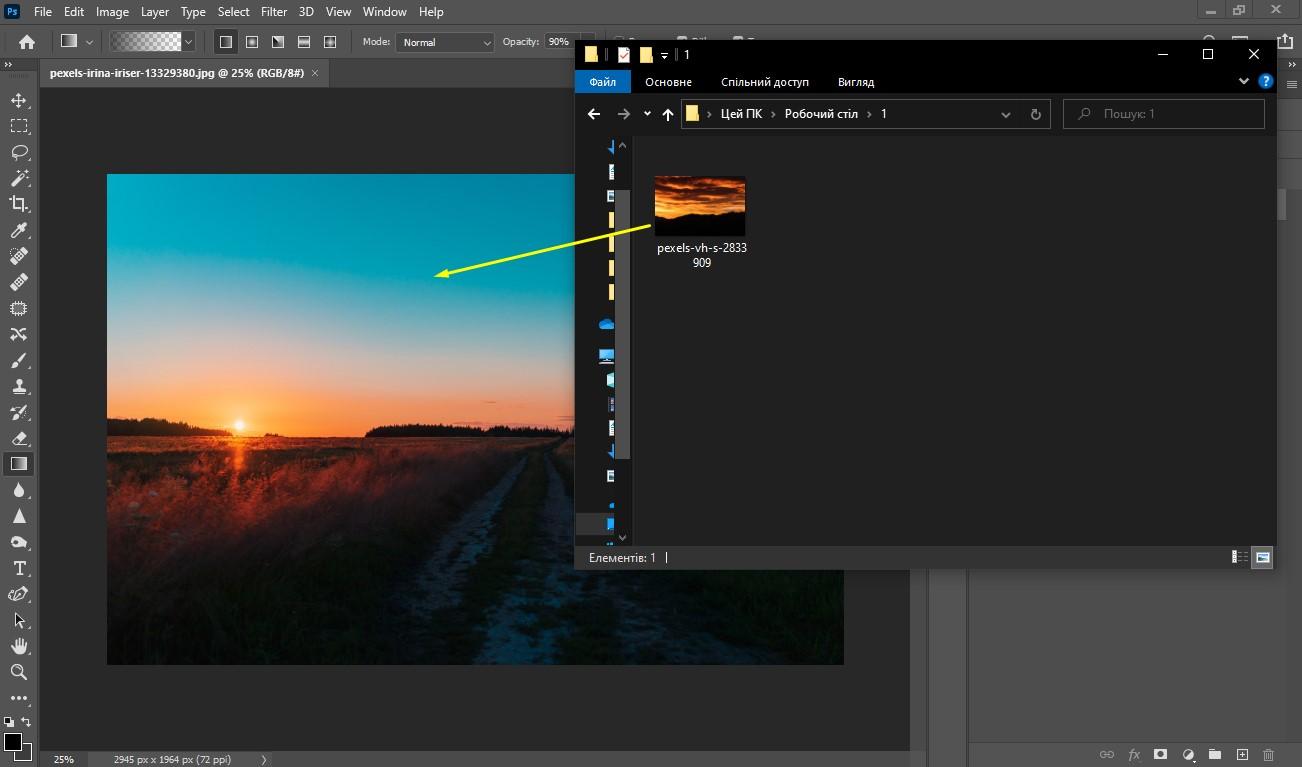
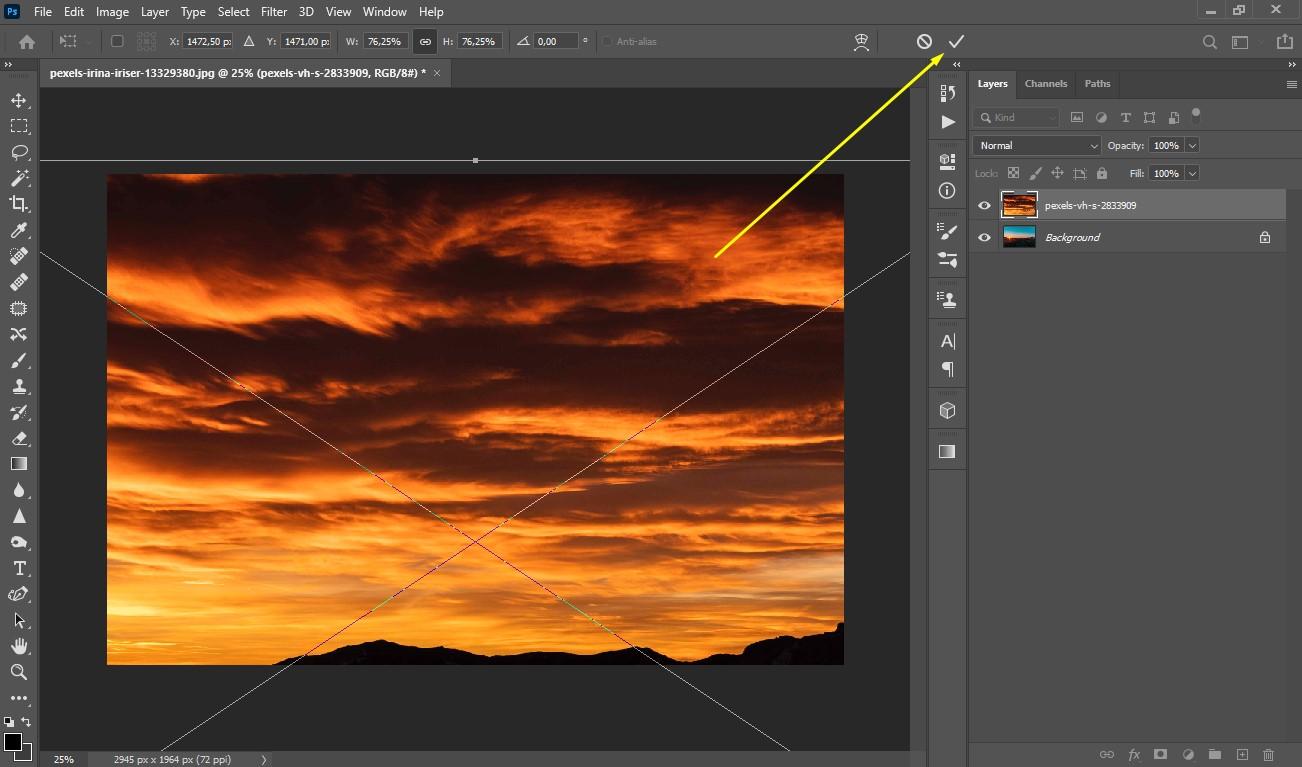
Open your image in Photoshop as usual. It is clear that you should have another one with the sky, which we will substitute instead of the existing one. Drag the second photo (with the nice sky) out of File Explorer to open it as a Smart Object in Photoshop.
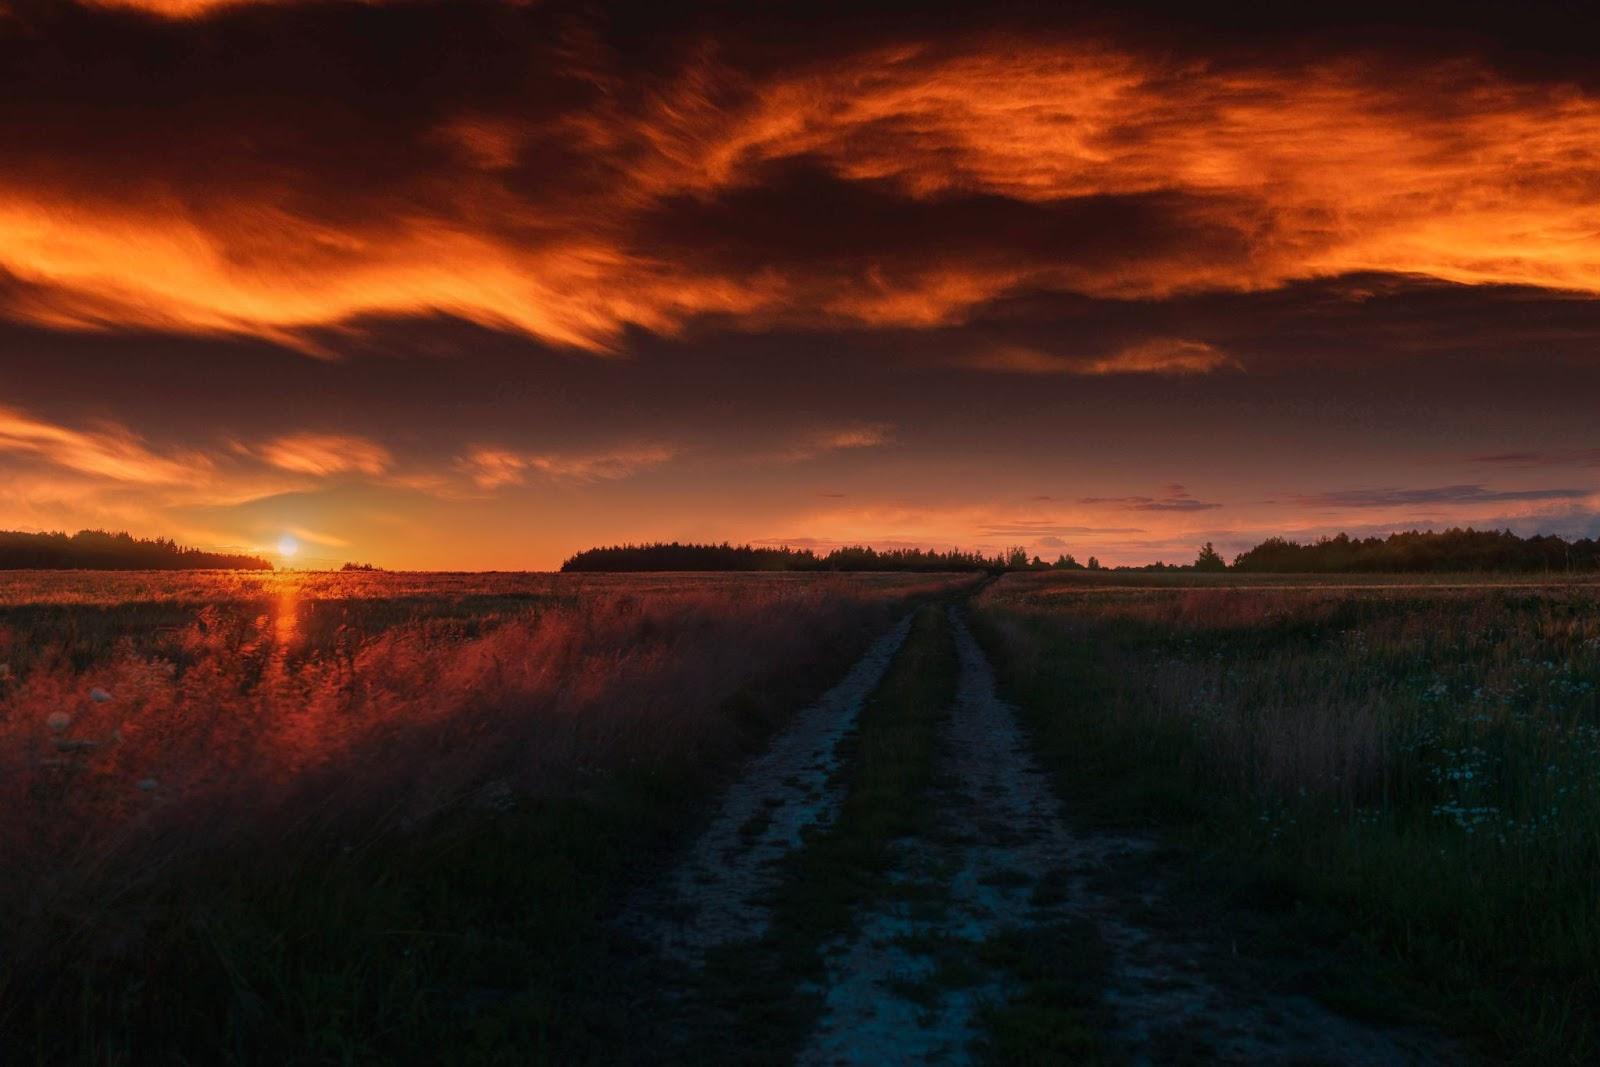
Let your imagination run wild! This is the most valuable advice I can give you. And skills are developed over time, besides, you already know that it is not so difficult to overlay images.
Luminar Neo: alternative software to combine images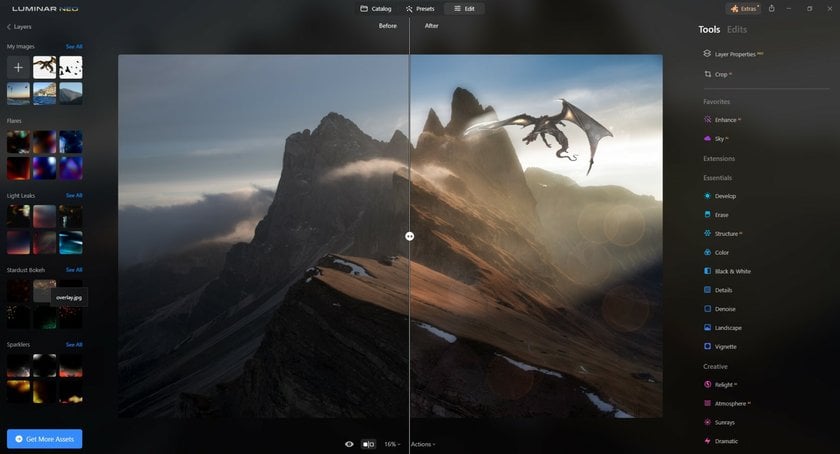

Before I go into my own painted sunset, I would like to tell you one more thing. At the beginning of the article, I mentioned that in addition to Photoshop, there are still a lot of different tools that allow you to add images to photos. I won't list them here because it's going to take a long time. But about one editor, nevertheless, I want to tell you in more detail.
Luminar Neo is a smart editor that can significantly simplify the process of photo retouching thanks to the use of artificial intelligence technology. For example, the same background removal that we had to work hard on while working in Photoshop is done here with one click.
The program also allows you to create masks for individual objects, which is very convenient when creating collages (when you need to add a shadow to a single object for example).
In Luminar Neo, you can create as many layers as you want to bring even the most complex ideas to life. Overlay dozens of photos to get a really unusual result. This program opens up a huge field for experimentation, and also allows you to do it quickly, since you practically do not have to do anything manually, like in Photoshop.
There are still a lot of features in Luminar Neo, but we can talk about them indefinitely, so I'll leave this topic for another article. In the meantime, I’ll just say that I hope this material was useful and informative for you. Using these basic features, you can impress your friends and subscribers with beautiful collages. Most importantly, it's a great idea. So let inspiration never leave you, and don't freeze your computer while you create your masterpieces! Good luck and creative success!
FAQ
How can I achieve optimal results when merging two photos?
To achieve the best results when combining two photos, it's essential to consider a few key factors. First, ensure both images have consistent resolution and lighting for a cohesive look. Open your primary photo in a photo editing tool like Photoshop or Luminar Neo. Then, use the "add a photo" or "overlay" function to introduce the second image. Fine-tune its opacity, size, and position for a seamless blend.
If I've inserted one photo into another but have changed my mind, what steps should I take?
If you've tried adding a photo onto another in Photoshop or Luminar Neo and aren't pleased with the result, it's simple to reverse your actions. If you've placed the new image on its own layer (as is commonly recommended), you can just hide or delete that layer. Always ensure you've saved a separate copy of the original image to avoid unintended modifications.
Which app is recommended for combining photos effectively?
When you're pondering ways to put a picture on top of another picture, Luminar Neo stands out as a superior choice to many traditional photo editing tools. This software not only allows you to seamlessly photoshop a picture into another picture but also offers an intuitive platform to overlay pictures.
If you ever need to add a picture or create a unique composite from various images, Luminar Neo's AI-driven features ensure a natural blend, making it a go-to choice for those who want a straightforward approach without diving deep into the complexities of software like Photoshop.
 >
>
