
Blog
April 18, 2025
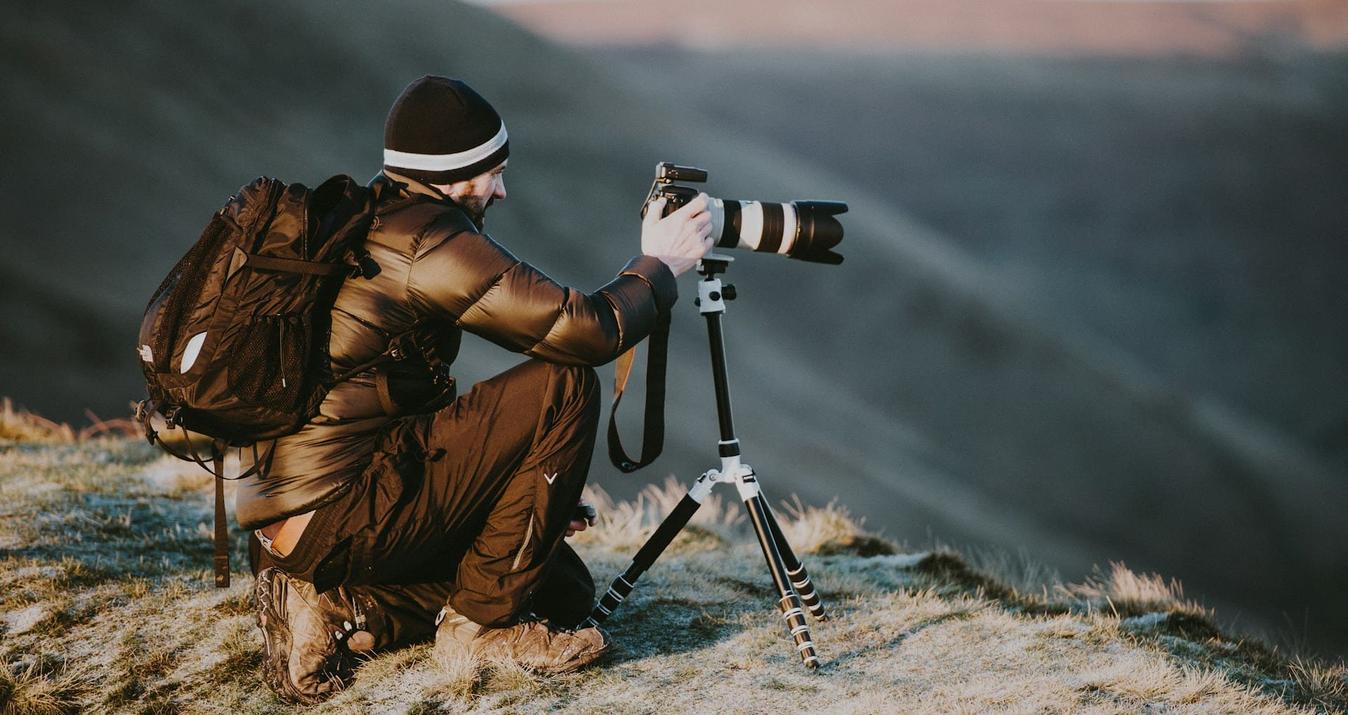
What Makes a Good Photographer? It's More Than Just a Fancy Camera
Is it all about the camera? Discover what truly makes a good photographer, from mastering light and exposure to understanding your subject and honing real skills.
April 15, 2025
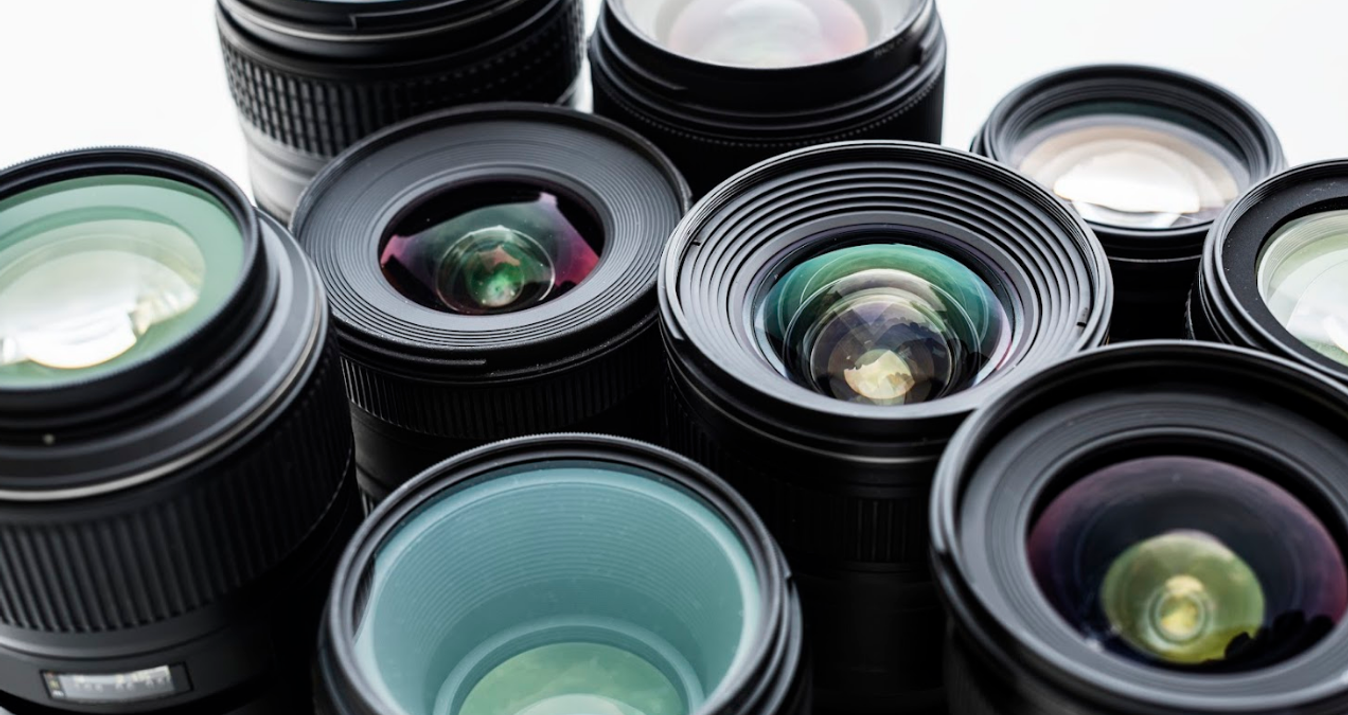
Best Lens For Fashion Photography: Sharp, Stylish Results

April 10, 2025
Mother's Day Card Ideas: Easy Yet Creative Card Inspirations

April 10, 2025
Best Places To Travel In The US For Every Kind Of Traveler
April 09, 2025
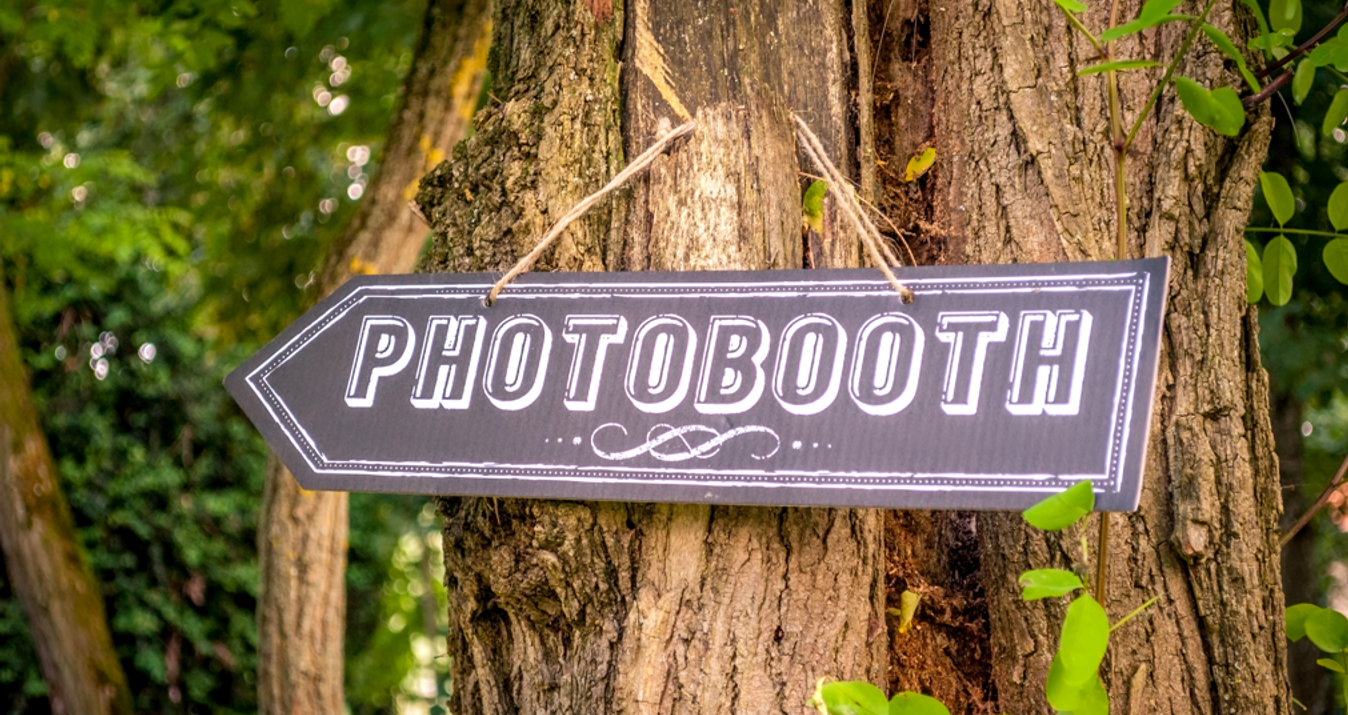
Mother's Day Photo Booth Ideas That Everyone Will Enjoy

April 08, 2025
How To Take Passport Photo With iPhone: Easy Steps To Follow

April 07, 2025
10 Tips For Editing Nude Photos To Keep The Natural Vibe

April 07, 2025
Mother's Day Picture Ideas That Will Wow Every Time

April 04, 2025
How Big Is 8x10: Easy Guide To Understanding Photo Sizes
April 03, 2025
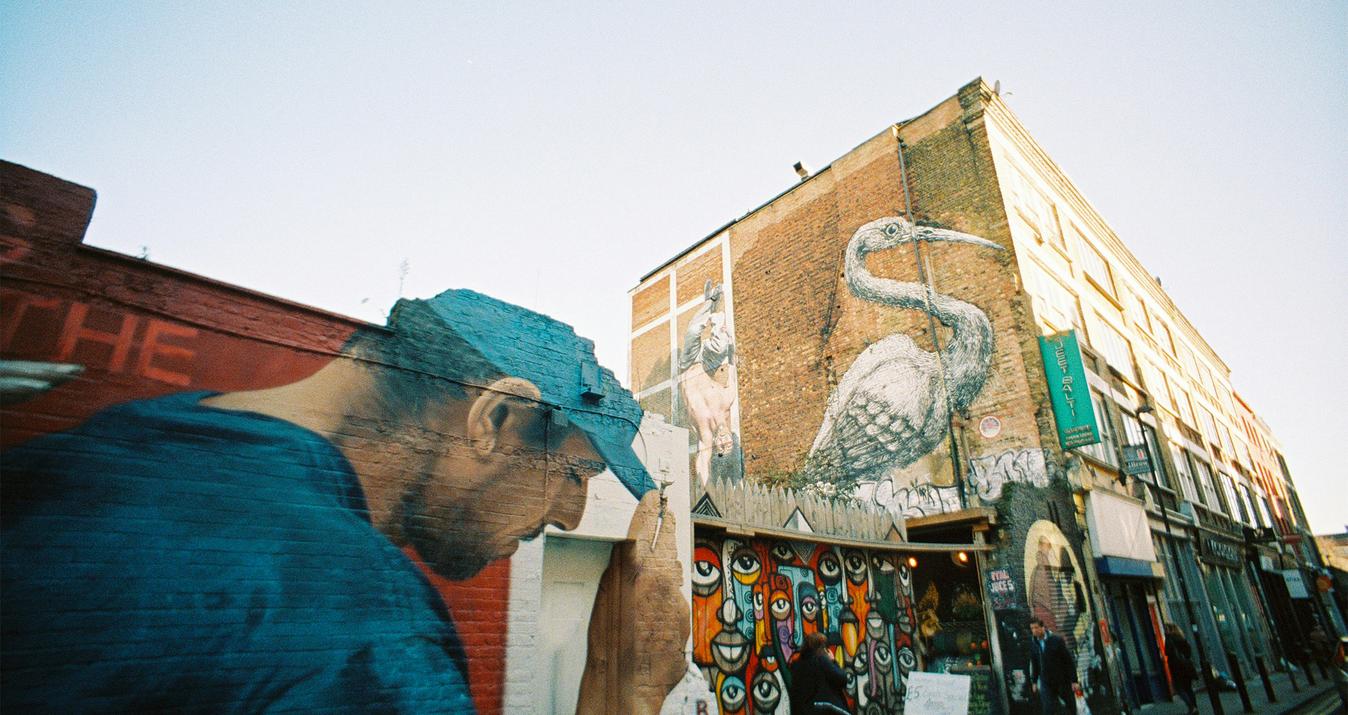
Street Art Photography: Storytelling On Brick And Mortar
Most Popular

June 18, 2024
Inspiring Studio Portrait Photography Ideas
Explore studio portrait photography ideas, which are ideal for all levels. Get inspired, unleash creativity, and capture stunning moments in your studio.
Learn More
October 15, 2024
How To Transfer Image Style With AI?
Learn how to stylize a photo using advanced AI tools, such as Luminar Neo AI style transfer and color transfer features, to elevate your images to the next level.
Learn More

February 17, 2025
12 GIMP Alternatives for Mac/Windows
Our selection of the most popular and powerful GIMP alternatives will help you find the one that best meets your creative needs. This list also includes some apps for drawing. Find the best GIMP alternatives to use!
Learn More
Subscribe to know first
Our delivery owl will bring you our best deals and news about Skylum news.
Thank you for subscribing!
Unlock Pro-Quality iPhone Photos with Our Free Guide! 📸
Gain instant access to simple yet powerful tips for enhancing composition, lighting, and editing—everything you need to transform your photos effortlessly!
👇 Fill out the form below to receive your guide directly via email.
Curiosity is the doorway to skill
Thank you for your interest! Discover the secrets to pro-quality photos in your guide, waiting in your inbox.
Try the request again later. If the error does not resolve, contact support.
Try Later