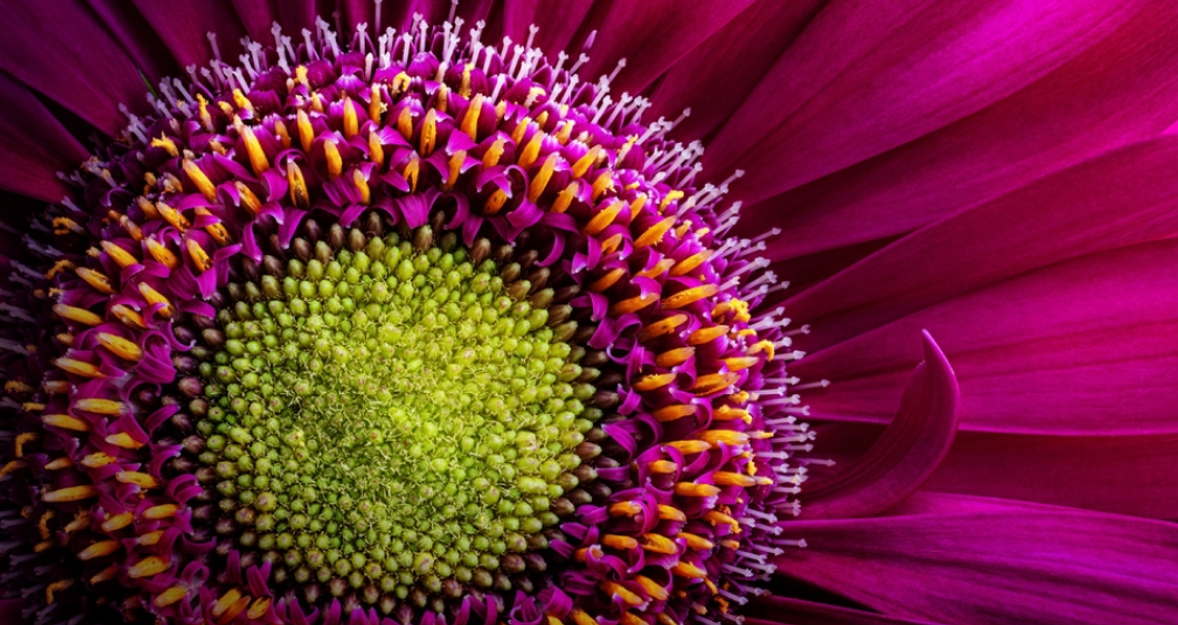
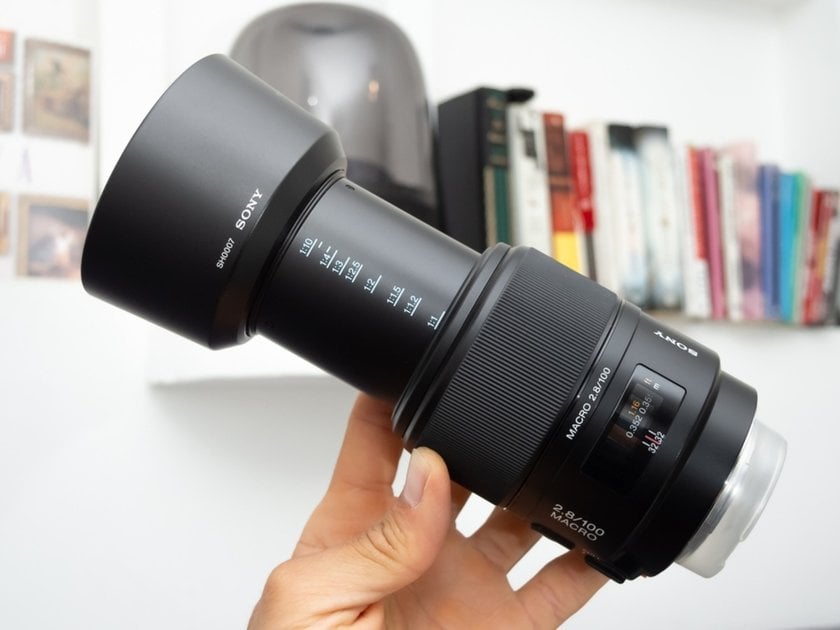
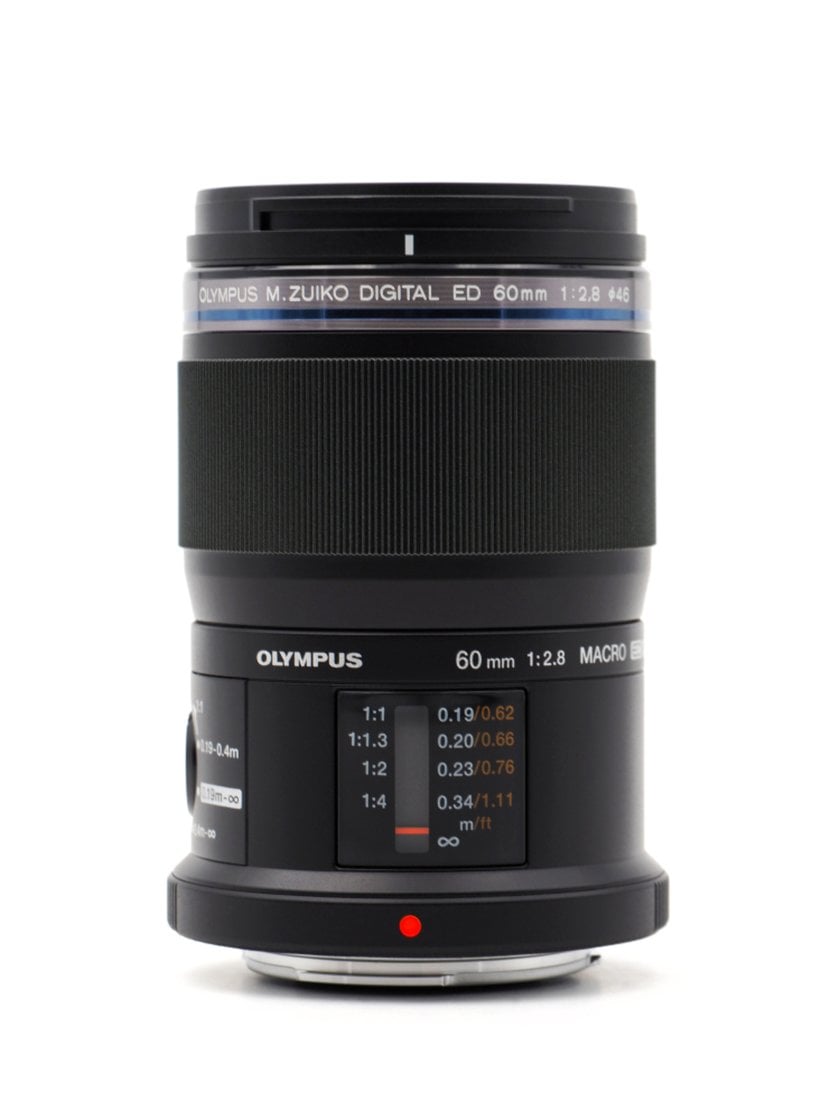
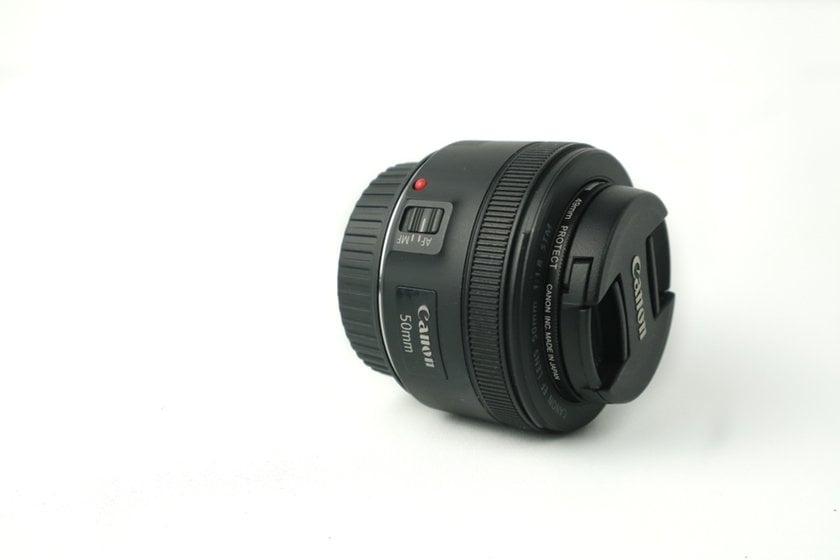
In our new overview, we explain how to choose the best macro lens, which camera to buy, and how to experiment with macro photography successfully as well as talk about macro photography ideas.

What is macro photography?

In one of our previous posts, we tried to answer the question of what is macro photography. But with the growing popularity of this genre, we felt the need to explore the topic more and give you a hand in fulfilling your macro photography ideas. Let's start with the macro photography definition.

In essence, macro photography makes it possible to enlarge the neglected details of the world and see them more clearly. However, the exact mastering of macro photography comes at a price. You’ll often find yourself in an uncomfortable pose, in a tight environment, or struggling to see something in the dark. Plus, a photography life requires your total attention. You’ll turn into someone who walks the streets looking for hidden patterns, unusual flowers, and interesting insects. Along with this high degree of concentration, macro photography requires patience: subjects may have their own opinions as to whether to stay or leave. 

In other words, being a macro photographer requires psychological readiness to change the way you look at and capture reality. Without it, you can't do a good photograph.

But if these inconveniences aren’t an obstacle for you, here are the most important things you need to know about macro photography. There are many macro photography tutorials, but we have tried to make ours as clear, complete, and useful as possible. Along with finding crucial photography tips for beginners and recommendations on the best macro lenses, you’ll gain interesting photography ideas and understand what macro means from A to Z.

Macro Photography Guide: How to Capture the World in Macro | Skylum Blog(2)

What’s the difference between macro and micro photography?

The line between macro and micro photography is thin, but it exists. Both deal with magnifying subjects. So the results of macro and micro photography look quite similar and even resemble close-up photography somewhat. At the same time, the method of achieving this effect is totally different.

In macro photography, artists mostly rely on the best macro lens and a tripod. In microphotography, artists work with a microscope. It’s not possible to work with a specific lens in this case: while there is such a thing as a macro lens, there is no such thing as a micro lens (though Nikon uses the “micro” title, these products are still macro lenses).

Also, micro photography is relatively cheaper. A good inspection microscope is has a commonly lower cost compared to the cost of high-quality macro lenses.

Macro Photography Guide: How to Capture the World in Macro | Skylum Blog(3)

Types of macro photos

No matter which tool you use and what you call your style – macro or micro photography – there are some classic subjects all artists shoot: insects, food, flowers, and eyes. Or they create abstractions in a shot. 

True macro photography of insects is both challenging and tempting. Because they hide and move, these creatures are hard to capture but inspire unusual photography ideas. While focusing on an insect, attract your viewers’ attention to its eyes, legs, and body. Another useful tip: insects are slower in the early morning and evening and when the temperature is cooler. So don’t practice shooting macro images on a hot summer day!

Macro food photography

When dealing with food, macrophotography artists think of the proper arrangement and composition on the plate. Revealing the shape, color balance, and texture, macro shots focus on a piece or a specific ingredient in a dish.

Macro Photography Guide: How to Capture the World in Macro | Skylum Blog(4)

Nature macro photography

Capturing flowers is the best way to start doing both macro and micro photography. Requiring the minimum preparation and concentration, plants are ideal for making the practice as easy and comfortable as possible. Moreover, flowers demonstrate a variety of shapes, textures, and colors, which makes practicing photography ideas more interesting. For more insights, check out our guide to flower photography.

Macro eye photography

Macro photos of eyes are one of the best ideas for macro photography. Due to reflections on the retina, you’ll get a unique image every time you try this type of macro photography. At the same time, coming too close to the subject may block the light, so be aware of the proper distance. Moreover, to avoid redness, make sure you don’t overburden your model’s eyes.

Macro Photography Guide: How to Capture the World in Macro | Skylum Blog(5)

Abstract macro photography

Finally, abstract macro photography is all about creativity. The most engaging subjects for this type of photography are repeating patterns and colors. At the same time, photography ideas go beyond these limits. Even a totally blurry image can be considered part of abstract macro photography.

How to create the perfect environment for macro photography

Preparation 

Before diving into macro photography, make sure you understand the key concepts. First, you’ll inevitably deal with magnification: the difference between the size of a subject on the camera’s lens and its size in the real world. Life-size magnification is referred to as 1:1, while half-life-size is referred to as 1:2. Because of that, the more lens increases the real size of the subject (which is referred to as 2:1 and more), the better. The best macro lens for Nikon can even achieve 5:1 magnification. Depending on your lens choice, your opportunities while working with macro pictures will vary.

Macro Photography Guide: How to Capture the World in Macro | Skylum Blog(6)

Another concept that requires your total understanding is working distance. This refers to the space between the lens and the nearest subject, and should be used wisely. An extremely short working space creates blur and blocks the light. Moving too far away will turn an image into something other than a macro photo. So keep in mind the optimal working distance of 15 centimeters and start practicing from there. With a greater focal length (like 180mm or 200mm), you can be further from the subject. This facilitates your work, as you won’t cast a shadow and won’t be too close to scare the subject. 

The best choice for the most comfortable working distance for a macro shot on a limited budget is a 100mm macro lens. However, if you want to capture macro plants and flowers, 50–60mm is also fine.

Macro Photography Guide: How to Capture the World in Macro | Skylum Blog(7)

Lighting tips

Getting sufficient light is crucial for making any of your photography ideas work. When it comes to macro shots, you need to pay even closer attention to lighting. Proper sources are natural light, a reflector appliance, or a flash. Feel free to experiment with them all and choose the one that works in your specific situation.

Don’t underestimate the importance of a light diffuser! With its help, you’ll gain control over direct outdoor sun and create the proper light balance in your image. For $10, you’ll get a natural shot and fewer problems while coping with shadows. Another group of lighting tools that are convenient not only for macro photography but for the photography life in general are external flashes, such as twin light flash units. Give them a try too!

Photography skills needed

Knowledge of composition is the key to making your photography ideas work. Though seemingly straightforward, it takes proper skills to make your macro photography project ideas work. The basic principles are:

  1. Don’t neglect to leave some space in front of the eyes. 
  2. Apply the principle of diagonal lines for creating a point of direction. 
  3. Use the weight of the subject in the image wisely. 

Moreover, try fine-tuning your composition: make your chosen pattern or subject fill the shot, without gaps and edges. 

Macro Photography Guide: How to Capture the World in Macro | Skylum Blog(8)

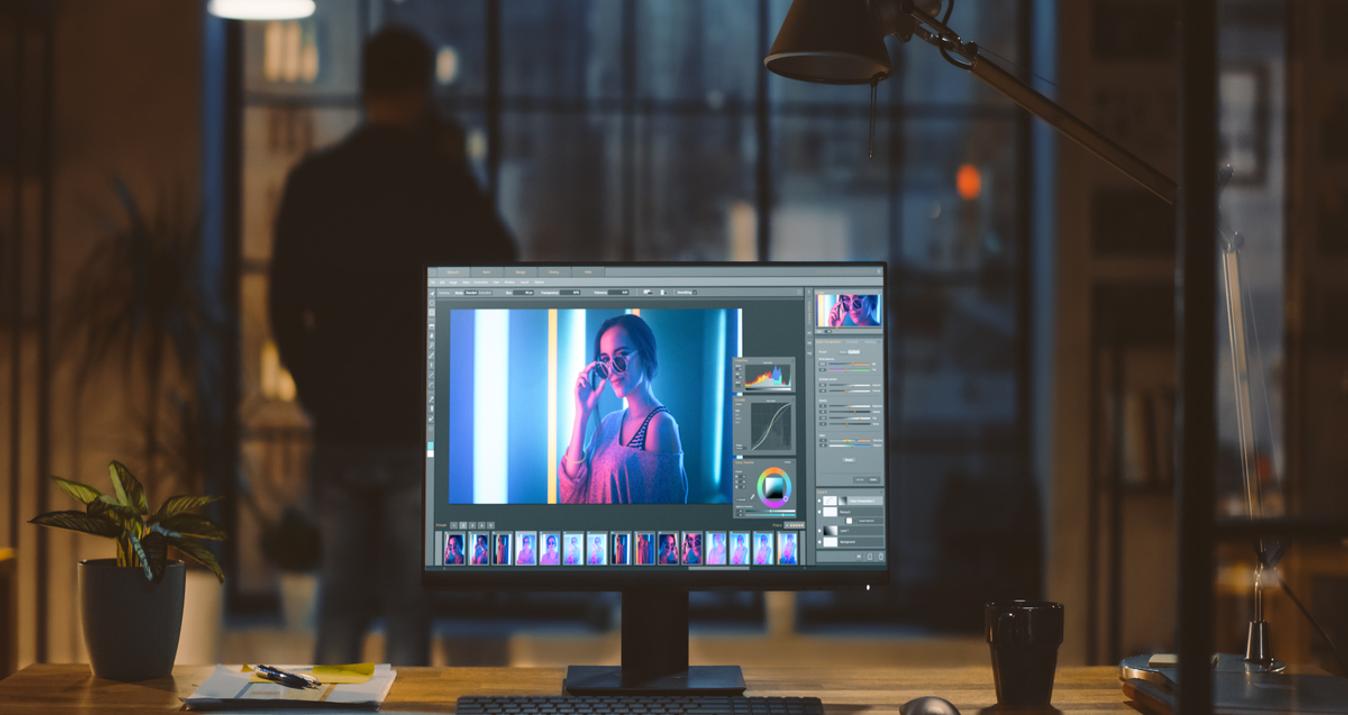
And don’t forget about getting image editing tools in advance! To do everything in one place, check out our own photo editing software, Luminar Neo. It’s designed to fit the needs of various types of photography and facilitate all post-processing activities, starting from applying pre-installed filters for fast, high-quality changes to using specific tools to straighten a photo and harmonize the white balance. Download a free trial by clicking the button below and evaluate Luminar’s functionality yourself.

Which equipment to buy

A basic way to achieve great results in macro photography is using an extension tube. Creating the needed space between a kit lens and a subject, an extension tube allows you to get much closer to your subject without losing clarity. In other words, it’s a nice alternative to buying a macro lens. As David Baxter writes in the Expert Photography tutorial, an extension tube normalizes the distance between the camera lens and the camera sensor so the rays of light won’t interfere with the clarity of the image. At the same time, don’t hesitate to use two or more extension tubes, as increasing their number increases the level of magnification.

Macro Photography Guide: How to Capture the World in Macro | Skylum Blog(9)

Another important piece of equipment to take into consideration is a reversing ring. This tool allows you to attach any standard lens to a camera backwards for greater magnification. In contrast to a cheap adapter ring (another common alternative to a macro lens) that makes you lose control over the lens, a reversing ring brings back the ability to make changes and preserves the image quality. In addition, it unlocks all the advantages of the best macro lens, including greater magnification and opportunities of a full-frame setup. Thus, a reversing ring can even be used on an ordinary lens: it’s the best way to turn an average lens into a greater focus lens needed for macro photography. 

As an alternative to a reversing ring, consider buying a close-up lens filter. This will enable you to set a +1 diopter on your normal lens to practice.

A snap-on lens adapter is also useful for macro shooting. Great if you’re on a small budget, a snap-on adapter makes it easier to get started in this field. A snap-on adapter costs around $50, can be clipped to any lens, and is lightweight and portable. 

If you need extreme magnification for your photography ideas, consider buying a focus rail. In combination with a tripod, a focus rail will give you control over the focus while changing the distance between the lens and the subject.    

Macro Photography Guide: How to Capture the World in Macro | Skylum Blog(10)

How to take macro photos

Here are some macrophotography tips for beginners:

  • Use a macro lens or extension tubes.
  • Use a tripod for stability and sharpness.
  • Adjust the aperture for depth of field (e.g. f/16 or f/22).
  • Get close to the subject and fill the frame.
  • Use natural light for even illumination.
  • Experiment with different angles.
  • Focus manually for greater control.
  • Consider using a flash for additional light.

By following these tips for macro photography, you can take beautiful pictures that showcase the details of your subject.

The best macro lens

Of course, the specifics of macrophotography call for choosing the greater focus lens. Coming close to the subject makes it necessary to pay attention to the tiniest details and calls for capturing them clearly. In terms of lens structure, it calls for grouping the glass to minimize the focal distance. Moreover, a wide aperture is an important requirement for the best macro lens: f2.4 and f2.8 are the best for magnification. A dedicated macro lens with a wide aperture allows the maximum light to reach the sensor. When combined with a fast shutter speed, a wide aperture results in extremely clear macro shots.

However, a lens with a wide aperture alone isn’t always the best macro lens. In dark conditions, you’ll need a macro lens with a stabilizer. This is a built-in construction of floating glass that is awesome for reducing vibrations. However, a stabilizer will cost you extra, so think twice. Maybe using a tripod is more useful for practicing blur-free macrophotography in your case.

Macro Photography Guide: How to Capture the World in Macro | Skylum Blog(11)

When it comes to specific brands and their macro lens offerings, pay attention to Canon. They make it possible to zoom from 1:1 to 5:1 with the MPE-65mm f/2.8 lens. Expert Photography recommends the Canon EF 100mm f/2.8L IS USM, a full-frame macro lens that multiplies the focal length by 1.6x. In a discussion on the best macro lens for Nikon, Digital Camera World draws readers’ attention to the Nikon AF-S DX 85mm f/3.5G VR Micro and the Nikon AF-S 105mm f/2.8 G IF ED VR Micro. 

How to focus and use a macro lens correctly

When it comes to shooting, simply buying the best macro lens isn’t enough. You need to learn how to control the focus and everything about the point of focus. Once you’ve focused, you can proceed to the maximum closeness to the subject. And to practice this skill before an expensive macro lens considers setting a point-and-shoot camera in macro mode. This will allow you to take pictures of close-up subjects in focus and experiment with macro photography ideas without paying extra money.

However, if you’re confident in yourself and want to shoot macro photos, buy a macro lens. Just remember to take proper care of it and use it correctly. The biggest danger for macro lenses is getting scratches on the outer glass and mold on the inner glass. 

Macro Photography Guide: How to Capture the World in Macro | Skylum Blog(12)

Best cameras for macro photography

Crucial factors to take into consideration when choosing a camera for macro photography include available lenses. They determine the depth of field, distance, and focal length. However, a camera’s body also has an impact. This section contains recommendations on how to choose the most appropriate equipment for making your photography project ideas work.

DSLR vs mirrorless cameras

When it comes to the debate between DSLR and mirrorless cameras, it’s hard to choose the winner. They’re both good – especially if both have a good macro lens and there’s not much delay between pressing the shutter and the shot taken.

Most photographers prefer using DSLRs. Traditionally, they were better adapted to a macro lens and more affordable. 

At the same time, mirrorless cameras also work great. In fact, there are several models specially designed for macro photography. They have useful focus peaking features and fast photo review to check sharpness and flash exposure. Photography Life recommends picking a mirrorless camera with an electronic viewfinder. 

Macro Photography Guide: How to Capture the World in Macro | Skylum Blog(13)

Full frame vs crop sensor

Another question when it comes to the best camera for macro photography is whether to choose a full-frame or a crop sensor. Basically, we agree with the majority that the best option is still a full-frame camera.

Full-frame cameras have the highest magnification possible, and so they’ve gained a reputation as the best equipment for working with macro photography ideas. A crop sensor, in contrast to a full-frame sensor, requires you to come closer to the subject and blur it – which isn’t good according to the macro photography definition.

The altogether ultimate option is to combine a full-frame lens with a crop sensor camera. In this case, you’ll receive maximum magnification along with the light and space you need to capture your subject.   

Macro Photography Guide: How to Capture the World in Macro | Skylum Blog(14)

Best macro photography ideas

Macrophotography offers great space for experimentation and creativity. Limiting a photographer only with the choice of tools, this genre enables you to shoot numerous subjects and from the most unexpected angles. In this section, we’ve collected the top macro photography ideas from our previous post. 

Water is the absolute favorite of all the macro photography ideas. Feel free to use a misting bottle for decorating your subjects. Water droplets look awesome on flowers and insects, and you can achieve this effect without waiting for the early morning to cover everything with dew. In fact, liquid drops are amazing subjects of macro shots by themselves: they reflect the nearby conditions in an unusual way. 

Macro Photography Guide: How to Capture the World in Macro | Skylum Blog(15)

One of the best unusual macro photography ideas is to capture the internal structure of ordinary things. To do this, cut fruits and vegetables and put them in a lightbox. While working on these photography ideas with a macro lens, consider taking a small brush with you. Since the highest level of magnification discloses the tiniest details on a subject, it can be useful to clean off dirt, dust, and other possible granulation. Otherwise, you’ll have some extra problems at the post-processing stage.

Two of the best subjects for macro photos are flowers and insects, but some other natural elements also work nicely. For example, feathers are great subjects for both starting and mastering macro photography. Being relatively easy to find, they can serve as the first subjects for experimenting with photography ideas. The more exotic feathers you find and the more unexpected the shooting angle, the greater the expert you’ll become.

When it comes to outdoor macro photography, frost is a great alternative to water droplets in winter. So once you see it’s cold outdoors, don’t miss the chance to capture unexpected appearances of common subjects in nature!

Macro Photography Guide: How to Capture the World in Macro | Skylum Blog(16)

Experiments

In general, experimenting with the camera is the basis for mastering any type of photography. Our list of macro photography tips is also based on this idea. However, in this section, we recommend some practices that can make your photos truly awesome. Though experimentation is about pure practice, we have a couple of ideas to help you get started.

When working with wood and plant subjects, consider burning them. They can play out in fresh colors right in front of your eyes! However, get permission before committing your subject to the flames and be aware of your safety while burning it! You can find some useful tips in our recent overview of fire photography. 

Macro Photography Guide: How to Capture the World in Macro | Skylum Blog(17)

As an alternative way of capturing the beauty of natural damage, patina on metals also creates interesting images.

Also, consider using indoor things – like soap and liquids – separately or in an interesting combination. However, check your chemistry knowledge first!

Camera settings for macro photography practices

Manual mode

When it comes to macro photography, the need to control the focus calls for switching off all automatic settings. Here, all the manual modes can work great: AV, A, TV, S. But beginners will likely find Program Auto mode most comfortable, as it the focus menu is easier and clearer to adjust in this mode. 

For all the other cases, setting the camera manually will go smoother if you check out our photography cheat sheet.

Follow these camera instructions for macro photography settings:

  1. Make sure you’ve chosen manual focus.
  2. Select f/16 or f/22 aperture for the most controllable depth of field. This allows you to focus on the subject. Also, it’s helpful for properly managing the shutter speed. if these indicators are not available on your camera, just open the aperture to the maximum possible.
  3. Constantly search for the proper balance between ISO sensitivity and shutter speed. Your aim is to get an image free of blur (indicating a shutter speed problem) and free of noise (indicating an ISO problem).

Before moving on to macro photo techniques you should keep in mind that the sharpest images can be captured with a shutter speed of 1/500 or even faster. To keep your camera stable with such settings, consider buying a convenient tripod with independent legs that aremade of lightweight carbon fiber.

Macro Photography Guide: How to Capture the World in Macro | Skylum Blog(18)

Macro photography techniques

How to take a macro photo? Remember that mastering your photography ideas will require tremendous patience and many hours. So, that’s the basic technique that can be gained only with dedication and time.

With small subjects, use focus stacking. This entails capturing multiple pictures of different parts of the subject. This technique enables you to achieve the greater focal length needed for making all of your close-up photography ideas extremely sharp and vivid.  

Another useful macro photography technique is to mix light from a flashlight with ambient light. This brings in fresh colors that aren’t visible in natural light. However, make sure this works better than just one source of light for your particular composition.

One of the best macro photography tips is playing with the background. Changing the colors behind the subject may seem unexpected, but this technique is among the easiest and most useful macro photography tips.

And remember: when you shoot macro, it’s better to move static subjects, not the camera. With the proper stabilization and preparation, you’ll be flexible enough to focus and clearly capture a subject in any position.

Macro Photography Guide: How to Capture the World in Macro | Skylum Blog(19)

How to avoid common macrophotography mistakes

It’s common to try out macro photography and leave it after the first shot that’s too blurry or poor quality. Our first and most important piece of advice to avoid disappointment while shooting macro photos is to simply let yourself make mistakes! 

However, there are several common missteps that can spoil even the brightest photography ideas. So you should learn how to avoid them in advance.

The first is problems with lighting. Many photographers prefer to work with the built-in flash instead of letting the light diffuse. Never underestimate the influence of proper lighting for all of your photoshoot ideas.

Also, many beginners take pictures with shaking hands – which isn’t always a big deal. But it is for macro photography. If you’re having this problem, just buy a tripod.

And, of course, be aware of the working distance and never lose focus. The proper attention to this will result in clear and sharp macro shots.

Macro Photography Guide: How to Capture the World in Macro | Skylum Blog(20)

Editing and post-processing

In our macro photography guide, we couldn't leave out the mention of photo editing. The key idea of post-processing is to bring your photography to the next level. The same applies to macro photography. Most problems with focus and unexpected dirt can be fixed in Luminar Neo. This program is useful for beautifying all of your photographs and will help you resolve any problems you couldn’t eliminate during the photoshoot!

Final thoughts

We have told you everything you need to know about macro photography techniques and ideas. If you want to improve your skills, pick up your camera and practice!

Macro Photography Guide: How to Capture the World in Macro | Skylum Blog(21)

Experience the power of Luminar Neo

Try free Try free
Macro Photography Guide: How to Capture the World in Macro | Skylum Blog(23)

Advanced yet easy-to-use photo editor

view plans