5 Simple (But Useful) Mountain Landscape Photography Tips
May 10, 2023

With shadows and tall vantage points, mountain landscape photography can get tricky.
Mountains are majestic, grand and give way to an expansive feeling that reminds us of the bigness of the world. And capturing memorable mountains during your landscape photography adventures is an invigorating photo field to dive (or hike) into.
From lighting to vantage points, things can get tricky with mountain landscape photography. So, we’ve put together 5 of our favorite tips, ranging from the creative to the technical, that will help you to get the shot you’re looking for.
Embrace Foreground Creativity
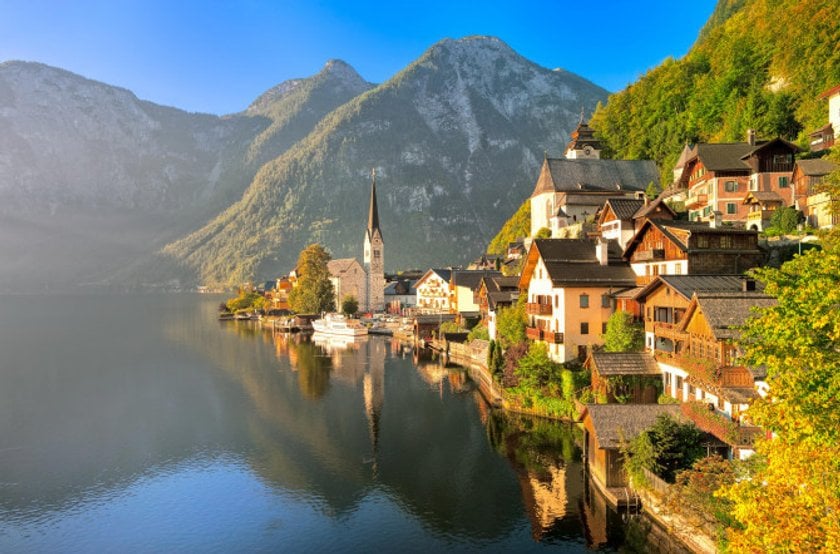
When we think of mountain landscape photography we may initially think that the most important aspect of the photo is, indeed, the mountain. However, the beauty of mountains have so much to do with the nature that abounds around them. Think of the lake by your feet, the green canopy of trees that lead to the mountain, the rough lines in the rocks, the overall scenery that affects every aspect of your composition. Maybe your best final shot becomes the close up of yellow daisies as they lead to the snow melting on the mountains in the background. Even if it’s those mountain peaks you want to focus on, focus on using leading lines and pulling the viewers into the richness of your image.
Understand Golden Hour
Many photographers think of the perfect time for epic landscape shots to be that golden hour right before sunrise or right after sunset. In the mountains, keep in mind that the peaks may block the sun, making golden hour itself short or even non-existent. Luckily, thanks to editing softwares like Luminar, there’s a filter that will help you to achieve that golden glow in post-processing even when it didn’t quite show up for your shot.
Mind Your Mountain Shadows
In the mountains, tall peaks can create shadows and the sun can be blocked in certain areas — causes a lighting challenge. Make sure to check your weather beforehand to see what you’ll be dealing with and to stay patient when scouting out that perfect shot. You can also try experimenting with bracketing your photos by taking multiple shots of your photo in the same scene — exposing one for the lightest part (like the sky) and one for the darkest part (like the shadowed mountain) then blending the exposures in post-editing.
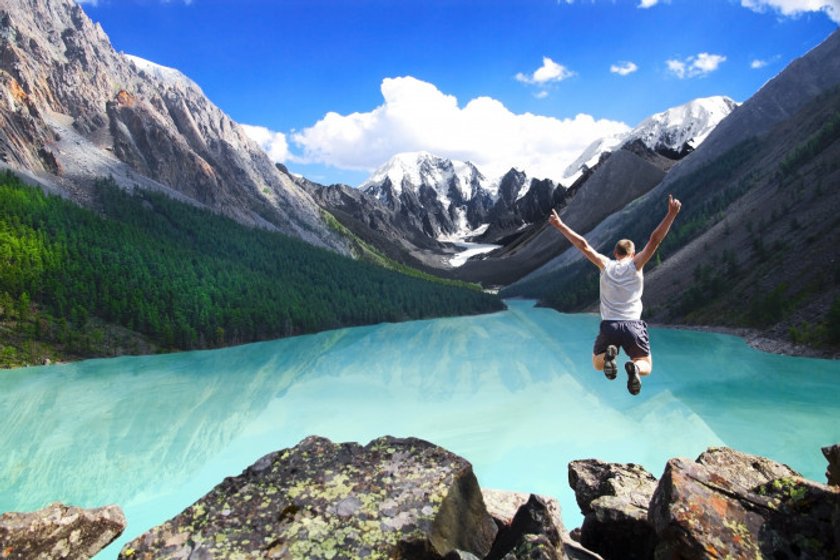
Include a Person (Or An Entire Group)
Often in landscape photography, you may not wish to have anyone in the shot at all. However, with mountain photography, including a person or an entire group can really work to show the scale of how large the mountains actually are. If the opportunity arises, snap the shot and see what comes of it. Those teeny tiny human specks just may make your shot stellar and stand out from all the rest.
Advanced yet easy-to-use photo editor
Get Luminar Neo NowEnhance Your Scene Shots with Luminar Neo! 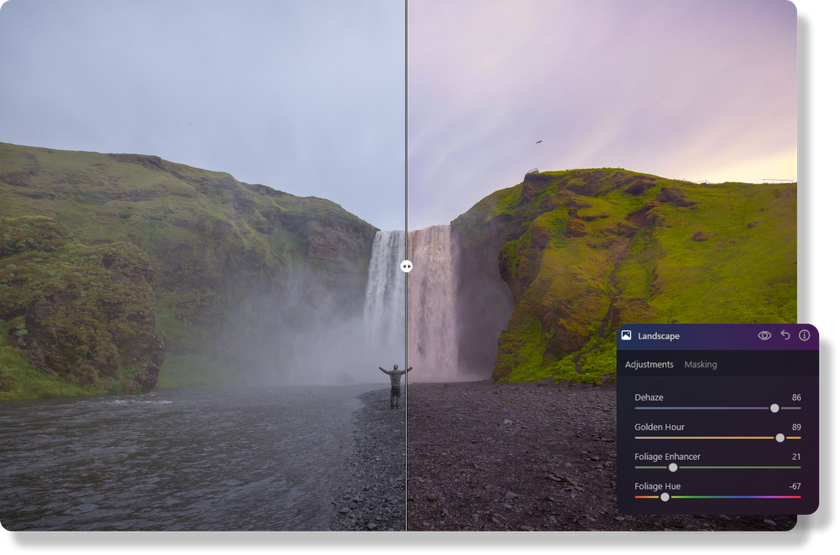

© Depositphotos
The Dehaze and Golden Hour tools allow you to dramatically transform your landscape photos.
The Dehaze tool is particularly useful for clearing up atmospheric haze, fog, or smoke that can often obscure distant landscape features. It brings clarity and depth to your images.
On the other hand, the Golden Hour tool adds a warm, soft light to your photos, mimicking the enchanting glow found at sunrise or sunset. These tools can be easily applied to breathe life into your landscapes, enhancing colors and improving contrast to create stunning, eye-catching images. Whether you're looking to clear up a misty morning scene or imbue a late afternoon shot with golden hues, Luminar Neo makes it simple and effective to achieve professional-quality results.
Capture the World in Stunning Detail with an AI-Powered Photo Editor
Try Now!Find Your Vantage Point

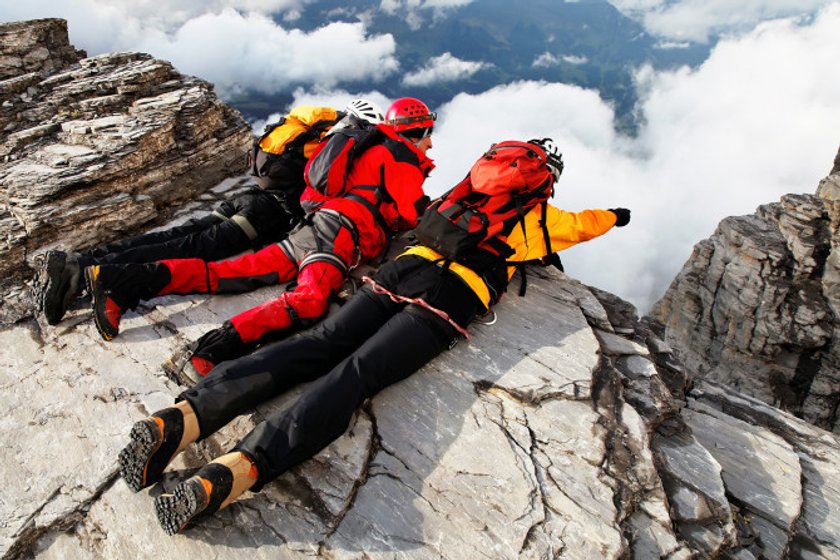
Why do people hike to the top of a mountain in the first place? Typically, for the view — and the ability to take a deep breath and feel at peace with nature. For a good mountain shot, think like a hiker and do some hiking. Though shooting the iconic spots can be fun, they can also be overdone. Opt for a creative spot with a unique perspective. Doing so may give way to a hidden waterfall in your photo, or the thin line of a beautiful stream that otherwise flows unnoticed. If you plan on doing some hiking, keep in mind that you want to limit the heaviness of your gear (and, bring a map)!
From all of us at the Skylum team, we’re wishing you happy landscape shooting and creative inspiration for your days spent amongst nature’s majestic mountain landscapes.
Have fun!