What Is Shutter Speed: Why It Matters In Photography
September 11, 2025

Shutter speed explained — simple, practical, and utterly essential.
At the start, shutter speed was a mystery to me: a small number that seemed to decide whether photos came out sharp or blurry. With practice, I learned it’s a simple control with huge creative impact. In this quick guide, I’ll explain what it does, how it behaves, and the practical settings I reach for in different situations — with real examples to practice.
What is Shutter Speed?
 Shutter speed definition is straightforward: it is how long your camera’s shutter stays open, letting light hit the sensor (or film). Simply put, it’s the amount of time your camera spends “capturing” a photo. Understanding shutter speed is key because it’s one of the most important settings for controlling your images.
Shutter speed is measured in seconds or fractions of a second. For instance, a shutter speed of 10 seconds means the sensor is exposed to light for a full ten seconds. On the other hand, a super fast speed like 1/1000th of a second captures the moment in less time than it takes to blink.
There’s also the stop concept: doubling the time doubles the light. Going from 1/125 to 1/60 is +1 stop (twice as much light); from 1/125 to 1/250 is -1 stop (half the light). I use that when balancing aperture and ISO: if I want more depth of field but the same exposure, I’ll slow the shutter by one or two stops.
Your AI-Powered Photo Editor for MacOS and Windows
Discover Now!What Shutter Speed Controls?
Shutter speed directly affects two things:
exposure — how bright the photo is;
motion — whether things freeze or blur.
Exposure time is a technical term for how long the camera’s sensor (or film) is exposed to light. It’s the same in photography as shutter speed, though “exposure time” is usually used in scientific contexts. Both describe how long the camera captures light, but exposure time emphasizes the light reaching the sensor, while shutter speed is the term photographers commonly use. If you’re wondering what shutter speed to use, understanding this difference helps you control brightness and motion in your photos.
For example, if I shoot a runner at 1/1000s, the stride freezes, and because the sensor is exposed for such a short time, the image may be darker if the lighting is limited. At 1/30s, the runner streaks, creating motion blur, and the longer exposure lets in more light, making the photo brighter. So, shutter speed controls not only how motion is captured but also the brightness of the image, depending on how long the sensor is exposed to light.


If you’re asking what is shutter speed on a camera in terms of display: you’ll usually see it as a fraction or whole number on the top LCD, inside the viewfinder, or in the camera app. I often double-check it on the rear screen before I press the shutter.
How Does Shutter Speed Work at a Physical Level?
When I opened my first DSLR manual, I found a neat diagram showing curtains. In mechanical shutters, two curtains move: the first opens to expose the sensor, and the second closes to end the exposure. For fast speeds (like 1/1000s), the second curtain starts closing before the first fully opens, creating a moving slit across the sensor. That’s why very fast flash sync has limits — the sensor isn’t fully exposed at once.
Modern mirrorless cameras often use an electronic shutter. There’s no moving curtain; the sensor is turned on and off electronically. That lets me use crazy fast speeds like 1/32000s, which would be mechanically impossible. But electronic ones can sometimes cause rolling shutter artifacts (wobbly verticals when panning fast), so I pick the type based on the scene.
For example:
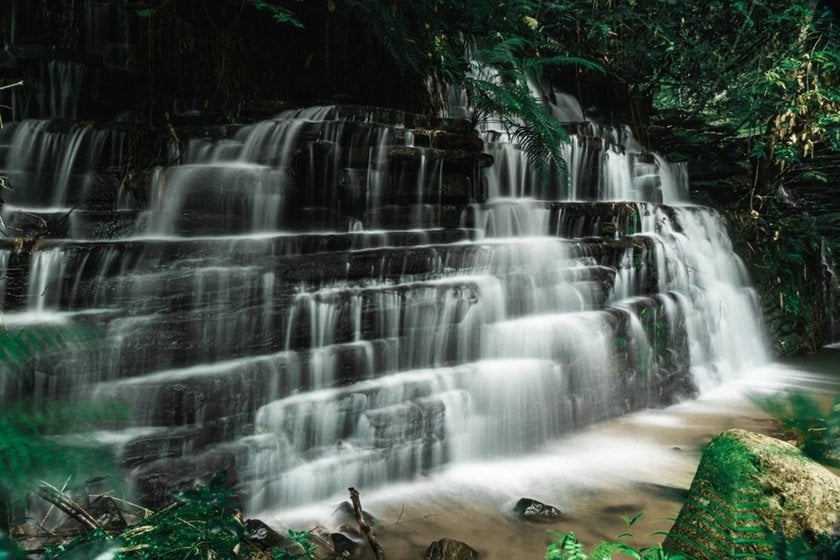
Photographing a waterfall with a mechanical shutter at 1/4s turns the falling water into a silky sheet, as individual droplets blur together.
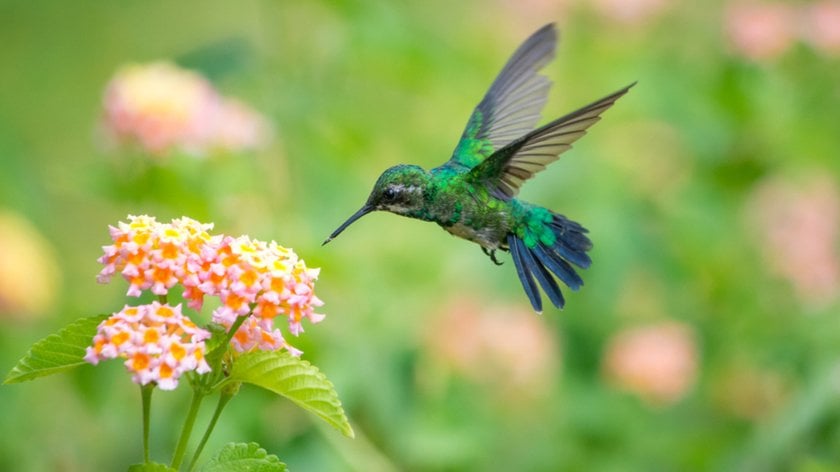
Photographing a hummingbird at 1/2000s with an electronic shutter freezes its wings sharply.


Those concrete examples show how does shutter speed work in practice: shorter durations capture less motion; longer durations integrate motion into blur.
Shutter Speed in the Exposure Triangle
Shutter speed is one of the three pillars of exposure — the other two are aperture and ISO. When I’m exposing a scene, I think in terms of tradeoffs:
Want motion frozen? Use a faster shutter, then open aperture or raise ISO to keep exposure balanced.
Want motion blur? Slow the shutter and lower the ISO or stop down the aperture.
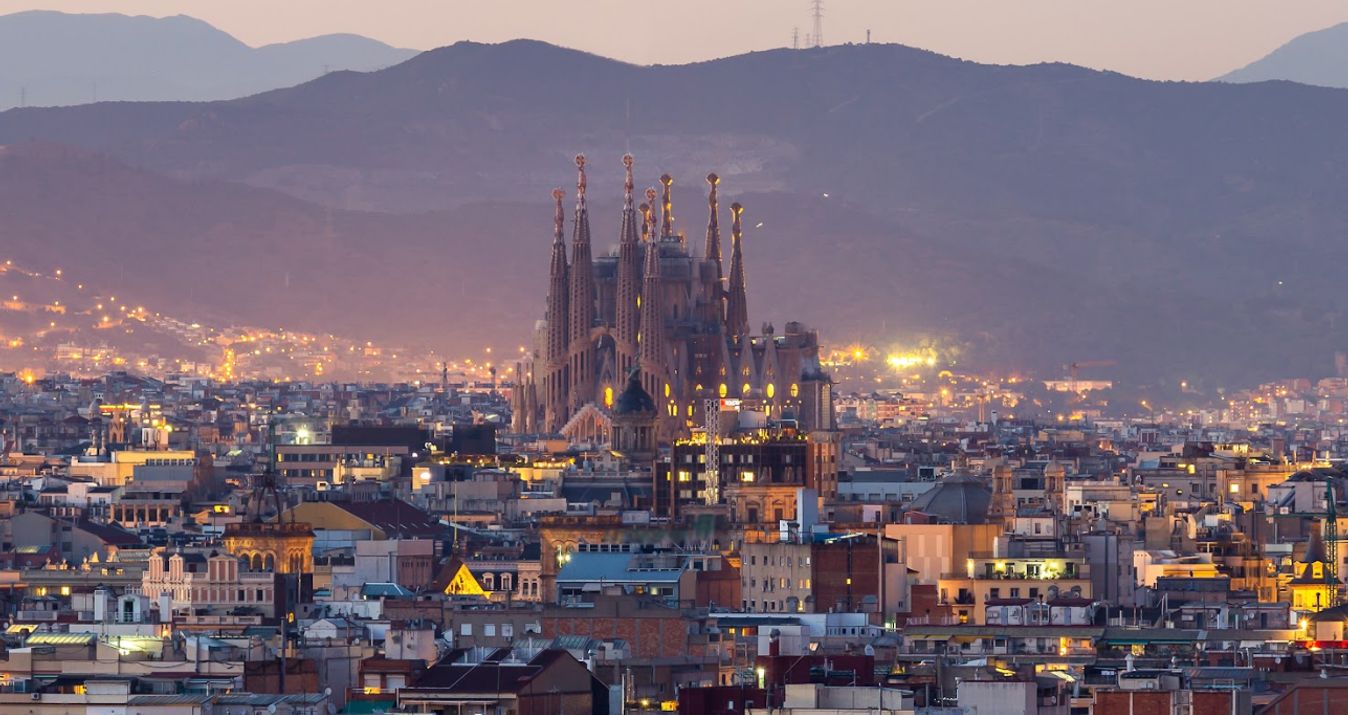
I’ll give you a real example: last week, I shot a city street at twilight. I wanted streaks from taillights, so I set 2 seconds on a tripod, aperture f/11 for starburst headlights, and ISO 100 to avoid noise. That combination — shutter to capture motion, aperture for depth and starburst, ISO for noise control — is the typical balance I teach new photographers.
If someone walked into a long exposure and ruined a composition, I’ve sometimes fixed it in post. Remember, you can often remove person from pic with editing tools if retake isn’t possible.
How to Set Shutter Speed
 Shutter speed controls how long your camera’s sensor is exposed to light and how motion appears in your photo. Adjusting it depends on the result you want:
Freezing action: Use Shutter Priority (S or Tv) and select a fast speed, like 1/500s or faster. This freezes movement, keeping your subject sharp. For portraits or stationary subjects, you can use depth of field and shutter control to blur background of photo and emphasize your subject.
Full exposure control: Use Manual (M) mode to deliberately set shutter speed, aperture, and ISO. This gives you complete creative control.
Long exposures: Mount your camera on a tripod, enable mirror-lockup if available, and use a remote release or timer. This prevents shake and allows smooth motion effects like silky waterfalls or light trails.
On phones: Open Pro mode or an app that allows shutter control. Experiment with different durations to see how motion and brightness are affected.
Remember, shutter speed affects both motion and exposure. Short exposures (fast shutter speeds) let in less light, producing darker images if the lighting is limited. Longer exposures let in more light, brightening the scene and creating motion blur if the subject moves.
Recommended Shutter Speed Settings
Learning how to change shutter speed is essential for controlling motion and exposure in photography. Here’s a beginner-friendly roadmap for common situations.
Scenario | Shutter Speed | Notes |
Handheld shots | ≥1/(focal length) | For a 50mm lens, start at 1/50s or faster. Use image stabilization if available. |
Freezing motion | 1/500s – 1/1000s+ | Fast action like sports or pets. |
Deliberate blur (panning/light trails) | 1/30s – 1s | For creative motion effects. |
Waterfalls (silky effect) | 0.5s – 2s | Use a tripod for stability. |
Nightscapes/astrophotography | 5s – 30s | Capture stars or city light trails. |
Portraits (stationary) | ~1/125s | Prevent camera shake while keeping the subject sharp. |
Street photography (day) | 1/250s | Capture crisp, candid shots. |
These recommended settings give you a starting point, but always adjust based on light conditions, motion speed, and the effect you want. Studying examples of shutter speed in different scenarios can help you see how these adjustments influence both motion and brightness.
With practice, changing shutter speed will become intuitive, giving you control over both exposure and motion in your photos. Adjusting shutter speed for fast action or low light isn’t always precise. Still, even if a shot comes out slightly blurry, careful editing can make the image clearer, saving the moment without a reshoot.
Master the Art of Photo Clarity with AI-powered Sharpen Tool
Explore in Luminar Neo!In Closing
 Understanding shutter speed meaning is key to mastering shutter speed photography. It is more than just a camera setting — it’s a creative tool that shapes motion and light in your photos. By practicing different speeds, experimenting with exposures, and learning from real-world examples, you’ll grow confident in choosing the right settings. Over time, adjusting shutter speed will feel instinctive, allowing each shot to capture your vision, whether freezing fast action or creating smooth, flowing motion.