How to Capture Fantastic Star Trail Shots
November 23, 2017

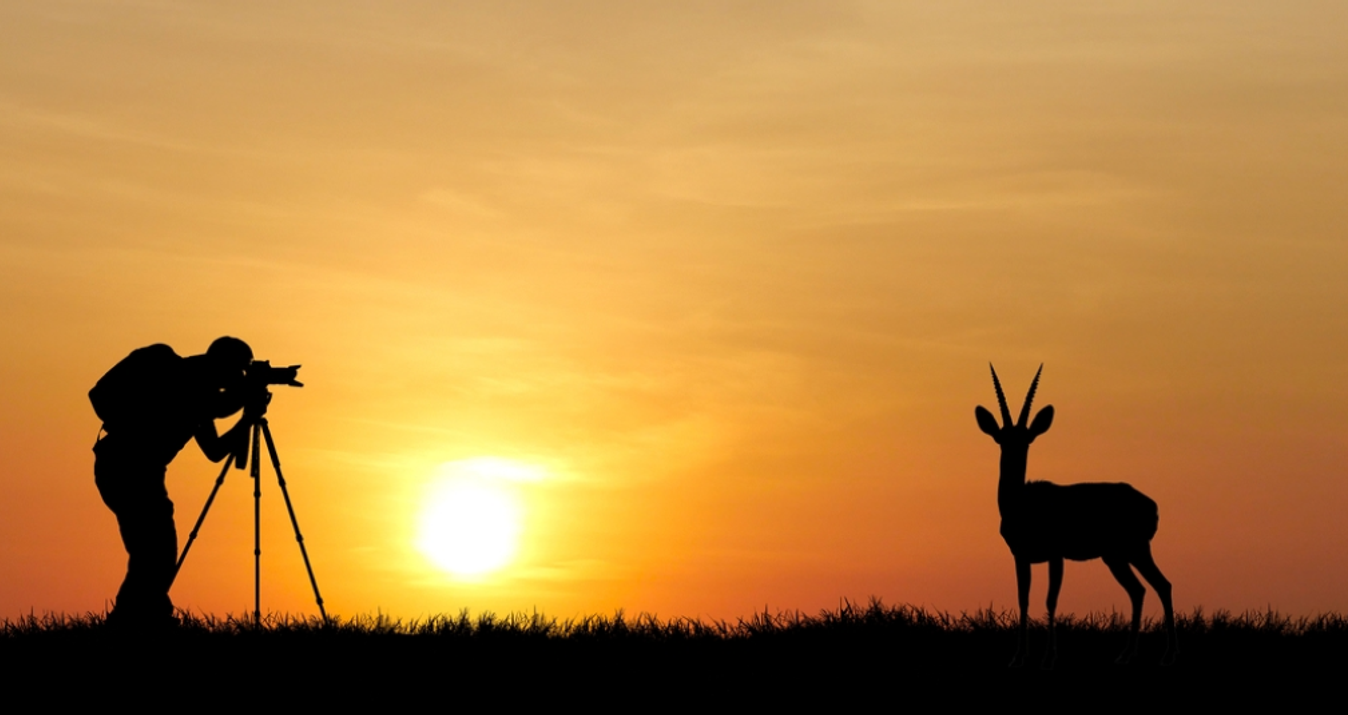
Photographing star trails will take some time and patience, but will definitely yield some awesome photos. This beginner's guide will get you started.
If you’ve ever seen pictures of star trails and wondered how they’re done, it’s not as complicated as one might think. Unlike Milky Way photography, you don’t need to be quite so immaculately spot on with your focus or exposure. Still, it’s important to have your strategy, gear, and settings dialed in. This beginner’s guide will get you started.
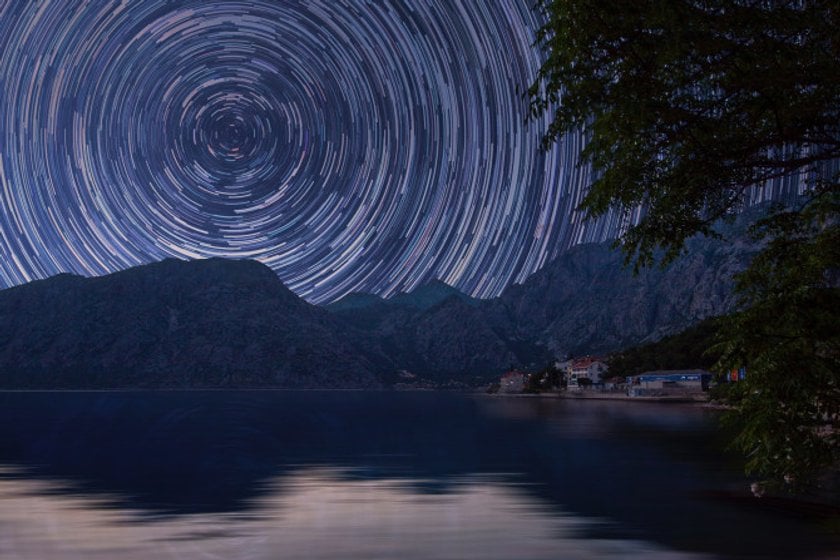
 Photo Credit: Josep Castells
Gear
For any astrophotography, you’re going to want a good DSLR camera that excels at low-light photography. Full frame cameras are best, of course, but a crop sensor camera will also work. Because you’re shooting in the dark and with high ISOs, a fast lens (f/2.8 or faster) is pricey, but ideal. You can get away with a lens as slow as f/4.0, but you’ll have to bump up the ISO considerably. Wide angle lenses will get the maximum amount of sky and foreground—lenses starting at 14mm for FX cameras and 8mm for DX cameras work really well. You can also use a fisheye lens if you don’t mind its trademark distortion.
Beyond the camera and lens, you’ll also need a sturdy tripod and a remote shutter control cable (ideally with an intervalometer). And lastly, 2-3 fully charged batteries. The technique described here can take from 30 minutes to a number of hours, depending on the length of star trails you’d like. (If the night will be cold, bring 3-4 batteries.)
Setting Up
The first thing you’ll want to do is choose your location. Similar to Milky Way photography, you’ll need to pick a place that’s far away from light pollution, yet has an interesting foreground to add depth and context to your shot. If you’re not sure where to go, Jonathan Tomshine has a created a cool Dark Sky Finder that can help you get started.
Once you’ve decided on your site, you’ll want to take a look at a lunar calendar and choose a night with a clear, dark sky. It’s best to shoot either with a moonless sky or to have the moon directly behind you, lighting up your foreground. If it’s anywhere near your focus area, though, it will act just like light pollution and drown out the stars. Once you’ve found the nights with your ideal phase of the moon, check Clear Dark Sky—a website for astronomers to find clear nights to shoot on—to pick the best night and times.
One key consideration when choosing your foreground and orientation is the location of Polaris (the North Star). If you can get Polaris in the frame, all the other stars will circle around it. Otherwise what you’ll get is a semi-circle—still cool, but not quite the same. (If you can, check it out Polaris’s position the night before.)
Focusing
The day of the shoot, compose your shot and get a sharp focus on the entire scene during the daytime. (Once it’s dark it’s much harder to get a tack-sharp focus.)
To focus for the sky shot, open the lens to its widest focal length. For example, on a 14-24mm lens, that would be 14mm. Next, turn the focus ring to the infinity symbol or focus on the furthest away part of the horizon. (Autofocus may work fine here, but also feel free to focus manually using your live screen.) Now, take some practice shots at f8 and make sure the entire scene is in focus. Once you’ve got it, mark your focus ring and the barrel of the lens with a small piece of tape. (Just remember what focal length you were at.) This is your infinity focus point. If you’d like to take a separate shot of the foreground, you can set a separate focus point for that—just remember which is which.
If you choose not to mark your lens, be sure to turn off your autofocus after you’re finished focusing. Otherwise, your camera will try to refocus at night and you’ll lose your settings. Also turn off your in-camera noise reduction. (It requires an additional 30 seconds after each exposure and will create little gaps in your trails.) Finally, remember to make sure your image stabilization is off (which it should be any time you’re using a tripod).
The Settings
Camera Mode: Manual Mode
Image Format: RAW
Metering Mode: Most folks will find that Matrix Metering (Nikon)/Evaluative Metering (Canon) produces the best star trails, but take some test shots and find the best fit for your camera.
White Balance: 4000K-5500K
Aperture: f/2.8 – f/5.6. Luckily star trail photos are much more forgiving than Milky Way shots and you can get away with smaller apertures if you have to.
Focal Length: You can use just about any focal length you like. The more you zoom in with your lens (i.e. the longer your focal length), the longer your star trails will appear over a shorter amount of time. And vice versa.
Shutter Speed (if you’re using the star trail method described below):
• Full Frame cameras: 30 – 60 seconds. The longer the exposure, the more distant stars you can capture. Longer exposures will also help you keep your ISO down, therefore reducing noise.
• Crop Sensor cameras: 30 – 120 seconds. Most crop sensor cameras don’t handle high ISO as well as full frame cameras, so it can be helpful to increase the exposure time. Take some test shots at both 30 and 120 seconds and see how they come out. If your 30-second shots have a lot of noise in them, increase the exposure until you get the quality of shot you’re looking for.
ISO: Start at 300 and increase from there until you get the shot you’re looking for. If you find yourself going above 800 ISO, though, try increasing your exposure time instead of the ISO to avoid as much noise as possible.
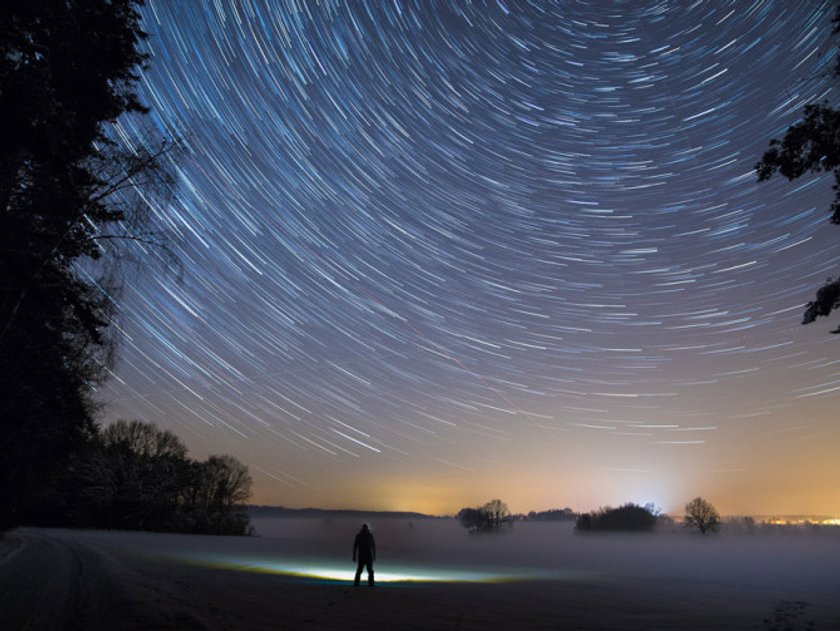
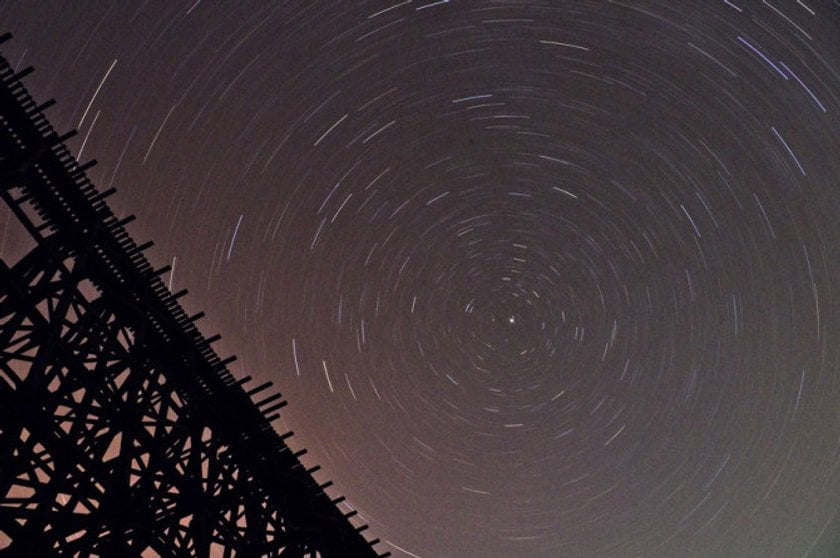
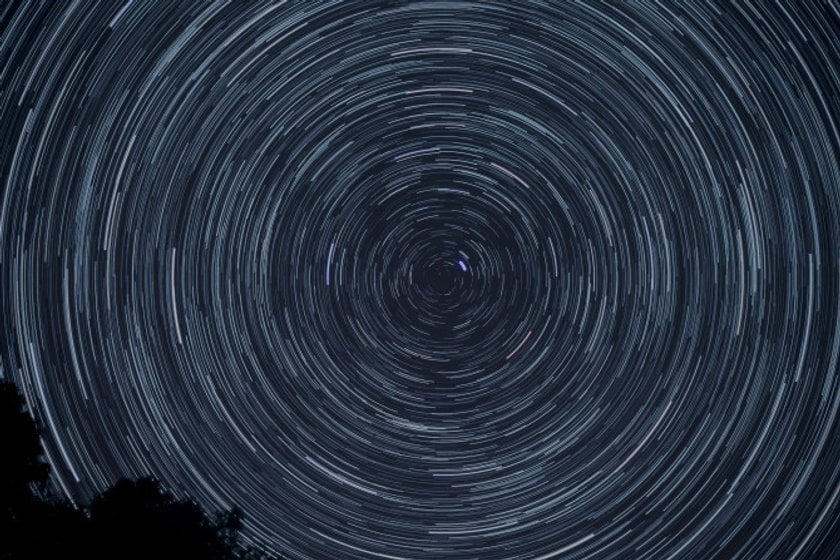 Photo Credit: Patrick McManaman
Taking the Shots
By far, the best way to capture star trails is to take multiple exposures and then combine them in post-processing with HDR software. This will allow you to keep both your exposure time and ISO fairly low. It’s also super easy, as free programs like StarStaX will do almost all the work for you. The easiest way is to program an intervalometer to the desired exposure time, the time between each exposure (1 second), and a total number of exposures. Try out different exposure times and find out what works best for your set-up.
How Many Exposures Should I Take?
The only real way to figure out how many exposures to take is to get out and practice. In general, the more sky in your composition, the more exposures you’ll need. For example, if your composition is only ¼ night sky (the rest being foreground), the stars only have to move across ¼ of your photo. As a result, you’ll need less shooting time and a smaller number of exposures.
 Photo Credit: Martin Strump
Post-Processing
There are a few ways to go about the post-processing of star trail photos. The easiest by far is to use StarStax. Simply open up the program, import your images, and hit start. You’ll have a finished image in moments. You could, of course, also batch process the photos in Lightroom or Photoshop, but StarStax is far faster.
Once your image is finished you’ll probably find a few lines crossing your star trails—these are most often airplanes and even sometimes shooting stars. Simply use Luminar’s content-aware Erase Tool or Photoshop’s healing brush to get rid of them.
Getting great star trail photos can take some time and planning (and a lot of patience), but the results are well worth it! Let us know how it goes!